Features of organizers for floss
Each craftswoman has her own handicraft corner with storage and ordering systems for everything that makes up her work. The embroiderers also have such a corner, and most often they get confused, lost, and it is the threads that are in the wrong places. How to make or where to get an organizer for floss, we will tell in the article.
Description and purpose
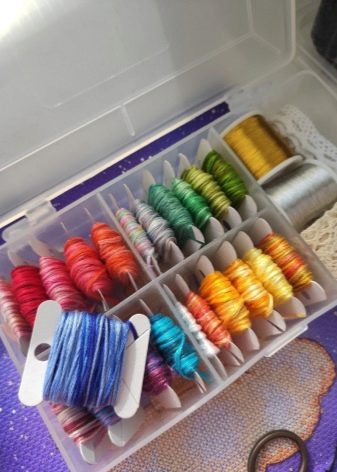
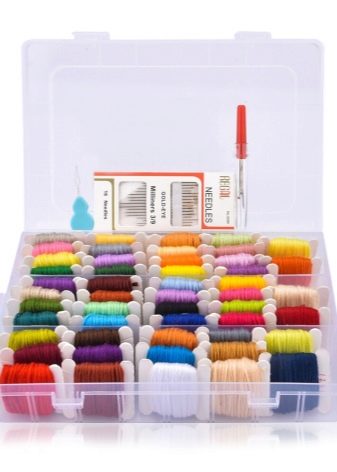
The organizer can be called a thread house. Gone are the days when threads were stored in ordinary boxes (from under shoes, for example), in cookie cans and just plastic containers. This, of course, still occurs, but is in much less demand than more sophisticated and aesthetic systems. Moreover, manufacturers of threads and other materials / tools for embroidery themselves began to produce convenient organizers, which greatly simplified the life of all craftswomen.
An organizer is needed for:
- a clear division of threads by color and not only (there may be compartments for threads that are used in a larger volume, for threads of different quality, for leftovers and new ones);
- systematization of storage of accessories of the embroiderer;
- more aesthetic organization of the workflow;
- providing the threads with conditions in which they will not get confused and burn out;
- avoiding situations where sewing accessories are stored chaotically, get lost, constantly catch your eye, etc.

If the floss are not sorted, sooner or later they will collapse into one lump, and their subsequent unraveling may take more than one evening.
Plus, for many people, sorting out what they are working with turns into a little psychotherapy session. After all, if you want to put things in order in your head, first clean your house. And threads, needles and other accessories also need to be streamlined.
Species overview
The easiest way is to buy a plastic or wooden container from a craft store with compartments and divisions that have already been broken so that it is convenient to sort the threads. And such a system will be inexpensive. But an organizer is not necessarily a box. There are other interesting types of such devices.
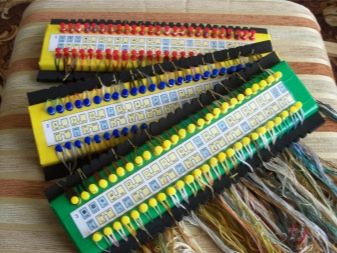
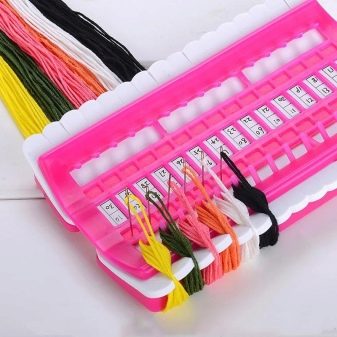
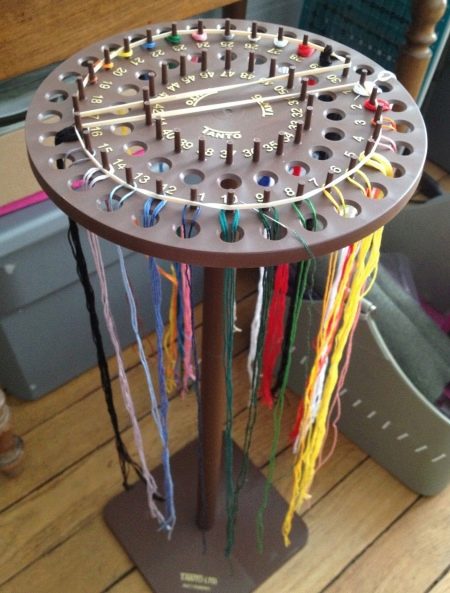
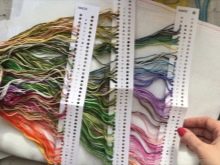
- Organizer Tanto. This is a wheel on a stand, that is, an open storage system. It looks a little strange. But it allows you to distribute up to 50 types (colors) of floss threads so that they do not get confused. In the center of such a wheel there will be a place for scissors, a needle bar and everything that is needed during work. The stand of such a device itself is three-section, the organizer is made of plastic, but it is not very cheap.
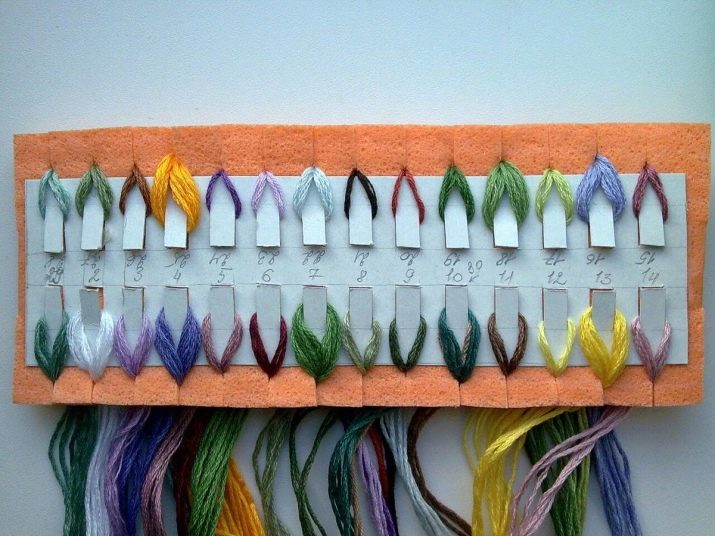
- Organizer Paco. He and similar systems are also in demand. It is a polyurethane foam strip with a plastic superstructure. In the center of the organizer there is a hole for a letterhead, where you can mark the thread number. And in the plastic superstructure there are hooks on which the floss floss will be put on, and slots for fixing. It costs an order of magnitude cheaper than the previous version.
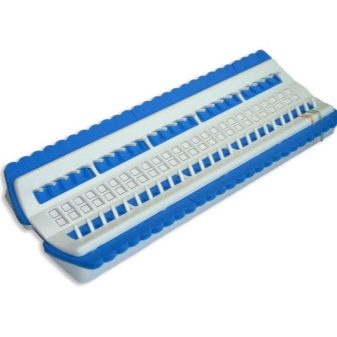
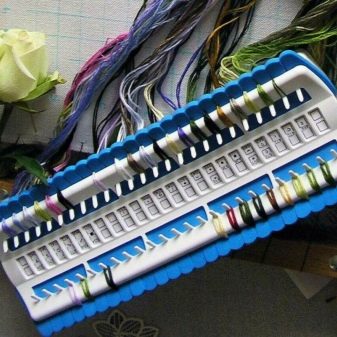
- Organizer Hamlin. This is a rather compact plastic box, divided into sections, in one of which scissors, a pin cushion and other things will fit. The organizer is quite inexpensive.
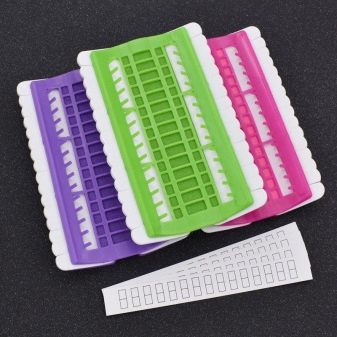
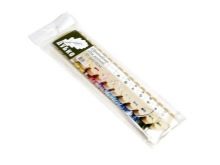
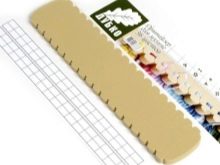
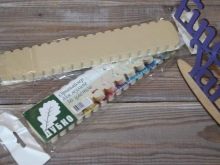
- Organizer Dubko. This is a soft polymer product, where needles are remarkably stuck, the design itself is designed for 36 colors. The set includes 2 stickers on which you can visually designate colors. The system costs, one might say, a penny.
And these are not all variants of sorting systems, but the most demanded and popular on the market. They may have analogs and copies, but the principle is the same.
How to do it yourself?
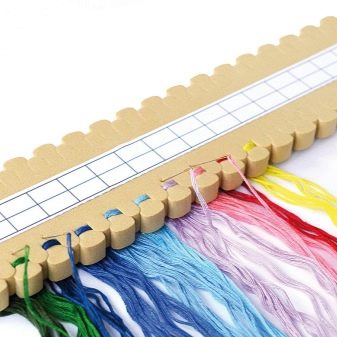
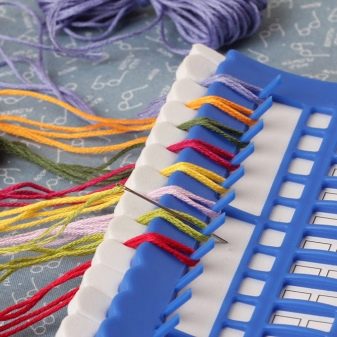
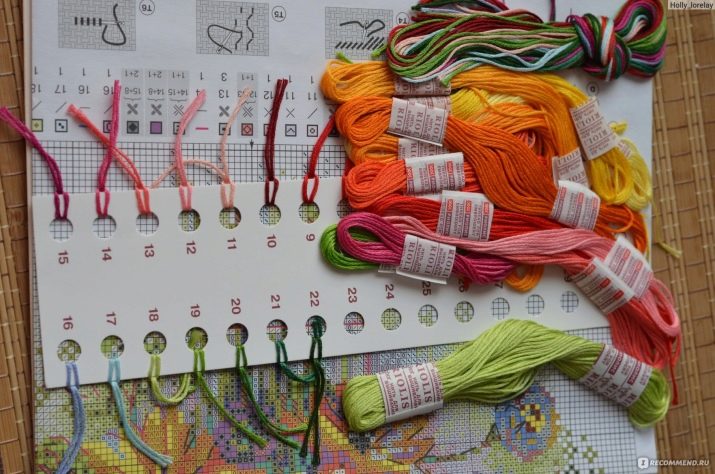
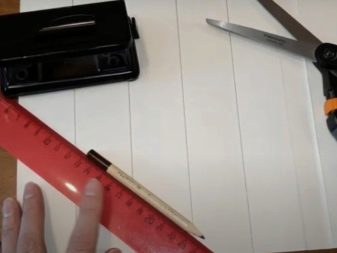
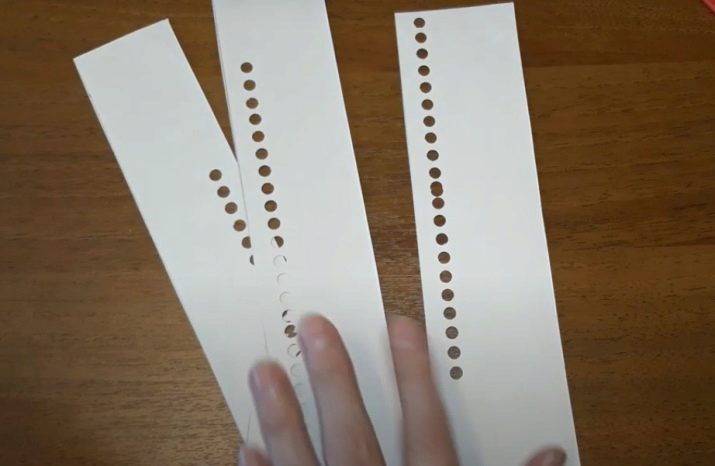
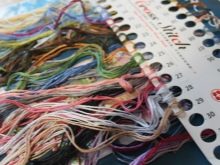
To make a simple organizer for the floss, you can go the simple way (at a minimum cost). It is necessary to print out all the symbols and numerical values on an A4 sheet, precisely according to the scheme of the upcoming work. Fold the leaf in half, cut through 11 identical holes. Then the organizer is divided into 2 parts, in which there will be 11 holes for threads. It would be nice to laminate the sheet, but you can get by with scotch tape. Next, opposite the 11 cut holes, you need to stick the designations. Small pieces of foam are placed between these two boxes. And then they are cut so that the pieces do not completely cover the cut holes.
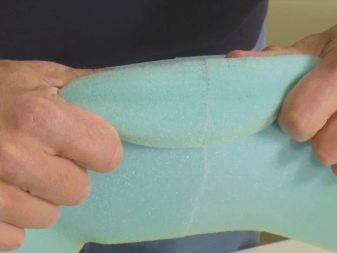
Foam rubber must be glued to the sheet. Insert tailor's needles from three parts - where there are no threads. That's it, the simplest organizer is ready to use. True, to thread the threads there, you need to wait until the glue dries. Then cut the strings, 60-70 cm in length. If a different length is required, then cutting is carried out according to the current request. To put the thread on the organizer, you need to connect the cut fragments together, fold in half, push into the hole, and pull the long tail-remainder into the formed loop.
It is better to send the finished organizer into the box: the embroiderer's needles will hang at the edges of the box, which is convenient for the craftswoman. And on them you can also hang small strings that remain at the finish of work with a specific shade. That is, you don't have to completely get the organizer out of the box.
If you need to change the color, a tailor's needle is taken out of it, the thread is removed, and the needle returns to its place.
The proposed model is very cheap, uncomplicated and as convenient as possible. It is not designed to store all the threads available, but only to sort those that are used right now in the work on the circuit.
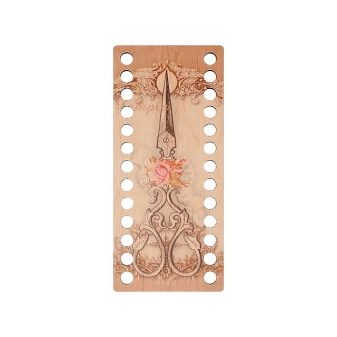
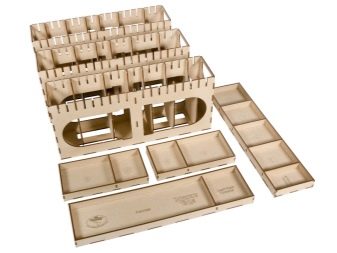
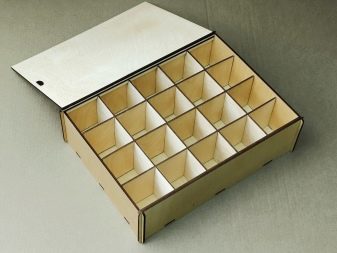
If you want to do something on a larger scale, you can order a wooden organizer with many divisions from the artisans. And even with a personalized decor on the lid. It will be an eco-friendly thread keeper that will contain all the embroiderer's treasures. And the mini-organizer proposed above will be used in operational work.
How to use it correctly?
The main question for all users is how exactly to lay out the threads in the organizer. And there can really be a lot of layout principles.
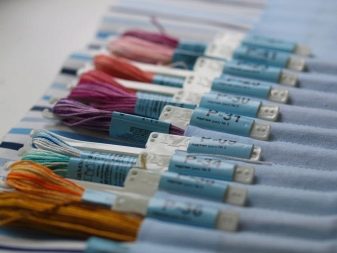
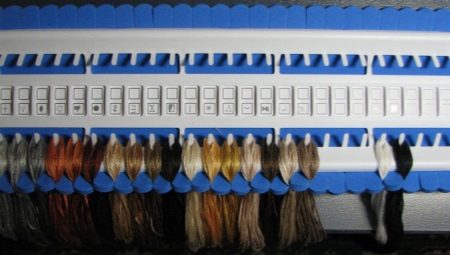
- Layout by color or number. Not all threads are numbered, then only the color layout remains. But if the floss is numbered, you can mark the compartments with stickers (often included) so that it is clear which color to reach at a certain moment of embroidery.
- By the composition of the threads. This layout implies that the embroidery is not only made of floss, but also of silk, metallized, melange and other threads. If it is decided to store them in one box (or system), then such a layout is more than logical.
- Threads for a big process. For example, a master has to embroider a specific picture. And the master knows that not all the threads in the house will go to it, but only those that are declared in the set or those that are required by the embroidery scheme. Then it is convenient to store only topical floss in the organizer, without mixing them with other threads. It often happens that craftsmen buy two organizers: one for now, and the second - permanent. If we draw a parallel, then threads to a large process are like random access memory, they are required right now.
- Leftover threads. These are the floss that remained from previous embroidery work and have not yet come in handy. It is inconvenient to store them together with more demanded samples, and therefore it is better to store (sorted) separately.
- Repetitions. This is the name of spare threads, which are easier to store in plastic ZIP-bags, and together it is better to put them in a box where the purpose / name of the threads will be written. It is recommended to immediately postpone them from everyone else, because then it will be difficult to understand exactly where this color comes from, why there are two of them the same, etc.
If the layout has taken place, and the colors are either signed or drawn on the stickers, there should be no problems with use.