Features of clay whistles
The clay whistle is considered one of the most ancient folk musical instruments that existed in Russia in pre-Christian times. Today, however, it mostly plays the role of a child's toy or a national souvenir.
What it is?
The clay whistle belongs to the traditional vessel-shaped flutes equipped with a special whistle mechanism. A musical instrument has several holes that are closed with fingers - from one to four, although a number of models do not have them at all. The whistle is molded from unbaked clay or ceramics in the shape of birds, animals or riders. The subject is usually decorated or glazed. Clay products are also known under the names "whistles", "whistles", "gudukhi", "pipes".
The oldest whistles found on the territory of Russia date back to the 10th century, although they certainly appeared even earlier. In Russia, at first, they remained a by-product of the pottery craft, but at the turn of the 19th-20th centuries, together with other clay toys, they took shape in a full-fledged direction. During pagan times, the toy was endowed with magical properties - for example, it was believed that with its help it was possible to cause rain or scare away evil spirits. Playing the whistle was also part of such ritual events as welcoming spring.

Species overview
Clay whistles can be different in configuration and design.
By product type
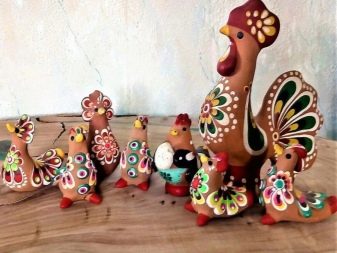
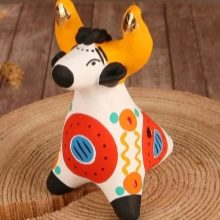
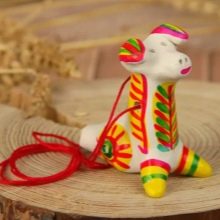
Most Russian whistles are equipped with an internal cavity. Outwardly, they resemble a small vessel, and their whistle is located in a stand. However, in the post-Soviet space, the most common are clay toys with a sticky whistle, for example, Filimonov toys with simpler ones and Dymkovo toys with more complex ornaments. Finally, there is an unusual type of product - a water "nightingale whistle", the inner cavity of which has to be filled with a small amount of water. After getting inside the liquid, the toy begins to emit an unusual sound, reminiscent of a nightingale whistle.
In a broad sense, a whistle can mean absolutely any whistling instrument.
By design
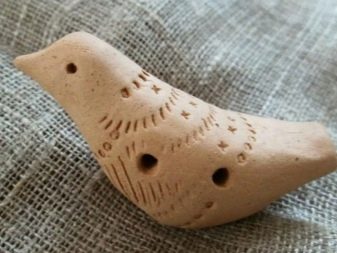
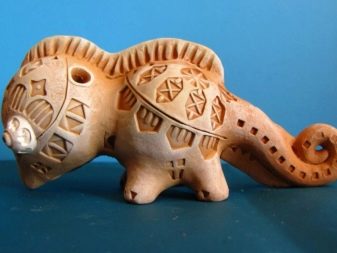
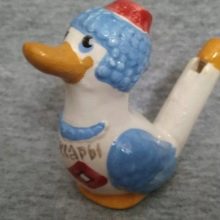
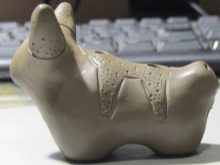
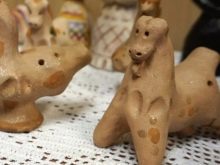
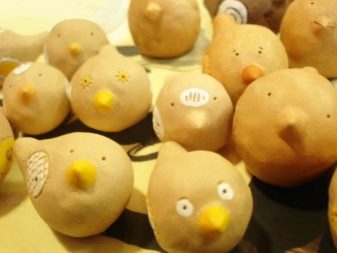
Initially, the whistle had the shape of a bird, which had some special meaning for our ancestors: the biblical dove, owl, bluebird, duck, chicken or cockerel. In the course of time, becoming an ordinary children's toy, it retained its birdlike appearance, but it also acquired new "guises": wild and domestic animals characteristic of a certain area, heroes of folk tales and epics. Ocarina, a type of clay whistle, stood apart.
It was created not for the purpose of amusement, but as a musical instrument, therefore it was not covered with paint and was not decorated with anything. The natural pattern on the surface was obtained by boiling it in milk or diluted flour and then baking it in the oven.

How to do it yourself?
Before starting to implement a master class step by step, the master should decide on the choice of the material used. As with any ceramics, the whistle is based on clay, which becomes reddish or white when fired. However, natural material is not particularly suitable for creativity, as it often contains inclusions of sand, small pebbles and other, in fact, debris. Clay containing up to 5% sand is called oily, and up to 30% - lean. A material suitable for making clay toys should contain from 10 to 15% sand, that is, it should be medium fat clay.
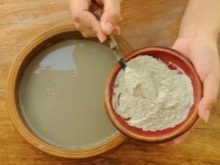
In production, natural material undergoes special processing, as a result of which a ceramic mass or clay dough is formed, which are more suitable for modeling. However, such preparatory measures can be carried out independently in the case of a small amount of substance.
- At the first stage, the clay is extracted from the quarry using a spade. Then the lumps are dried on a clean horizontal surface and crushed with a hammer. Immediately, the workpiece should be cleaned of pebbles, crushed stone, chips, straw and other impurities.
- The resulting mass is diluted in water, and three parts of the liquid should fall on a part of the clay. The mixture is thoroughly mixed with a whorl, after which it settles until the sand and pebbles settle down, and clarified water remains at the top. Having drained all the liquid, it is necessary to scoop out the clay itself - that is, the middle layer - from the vessel and place it in a bucket or a special plaster bath. The material is dried to the consistency of a thick dough or until it stops sticking to your hands. After washing the clay to eliminate air bubbles, it is necessary to test: mold a roll with a diameter of about 15-20 millimeters and bend it in half.
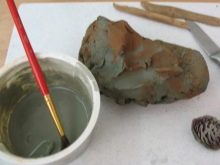
- In the absence or a small number of cracks, you can proceed to sculpting the whistles. The ceramic mass should be stored in a hermetically sealed plastic bag. If during this period it dries up, then you can pour a small amount of water inside and knead everything thoroughly. The working life of the workpiece is several months.
- For firing toys, professionals use muffle furnaces or special devices for firing ceramics, although you can try to strengthen the product in a fire, oven or gas stove. In extreme cases, the figurine is simply dried: it will turn out to be quite durable and will whistle loudly, but it will collapse when liquid gets in.
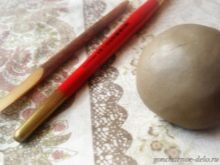
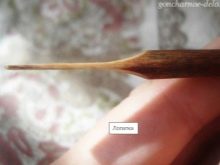
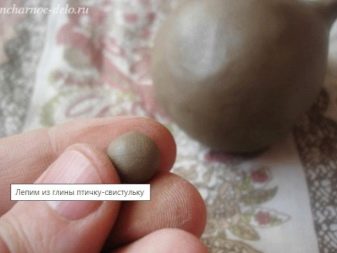
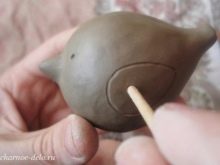
For novice creators, one of the first master classes can be making a clay bird by pinching - the simplest technique that does not require special tools or even special skills. The only thing that is required for work is a round, rather thin stick, which is sharpened with a cone on one side and sharpened in the shape of a rectangular spatula on the other. A homemade tool can be constructed from the shaft of an old brush or an orange stick for manicure.
The spade-shaped tip must necessarily turn out to be even and have a width of 3-4 millimeters, as well as a thickness of 0.5 to 1 millimeter.
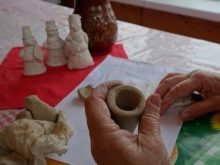
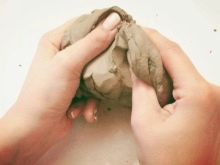
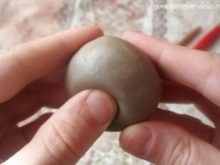
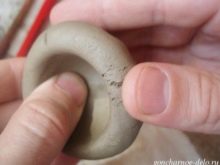
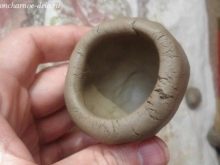
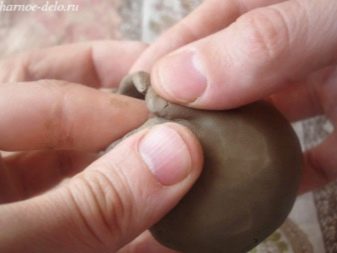
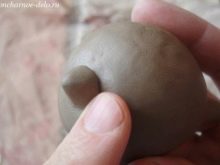
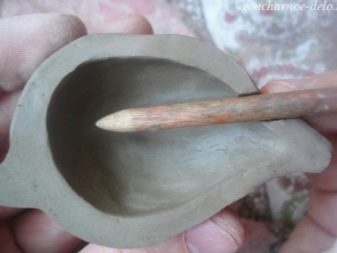
- The work begins with the formation of an elastic ball from a small piece of clay. Pressing on the workpiece with your thumb and thereby forming a depression, you should mold a cup with thick walls with smooth movements. During work, the thumb usually pinches the mass from the inside, and the rest squeeze it from the outside. You can also do the opposite: place your thumb on the outside, and place the rest on the inside. The finished cup should have walls equal to at least 4 millimeters, but experienced craftsmen, as a rule, bring this figure to 2 millimeters.
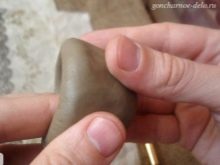
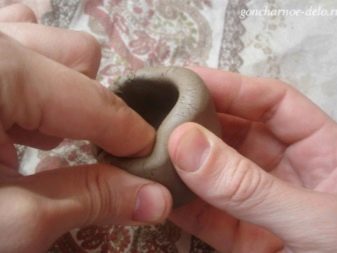
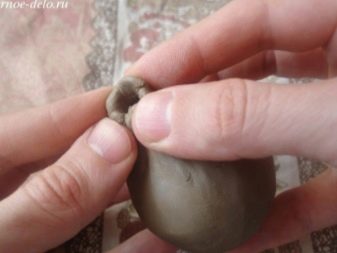
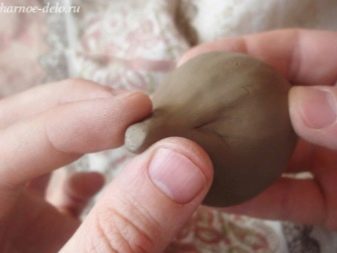
- At the next stage, the volumetric figure should be closed, that is, the walls will have to be "assembled". It happens as follows: first, a fold is formed, and then, when it is leveled, the clay is pulled upward. When repeating this sequence, the cup should gradually be extended and from spherical to become pear-shaped. Until the hole becomes smaller, the figure should be supported from the inside with the index finger. Grasping the workpiece with thumbs and forefingers on all sides, it is necessary to gradually reduce the diameter until a trunk-like protrusion is formed - the tail of the future bird. You can even raise it if you want.
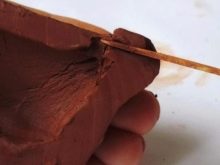
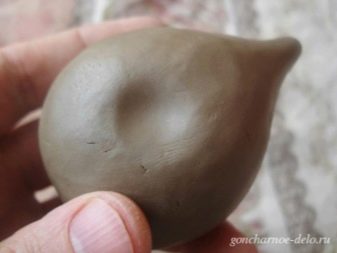
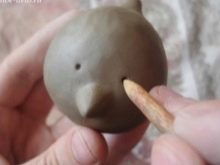
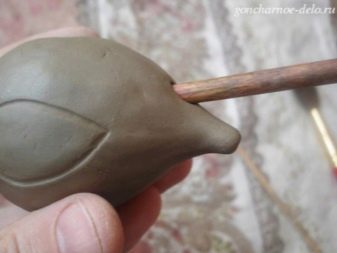
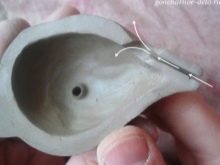
- To make the whistle stable, a small depression is squeezed out in its lower part. The beak is formed from a small ball, which is squeezed by fingers from three sides to obtain a cone, and then fixed on the body. With the sharp end of a homemade tool, the bird's eyes are formed and the contours of the wings are drawn. The holes for the sound of the whistle are obtained by using the same stick. With a sharp end, it is inserted under the tail at an angle of 45 degrees to the surface.
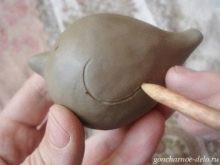
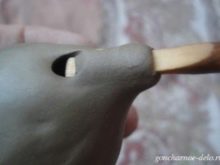
- Next, a "spatula" cuts a hole in the tail itself. It is important that the tip of the tool comes out on the sharp edge formed in the previous step. In order for the air currents to pass through the whistle, all holes must be smooth and free of burrs. By the way, the sound will become much more interesting if you add one or two more small holes on the wings that you can pinch. The finished structure is fired and, if necessary, painted.
Beautiful examples
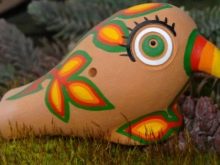
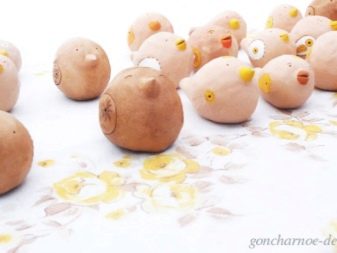
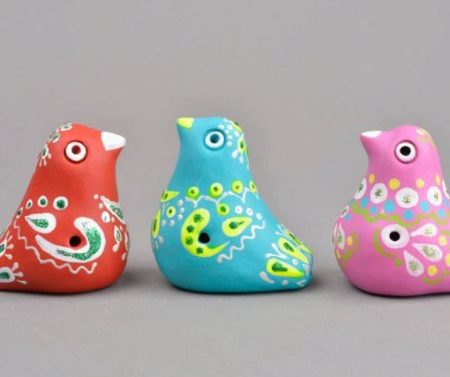
It will be possible to diversify a simple whistle in the form of a dove by painting it with bright colors, drawing eyes, beak and wings, as well as adding graceful patterns.
Such "modern" colors as pink, lime green, light blue and the addition of glitter will allow you to move away from the traditional look of a musical instrument.
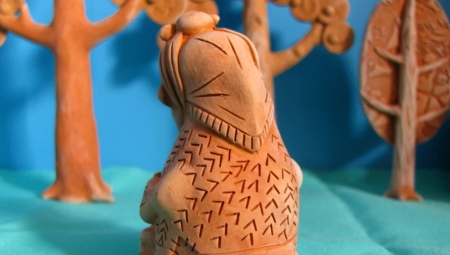
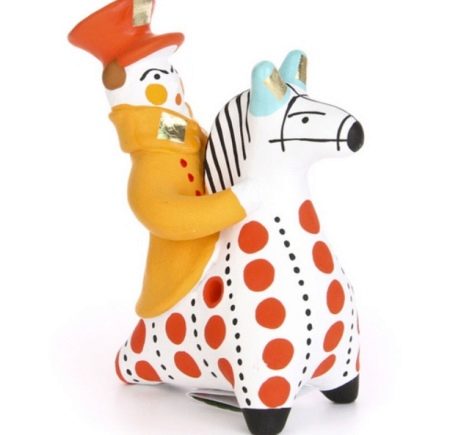
For a more classic embodiment, the toy can be made in the form of a rider sitting on a horse, and painted, inspired by Russian folk painting.
See the master class below.


