Forms for soap making: types and recommendations for creating
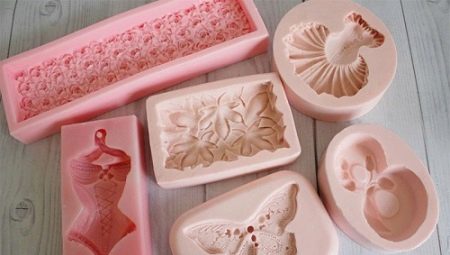
Today soap making has become a popular activity for many people. This is not only an exciting activity - it also generates income. The main criterion for the finished product is its attractiveness, aesthetics and properties.
Requirements
To create handmade soap, you need to use molds. They differ from each other:
- size;
- form;
- texture;
- material.
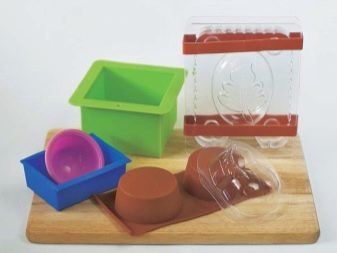
You can buy soap molds at the store or make your own at home. If you decide to use the latter option, then pay attention to the following nuances of using forms from available tools:
- you should not choose fragile material, glass and metal;
- products must be complete, without cracks.
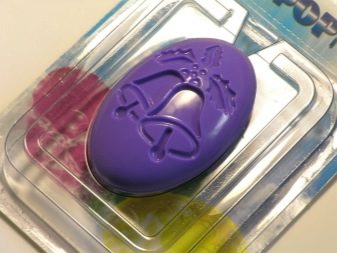
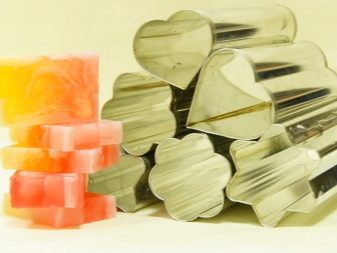
Use molds for sand, ice, candy. These are the ones that are suitable for beginner soapmakers. Especially if the molds are simple, and do not have ornaments and grooves.
Varieties
Soap molds are:
- plastic;
- silicone;
- wooden.
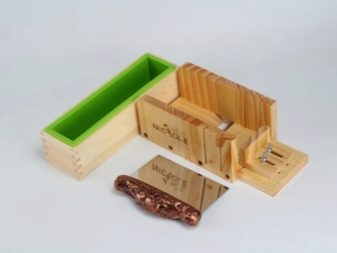
Each of the above varieties is good and original in its own way.
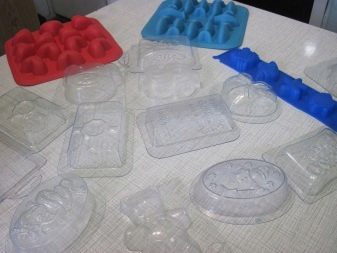
Plastic
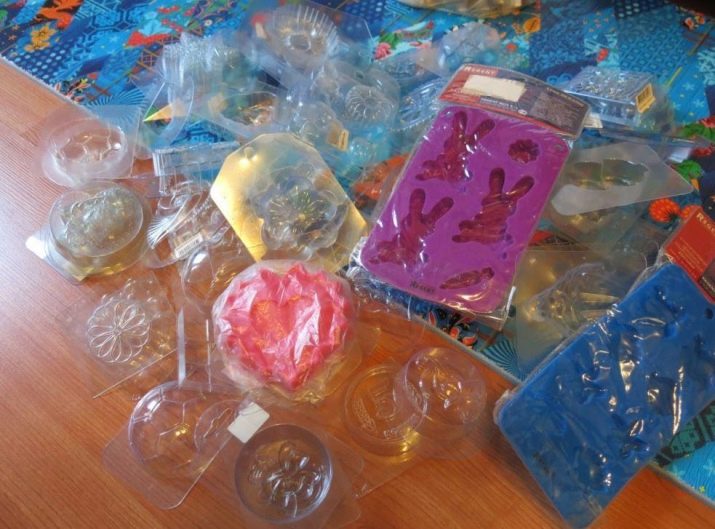
Plastic molds are widespread because they are easy to use. They are cheaper and are quite durable. In addition, plastic varieties have a large assortment.
Although there are disadvantages of this product:
- the soap will be convex on only one side;
- soap can deform if it is carelessly removed from the mold;
- it becomes necessary to re-dry after demoulding.
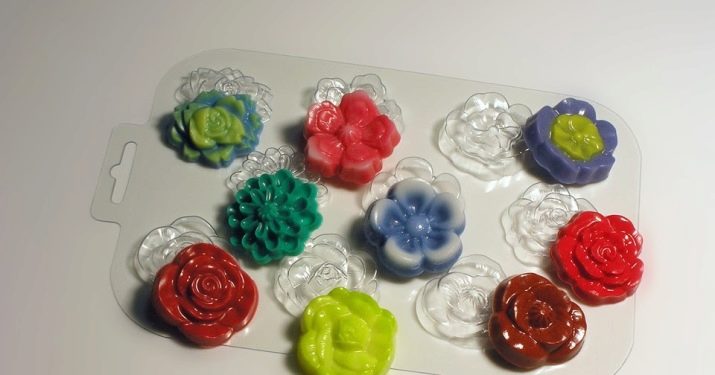
Plastic varieties are divided into:
- universal;
- 2D;
- 3D.
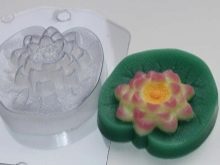
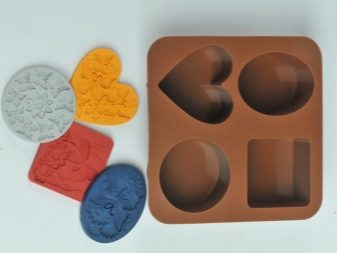
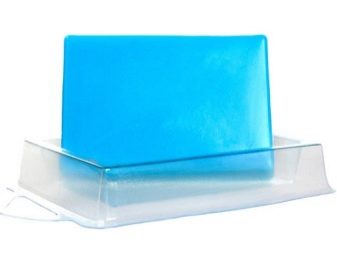
A soap-maker should always have universal forms in his arsenal. They come in the form of different geometric shapes: square, oval, circle, etc.
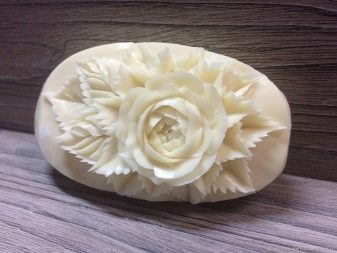
- Universal varieties convenient for a beginner specialist in that the soap can be easily removed from the mold without damaging it. An experienced soap maker uses similar forms to perform carving (soap carving). For example, flowers with leaves and buds always look spectacular.
If you want to give the finished product originality, then use stained glass paints.
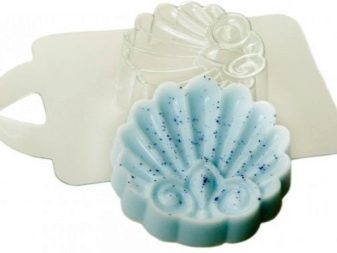
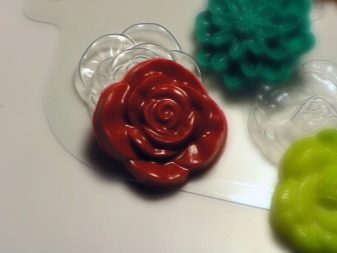
- 2D shapes differ from universal in detail and texture. Examples include hearts, stars, shells, Christmas decorations, and more.
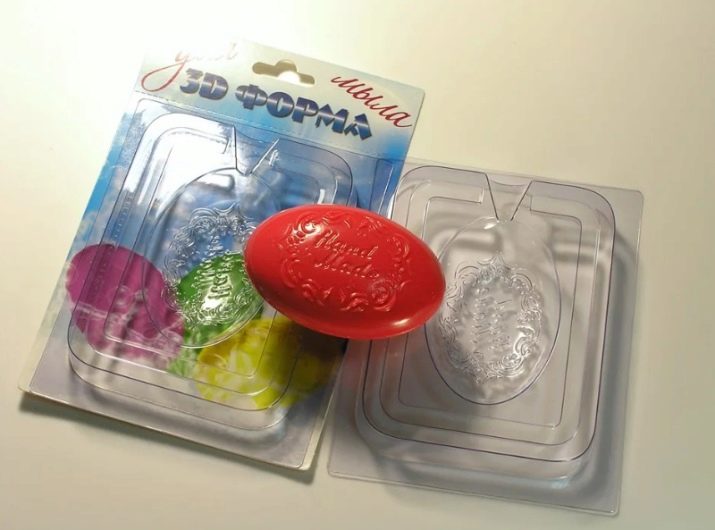
- 3D shapes are also gaining popularity, which consist of two parts, so it is much more convenient to prepare soap.
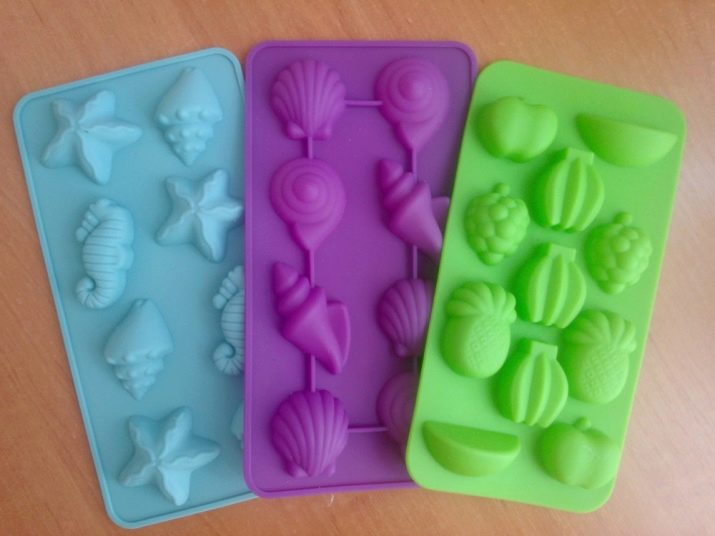
Silicone
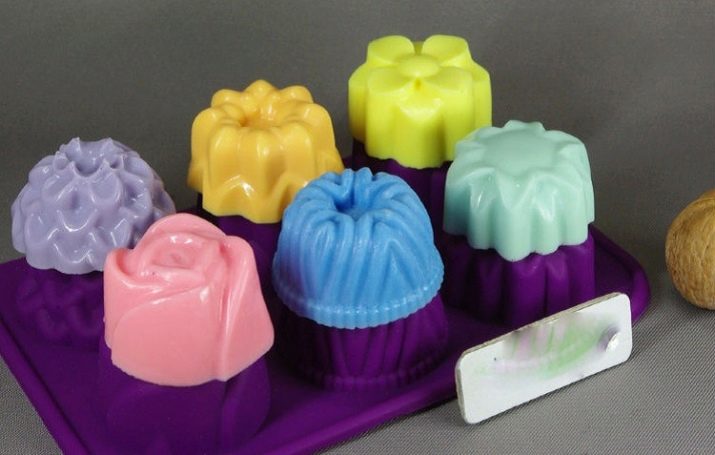
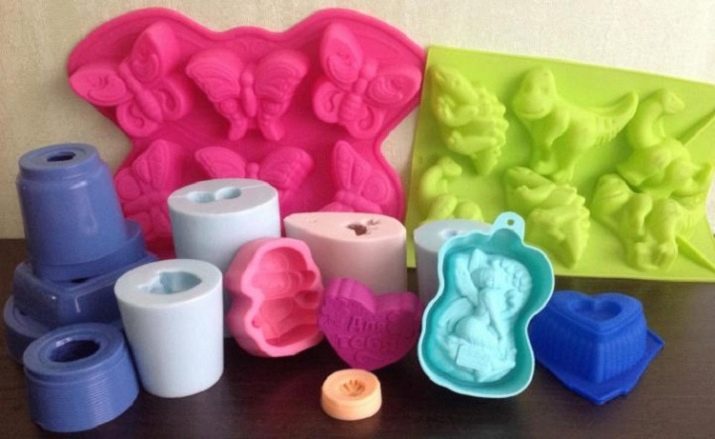
To make not one piece of soap, but several bars at once, silicone molds are used. A huge plus of silicone is its elasticity, so working with it is only a joy. The most commonly used silicone bakeware. For some soap makers, a small disadvantage is that the finished product is still a single bar that needs to be cut into pieces. Use sharp knives to avoid damaging the soap.
Silicone molds also have 2D and 3D versions. They differ in relief. The 2D form has a pronounced relief and also has a flat surface at the bottom. The 3D shapes are precisely contoured and made of special silicone. It differs in its density. Despite this, the silicone is flexible. Some molds are also equipped with slits.
Thanks to them, it is easy to take out the finished product.
Wooden
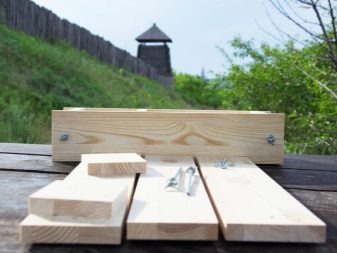
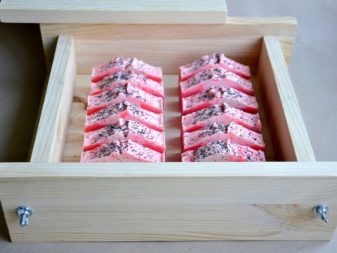
It is believed that the classic option is a collapsible wooden soap mold. This option is perfect for beginners. Before use, the entire surface inside must be covered with paper. You can buy a ready-made insert for this form.
Advantages:
- the finished soap turns out to be even, since the walls of this form are hard;
- the mold is easily disassembled, so it is easy to store and wash it after use;
- high heat conductivity;
- soap dries faster than silicone mold;
- no deformation when interacting with hot soapy water;
- the soap is easy to get, since the mold is collapsible.
The only drawback is that the tree is highly susceptible to moisture. Therefore, these forms should be stored in a warm and dry place.
Selection recommendations
Before you buy a mold for soap making in the store, read the reviews of other buyers. Although there are basic recommendations for choosing:
- pay attention to the quality of the product, if necessary, ask the seller to provide a certificate;
- the product must be hypoallergenic;
- performance indicators must be present: information about the permissible temperature, humidity, etc.;
- get only opaque forms;
- decide in advance on the size, design, color.
Allocate the necessary budget for the purchase of products - the better the material, the more expensive the purchase will be.
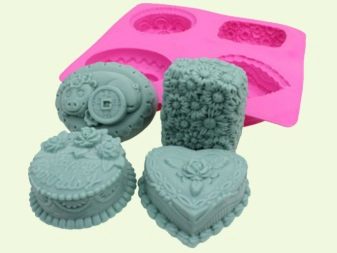

Silicone molds are durable and do not deform over time. They are harmless to the health of both adults and children. Silicone has no chemical odor. The advantage is that silicone has a higher melting and ignition temperature. The only drawback is the cost, since plastic molds cost on average 30-50 rubles, and silicone ones - 300-700.
How can you do it yourself?
If you do not want to go to the store and look for the necessary product, then you can make a soap mold with your own hands at home.
To do this, you need to prepare:
- a figurine (an "image" of your future soap);
- plastic container;
- compound (polymer resin);
- gloves;
- dry cloth.
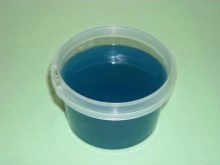

Now let's look at how you can make a silicone mold yourself.
- Lay out the soap dish in advance.
- Next, choose what kind of soap you want.To do this, use the figurines that can be found in every home: figurines, children's toys.
- Select a container for pouring. It should be slightly larger than the figure itself. Do not use too large a container, you can use up excess compound. For home soap making it is necessary to use heat-resistant opaque containers.
- The formwork can be made from a plastic jar of yogurt or sour cream. The formwork is needed so that there is no curvature of the walls of the form. Consider the distance to the walls, it should be 0.5-1 cm.
- After that, we glue the figure to the bottom of the container. This is to prevent the shape from floating up during the fill process. You can attach it with a glue gun.
- Lubricate the shape and shape with oil. This will make the product easier to remove.
- When the container is ready, proceed to mixing the components: silicone, catalyst and hardener. Note that the material thickens quickly. Pour into a container and cover with a sheet of paper to prevent debris and dust from getting in. Now we wait 10-24 hours until it solidifies completely.
- At the end, we take out the forms from the container and separate the formwork. The first time you use it, the form must be washed.
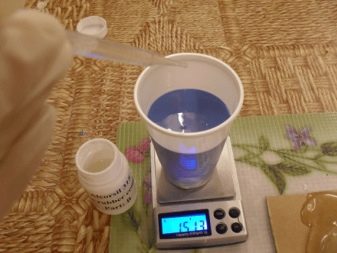
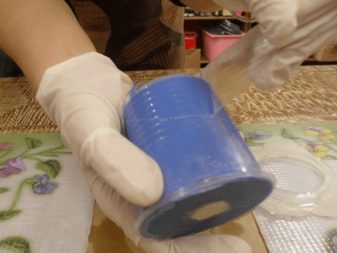
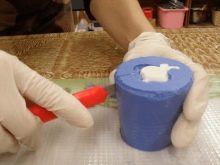
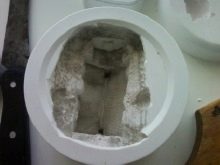
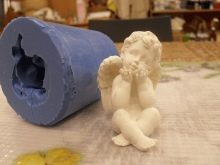
You can quickly and easily make a shape out of wood.
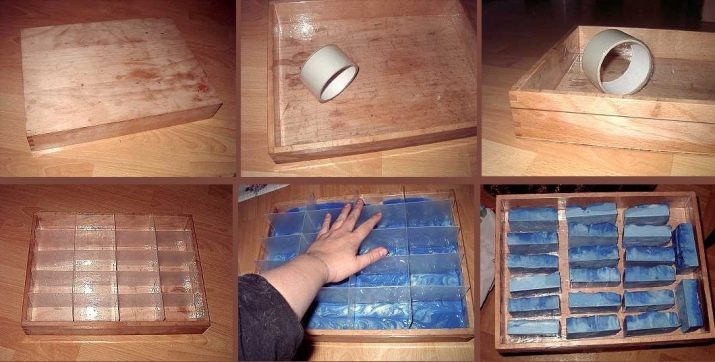
- Take a small wooden box.
- Now we need to make the partitions. You must purchase plastic sheets (you can find them at your office supply store). First, the sheet will need to be divided into segments, then cut and joined together.
- Cover the entire inner surface with tape so that the soap is easy to reach.
- Pour the prepared mixture inside and insert the partitions, applying light pressure.
- Hide the entire drawer in a bag to prevent debris from entering. Leave everything to dry completely.
- After the soap has hardened, remove the partitions and take out the soap. All the pieces should be the same.
Soap molds can be made not only from silicone and wood, but also from plastic bottles, and to create multi-layer soap, use 2-3 bottles of different sizes.
You will need the following components:
- plastic bottles of different sizes;
- plasticine;
- a hard, flat product that can serve as a stand.
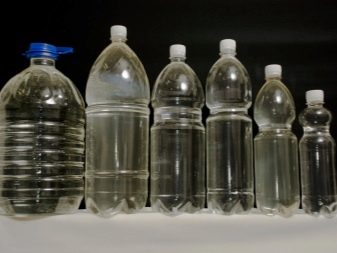
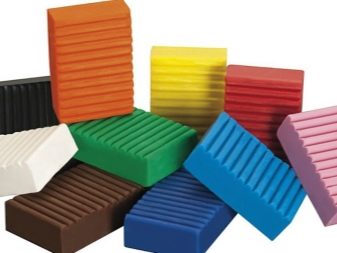
The step-by-step creation of a mold is as follows.
- Spread the clay on the stand. The thickness of the plasticine should be at least 0.5 centimeters.
- Prepare cylinders from plastic bottles. First place the wide radius cylinder, and then mark the narrow radius cylinder inside it.
- First, a soapy solution is poured into the space between the cylinders. After the first part of the soap solution has dried, the narrow cylinder is removed and the second part of the soap is poured.
Thanks to this process, the soap is multi-layered.
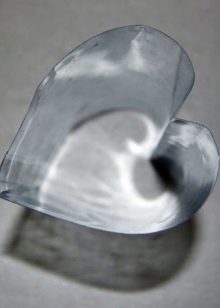

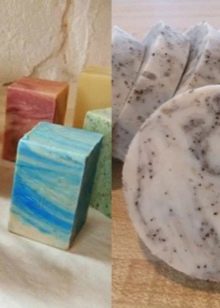
You can also create a soap mold with a sealant.
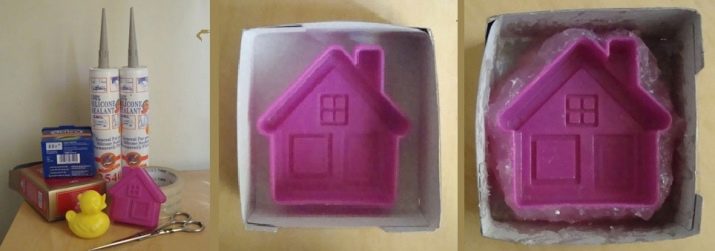
- Take a container and line it with plastic. Sprinkle in starch, add sealant, and starch again.
- Knead the silicone dough. Remember to wear gloves when doing this. Proceed quickly so that the dough does not harden.
- Select the shape you will use to make the soap mold.
- Insert the figure into the middle of the dough and wait until it dries completely.
- Remove the shape from the finished shape.
- Place the mold in a cool place to speed up the curing process. For example, put it in the freezer for a few minutes, and then immediately send it under hot tap water. The soap will instantly fly out of the mold.
Useful Tips
Making molds for soap is always interesting and exciting, like any creativity with your own hands. Experts identify a number of additional recommendations for those who are just starting to master the basics of this science.
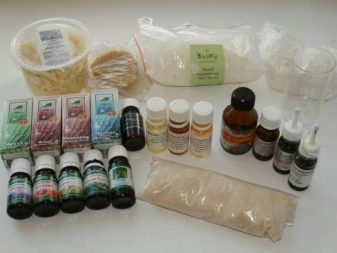
- To design a soap, it is necessary to purchase not only a form, but also a soap base, dyes, aromatic and cosmetic oils. When choosing dyes, give preference to food.
- To pour the soap base into complex shapes with great detail, use wooden skewers to help distribute the soap evenly over the entire surface.
- To prevent damage to the molds, line them with baking paper before use. Do not use sheets of printer paper, they stick to the soap.
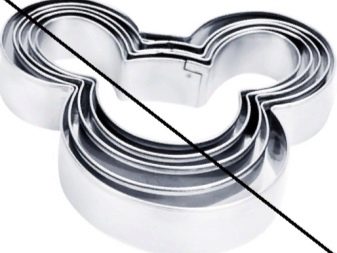
- Avoid using metal molds. Some of the components in the soap base react with metal, resulting in corrosion.
- Be sure to ask for a certificate when buying soap molds in the store. If the item is not certified, do not purchase it.
Such products can be made from chemical compounds that can harm your health.
For information on how to make a mold for soap, see the video video.


