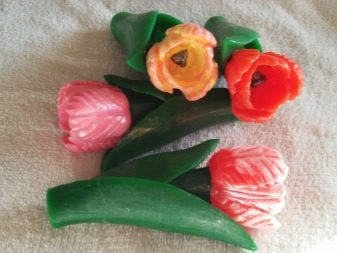
How to make beautiful bouquets from handmade soap?
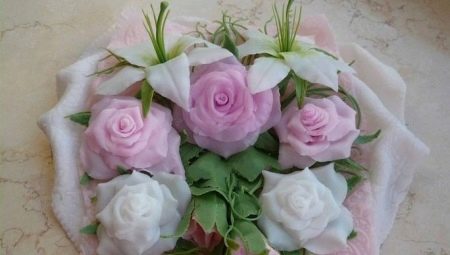
If you do not know what to present to your mom, grandmother or sister, there is a wonderful option for a handmade gift - this is handmade soap. Such a gift will be very original and unexpected. Especially if it's a whole beautiful bouquet.
DIY soap flowers
Soap making is an interesting and exciting process. It will also be interesting for your children to participate. All the necessary materials can be purchased at a store that specializes in this.
Let's take a closer look at how to make handmade soap in the shape of a chamomile and a tulip.
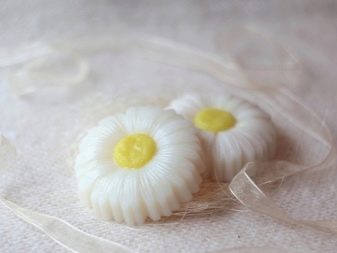
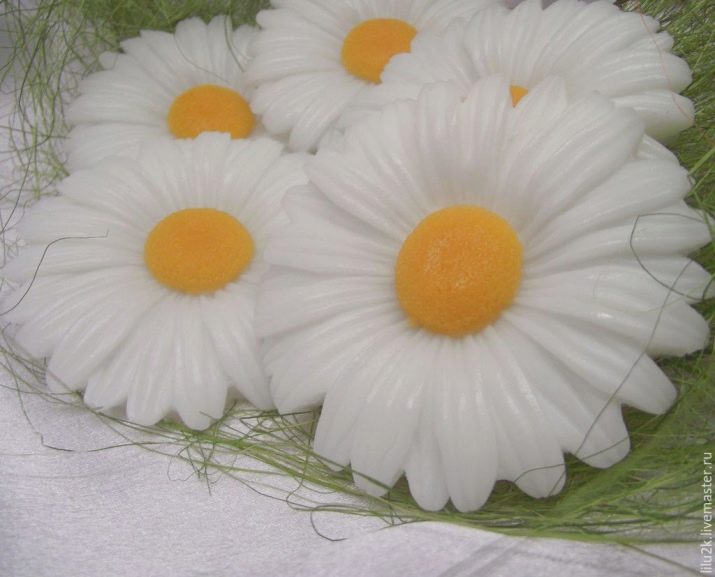
chamomile
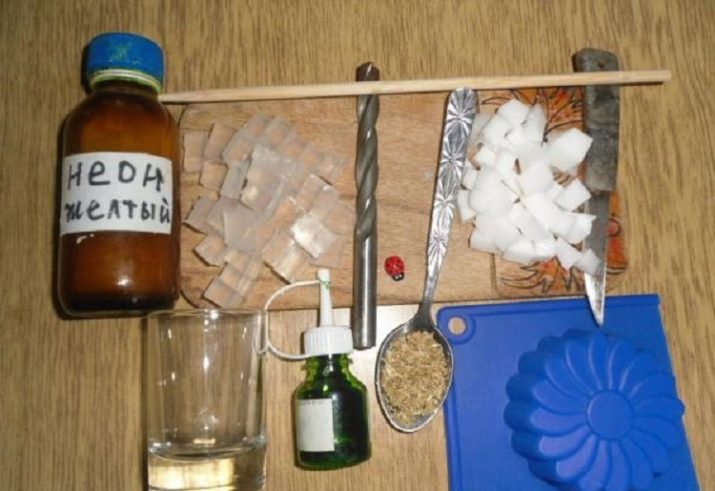
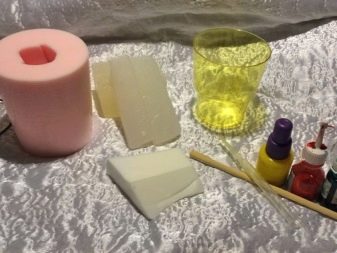
Necessary materials:
- soap base (white and transparent) or baby soap;
- food coloring or mineral pigment (green, yellow);
- perfume (optional);
- mold (in the form of chamomile);
- container for melting the base;
- pharmacy chamomile (will act as an antiseptic);
- cosmetic oils (for skin care);
- alcohol (lubricate between layers);
- wooden stick (suitable for sushi as well).
Before proceeding directly to the process, pour boiling water over the chamomile flowers so that they are brewed.
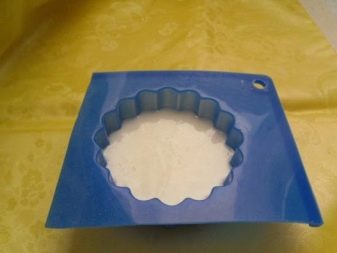
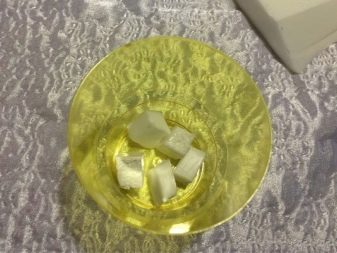
To begin with, we take a white base, chop it finely, put it in a container and melt it in a water bath or in a microwave oven. Then we stir it until it is completely dissolved, so that there are no lumps, and add a couple of drops of perfume. After that, pour the solution into the mold by half and leave it for 10 minutes to cool down.

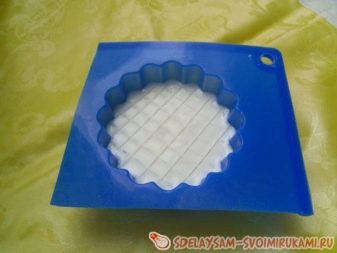
After the time has elapsed, we make a mesh with a toothpick, and before pouring the second layer, we lubricate it with alcohol for more reliable bonding of the layers. Then we finely grind the transparent base, melt it and mix it. Add 4 drops of green dye. Pour chamomile in there along with flowers, as well as a couple of drops of perfume.
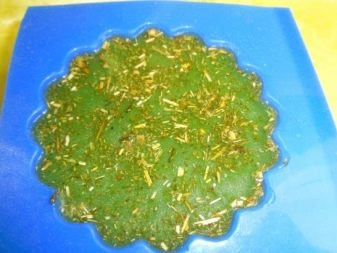
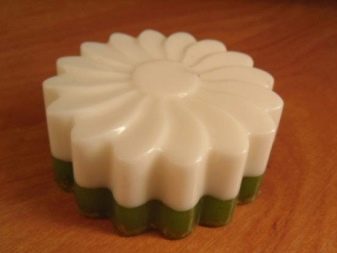
All this must be done quickly, as the mixture hardens. And if, nevertheless, it happened, then we melt again. Do not forget that we lubricate the layers with alcohol. Fill the second layer to the end. And set to freeze for 10 minutes. After everything has frozen, we take it out of the form. The soap is already ready, and you can leave it as it is, or add the core there too.
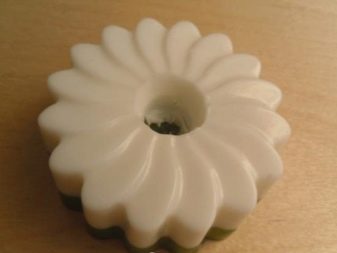
To do this, you can take a drill or something other than you can make a hole, and make it to the beginning of the second (green) layer.
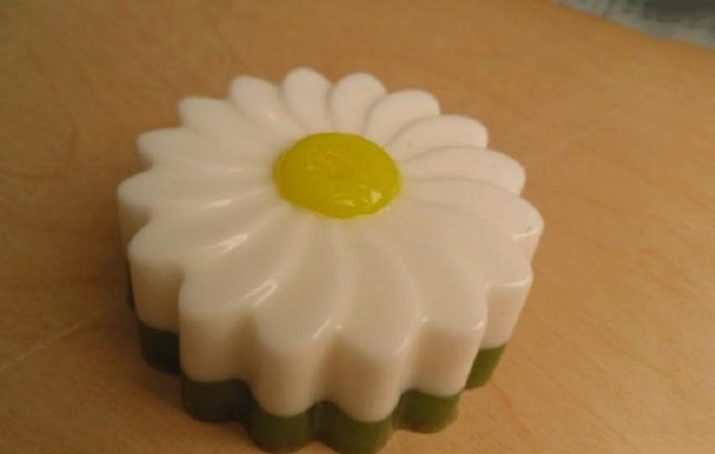
Next, we make the middle in the same way as the rest of the details. We prepare it from a transparent base and paint it yellow, carefully pour it into the hole. And leave to freeze for a couple of minutes.
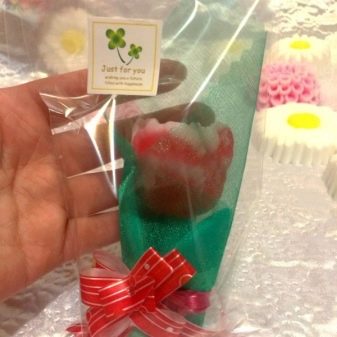
Our handmade chamomile soap is ready. It remains to wrap it in a beautiful package and tie it with twine. Alternatively, you can simply wrap it with cling film.
And also chamomile can be made without a mold.
We take a white base, finely chop and melt it. Then we add a fragrance, cosmetic oil there. Mix everything thoroughly, then pour it onto a flat, clean surface. And let it cool down. In the meantime, the base hardens, we prepare the core and leaves of the future flower. To do this, we take a transparent soap base, cut and melt it. And we also add everything you need and mix. Pour out and let cool.
Then, from the white mass, we begin to cut out the petals. From green - we make leaves, and from yellow - the core. After everything is done, we begin to connect. We do this on a transparent base - it serves as an adhesive. And on this the flower is ready.
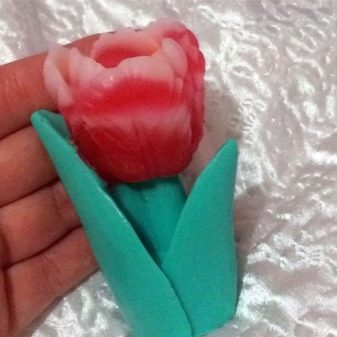
Tulip
For manufacturing we need:
- soap base or baby soap;
- dyes (green, red, yellow);
- perfume (optional);
- cosmetic oil (for skin care);
- mold (in the form of a tulip);
- alcohol (lubricate between layers and a mold);
- capacity (for melting the base);
- Scenery;
- wooden stick (to interfere with the base);
- wrapping paper;
- decorative flowers;
- pliers (to bend the wire);
- decorative green wire (for the stem).
We take MO (baby soap), chop it very finely, melt it in a microwave oven or in a water bath.
After melting it, add cosmetic oil, dye (a couple of drops), various decorations, mix everything thoroughly so that the mass is homogeneous and there are no lumps. We do this quickly so that the base does not freeze, but if this happens, then we melt it again.
Then we take the mold, treat it with alcohol, and pour the mixture. Put in the refrigerator until the soap dries. While the soap dries, prepare the stem and bowl of the flower. We take the wire and make a loop with pliers. We take a ready-made bowl or cut it out of paper. After everything has been prepared and the soap has frozen, we take it out of the mold. Next, we fix the bud on the stem, fix it with a drop of the base, do the same with the bowl. We do this with each bud. After everything is done, we begin to collect the bouquet.
Add decorations there and wrap them in wrapping paper.
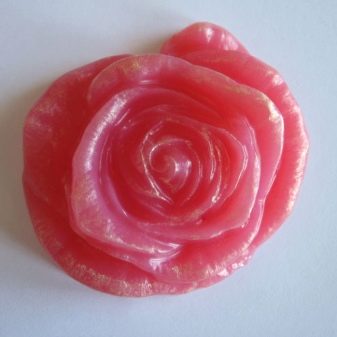
But also a tulip can be made without a special shape.
Of the necessary materials, the same remains as in the previous version, only a knife is added to cut the components, and a toothpick (for decorating the leaves).
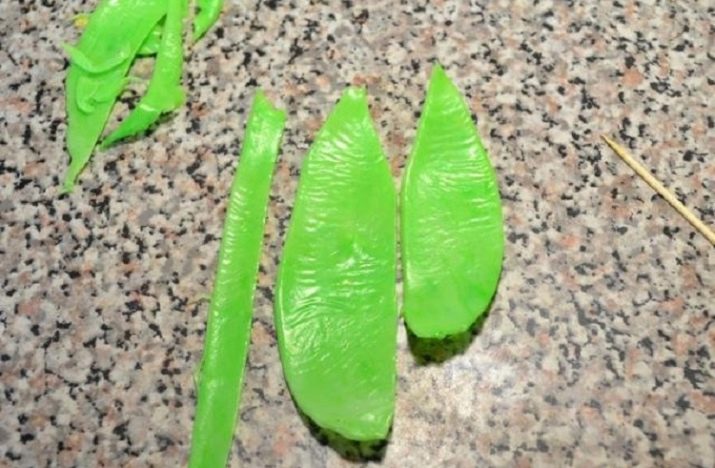
We start the process starting from the basics. First, melt the transparent one in a water bath or in a microwave oven. Then we add the dye of the color that you have chosen for the flowers, and we add perfume there. Mix the mass thoroughly with a wooden stick, and pour it onto a flat, prepared surface. We do the same with the white base. Only in this case we paint it green. We also pour it onto a flat surface. We are waiting for everything to freeze. Then we take a knife and begin to cut leaves from the green mass, and from the other - the petals.
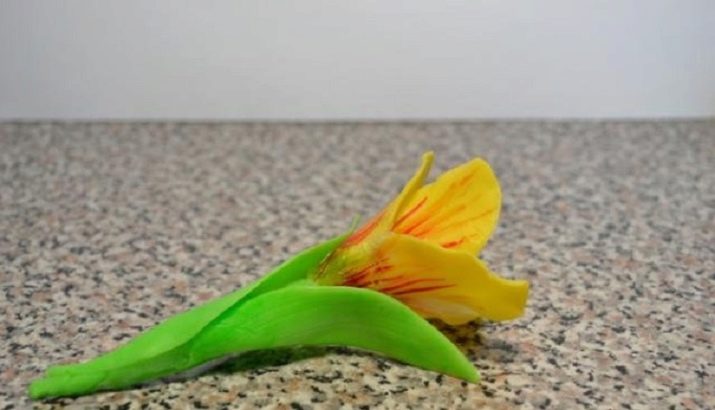
After this is done, we begin to create leaves, petals and stems (they can be made from the base, as well as from the wire). We correct their edges with our hands. We make the veins with toothpicks. Now we collect the flower.To do this, we take a transparent base, cut it very finely and melt it. And we glue all the components with this mass. She serves as glue for us.
After gluing the bud with the leaves, proceed to the stem. We make it from wire in the same way as in the previous version, or from the base. In this case, we also glue it to the flower. Our tulip is ready.
You can decorate it if you wish.
With this technology, you can experiment with different shapes, colors, decorations and scents.
However, it is not necessary to make the buds yourself, you can use ready-made ones.
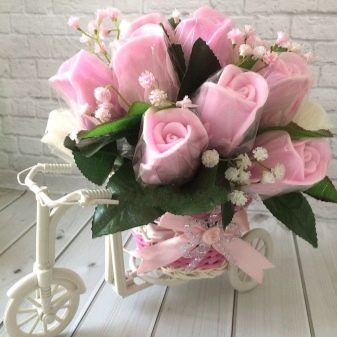
Master class on creating a bouquet
Let's take a look at the step-by-step instructions on how to create a beautiful bouquet from ready-made handmade soap in the shape of a tulip.
Necessary materials:
- wrapping paper;
- a set of soap in the shape of a tulip;
- decorative flowers;
- pliers (to bend the wire);
- green decorative wire (for the stem).
First, let's make the stems for the flowers. This is done from decorative green wire. We take it and the pliers, and bend them so that we get a loop. Then we prepare the tulips themselves. We take the set, take out the flowers from there - as many as you need for the bouquet, and straighten the petals. Next, insert the already prepared wire into each bud. And we also fix them with a transparent base so that they stick better. Next, we make a flower bowl, you can use a ready-made one, or make it yourself out of paper. Place it on the stem and fix it with the base.
We do this process with each flower. After we have made all the flowers, we begin to collect them in a bouquet, add decorations, and wrap them with wrapping paper. A beautiful bouquet of handmade soap is ready.
See the next video for a master class on creating a bouquet of soap.


Hello. I tried to do it myself, but in the end I bought a bouquet of handmade soap. But, thanks for the article)