Drawings on extended nails: creation and design options
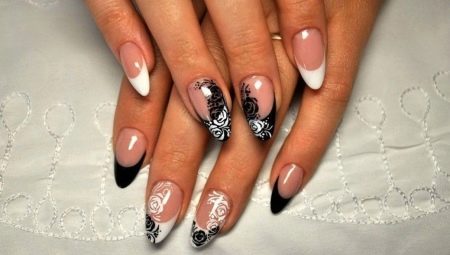
A boring monochromatic manicure is practically not used anymore. Everyone seeks to stand out by painting a small ornament or a whole picture on their nails. And on extended nails, in general, you can give free rein to imagination, the main thing is that the master can reproduce the idea.
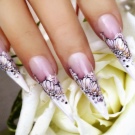
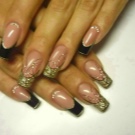
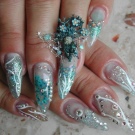
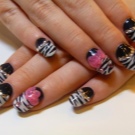
Types of drawings
All drawings on extended nails can be divided into two groups.
- Smooth. The drawing is performed in the plane of the nail plate, it is not felt tactilely.
- Voluminous. The design rises above the marigold, it is voluminous, does not overlap with the top coating.
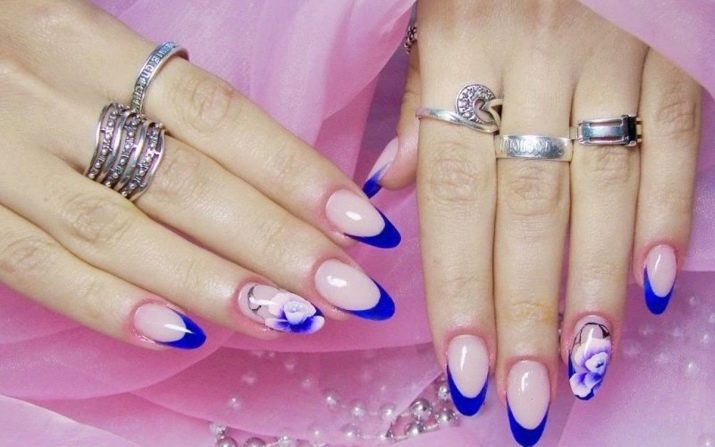
They can also be divided into geometric ornaments, landscapes, portraits, still lifes, inscriptions and other images.
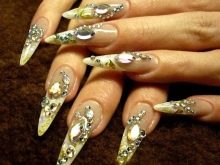
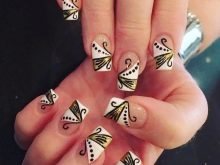
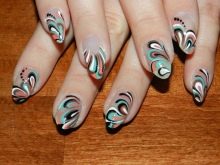
Application method
Drawing on extended nails can be applied in several ways.
Stickers
There is a huge selection of different nail art stickers on the market. Here you can select both miniature sketches and drawings that completely cover the entire nail. Even a beginner can handle this design.
In order to transfer the sticker to the nail, it is necessary to remove the sticky layer from the coating and place the sticker. Press the paper to the nail with a damp cloth; after the surface is wet, remove the top layer. Allow to dry. At the end, cover the drawing with a top layer so that it adheres to the entire length of the manicure's wear.
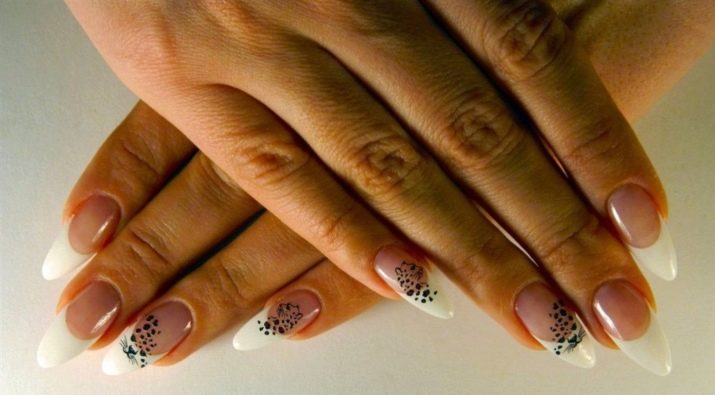
Stencil
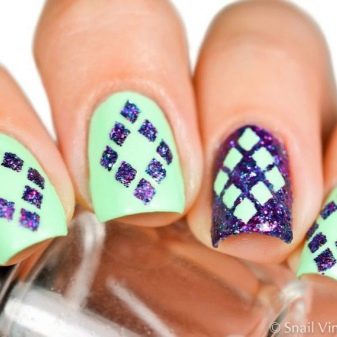
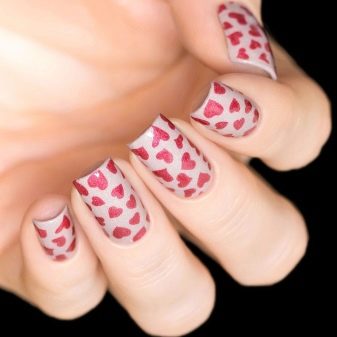
If you don't know how to draw, then stencils can help you. They come in various forms, but mostly allow you to make geometric patterns.
In order to apply an ornament on extended nails using a stencil, you need to cut it in the shape of your marigold and stick it on the coating without stickiness.
Then take colored shellac and cover the nail plate.Now the stencil can be removed, and the drawing will remain on the nails. Top cover the design with a finish.
Water way
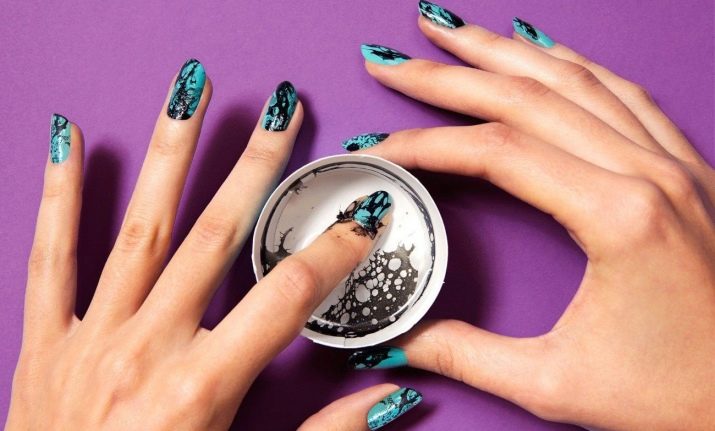
Here you will need a small container of water at room temperature, a toothpick and several colored nail polishes.
- Nails must be painted in the basic tone with gel polish, dried in a lamp and removed from the stickiness. Cover leather with Skin Defender.
- We drip one drop of varnish into the water of the colors in which the staining will be done.
- Using a wand or a needle, we create stains on the water in the form of flowers, butterflies, stars, or just a fantasy ornament.
- We lower the prepared marigold into the water parallel to the surface of the liquid. We keep it in water, removing a layer of varnish around the water.
- We take out the finger, carefully separate the resulting pattern on the nail from the film on the skin around it, remove the Skin Defender.
- Let the coating dry for 10 minutes.
- We cover the drawing with the top with a top, not forgetting to seal the free edge.
Stamping
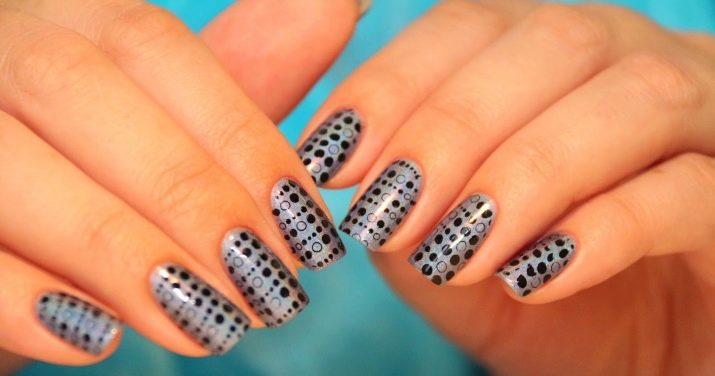
This is the transfer of a drawing from an engraving to a marigold using a stamp.
Here you will also need Skin Defender, special discs, a stamp, a scraper, stamping varnishes or regular nail polishes with good pigmentation.
- First, we also prepare the nail: cover it with the desired color, dry it, remove the sticky layer.
- We put a drop of varnish on the disc, quickly swipe it over it, filling in the desired pattern.
- First we put the stamp on the drawing, then we transfer it to the nail with a rolling motion. It is necessary to carry out all the manipulations quickly enough so that the varnish on the disc does not dry out.
- After that, remove the protective coating from the skin, let the drawing dry well.
- Cover with a finishing layer, sealing the free edge of the nail.
Portrayal
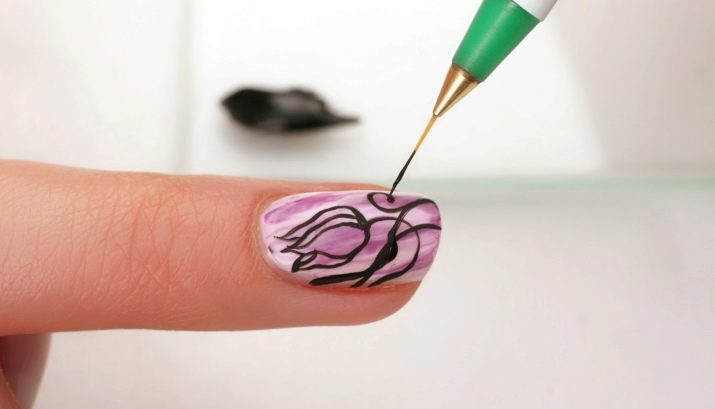
One of the most difficult options. The drawing is created on extended nails using brushes.
There are two methods of application here: draw during the extension procedure itself, using colored gels, or draw on prepared nails of the required length. But in fact, the drawing process itself is practically the same.
With this method of drawing, you can get both a smooth ornament and a three-dimensional image. It all depends on the materials you use in your work. So, gel paints and gel varnishes will give smooth drawings, but the use of gel pastes will add volume to the image.
The technique of drawing an ornament here will practically not differ from the creation of paintings. With the help of brushes, strokes of different lengths, small works of art are created on extended nails.
Beautiful examples
The designs on the nails are so varied that when making a manicure it is quite difficult to choose an ornament. Here are some examples that will impress you.
For winter
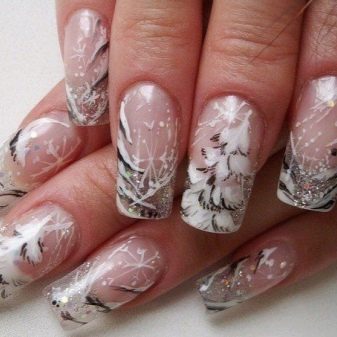
- French manicure, decorated with rowan branches and snowflakes, looks very delicate.
- Snowmen and winter landscapes will make your fingers unique.
- Blizzard is an excellent winter option for an evening celebration.
- Snowflakes, whether they are drawn or simply pasted, are always relevant in winter.
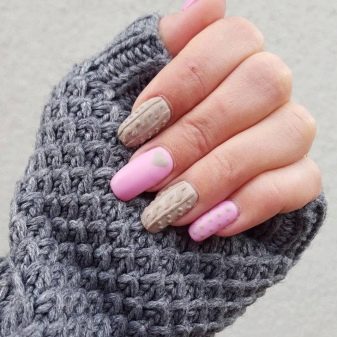
- Knitted braids drawn on the nails will add romanticism and warmth to the image.
For spring
- Floral motifs with primroses are a great option to cheer up the spring.
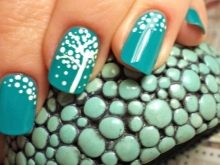
- Fresh green nails with a simple dot pattern are perfect for every day.
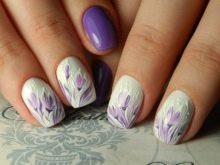
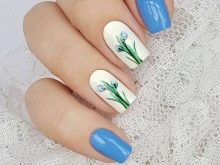
You will learn how to make a spring nail design at home by watching the following video.
For summer
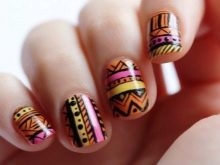
- Ethnic motifs will also be quite appropriate in painting on nails, especially if their ornament is combined with clothing.
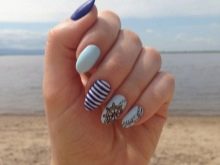
- For a trip to the sea, you can choose a vest and a steering wheel as pictures on extended nails.
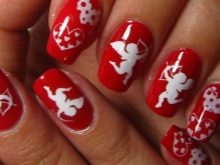
- Manicure, decorated in the Baroque style with a drawing of angels, is suitable for creative people.
For autumn
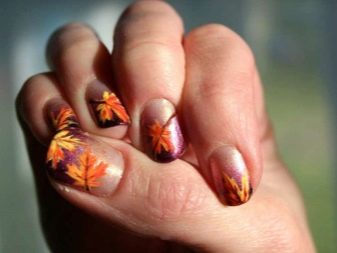
- Voluminous leaves and rain painted with gel will create a real autumnal atmosphere in your look.
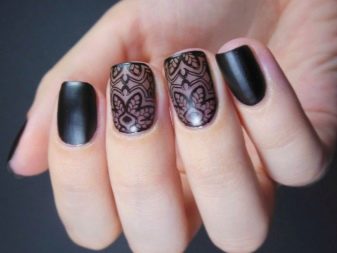
- The effect of "nylon tights" is suitable for an evening manicure in all seasons, and a picture painted by the master on one of the nails will make your look individual.
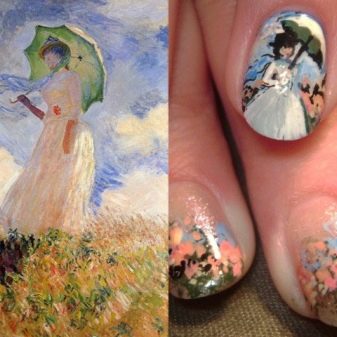
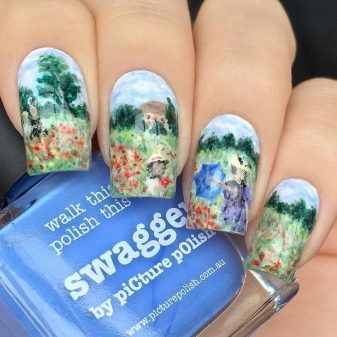
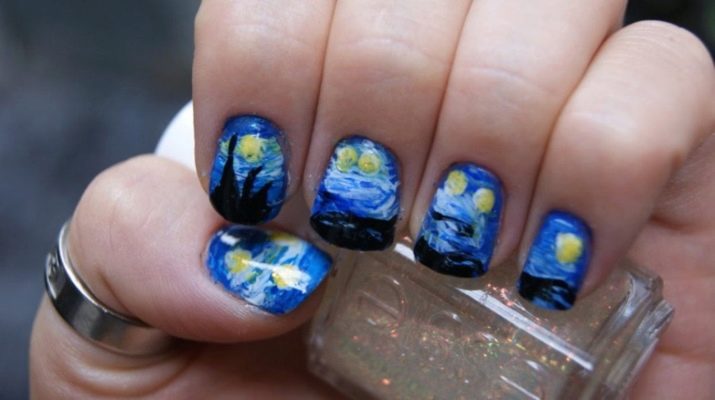
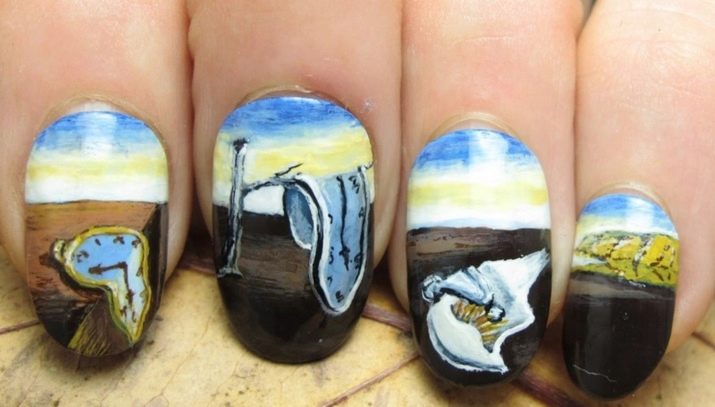
Masterpieces of painting on nails are a new trend in manicure.
Van Gogh on nails is not trivial at all.
"Time" by Salvador Dali will also make your manicure far from trivial.
"Lady with an umbrella" by Claude Monet can also decorate your nails, give the image of femininity and romance.
