Origami paper crafts for kids
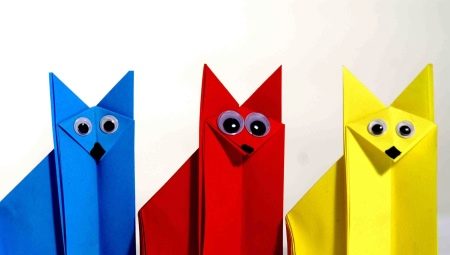
A well-known creative technique called origami is one of the most popular. Masters of all ages are engaged in its development. Even the smallest origamists can make neat paper figures. In today's article, we will look at step-by-step instructions for making different paper crafts for children.
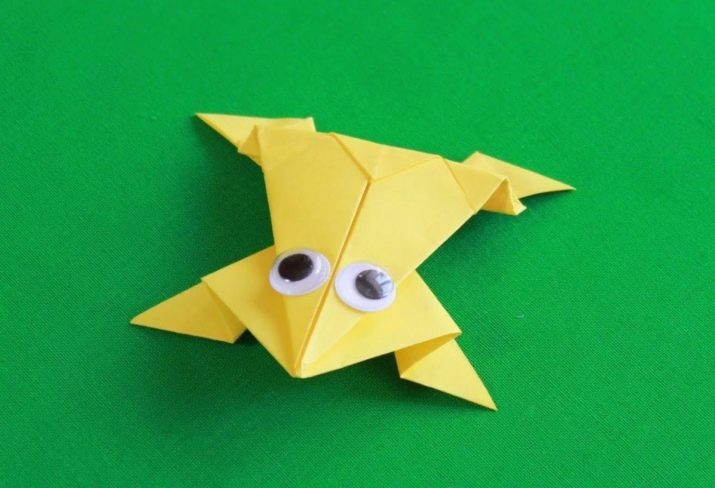
Description
Origami has long been very popular. Even the smallest masters who do not know the conventional designations of the technique master it with interest. Based on certain modeling schemes, you can create a huge number of beautiful origami figures from ordinary pieces of paper. Children are especially fascinated by the process of making adorable paper animals, flowers, popular cartoon characters. You can create almost anything from paper; in this matter, children's imagination is not limited to anything. The origami technique is very beneficial for young children.
- During the step-by-step modeling of paper figures of varying complexity, the fine motor skills of the little master are actively developing. At the same time, there is a positive effect on the activity of the child's brain.
- Self-creation of any paper figures teaches the little master to diligence, utmost care, consistency and accuracy. Regularly modeling any origami paper crafts, the child develops an excellent concentration of attention.
- Modeling any paper figures develops a rich imagination in children. That is why the process of making origami crafts arouses such great interest in them.
- Assembling handicrafts using origami technique captivates little craftsmen, allows them to usefully spend their time.Some toddlers are ready to spend hours collecting different types of paper figurines, because they really like this activity.
- The arts and crafts of origami can be a great family pastime. Adults can take part in modeling paper figures together with children, and provide assistance at certain stages of work. Thus, family relationships are strengthened, parents can establish the necessary contact with their children.


Of course, little craftsmen will not immediately be able to make very complex paper crafts, consisting of many parts. The popular type of creativity should be taught gradually, increasing the complexity of the crafts.
Master classes of popular crafts
The schemes of children's origami figures are very different. There are master classes adapted for masters aged 7-9, 10-11 and older.


Military equipment
You can make a figurine in the form of military equipment from a piece of paper. It can be a neat submarine, tank, plane, or other transport. In addition, a figure of a pilot of a similar technique can also be modeled from a piece of paper. A paper submarine is very simple to make. Let's consider step by step how it needs to be modeled correctly.
- First you need to prepare a piece of paper of a suitable color. It can be gray, dark blue, black. On the selected workpiece from the wrong side, diagonal lines are outlined by folding. After that, the corners are bent from below and from above, directing to the central part.
- Both halves of the future figure of the submarine are doubled over again.
- The upper half of the workpiece must be opened.
- Now the top is lowered so that it is on top of the bottom, bending along the line indicated by the dotted line.
- The triangular valve should be gently lifted in the direction of the arrow.
- Next, the left side of the future submarine is folded over.
- The product must be turned over.



Sailor
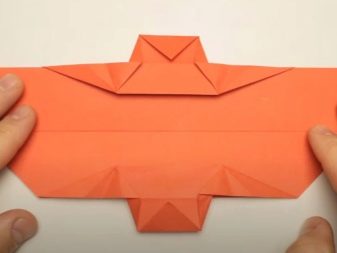
Consider the instructions for making another interesting origami crafts in the form of a sailor.
- You need to take a piece of black paper. It is bent diagonally so that a square is subsequently obtained.
- The workpiece is unfolded and then folded in half. Be sure to iron the fold lines well with your fingers.
- Now the corners at the bottom need to be bent towards the middle. After that, a house-shaped figure should be formed.
- The next step is to fold the corners again towards the middle. This will form the pants of the future paper sailor.
- If you do not want the blanks to begin to unfold, causing difficulties for little craftsmen, you can use glue.
- Next, you need to take a white piece of paper. It is folded in half, and then cut off, so that in the end 2 halves are obtained. With these components, you need to do the same manipulations as with the first black sheet.
- As a result, small snow-white triangles should form. One of them should be worn over black pants.
- From the second triangle, you will need to form sleeves, making an incision in the middle.
- If the sleeves are too long, they can be shortened by cutting them with scissors.
- Now you can assemble the sailor's head. You need to glue small ribbons to a peakless cap, cut out of colored paper. The finished product is put on the head in the form of a round cut-out element made of paper.
- It remains only to portray the vest and draw the face. The original craft in the shape of a sailor is ready!


Another character can be formed in approximately the same way, for example, an astronaut, a pilot, and so on.
Budenovka
I must say that the assembly process of this figure is very simple and does not take much time:
- for work, you need to prepare half a sheet of A4 size green;
- the sheet must be laid on the work surface with the white side up;
- the corners located on top must be bent;
- the formed corners will need to be closed, as it were, bending upward;
- the workpiece is turned over;
- tuck the corners on top again;
- a strip of paper is folded at the bottom;
- it is necessary to repeat the fold, as if folding the sheet;
- roll up workpieces to corner pieces;
- the workpiece should be turned over;
- at the last stage, the craft is unfolded and a yellow star is glued to it.


Umbrella
Let's find out how the classic origami umbrella model is assembled correctly.
- It is necessary to prepare a square piece of paper with dimensions of 21x21 cm. It is folded diagonally from bottom to top.
- The formed triangular element is closed from right to left.
- The top of the workpiece is opened and then flattened into a diamond.
- The same steps are repeated on the other side. It turns out a "double square" figure.
- The outer corners should be folded towards the center. Then they are brought back to their original position.
- The pocket on the right is opened to the left, pressed and smoothed.
- The right edge is turned over to the left, and then the previous step is repeated.
- This should be continued until the entire model is assembled.
- The triangles at the top are folded along the dotted line.
- Next, the parts are tucked in.
- The product should be aligned so that there are 4 folds on each side. The folds are ironed.
- The folds are distributed in a circle, the corner is cut from the bottom.
- Take a paper strip 11x21 cm, make a tube out of it. The tube is fixed with glue. The lower half is folded over, making a handle. The other end of the part is cut with a corner and inserted into the hole in the dome. You can fix the parts with hot glue.


Gingerbread man
The kolobok can also be made using the modular origami technique. The result is a very original volumetric figure. The technique under consideration provides for the preliminary production of triangular paper modules, which are subsequently attached to each other (inserted into one another), forming certain details of the figure. So, to assemble the original kolobok, you will need 462 orange or yellow triangles. If the craft is supplemented with a hemp figure, then another 410 white modules should be prepared for it.

To assemble the Kolobok figure from modules, it is necessary to form round crowns with contraction and expansion. Eyes for a fairy-tale character can be made of colored paper. Tousled hair, also cut from a piece of colored paper, should be attached to the top of the finished figure.
Father Frost
Very easily and quickly, a little master will be able to make a paper figure of Santa Claus.
- You will need to prepare a couple of red paper squares and a glue stick.
- The squares should be the same size, for example, 10x10 cm. One of them will form a head with a cap, and the second will form a body.
- To make the head, you need to make small folds on both sides of the square.
- At the opposite edge mark, you need to bend a small corner. This will be the top of the cap.
- The square is turned to the other side. Here, the third folds first.
- Next, the right side is folded symmetrically.
- The bottom corner goes up.
- Then another small bend is made, directed in the opposite direction.
- The top of the cap is folded to the side.
- For the torso, you need to take another square. Small folds are made on it on different sides.
- The product is folded in half.
- The workpiece unfolds to outline the middle line. The edge on the left should be bent to it.
- Then a symmetrical fold is made on the right.
- The upper parts are turned away in the form of corners.
- The top is bent downwards.
- The two finished pieces are glued together using glue.
- If you wish, you can draw eyes, nose and mouth for paper Santa Claus.


Girl
The girl's figurine can be made from a white paper rectangle with dimensions of 20x10 cm, a 9x9 cm square of yellow or brown color, as well as two 3x3 cm squares (any color).
- The rectangle is placed vertically. The top and bottom are bent.
- Next, the part is bent in half.
- The corners are bent from above along the outlined line.
- Pockets open and flatten.
- The halves are folded backwards from above.
- The side parts are also bent back, while grabbing only the lower layer of paper.
- The parts on the sides and corners at the bottom are bent away from you. The girl's torso is done.
- Now take a large square and fold it diagonally. The upper corner is lowered to the middle.
- The side from above is lowered to the inflection point.
- The sides are lowered, making indents from the middle of the top. The craft is turned over.
- The lower corner is raised up.
- The corners are folded. The product is turned over to the other side. The head is done.
- Now take 1 small square. Its upper half is folded back.
- The right corner is folded from the bottom, lifting. In this case, the rectangle is bent diagonally.
- The part must be folded obliquely.
- Fold the second bow in the same way.



Yacht
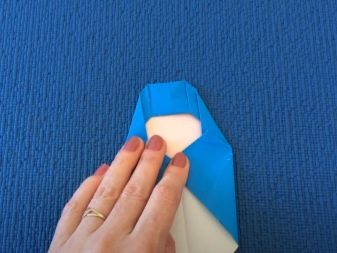
An origami yacht is assembled as easy and simple as possible:
- the paper square must be folded diagonally;
- then you need to bend the lapel by about 4 cm in both directions;
- the basic shape "turned corner" is performed;
- the craft is complemented with decorative elements, after which the original paper yacht will be ready.
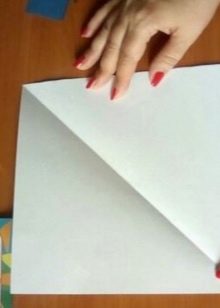


goose
Children love making paper birds. It can be a beautiful bullfinch, chicken, starling or goose. Let's consider how to model the latter.
- The paper square is folded diagonally.
- Bends are made along the bisectors of the corners, connecting the sides from below and from above with the vertical part.
- Bends are made along all lines.
- The workpiece is bent along the bisector of the corner to the left, and then to the right. Fold up the triangle at the top.
- The results are repeated, and then one paper layer is pulled upwards from the inside.
- The triangle is thrown to the left. Pull one paper layer up again.
- Open and flatten the pocket.
- The sides of the formed rhombus are bent along the sides to the vertical in the center, and then folds are made along all the lines indicated in the diagram.
- The middle part is lifted up.
- The corner is lowered to the midline. The product is folded in half.
- The triangle is removed inward at the bottom along the bisector of the angle. The figurine is turned.
- Pockets open and flatten at the front and back. Triangles are omitted here.
- The neck is made thinner.
- The central rhombuses are folded in half, bending the future neck.
- The paws are bent inward, arching the head and tail. They pull out 2 paper layers in the tail, and form folds-zippers on the head.
- The wings are slightly lowered, folds are made on the paws.


In execution, such a craft will not be the easiest, so it is better to tinker it with older children who are already familiar with the origami technique.
Marine life
Many marine life can be made using origami techniques. A paper octopus or shark turns out to be beautiful. Consider how to craft marine life using the example of a crab figurine.
- A pink or red square is taken. Its sides are wrapped towards the center.
- Next, the upper and lower parts of the trapezoid are laid out alternately.
- The corners of the base from the bottom of the upper trapezoid are raised upward. Then proceed in the same way with the corners of the upper base of the lower part.
- The ends are unfolded in a straight line. The tip is tucked there, and then the part is turned over.


Fly
The origami fly is very easy to assemble.
- The paper square is folded diagonally. You will get a triangle.
- Two corners are raised up.
- The corners of the upper paper layer are folded down.
- Fold down the triangle from above. Now only 1 top sheet of paper is folded.
- Fold back the 2nd layer so that the triangle at the bottom is visible from under the first.
- Fold back the sides to the left and right. The craft is ready!


Mushroom
Let's look at how to make an origami mushroom.
- First you need to take a square piece of white paper. It is folded in half along a diagonal line. In this case, the upper corner must be lowered.
- The resulting square is bent from left to right.
- The corners above and below will need to be lowered to the area where the lines intersect. You should get a candy figurine.
- Now the red square is taken. It needs to be folded along a diagonal line.
- It is necessary to connect the corner of the formed red triangle with the sharp corner of the "candy".
- Now you need to bend the corners of the red triangle. You will also need to bend the corners of the "candy".
- The figurine is turned over.
- In a large mushroom, the corners of the cap do not need to be folded.
- A second mushroom can be made in a similar way.
- Now you need to form a leaf. To make a leaf, you need to take a green square. It is bent in half, lowering the upper corner downwards. After that, the square is bent from left to right.
- The upper corner is lowered downward, where the lines intersect. The side corners are slightly bent.
- Now you need to bend the top folded corner so that it slightly extends beyond the fold.
- The part is turned over.
- From all the elements made, it remains to form a single composition.


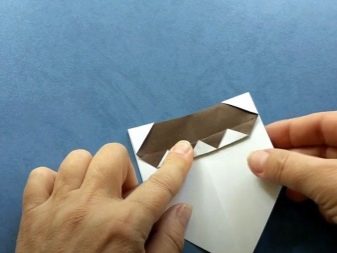

Chrysanthemum
To make a beautiful paper chrysanthemum, you need 19x19 cm squares. The required colors are green and red.
- You need to start modeling from the bottom. The green square is folded in half, and then the action is duplicated.
- Now the corners of the paper are folded, wrapping to the middle.
- The figure is turned over to form a triangular element.
- The corners of the figure are bent away from themselves.
- Now you can proceed to modeling the flower itself from red paper. To do this, the square of the indicated color is folded in half in half, and then diagonally.
- The corners are folded inward to form a triangular piece. There are 4 such components.
- Next, the red and green parts are combined into one structure. You can use glue for secure fastening.


Strawberries and raspberries
Strawberries and raspberries can be made using the modular origami technique, or you can use a simple scheme. So, to make strawberries, you will need the following steps.
- A double-sided sheet of red paper is laid on the table along with a green sheet.
- The blanks are folded diagonally. The corners must match.
- Then the products are laid out.
- Sheets are re-folded diagonally. The corners should match again.
- The items are revealed.
- The paper should be folded in half horizontally.
- Now it is being laid back.
- It is necessary to fold the workpieces in half vertically.
- The leaf is opened in folds, collected in a "pyramid".
- Smoothing with fingers, form a "diamond" shape.
- The angles to the right and left are directed towards the center.
- Turn the product over.
- The right left corners lead to the center.
- Now the corner on the right is folded in a line in the center. The same applies to the left corner.
- The central corner is folded down.
- The same applies to the side corners.
- You need to turn over the blank. The upper corner on the right and left should be placed towards the center.
- In the same way, the corners on the right and left are folded, turning over the product.
- You need to inflate the craft through the existing hole.


Origami raspberries can be made in the same way. In this case, paper is suitable not red, but pink or coral.
Other interesting origami
There are many more interesting schemes for modeling children's origami figures. For example, these can be very original figures: a samovar, a nesting doll, ice cream, a traffic light, and so on. Also, the child will be interested in modeling charming figures of village animals: cows, horses, lambs, a pig. Let's consider step by step how you can make the last mentioned animal in the form of a convenient bookmark as simply and correctly as possible:
- a paper square, unfolded with a corner, must be folded in half in the direction from bottom to top;
- opposite corners are bent to the top;
- a rhombus is obtained;
- reveal a couple of the last folds;
- lower the triangle at the top;
- the valves on the sides are placed in a pocket from below;
- all the folds are well ironed;
- the corner is turned over with the folded half up;
- stick a paper patch, ears and eyes.


The child will also like making a figurine of a cat's face.
- a square piece of paper is folded diagonally to form a triangle;
- the triangular piece is wrapped from the edge of the base to the middle at a slight angle to form cat ears;
- the tip is tucked down to form the head;
- turn the product over and draw eyes, nose, mouth, mustache.
For information on how to correctly origami a cat's face out of paper, see the next video.


