Origami folding for mom

An original craft made using the oriental origami technique will be a wonderful surprise for mom or grandmother on March 8, birthday, anniversary or other holiday. A postcard made of paper and a beautiful bouquet of flowers will certainly delight loved ones. It is not difficult to make such presentations if you adhere to the recommendations of experienced craftsmen who were able to comprehend the basics of this art, and perform all actions in stages, following the instructions.

How to make a paper bouquet?
Paper is an excellent material for making various crafts. From it you can create amazing designs using the origami technique. The art of folding various paper figures came to us from Eastern countries. Nowadays, this technique has become extremely popular. Origami products amaze with their beauty, originality, delight with the whimsical curves.

Some crafts are considered quite complex and require special skills, patience and perseverance. Younger children are better off choosing simpler options. This will allow you to do the work with pleasure and get the desired result.
It will not be difficult for children to make such a gift with their own hands, a detailed scheme will allow them to quickly and efficiently do this work.


Following the tips, you can make a large floral arrangement, build one large flower, or please mommy with an armful of tulips or daisies.
In a vase
A beautiful bouquet in a paper vase will be a pleasant surprise from your daughter for Mother's Day.
First of all, we will fold the decorative container using the Japanese technique. To do this, you need to sequentially perform a number of actions.
- Fold a piece of paper (15 by 15 cm) in the form of a "double square". They begin to perform manipulations from the inside out, moving to the front side at the end of the assembly.It is necessary to unfold the sheet, holding it with the edge towards you. Next, following the dotted lines, you need to fold the side corners towards the center.
- Do the same on the other side.
- Next, make a fold on the left and bend the corner at the bottom. Unfold folds.
- After that, you need to lower the triangle on top.
- To start working with other sides of the product, you need to turn the valve to the right, moving to the left.
- Open the side pocket.
- Now you should flatten the element and lower the upper flap in the form of a triangle.
- At this stage, you need to repeat the steps and turn the right side to the left and back.
- For the remaining 3 valves, proceed as in steps 6.7.
- Further, all actions are performed, referring to the figure.
- The next step is to make a reverse fold and remove the corner on the left. To do this, lift the triangle valve by pressing on the top with your fingers. Next, follow the steps from step # 3.
- The element is opened from the inside by pushing the walls apart. This will allow the vase to become 3D. The bottom is formed according to the fold lines (step # 3).


The vase is ready, you can put a flower arrangement in it by wrapping the stems with floral tape.
You can place origami roses, irises or chamomile in a vase. A bouquet of clover and hibiscus flowers will also look great.


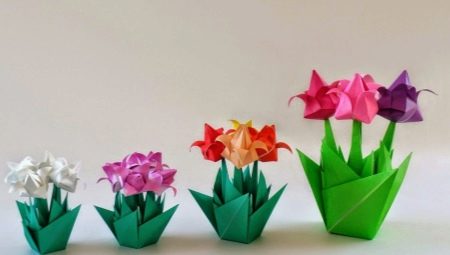
Tulips
You can please your beloved mom with an origami craft in the form of a bouquet of tulips. By themselves, artificial flowers are not considered a pleasant gift, but another thing is origami handmade products.
There are several ways to make flower arrangements. The tulip can be made flat; this option is more suitable for preschool children. For this work, double-sided sheets of red and green colors will be used. A square with sides of 10 cm is cut out of red color paper, and a square with sides of 16 cm from green paper.
They begin to form a flower.
- Take a square piece of red paper and fold it in half to form a triangle. Then you should bend the figure again, connecting the corners. This will allow you to define the bend of the element. Expand detail.
- Next, you need to pull the corner on the right and set it at an angle. At the same time, it should not reach the corner located on top. Smooth out the fold on the side. The same actions are done with the other corner.


The result is a blank for a flower. It remains to turn it and bend the corners on the sides a little, rounding the tulip.
If you wish, you can complete the craft using different shades for the buds.
Then, from the pieces of green, you need to cut out the stem and leaves and glue them to the prepared product.


You can also make a more complex version of origami with the involvement of older children. To create, you will also need sheets of colored paper and scissors.
Let's find out what needs to be done to get the bud.
- Take a sheet of colored paper of the desired shade and fold it diagonally. The excess part must be cut off, and the resulting square must be used to create a flower.
- The resulting square should then be folded diagonally on both sides to mark the intersection.
- Next, you need to press the upper corners inward, as a result of which a triangle should be obtained.
- After that, the lower corners are raised up so that a rhombus is formed. Then the workpiece is turned over and the same actions are performed on the other side.
- At the next stage, the figure is expanded so that no joints are visible. Then the corners are overlapped on the right and left sides. The same actions after turning the workpiece over are done on the other side.


Next, you need to tuck the corners into each other on each side and cut off the edge of the workpiece, using it to inflate the flower.
It remains to carefully bend the petals of the bud and start forming the stem.


The stem is made according to the picture, inserting it into the cut hole and gluing the leaves.


A spring bouquet of tulips will be an addition to the main gift, such a surprise will be appreciated.
With flowers on stems
Simple options for small children will allow them to easily make a beautiful bunch of flowers for their mother and wish her a happy holiday.
To perform such work, it is enough to prepare the materials necessary for the work and do all the actions, following the instructions.
- Take scarlet paper and cut out a square with sides of 7 cm, then fold the part diagonally.
- After the left corner is folded up, the same is done with a different angle.
- This will create two triangles on the front of the part. Next, bend the corners in each of these triangles and straighten the edges on each side.
- After that, the protruding corners on each side are bent so that their edges are in line with the element located below.
- Next, the triangle, obtained along the fold, is wrapped inward, and similar actions are performed on the other side.
- It is necessary to glue the previously bent halves with glue and glue them. The result is a petal.
- According to the technique described above, similar manipulations are then performed and several more petals are created.
- All elements are folded and glued.


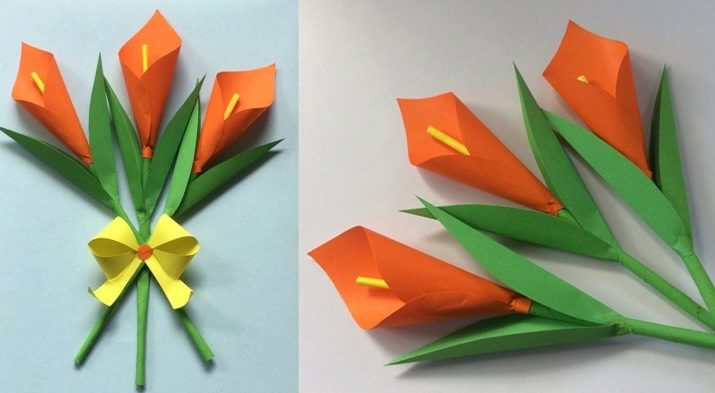
The composition can be completed by complementing it with a stem and leaves made using oriental techniques. For the first, a piece of wire, a sushi stick or a cocktail tube are suitable as a base.
The stalk of the sushi stick will be stronger and more stable. Wrapping the base with crepe paper will give it a natural look.


At the end, the flower is strung on the stem, supplemented with leaves.
To make them you need:
- take a sheet of paper in the form of a green square, bend it in half, then fold the sides into the basic model "Kite";
- mark a diagonal line on the square and fold the side corners to this line;
- the workpiece is folded in half, the bottom is folded up.


Create postcards
You won't surprise anyone with a congratulatory card now. At the same time, a postcard made using the origami technique will help to express the sincere love and respect of the donor.
A model in the form of a dress will be a great option for this. Let's describe the sequence of actions to be performed.
- Take a sheet of paper. To make the card look more colorful, it is better to choose colored paper with patterns or prints. Next, you should cut out a shape from it, giving it the shape of a square.
- The square is folded in half and ironed.
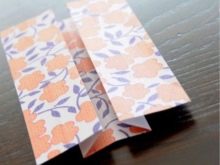
- Next, the workpiece is unrolled and bent to the center of its lateral parts, unrolled again. The result is a sheet divided into rectangular sectors.
- After that, the part must be bent in half, leaving less than a centimeter on top, and bend back the short element, slightly retreating from the fold.
- At this stage, the work with the upper part is finished - you should proceed to the formation of the skirt. To make it, you need to draw out the corners of the workpiece, holding the top of the fold in the middle. Do the same from the other side.
- Now you should return to the top of the product again and form the neckline area. For this, the corners on top are folded according to the images. The resulting collar is folded back and the sheet is turned over to the opposite side. The upper part of the blank is stretched, opening the pocket.
- After that, you should start forming the sides, for this they need to be bent. This will also lead to bending of the sides of the skirt.


At the final stage, the upper corners of the product are bent along the back side to the maximum.
The blank in the form of a floral summer dress is ready.
It is better to attach it to a cardboard base, make a congratulatory inscription and give it to your beloved mom.
More ideas
The heart given to mom will allow you to express your sincere love.
To make modular origami in the form of the named figure, you should take a sheet of red paper and cut it into rectangles. The result should be 32 parts.

To create blank modules you need:
- take each part and fold it in half lengthwise, after the elements are folded across, the fold lines are determined and returned to their original position;
- then the workpiece is turned over, bending to the middle of the edge, and turned over again;
- after the edges that look out, you need to raise, while small corners need to be bent through a triangle and unbend the folds;
- then the mini-triangles are folded inward, and the edges are folded towards the large triangle;
- connect the triangle.

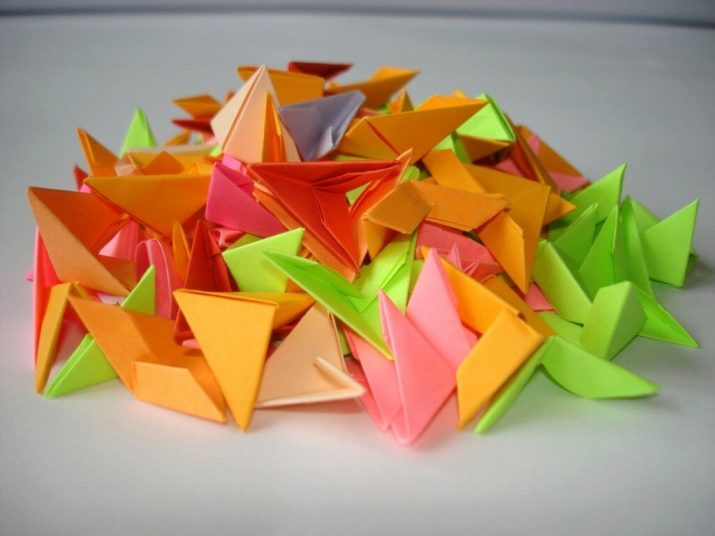
The result should be a module with 2 corners and two pockets. To create the intended figure, you need to do 178 modules.
Having made all the details, they start modeling the figure. The assembly starts from the first module, their number will gradually increase in each subsequent row. To create a shape, you need to put each module on the corners of the previous elements so that the pockets are inside.
Next, the modules are built up while maintaining the shape.


Origami tulips are shown below.


