How to make origami iris?

Recently, do-it-yourself figures made of paper using the origami technique have begun to actively gain popularity, due to their external beauty. Making such figures is not as difficult as it might seem at first glance. To do this, you just need to stock up on colored paper and do everything as shown in the master class. In this article, we will tell you how to make an iris flower using origami technique in different ways.
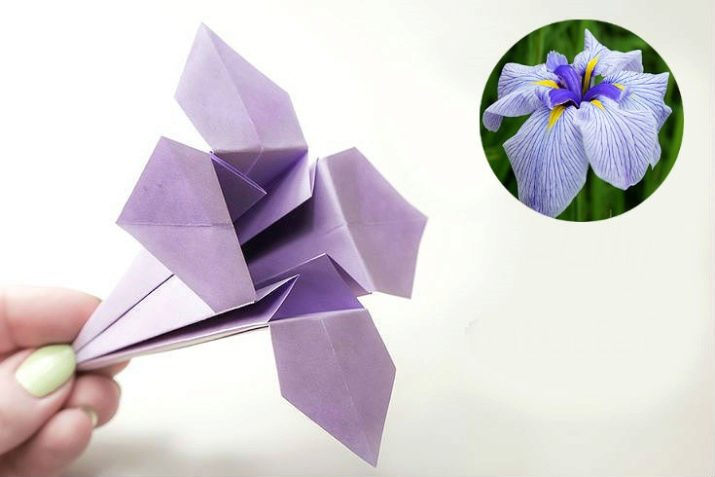
Classic version
It is not difficult to make a classic version of iris with your own hands using the origami technique - this is one of the simplest ways that is suitable not only for experienced craftsmen, but also for beginners. It is enough just to prepare the paper necessary for work, and act according to the scheme.
First you need to fold a square piece of paper, carefully ironing it along the fold line. Then it should be unfolded and folded in the other direction, in order to thus obtain cross folds diagonally.
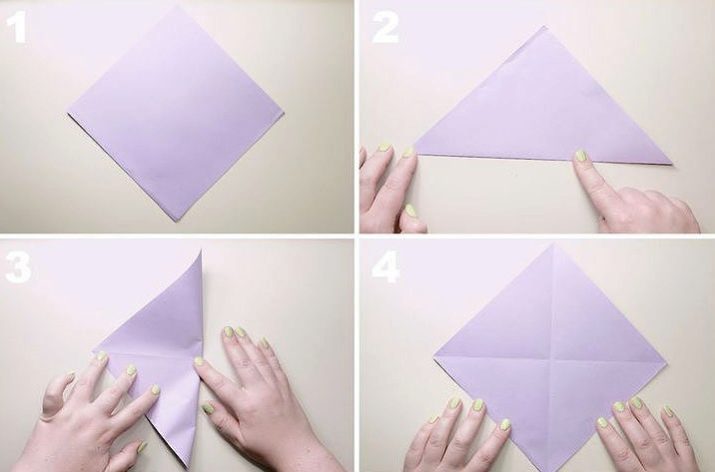
Now you need to fold the sheet in half in the longitudinal direction, open and fold in the transverse direction. After that, the sheet must be expanded as shown in the image. Holding the triangle that is closer to you, open up the area that is in the upper part, and lower its top to the point that is located below.
Now you need to bring the outer corner to the central part, press the top layer and straighten it to get a "double square" in this way. Expand the workpiece so that it lies with the open tip away from you, and then slide the right sidewall to the center fold line.

All the same must be done with the left side, after which you need to open the remaining folds.
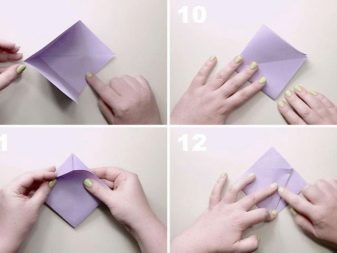
The pocket formed on the right side must be straightened and brought to the center, after which it must be pressed, placing it symmetrically to the center and two other sides. Everything that you did from 12 to 16 steps, you need to do with the remaining three layers.
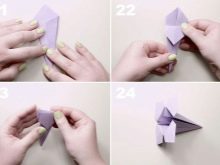
Now you need to open the whole part of the workpiece, and fold its right and left edges towards the center. Fold the other three layers in the same way. Now you need to lower the top corner down to get a petal. We do the same with other corners.


The classic iris, made using origami technique, is ready. Thus, you can form a whole bouquet that can be presented as a gift.
Assembling a graceful flower
This version of the flower is somewhat more difficult to manufacture, especially if a beginner takes up the work. However, if you follow the step-by-step instructions, then you will surely succeed.
To work, you need a base in the form of a hexagonal leaf. We fold it as shown in the figure so that two fold lines are formed, which must be carefully ironed. After that, the workpiece must be folded along the lines that are marked in the figure in red and blue.
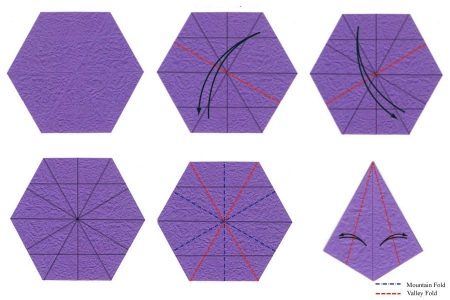
You will get a rhomboid shape with three folds. Now the workpiece needs to be bent according to the marks shown in the figure. Next, you need to, as it were, turn over one of the sides of the figure, and again repeat everything that you did before.


The flower is almost ready. It is necessary to bend the petals of the flower. Expanding the first of them, rotate the flower 90 degrees, and expand two more layers, as shown by the arrow in the picture. Open the petal, turn the blank again, and do the same.
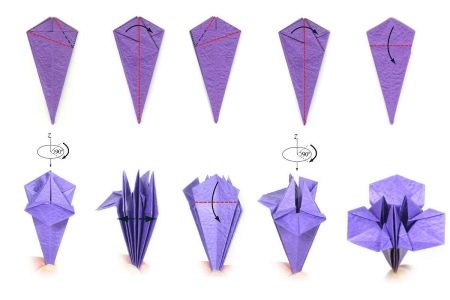
The graceful iris flower is ready. If you wish, you can make a stem and leaves for him, so that later it can be put in a vase. Making these parts of the flower is not difficult.
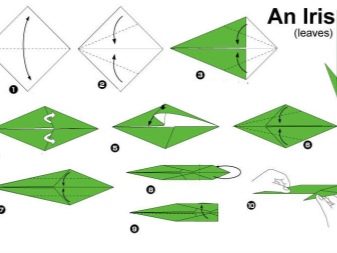
The stem can be made using glue, scissors and a strip of paper, and the petals can be folded using the origami technique according to the scheme below.

Create 2D irises
The voluminous iris flowers look pretty beautiful when done correctly and neatly. However, they are large and somewhat cumbersome, and therefore attaching them to a postcard as a decoration is not the best idea. In this case, there is a solution - you can fold a two-dimensional iris out of paper using the origami technique, which will not have a high relief.
To work on a flower, in addition to paper, you will also need glue stick and scissors.

To fold the flower itself, you need to make a square, which will need to be folded in half, ironing the fold line well - this will give you a shape that resembles an isosceles triangle. The resulting figure must be folded in half again, thus obtaining a right-angled triangle. You will need to make a small incision on it, as shown in the image - for convenience, it will be best to outline it with a simple pencil, and only then cut it.

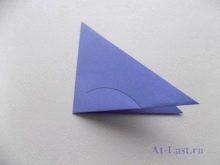
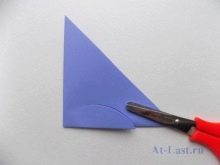
Now the workpiece must be expanded as shown in the figure so that you can see the sections. The cut out parts, which will be iris petals in the future, need to be bent up and then down vertically - here you need to be careful, especially if the paper is thin, as there is a great risk of spoiling the workpiece.
After that, the petals need to be straightened so that they are flat, and the previously marked fold line is located in the center of the leaf. At this stage, the formation of small petals is completed.

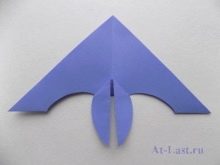

Now let's move on to creating large leaves. To do this, you need to fold the right side of the workpiece to the left side. After that, the petals need to be bent in the other direction. At the place of the folds, you need to form iris leaves, as shown in the figure. For reliability, we recommend fixing the petals with glue - it is recommended to use a glue stick, since there is a risk of accidentally filling the workpiece with PVA glue, thereby spoiling it.


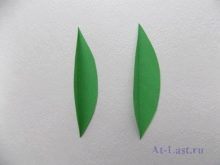
The iris flower is ready, but to attach it to the postcard, you need to make more stem and green leaves. This is done easily, just use green paper and scissors. We attach the resulting parts to the postcard in the correct order. Ready!

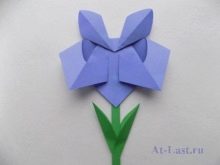
How to make iris out of paper with your own hands, see below.


