Making origami in the form of envelopes
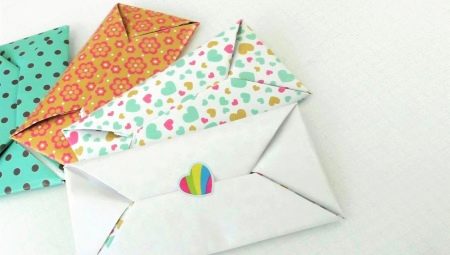
Origami envelopes are a great craft option. They can be used to present a gift, letter, or a pretty postcard. It's always a pleasure to receive cute handmade envelopes.
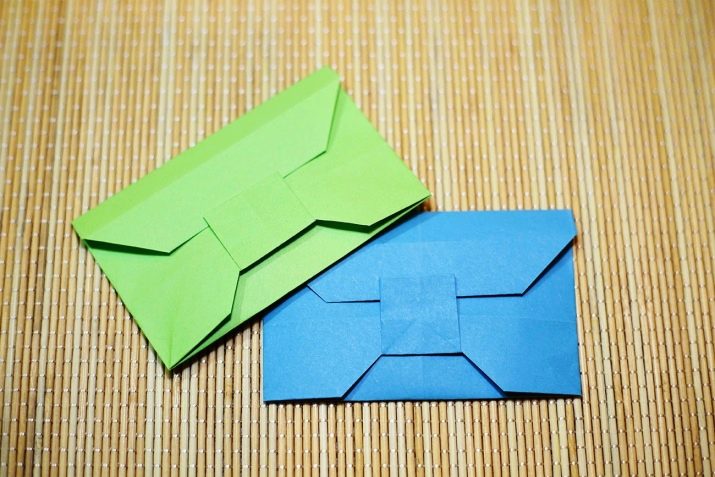

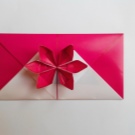

The easiest option
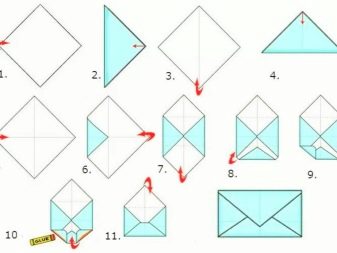
People who are just starting to master this ancient Japanese art should pay attention to the universal scheme for creating envelopes from A4 paper.
- The first step is to cut an even square from the sheet.
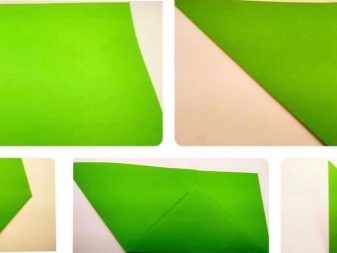
- The resulting workpiece must be folded in half and then unfold. Next, it must be folded along the other diagonal and unfolded again. This is necessary in order to outline the fold lines.
- Next, the figure must be placed in front of you. Its lateral edges must be bent towards the middle. The corners should be connected to each other.
- The bottom corner also needs to be bent. In this case, its edge should not reach the middle of the sheet.
- The remaining corners also need to be slightly folded.
- Next, this workpiece needs to be lifted. The side corners should be used to secure this piece to the envelope base. If done correctly, it will stick even without glue.
- Bend the top corner, closing the envelope. At this stage, the craft will be ready.
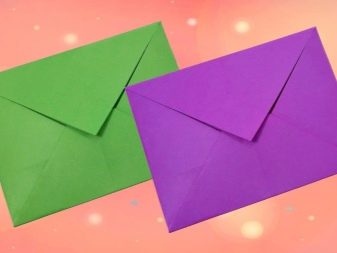
Even a small child can make such an envelope with his own hands. Such crafts can be made from both plain and colored paper.
How to fold with a heart?
A more original and interesting version of the craft is an envelope with a heart. It is best made from colored double-sided paper. Scrapbooking material is also suitable for this.
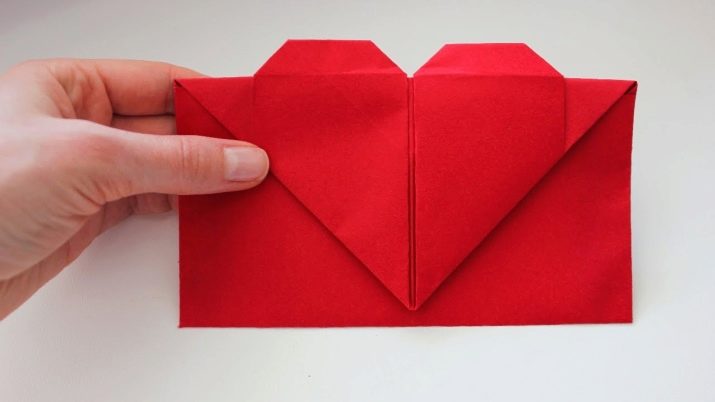
- The first step is to fold the sheet in half, marking the desired line.
- Further, the upper corners of the sheet must be connected together. Thanks to the marked line, this will be very easy.
- The workpiece must be turned over and put in front of you.
- The free part of the sheet must be folded in half. Its bottom should be in contact with the bottom of the triangle.
- The figure needs to be turned over. Its lateral edges must be folded.
- The outer corners must be bent and brought inside the figure.
- Next, the workpiece must be turned over.
- The upper part must be folded, straightening the corners of the heart.
- The outer edges must be brought inward, and the inner edges must be folded.
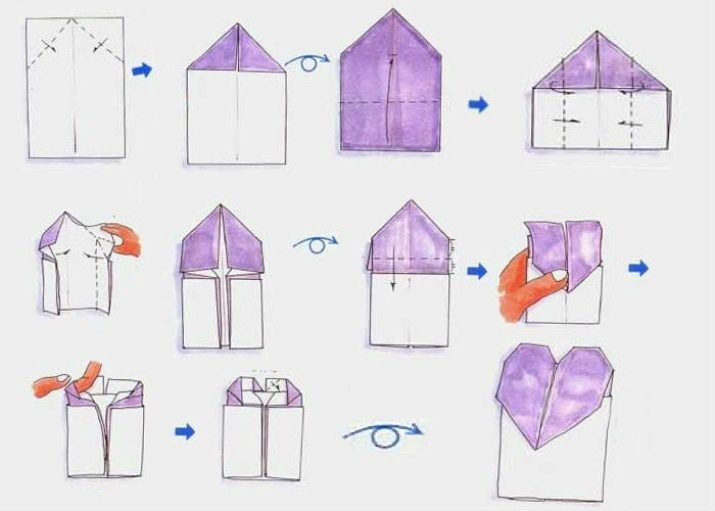
The stylish origami envelope is ready. Inside you can store small cards or notes. Such an envelope will be a great gift for a loved one.
You can also fold a cute and cute envelope out of a paper heart using the origami technique.
- Place a square piece of paper in front of you. You need to draw a heart on it.
- The figure must be carefully cut and traced with a pencil and ruler. This makes folding the envelope much easier.
- To begin with, the side edges need to be gently folded towards the middle.
- Next, you need to lower the upper part of the figure.
- The remaining triangle also needs to be lifted.
- The envelope is ready. It only remains to decorate it with a sticker. It is best to choose a cute heart sticker.
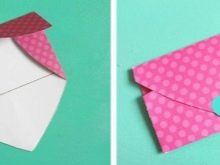
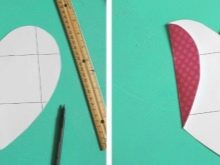
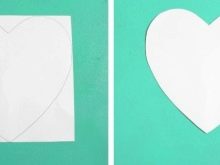
This layout is more suitable for beginners. Even a child can make such an envelope for Valentine's Day or any other holiday.
How to make an envelope for children?
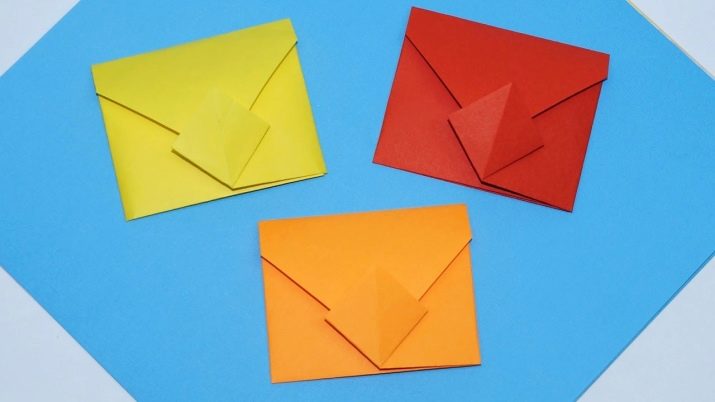
It is very easy to make a small envelope for children. The main difference lies in the decor. As a rule, these envelopes are made of colored paper with a funny print or decorated with bright stickers.
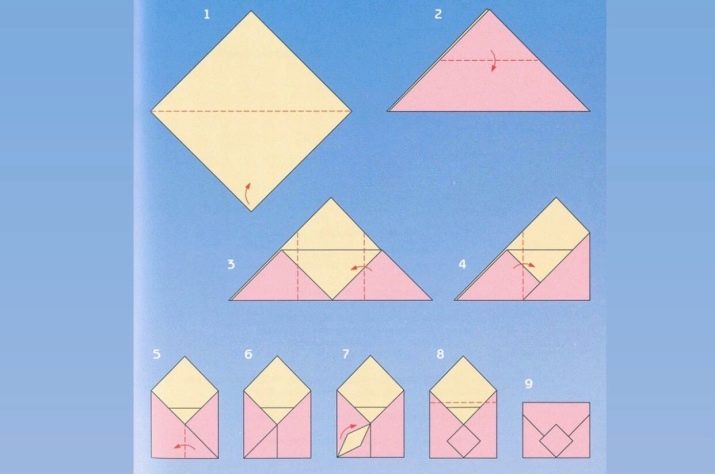
A step-by-step instruction for a simple craft consists of seven steps.
- The paper square must be placed in front of you with an acute angle upward.
- This blank must be folded in half, forming an even triangle.
- Next, the corner of the top sheet must be lowered. Its edge should touch the bottom of the triangle.
- After that, the side corners must be bent towards the middle of the figure. One of them will cover the other.
- Further, half of the corner must be taken to the left.
- This part must be carefully bent, forming a small rhombus. It should fit right in the middle of the envelope.
- The upper part of the workpiece must be lowered. The edge of this part must be placed inside the volumetric rhombus.
The finished envelope can only be decorated to your liking.
More craft ideas
In addition to these options for origami in the form of an envelope, there are other equally interesting schemes.
Money envelope
A beautiful gift envelope for money can be made either from plain paper or from wrapping paper.
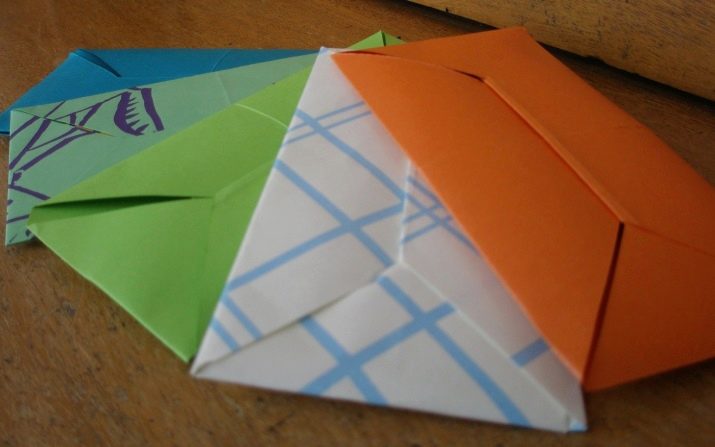
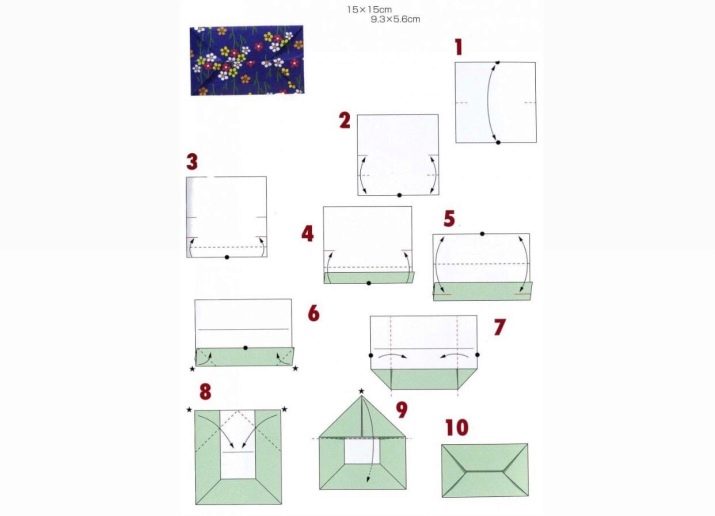
It is done in the following way.
- Fold a square piece of paper in half.
- Further, its lower half must be folded in half again.
- Having expanded the sheet, you need to make a small bend at the bottom. After that, the lower part of the sheet needs to be unbent again. This procedure allows you to outline the necessary lines and make the process of creating the envelope easier.
- The bottom of the sheet must be folded in half again. After that, the corners of the thin strip must be bent to the center. It is recommended to iron the folds.
- Next, the two side strips must be bent inward.
- The upper corners should be bent towards the middle of the sheet. All folds must be well ironed.
- The resulting triangle must be bent over the protruding side. This will keep the envelope securely in place.
After that, all that remains is to put money into it. In such an envelope, you can also hand over a letter folded several times.
Soldier
Working in this technique, you can make an unusual soldier's envelope. A product made in the shape of a garrison cap can also be a gift for dad or grandfather.
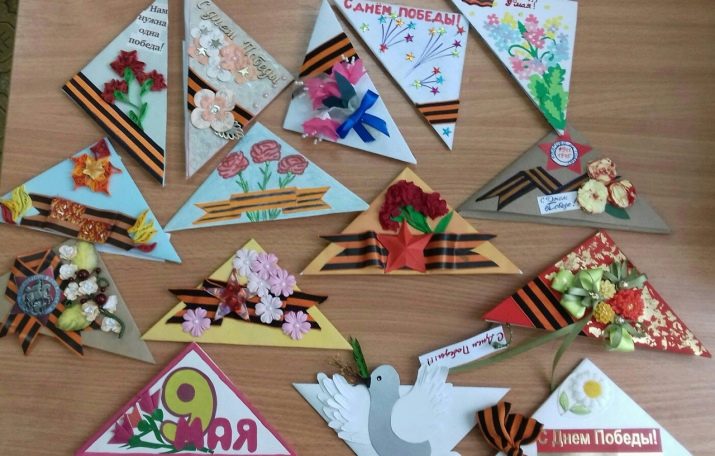
Folding an envelope like this is pretty easy.
- The first step is to fold the top into a neat triangle.
- The resulting figure must be bent in half. The fold must be carefully ironed.
- The bottom edge of the sheet must be folded up.
- Next, you need to lower it down. The strip corners must be bent to the middle.
- The lower part of the sheet folded in this way must be hidden at the base of the triangle.
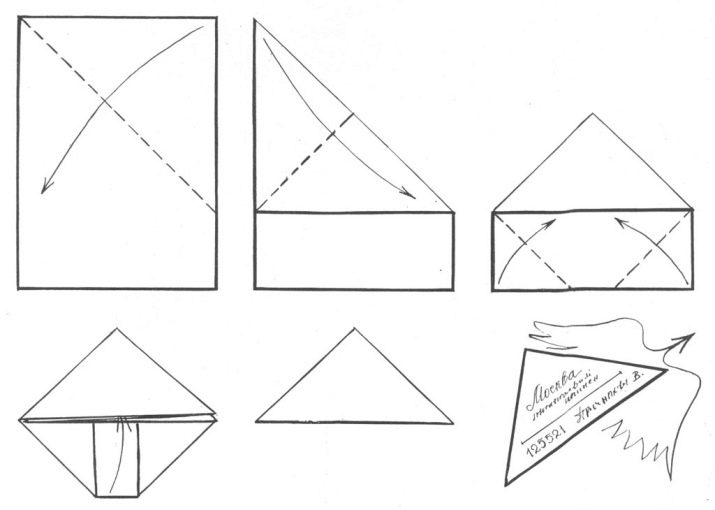
This envelope keeps its shape perfectly. To make it look more interesting, it is recommended to additionally decorate it with thematic inscriptions or drawings.
Envelope for business cards
You can use scrapbooking paper to create this envelope. This business card design option will appeal to representatives of creative professions.
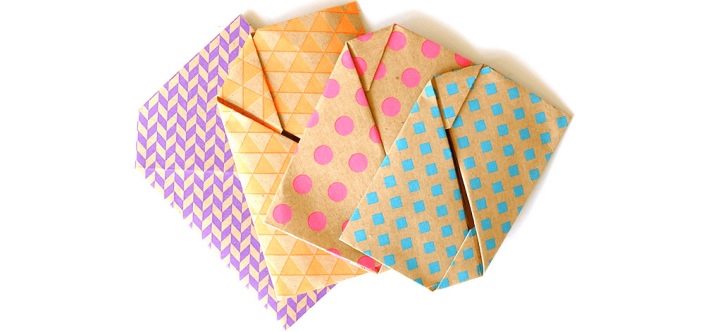
Making a small envelope is very simple.
- You can work with any rectangular sheet of the desired size. It must be bent in half.
- The top corner, like the opposite bottom corner, should be bent to the middle of the rectangle.
- Further, the right side of the free sheet must be immediately bent in half.
- The same must be done with the top of the sheet.
- The resulting workpiece must be carefully turned over.
- Next, the right corner must be bent so that its edge touches the bottom line.
- This corner needs to be bent over the lower side.
- The second corner also needs to be raised to the top of the sheet.
- This detail must be hidden behind the top rim. This will keep the small envelope securely in place.
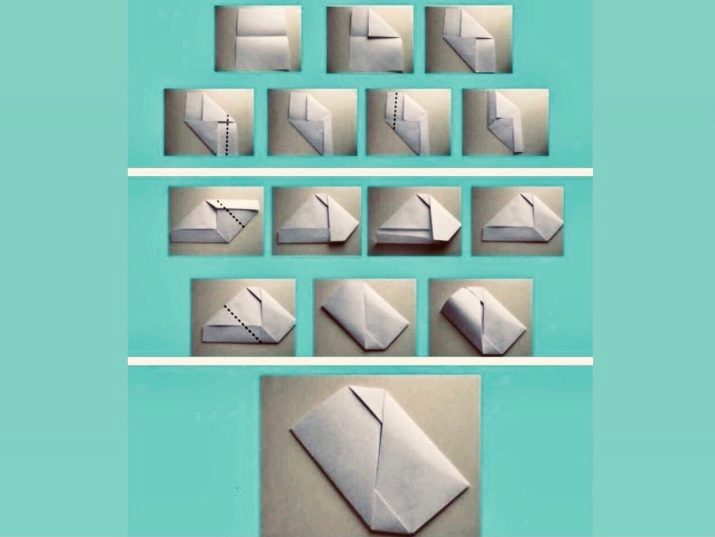
Immediately after finishing work, you can put your business card inside. It should fit in it without any problems.
Volumetric craft with a butterfly
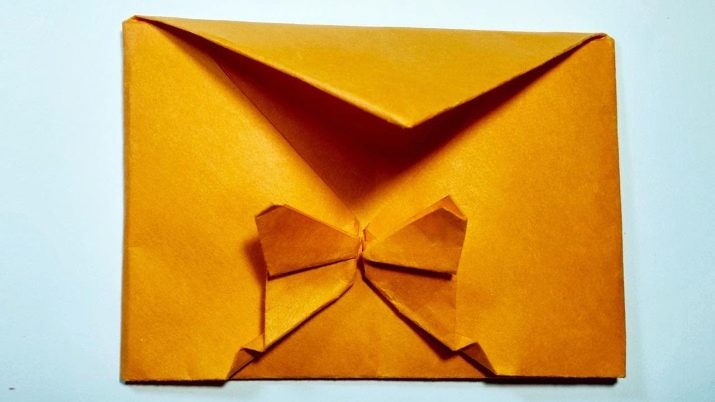
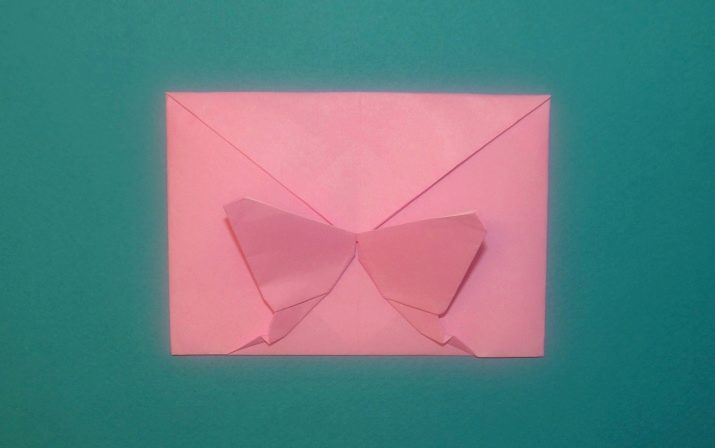
A postcard or letter for your loved one can be packed in a beautiful envelope with a butterfly. It is best to do it from light-colored paper.
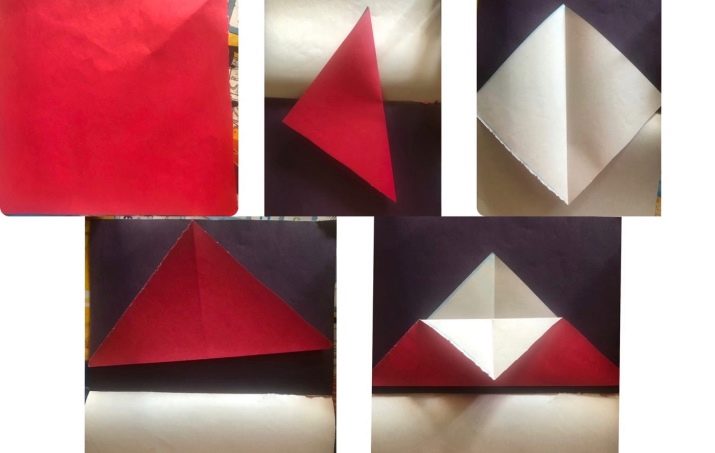
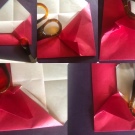
- Fold a square piece of paper in half to form a triangle. It should be smooth.
- Next, the workpiece needs to be unfolded and folded again, but in a different direction.
- The top sheet of the resulting triangle must be folded in half.
- Next, the edge of the sheet must be raised, and then folded again. In this case, the corner should be in contact with the former fold.
- This part must be omitted, forming a wide strip.
- The side corner must be bent to the middle of the sheet. The fold must be carefully ironed.
- Next, this corner must be unbent, and the workpiece must be turned over.
- The corner must be folded in half and straightened again.
- Having turned the workpiece over, the corner must be re-bent to the middle of the sheet. Its edge must be carefully lifted.
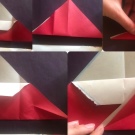
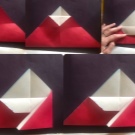
- Next, you need to form a butterfly's wing, bending inward part of the resulting triangle. The lower wing should be made a little smaller by bending its edge back.
- The upper part of this small triangle also needs to be folded inward, and the corner of the wing should be folded in the middle. This will make it slightly rounded.
- Then the same must be done with the second half of the figure. The wings need to be trimmed so that they are the same and next to each other.
- After that, you need to bend the top of the triangle. Next, the edges of this figure must be bent to the middle.
- The detail must be omitted. The envelope should be easy to open and close. In this case, it will be possible to store any letters or postcards in it.
Such an envelope itself looks like a gift card. Therefore, it will definitely be possible to hand it over to a loved one or friend without any hesitation.
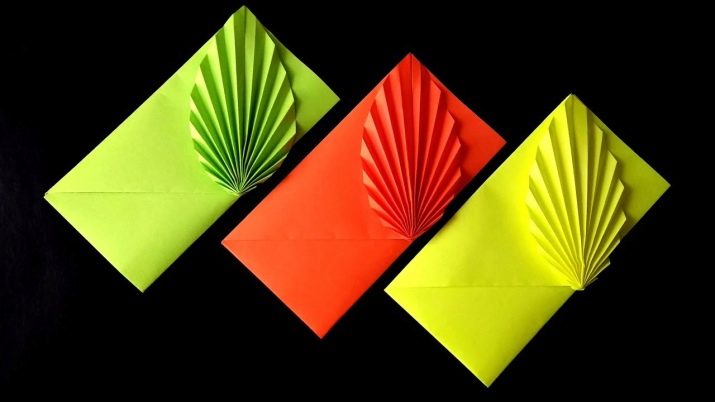
Exquisite envelope with leaf
Fans of more original crafts should pay attention to the gift envelope with a surprise.
- To begin with, the A4 sheet needs to be bent, forming a small square. You don't need to cut it off.
- The upper left corner also needs to be folded.
- Further, the upper corner must be lowered.
- The right side of the sheet must be folded, forming a convenient rectangle.
- After that, the sheet must be expanded, leaving only one folded corner. The workpiece must be turned over.
- The free right corner must be bent, reaching the middle of the sheet.
- Next, this blank must be expanded, and then folded like an accordion. All folds must be ironed carefully. The stripes should not be too wide.
- The sheet must be turned over again.The small folded corner should be on the left and the accordion on the right.
- Next, the left side of the sheet must be bent to the right.
- After that, the inside of the sheet must be pulled down. It will be very easy to do this along the fold lines. There should be a small triangle on top.
- Below it are two rectangles of the same size. They need to be folded in half. The fold must be carefully ironed.
- Cover half of the resulting figure with a triangle.
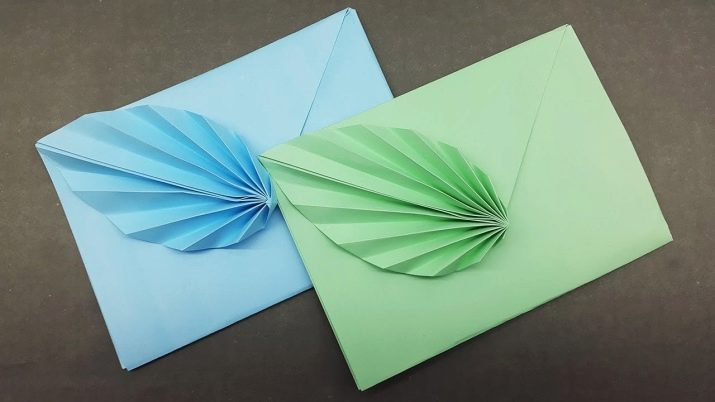
- The decorative leaf needs to be straightened. It turns out to be voluminous and beautiful.
- After that, the triangle should be glued to the base of the craft. The letter or postcard will fit into the slot on the side.
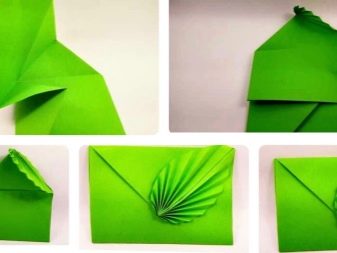
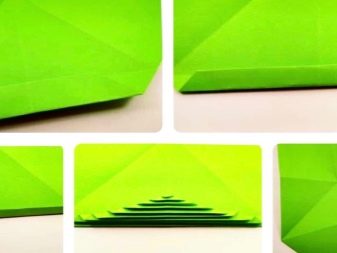
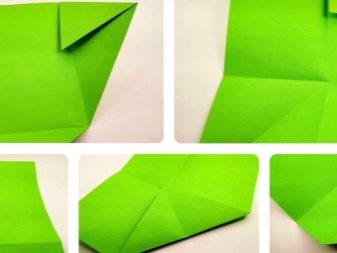
The finished envelope looks stylish and rather unusual. If desired, it can be additionally painted with small flowers or leaves. This is best done with a thin felt-tip pen or gel pen.
Do-it-yourself envelopes are much more valuable than the regular items you can buy at your office supply store. Therefore, the ability to make them will definitely come in handy for both children and adults.
For more on how to make origami in the form of an envelope, see the video below.


