Making a wallet using origami technique
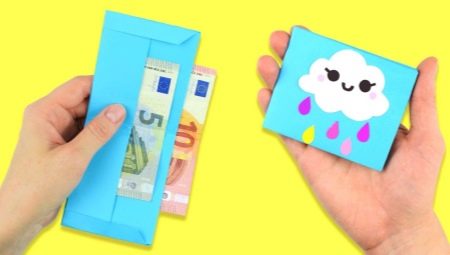
In the well-known origami technique, you can make countless different figures and designs. Wallets made of correctly folded paper turn out to be very original and beautiful. In today's article, we will learn how you can model such a homemade product using the origami technique.
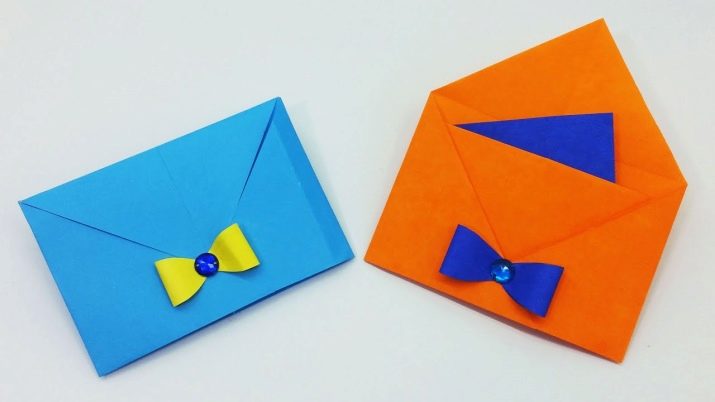


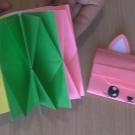
Simple option
The origami modeling technique is insanely popular and affordable. In accordance with it, you can make any things and objects out of paper. However, it is recommended to start acquaintance with this technique with simpler and more accessible schemes, especially if it is a children's craft. There are many ideas for making a paper origami wallet.

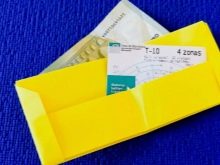
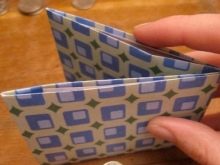
The easiest way is to make such a craft as an envelope. To carry out such work, you need to prepare A4 and A5 paper sheets. Let's analyze a detailed scheme for modeling a simple origami "Wallet".
- First you need pick up paper sheets of your favorite color. It can be absolutely anything.
- The sheet must be placed in front of you. Visually, it will need to be divided into 3 equal parts along the length of the element.
- At the next stage, the part that is located below will need to be folded in the middle.
- Next, 2 edges are folded up to the very end of the sheet. In the middle of the workpiece, there should be only 2 bent edge sections. In the upper half of the paper sheet, 1 folded edge will remain in an unbent rectangle.
- Now you need to use scissors with sharp blades. With this clerical tool, you will need to make cuts. Thus, as it were, the folds will separate on that part of the paper blank that has not been folded.
- Those edges that have been bent should not be touched. From the edge of a rectangular element that has been folded into the paper, you will need to cut a thin strip with parameters of about 0.5-1 cm.
- A pair of stripes-ears must be gently bent inward, as well as in the middle. This will form a banknote compartment.
- It will now be possible to cover the top half of the sheet from above, and the elongated rectangular elements formed after trimming will serve as a kind of lock for the wallet so that bills do not fall out of it.

Making a similar version of an origami wallet will be a great idea for children. Ready-made interesting homemade products can be used for children's games with paper money.
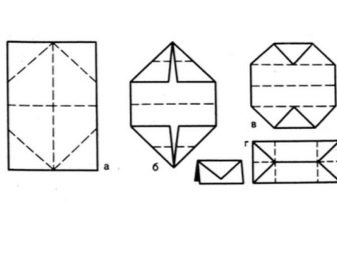
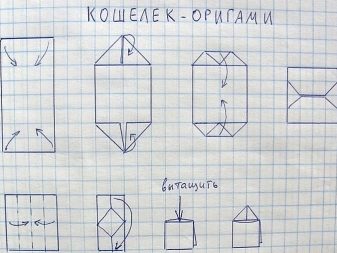
There is another option for making a simple paper wallet.
- For modeling a craft, a sheet of A3 or A4 paper is suitable. The choice of a particular option depends on the size of the wallet planned to be made.
- First, the selected sheet is folded in half.... This will split the long sides. A ruler is drawn along the fold so that a pronounced strip is formed. After that, the sheet is unfolded.
- You will need to visually divide the halves in half. To their midpoint, you will need to carefully bend both the right and left corners so that they collide with each other in the center.
- On a piece of paper, at the edge sections, 2 triangles should turn out... The top of the triangle will need to be bent towards the base. Such actions will be necessary from two sides.
- At the very base of the triangular part, you will need to bend towards the center point on the sheet.... This should be done from two sides. The result should be a rectangular element, at the ends of which there are no triangular parts.
- Rectangular blank flip the missing triangular pieces to the table.
- The edges of the workpiece are folded towards you to the middle of the rectangle. As a result, a square should be formed, in the middle of which there is no rhombus.
- The square is folded inward, so that the corner portions of the rhombus collide with each other.
- Now, if you look closely at the small formed rectangle, you can see the presence of additional compartments from the fold side. From one half, pull out a triangle - you get the cover of an origami paper wallet.
Creating a wallet with two compartments
Using the origami technique, you can make a very original paper wallet that has two compartments. It is assembled differently than the specimens discussed above. To simulate a wallet with two compartments will be obtained from 1 sheet of paper. No additional materials required. Let's analyze a step-by-step master class on creating such a craft.
- First you need to prepare the necessary materials... A landscape sheet is ideal for modeling a wallet with two compartments. On one side of it, you will need to bend the corner towards the edge on the opposite side. This will form a triangle.
- The rest of the triangular blank will be needed cut carefully.
- At the next stage, the triangle will need to be doubled. It is necessary to draw along the bend either with a ruler or with your fingers. These actions will be needed so that when the triangular element is expanded to its original position, a strip remains.
- Further, the sheet will need to be expanded entirely. The workpiece does not necessarily have to be the lines left after the bends from a pair of triangles.
- To the center point of a square workpiece you will need to bend 4 equal corners.
- The formed square of small sizes by bending large corners will need to be carefully folded, to end up with a triangular piece.
- It will need to be carefully folded in half, to then get a miniature triangle.
- If you flip the triangular part with the base, you get two cells.
- One of the triangles in the paper structure implies pull out the middle, and then bend it between a pair of triangles, thus holding them together into one.
- From the second triangular element, you will need to pull out a corner - from it you get the lid of a paper origami wallet.
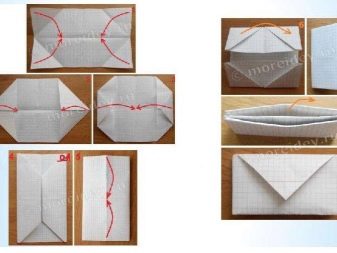

Such a manufacturing scheme is suitable not only for experienced, but also for novice craftsmen. A beautiful wallet with two compartments can be made with children of different ages.
How to make a wallet?
Using the origami technique, you can make a wallet. This is a universal thing, in which it is permissible to put not only paper bills, but also trifles, various cards and business cards. A paper wallet can be modeled without glue from A3 or A4 sheets. We will analyze step by step how to fold such an interesting craft with our own hands.
- At the first stage, a paper sheet of the selected format will need to be folded in half... In this case, it is necessary to outline the middle of the workpiece. It must be well distinguished and fixed on a paper base.
- Next, a sheet of paper will be needed unbend and turn over with the convex part of the fold.
- One piece of paper must be folded in half again. After that, the same actions will need to be carried out on the second part.
- Next, one part of the paper blank is unfolded. It should make 2 parts of a sheet, which are divided by one fold.
- From the bottom half of the paper base, it will be necessary to fold the sheet in half to the nearest bend... The action must be repeated, continuing to make the folds so that a third of the half of the sheet is folded.
- The formed triangular element will need to be turned over to the opposite side. Next, the edges of the workpiece are folded on both sides.
- On one of the folded edge pieces, you will need to fold another small triangle. This component will serve as a kind of retainer holding the homemade paper purse. In addition, the specified element will serve as a fastener for the product. The actions considered will need to be carried out in the same way on the first and on the second side.
- The resulting workpiece is turned over to the reverse side, and then folded in half. In this case, the second half of the product will need to be fixed with edges with bent corners. The manipulations will need to be duplicated on the second side of the paper blank.
- As a result of the above actions, one compartment will be formed inside the product, as well as another compartment on the outside. Now the homemade product must be folded in half.
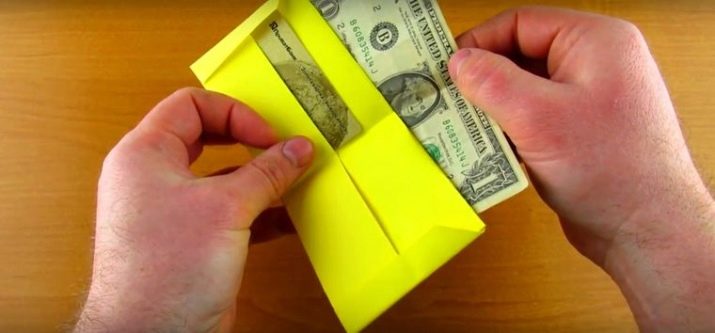
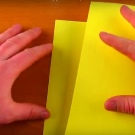
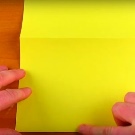
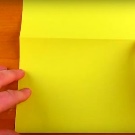
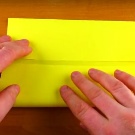
When such an interesting purse is made in accordance with the instructions, you can invite the child to put the necessary things and cards into it, real money or from cut out pieces of paper, on their own.
How can you arrange?
Beautiful and unusual origami in the form of wallets is made in a variety of ways. As a result, you can get both the simplest and most minimalistic and elegant object that looks very bright and creative. We will learn how you can successfully design a wallet modeled in the popular origami technique.
- To create beautiful crafts, you can use not only white, but also multi-colored paper. Red, orange, yellow, green and other colors of origami wallets look bright and rich. The choice of a suitable color depends solely on the preferences and tastes of the master.


- If you want to make a really original and unusual paper wallet, then a decoration in the form of a bright applique will be the ideal solution. The latter can depict a variety of plots. Applications with images of plants, flowers, animals look especially attractive.
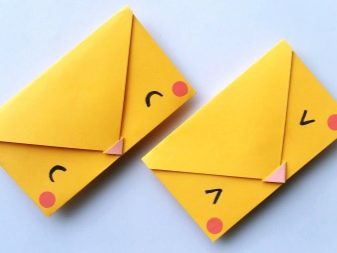
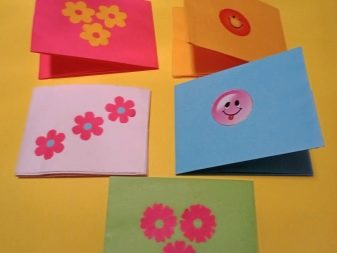
- Cool and creative origami wallet decoration idea - a small collage of cut pieces of greeting cards or fashion magazines. A homemade product decorated in this way will definitely turn out to be original and very stylish.
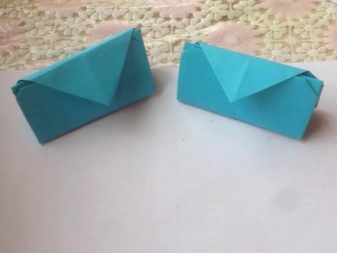

- An equally popular and attractive solution is decorating a homemade paper wallet with acrylic paints of different colors. Using such components, the finished thing can be supplemented with any drawings, patterned lines, and various inscriptions.
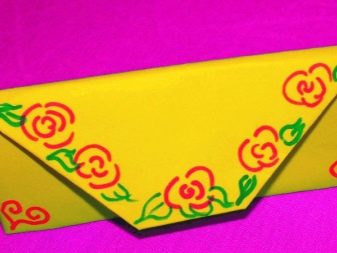

- Origami wallets, which are complemented by glued rhinestones or beautiful beads, look elegant and rich. Instead of such components, it is permissible to use multi-colored satin or paper ribbons of different lengths.
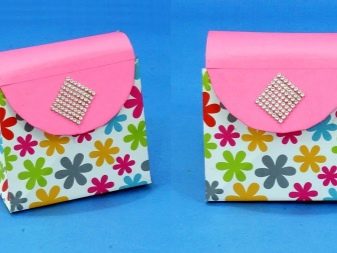
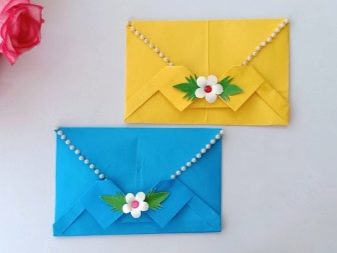
- To decorate the considered homemade products, you can use a fringe or buttons... Also, the products are very beautiful, complemented by an elegant braid.
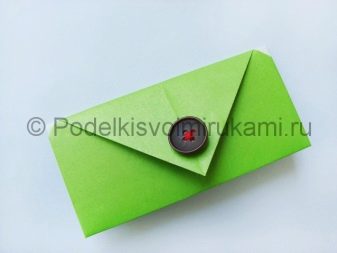
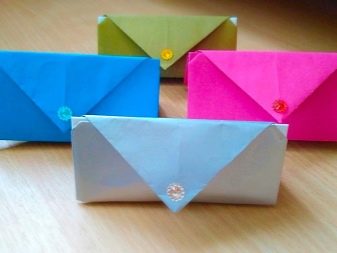
- The simplest, but catchy and aesthetic solution is to decorate a paper wallet with sparkles. They can be multi-colored, presented in the form of both tiny and larger particles.
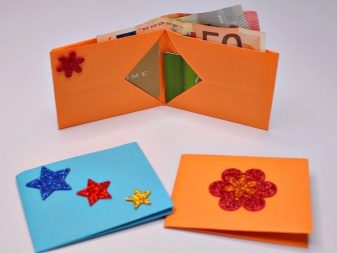
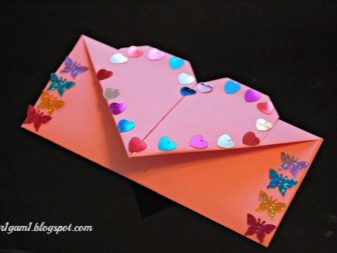
- On one origami wallet, you can combine several decorative components at once. For example, specimens with a combination of sequins and multi-colored ribbons will look nice and non-trivial.

Of course, a person who models a wallet using the origami technique can easily decorate it in any other way.
For information on how you can make an origami wallet, see the next video.


