Making origami in the form of a lily
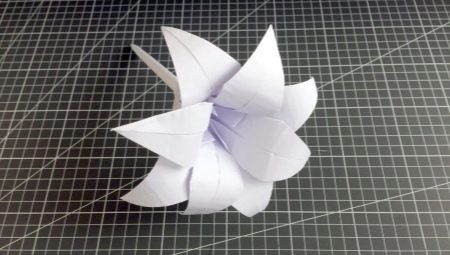
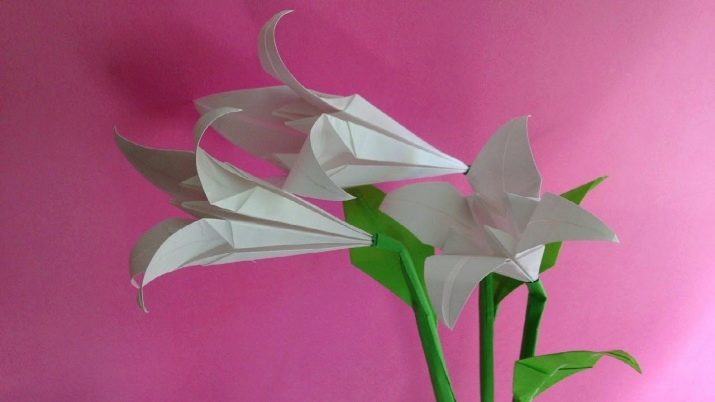
Origami is an ancient and fascinating creativity available to adults and children. Develops perseverance, patience, trains the mind, fosters a sense of beauty. Lily flowers folded out of paper can turn out to be this beautiful, working on them will help to form many useful skills.
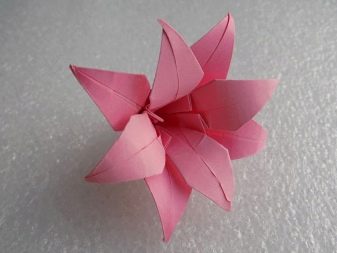
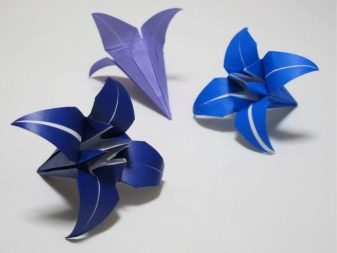
Tools and materials
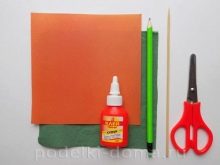
Starting to fold paper figures, you should prepare your workplace in advance, collect the necessary tools and materials. We present everything that may be needed to work in the origami technique with a list.
But each craft is individual, so small changes or additions may be made to the list. For example, glue is used with a pencil, PVA or glue gun, the choice is guided by the density of the paper. Beads, rhinestones, bugles and other elements are used for decoration - it all depends on the author's imagination.


So, to work in the origami technique, you will need:
- set of colored A4 paper;
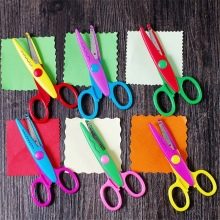
- simple and curly scissors;
- ruler, pencil;
- glue.
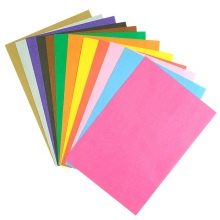

Having collected everything according to the list, you can start creating.
Classic version
When there is a diagram and step-by-step instructions, the lily is easy and fun to do. Unlike the modular version, the classic figurine is made from a small number of elements. You may need only a few sheets of paper to work. We offer step-by-step instructions with which you can easily make a beautiful flower.
Assembly
Decide on the color of the lily and take the appropriate paper from the kit. Cut a square out of it: the larger it is, the larger the bud will turn out.
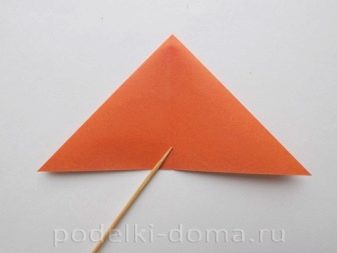
Fold the square diagonally to form a triangle.
Fold it again, making the triangle twice as small.Smooth out the folds with your fingernail so that they stand out well on the unwrapped paper.


Expand the workpiece to its original state. Fold the square marked with creases in half, creating a lateral horizontal bend. Unfold the workpiece and fold it in half again, forming a vertical bend.
Having formed the marks necessary for further work, unfold the square and fold it twice diagonally, as you did initially... It turns out a double triangle.
We pull the upper triangle towards us, bend the sidewalls inward and place the future petal on the lower triangle. In the center of the formed element, a mark should pass from the bend line. If done correctly, three corners will appear at the bottom of the workpiece.
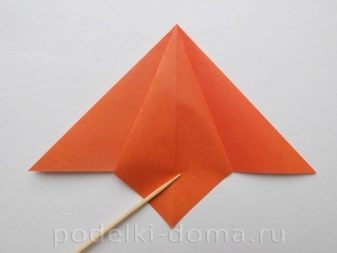
We turn the product over and do the same with the second triangle.
We bend the ends of the resulting figure from below so that a vertical line is formed tangentially between them.
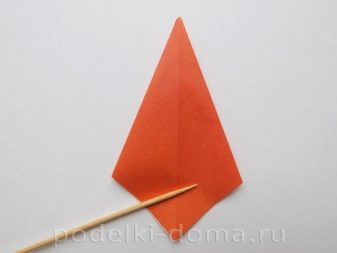
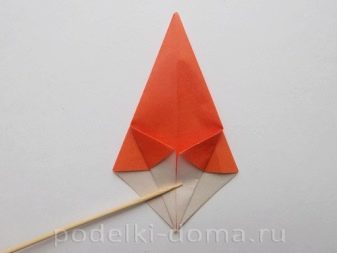
Fix the kinks well and bend the ends back to the previous state.
Pull the top corner down to the lowest point of the workpiece, that is, simply fold the figure across and fix the break.
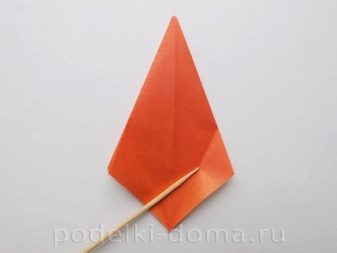
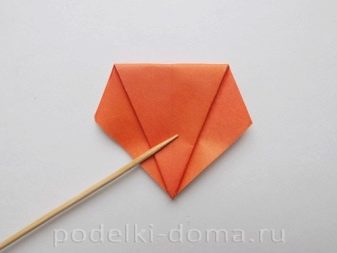
Return to the previous state. With the help of the actions taken, the necessary marks in the form of kinks are formed on the surface.
We now have a double piece with two solid planes. But to form a flower, we do not need planes, but the sides of the product, so connect the wings so that they are inside the workpiece, and the side parts are outside. We have to work with them.
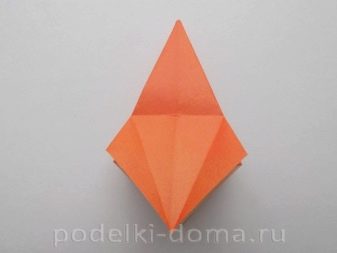
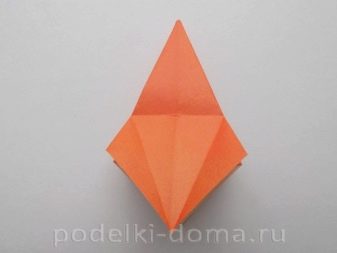
To form a lily along the existing bends, fold the part as shown in the picture.
Do the same with the back side of the workpiece. You will get such a figure.
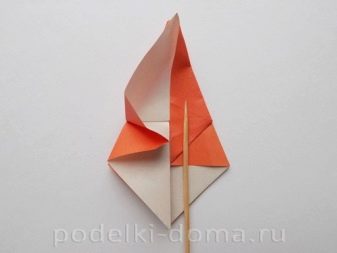
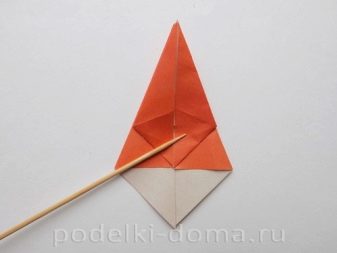
Now we lower the top corner. We do the same on the back of the part. We get a figurine in the form of a rhombus.
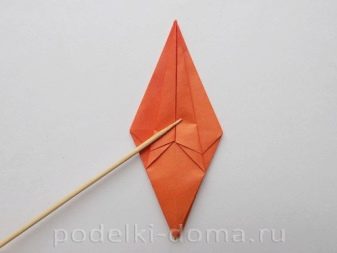
Form the upper plane of the rhombus with folds, as shown in the figure. To do this, the sheet is folded three times until a narrow part is obtained.
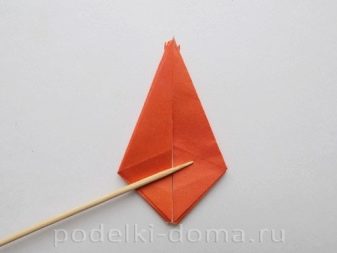
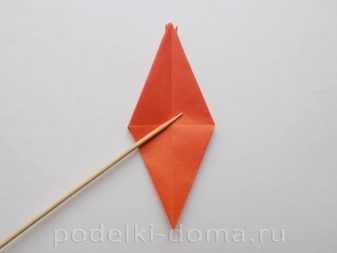
We unfold it from top to bottom and gently straighten the petals.
Using a knitting needle or pencil, we twist each petal, turning it to the sides.
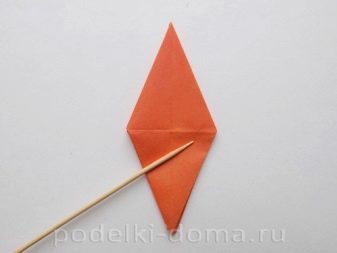


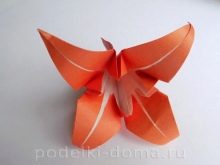
Let's move on to working with the peduncle. We select a suitable skewer for her and plant a bud.
Cut the strips from a green paper napkin.

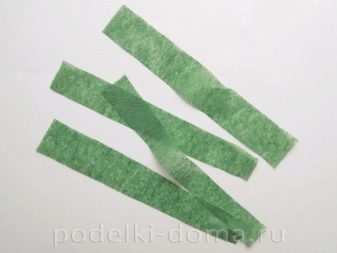
We wrap the stem with them, fixing it with glue.
Lily is ready. You can add leaflets if you wish.



Painting and decor
So that a lily made of paper does not look too simple, there are different ways to embellish the craft. The easiest of them is to use 2-3 variants of colored paper in your work. Then the lily will receive several shades and will look more interesting and richer.
You can show your artistic ability and paint the finished product. Watercolors will help to achieve natural streaks, and the flower under the brush will literally come to life.
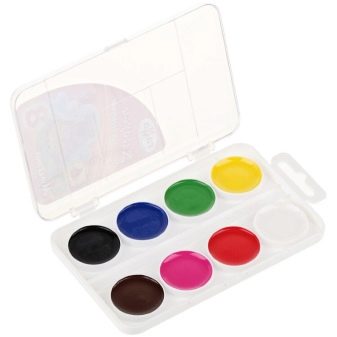
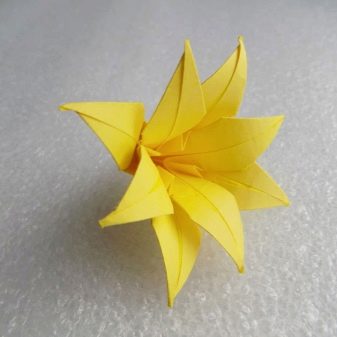
Sometimes they take a real variety of lilies as a sample and try to make a paper analogue as similar as possible using staining. For example, decorating a flower under a tiger lily, tint it with orange paint and complement it with black splashes.
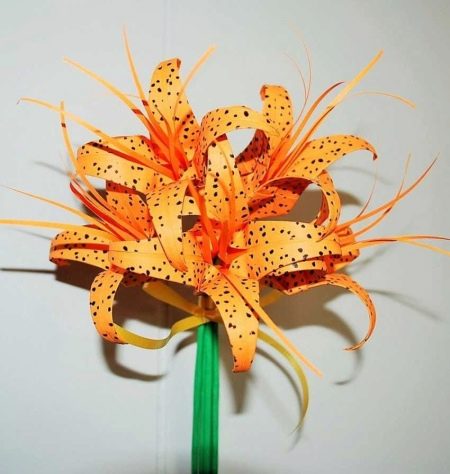
To achieve a more complete image, stamens are placed in the center of the flower. They are made using wire, colored paper and other devices. As an example, we propose to consider a lily with stamens made from ear sticks.

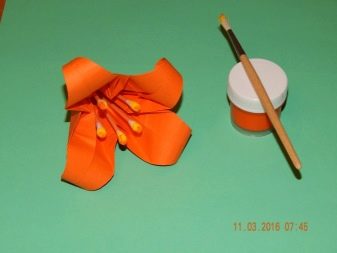
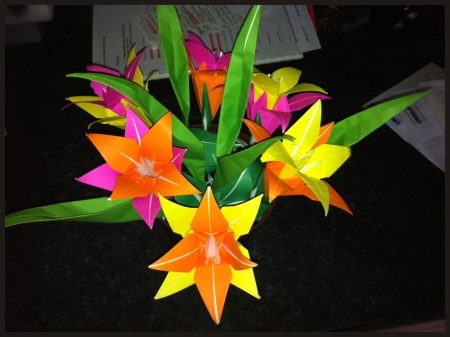
So that the paper flower does not look boring, crafts are made up of whole bouquets, compositions. Take a look at the following examples:
- composition in the form of a flower ball;
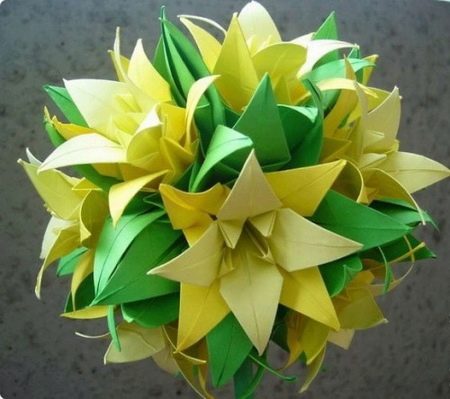
- two-colored lilies in a paper vase;
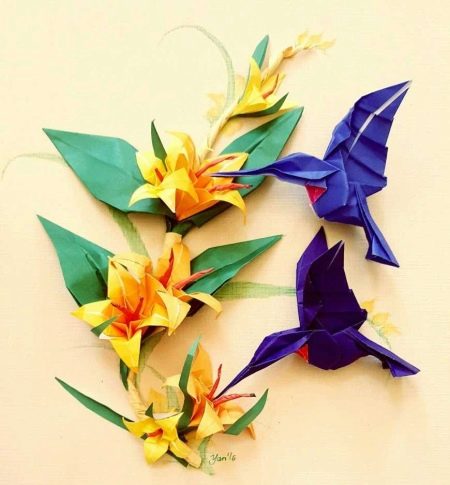
- beautifully composed arrangement of flowers and hummingbirds, made using origami technique;
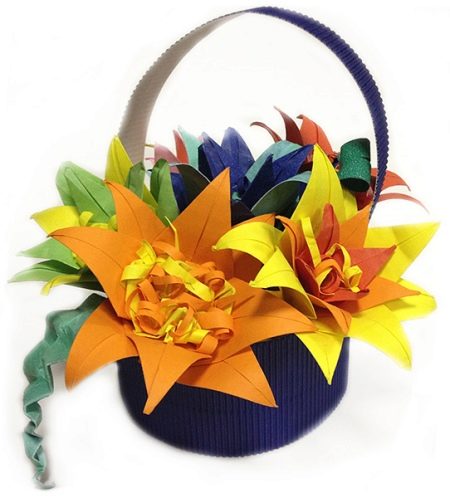
- bouquet in a basket;
- craft of lilies with paper pistils, decorated in the form of graceful twigs.

How to make a modular lily?
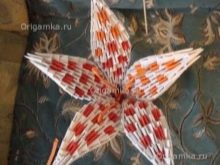
In the origami technique, in stages from the modules, you can fold both garden and water lilies with your own hands, both options will look great. We offer a master class on making a ground flower made of many fragments.
Specifically for this work we need: a set of ordinary colored paper, some green and orange corrugated paper for the stem and stamens, 5 skewers, wire.


Module
First, we'll show you how to execute the module.
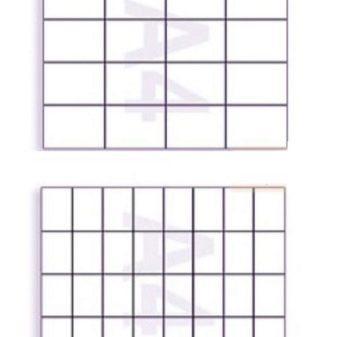
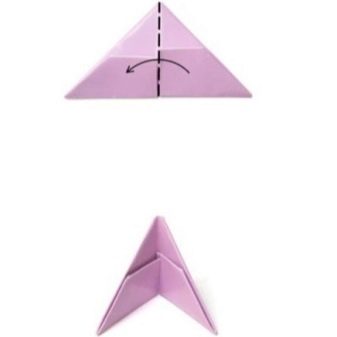
Cut small rectangles out of colored paper. Take one and fold it across, then in half again. When the sheet is turned, creases in the form of a cross are formed on it.
Fold the sheet in half along a horizontal line again.
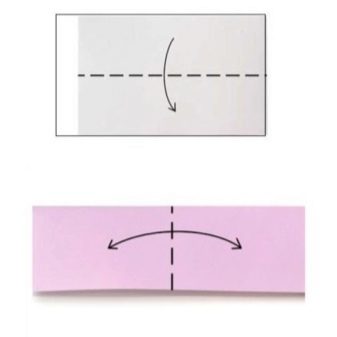
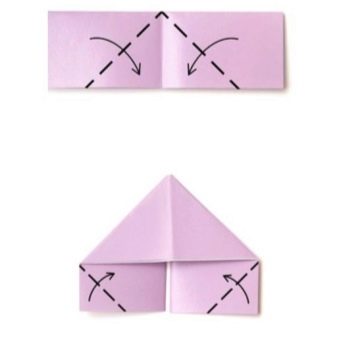
Lower the upper corners of the part so that they converge in the center, forming a vertical line at the junction.
Turn the workpiece right side down.
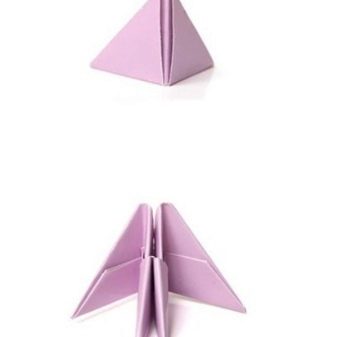
Tuck the two bottom corners to the line of the triangle's hypotenuse (as in the picture).
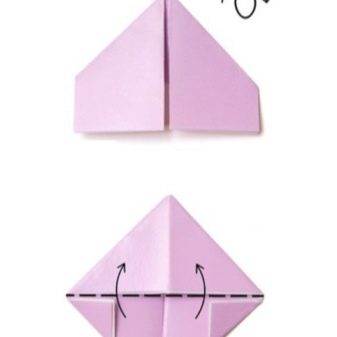
Then lift the lower part of the workpiece.
Bend the triangle in half so that the folded parts remain inside.
One module is ready. You will need a lot of them to make a lily, so be patient and prepare as many fragments as possible. It is better if some of the modules are darker in color. Then the lily will turn out interspersed and will look even more attractive.
Flower
Now we turn to making the flower itself.
Let's start with one petal. The modules will be laid out in rows, as shown in the picture.
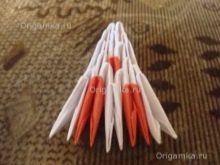
Initially, you only need two elements. The second row will be one module larger. In the third, we add one more detail, and so proceed on an increasing basis up to the ninth row. The modules are easily fastened together.
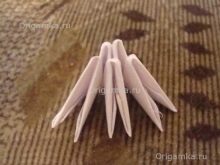
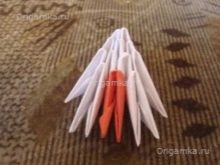
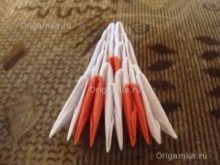
Starting from the ninth row, the number of fragments will decrease, with two elements at once, and so on until the thirteenth row.
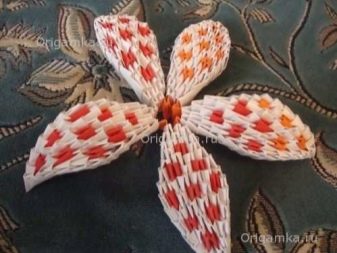
One petal is ready. For a flower, we need 5 such blanks. Do not forget to alternate modules with different shades while laying out the rows so that blotches are obtained on the lilies.
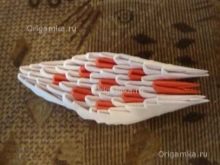
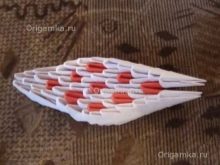
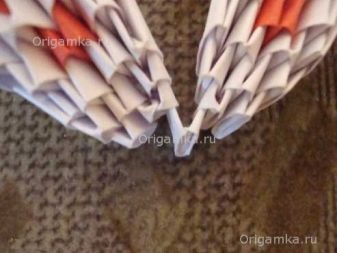
After completing all 5 petals, start assembling the flower. To do this, take one free module and use it to connect two petals. Take the free module again and attach the third petal, and so on five times, until the inflorescence is completely collected.
Stem
We proceed to work on the peduncle. Take five prepared skewers and thread them into the petals (one for each piece). This is easy to do as the modules form holes.
Wire all the skewers tightly together into a single stem. Wrap the peduncle in green corrugated paper, fix with glue.

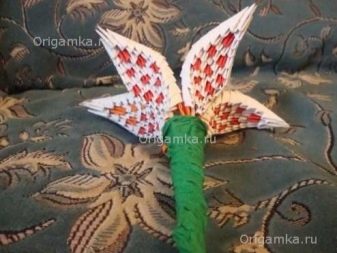
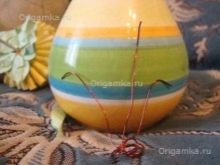
The flower is actually ready. It remains to fix it on some kind of base or put it in a vase. In order for the lily to have a completely finished look, it must be decorated with stamens. To do this, make a piece of wire with three branch ends.
Wrap the blank with orange corrugated paper, glue it and connect the stamens to the flower.

Folding paper lilies is a pleasant and exciting experience, even small children can be connected to it. Most of the work will have to be done by an adult, but little ones can also cope with some elements.
Try teaching them to stack modules. These details are easy to follow. Children will be happy to save you from the routine production of many of the same type of elements, and they themselves will enjoy and benefit from the new skills they have acquired.
For information on how to make origami in the form of a lily with your own hands, see the next video.


