Making origami in the form of a mouse
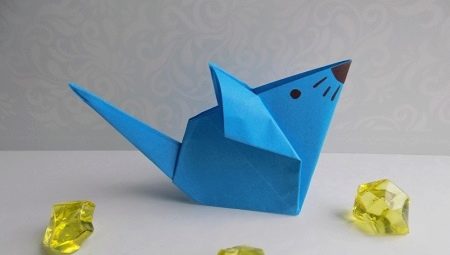
In the origami technique, you can model almost any figurine. For example, it is possible to make a charming mouse out of paper. There are many different ways to fold this craft. In this article, we will tell you how to correctly make origami in the form of a mouse.

Simple options
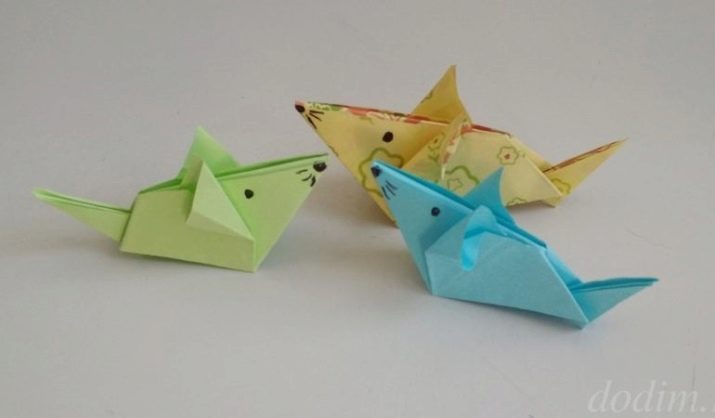
It is advisable to start acquaintance with the origami technique with simple and uncomplicated crafts. Fortunately, there are many easy-to-understand schemes for beginners. Modeling the simplest paper mouse will take very little time. Let's consider in detail and step by step how easy it is to assemble the simplest figurine using the origami technique.
First, you will need to prepare everything you need to model origami. You will need the following components:
-
a square piece of paper of any color you like (the choice of colors depends only on the preferences and imagination of the master);
-
a plastic eye with eyelashes (such things can be bought in special stores where everything for creativity is sold);
-
pen, felt-tip pen or pencil.
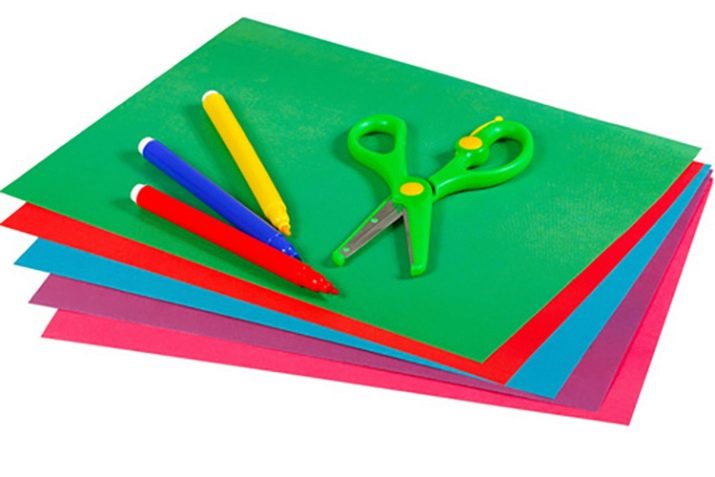
The procedure for modeling a simple mouse will be as follows.
- The original square-shaped paper piece will only need to be folded 5 times. After that, a figurine with a pointed nose and ear will appear in front of the master. First, the square should be carefully folded in one of the diagonal directions.
- Next, the paper blank is folded again, touching the second diagonal... The formed lines will serve as a kind of reference point, which will make it possible to easily shape the ear of the mouse at the next stages.
- It is necessary to leave the blank in the form of a triangular element, folded in two layers. One of the corners of the part will need to be bent to the side.This element should be directed towards the corner located at the opposite point. In this case, the fold line must be displaced from the line in the center of the diagonal.
- After that, the corner will need to be re-rotated to the opposite side.... In this case, it is necessary to leave the formed fold. Due to this, it will be possible to highlight the ear of the future paper mouse. In addition, the craft will partially acquire volume.
- Further, the corner located below will need to be raised up in such a way, to make the head of the figure less square.
- In the next step, you can start gluing the mouse eye. A pointed nose should be painted with a pencil or black pen. You can take a few thin black stripes away from the nose - these will be the mustache of the mouse. It is also worth drawing a smiling mouth of the craft.
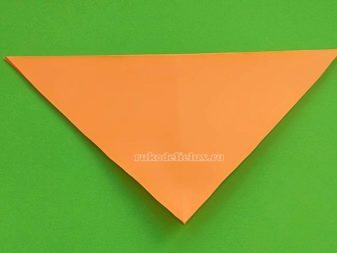
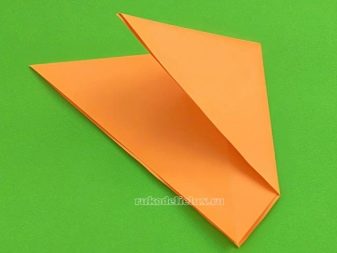
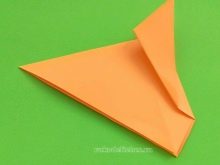
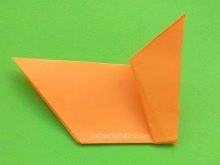
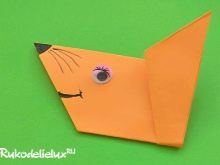
This is a very easy method for modeling origami in the form of a mouse.
It does not take much time and is perfect for children who are just mastering the basics of a popular technique.
How to make a funny mouse?
There are many ways to make a beautiful origami mouse. You can simulate a funny animal. There is nothing difficult or time-consuming in carrying out such work. To make a funny mouse, you need to take one piece of white paper or any other color you like. And also you need to prepare a black pencil.
Let's take a look at the step-by-step instructions for assembling a funny paper mouse.
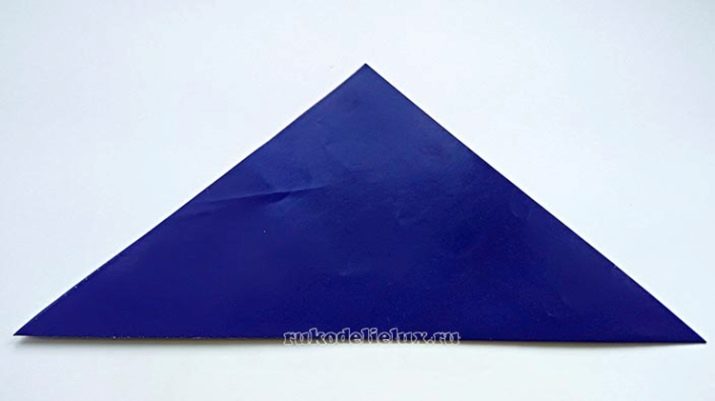
- At the first stage, a square piece of paper will need to be folded in half diagonally. Its front side can be of any color, for example, blue. The reverse side should be just white.
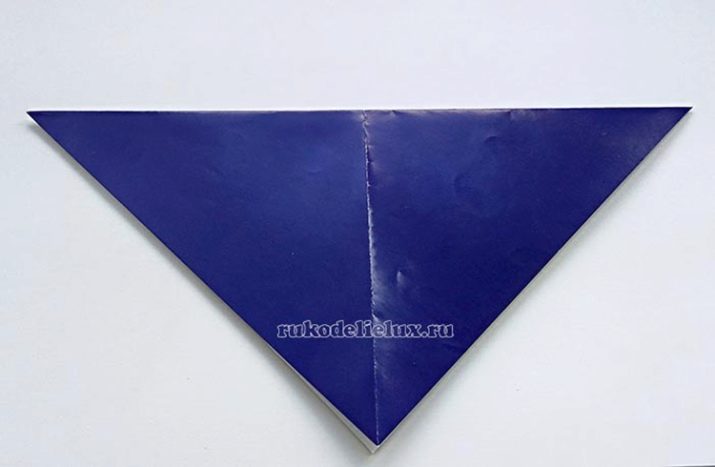
- Next, the square workpiece will need to be folded in half again, but already along the next diagonal... Now the 2 formed diagonals in the figure are marked in a cruciform manner.
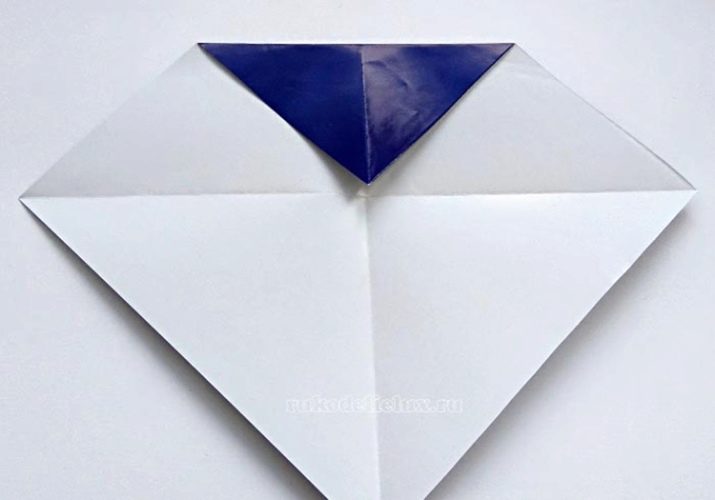
- The square must be carefully expanded... It should be turned towards you with the white side. One corner of the workpiece will need to be pressed to the point of intersection of the diagonal lines - to the center line.
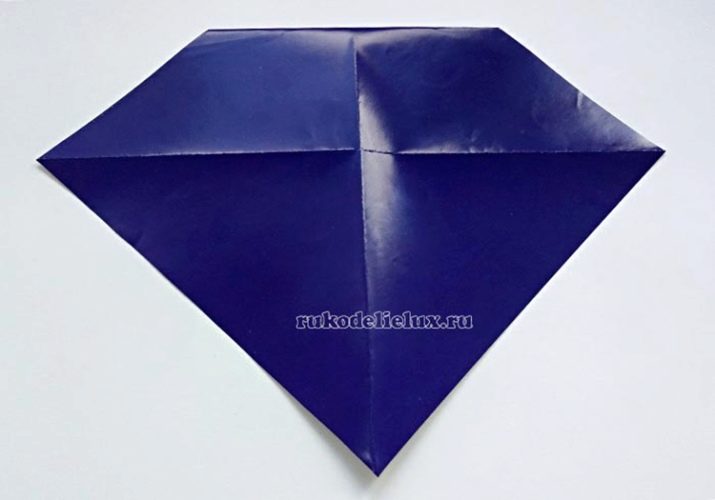
- Now you need to turn the paper blank. This time the colored side should "look" at the master.
- The corner at the bottom will need to be lifted up. The white side of the sheet must be shown so that the corner adjoins the center of the top.
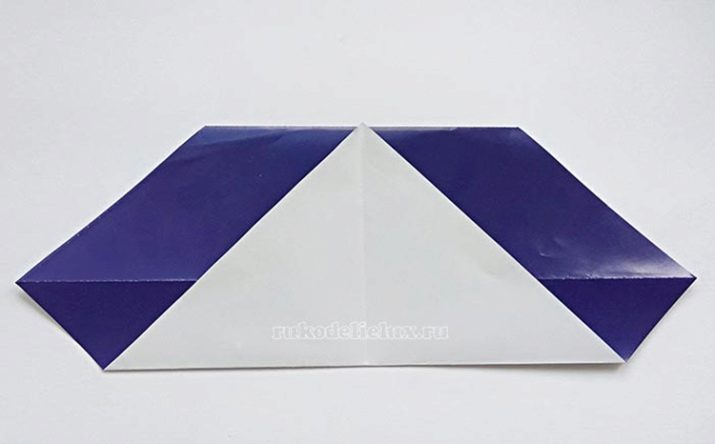
- Unfold the paper blank. You will need to be guided by the resulting fold lines. First, one side is folded, and then the other.
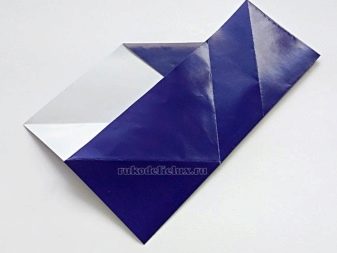
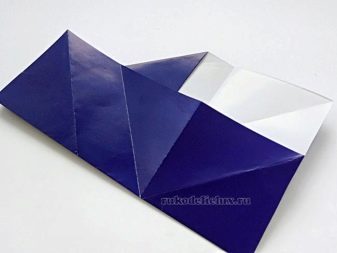
- The workpiece must be carefully unfold up to the first bend made earlier.... They turn it towards themselves with the white side. The side sections of the paper blank will need to be carefully folded inward. In this case, you need to form 4 squares.
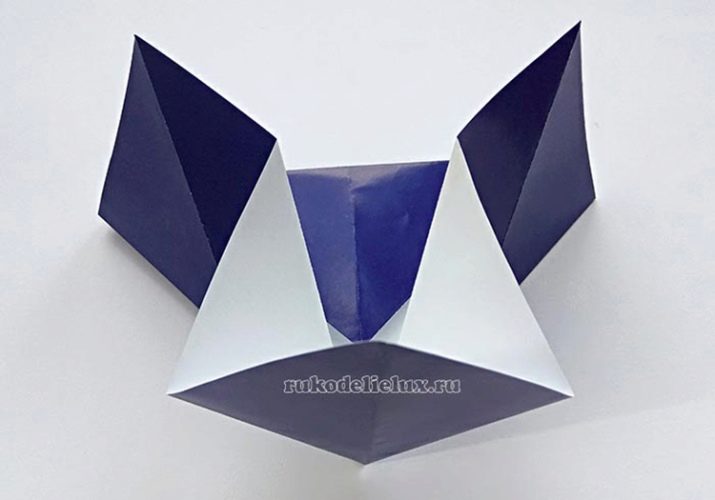
- The paper will need to be folded so that one square piece is at the center point and two pieces on the sides are on top. The square in the center will soon play the role of the head of a funny mouse, and the two side parts will become its ears.
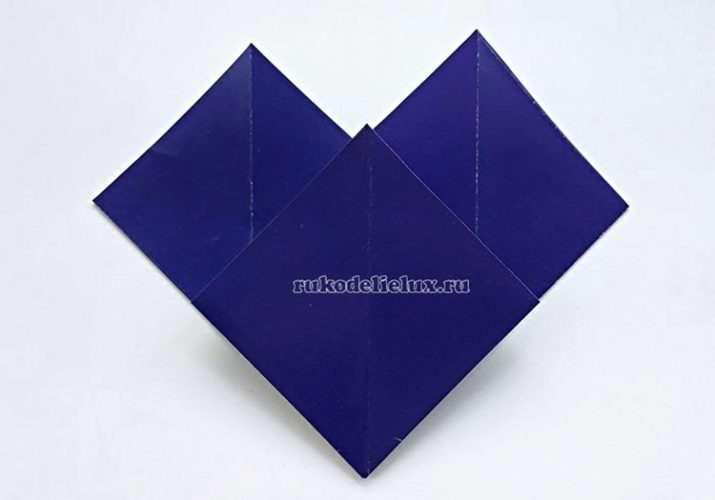
- The top layer of the central square must be lowered down, to show off the white side.
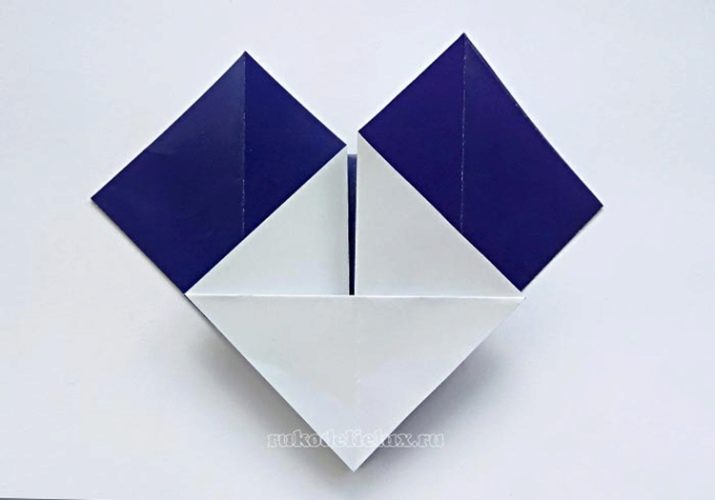
-
The corner of the top layer, located below, must be lifted up, thus showing a blue triangle.
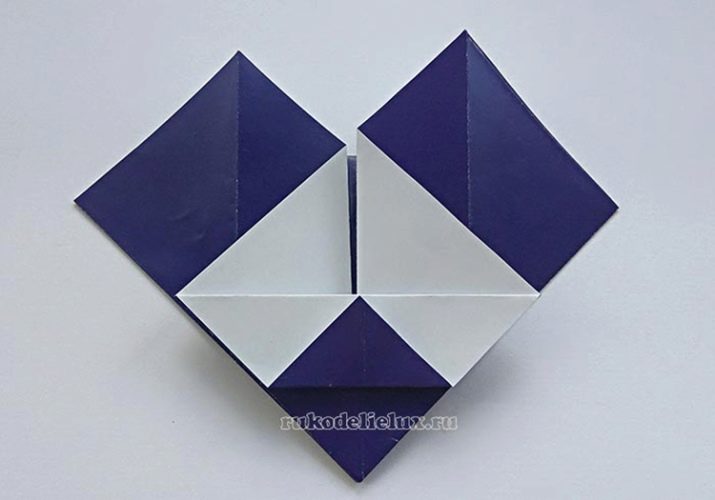
- The paper blank needs to be turned over to you with the second side. The protruding corner pieces on the sides and top must be bent back to form small isosceles triangles.
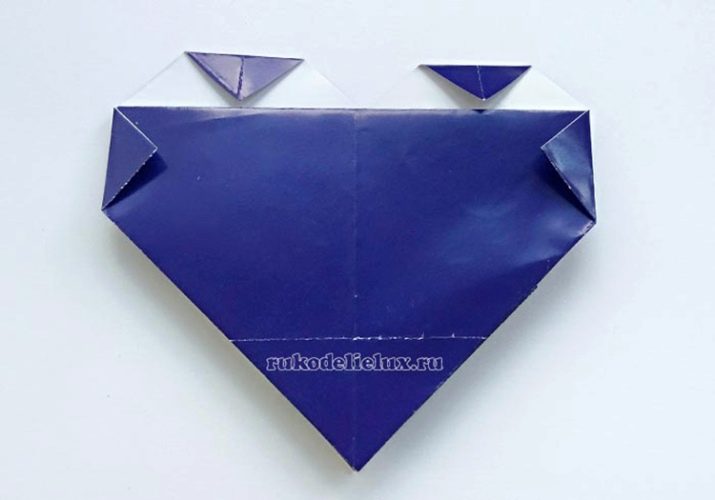
- The blue corner of the top layer, which was folded back in the previous steps, will need to be folded downward, so that he is well disguised. At this stage, the head of the funny animal will be ready.
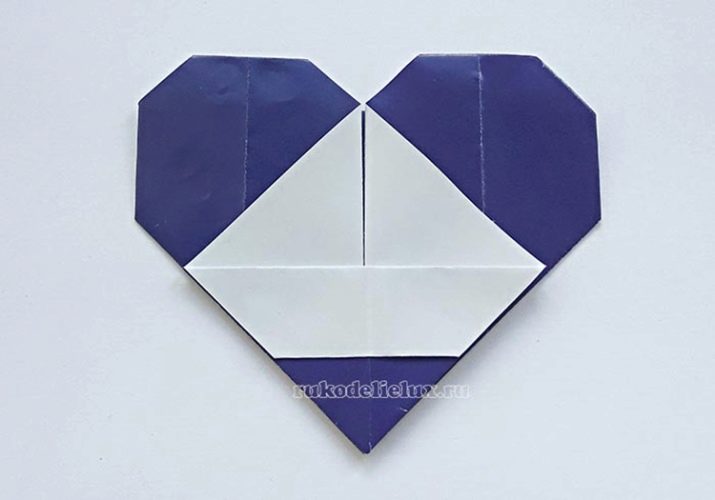
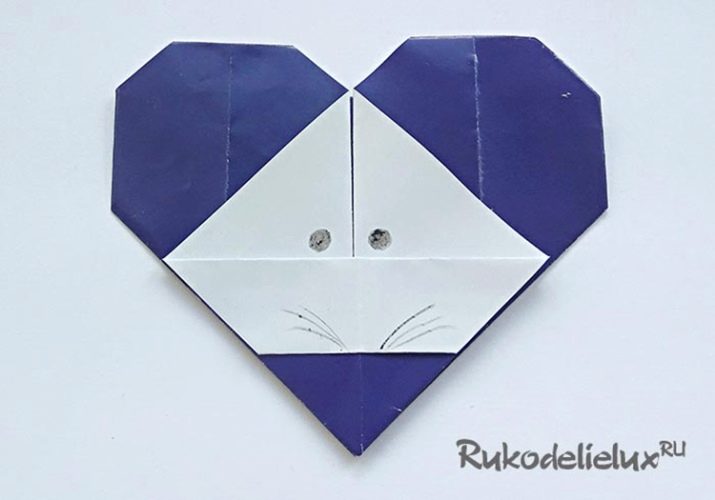
- You can design the muzzle of the mouse using a black pencilby drawing antennae and eyes on the blank.
If you make a paper mouse strictly in accordance with the description of this master class, then you can get a very attractive and cute craft.
Creating a modular figure
The origami technique provides a wide scope for creativity, making it possible to embody almost any ideas and ideas. You can collect very original and beautiful figures using modular technique.
It allows you to get very interesting and voluminous designs.
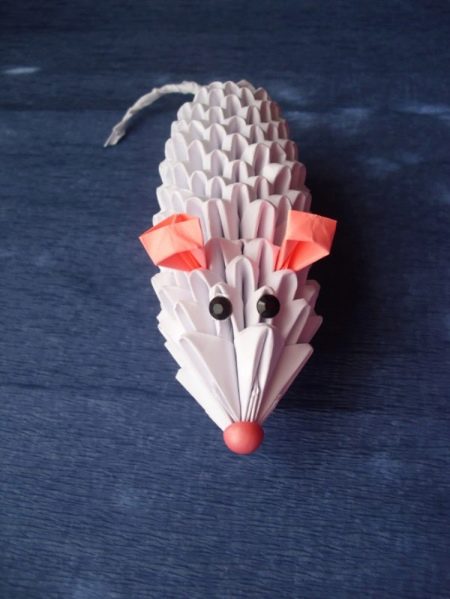
To make a beautiful paper mouse using the modular origami technique, you will need the following components:
-
several white sheets of plain office paper;
-
pink sheet (you will need it to make mouse ears);
-
beads, rhinestones, buttons (will be used as the eyes and nose of the animal);
-
glue "Moment-gel".
And you will also need to prepare clerical scissors, through which the modules for assembling the mouse figurine will be cut.
If all the components are prepared, you can start modeling a paper mouse with your own hands. We will analyze in detail a master class for carrying out all the work.
-
At the first stage, you will need to make modules for the further assembly of the paper figure.... To do this, you need to cut the blanks. Their size should correspond to 1/32 of a whole sheet of paper.
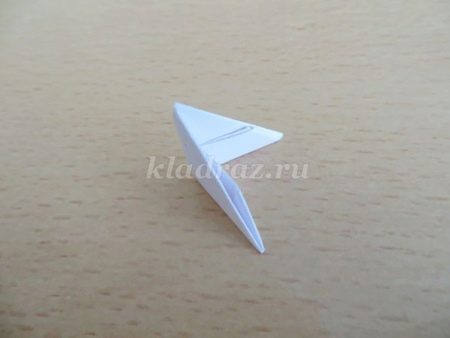
- The torso of the future origami mouse will need add from triplets.
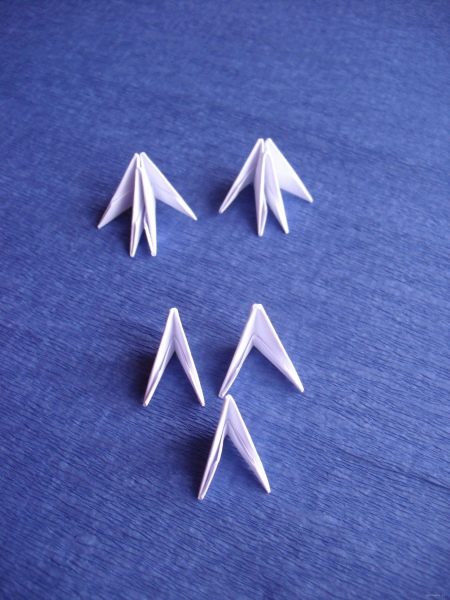
-
For the starting and second rows, you will need to fold, and then connect 3 triplets with each other in one circle.
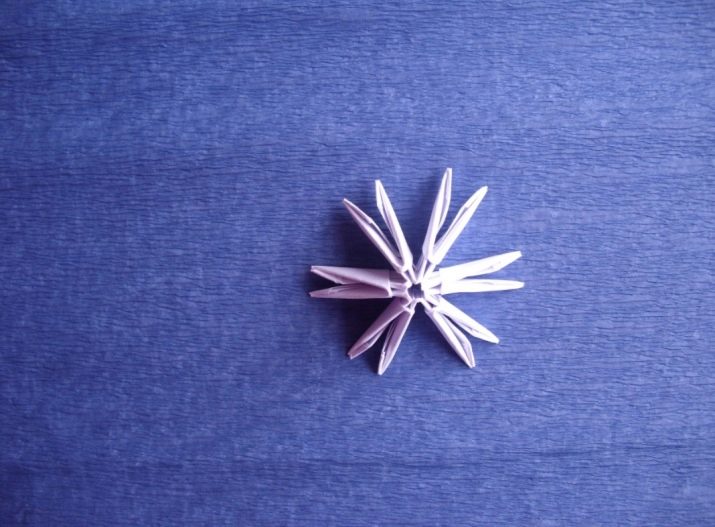
- Starting from the third row, the body of the future paper animal will expand, therefore for 1 module of the row from below, you will need to put on 2 modules.
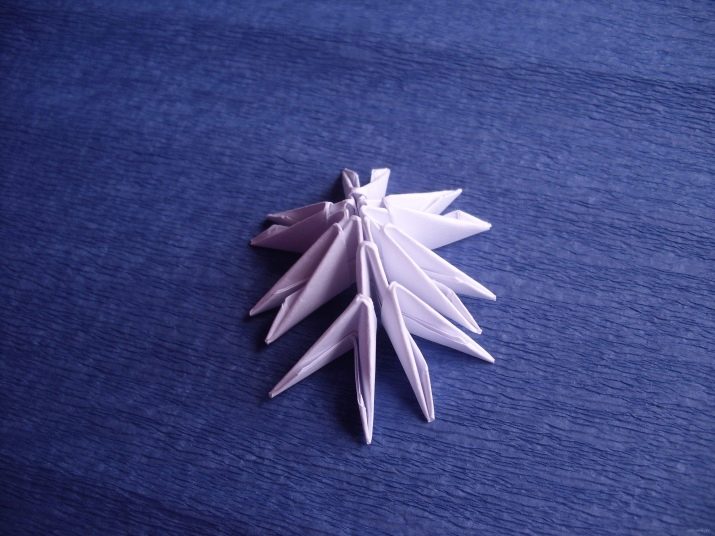
- At the end of the circle the number of third row modules will be up to 12.
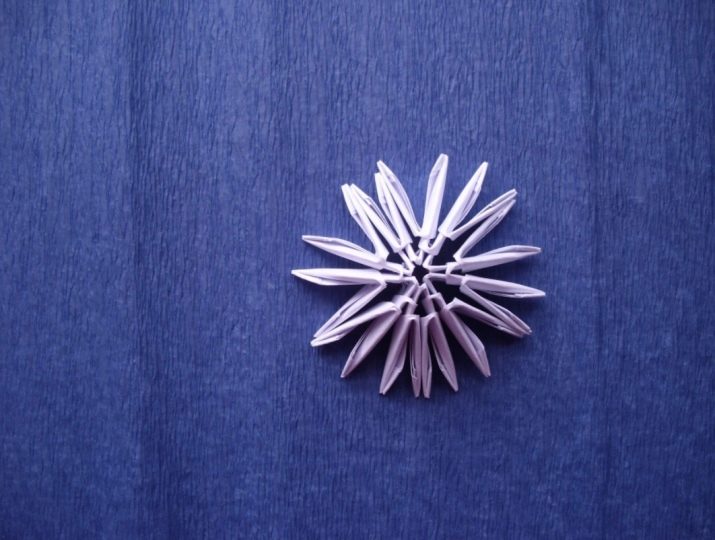
- Fourth and fifth rows will need to be folded neatly, but not expanded. The number of paper modules in them should be only 12 pieces. Once the fifth row is complete, the workpiece will need to be carefully turned out.
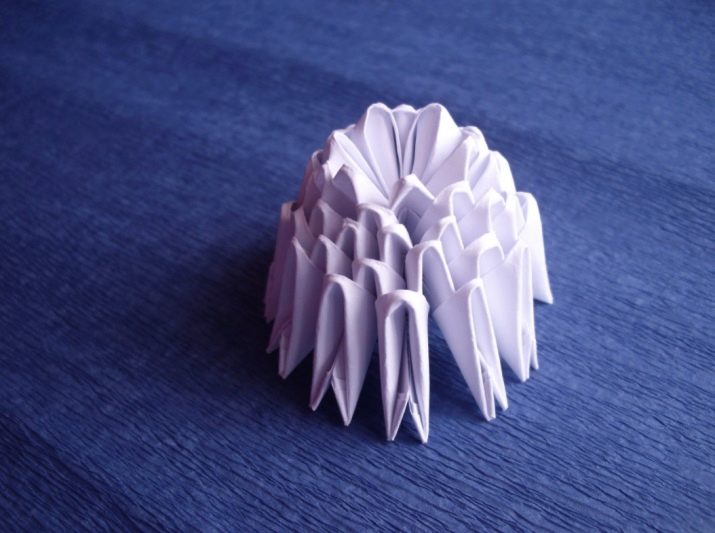
- After this stage, the modules need continue to add in a checkerboard pattern up to and including row 13.
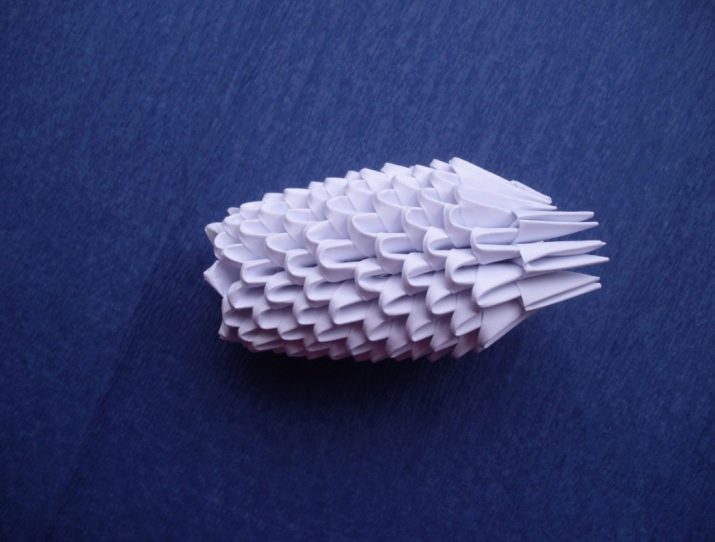
- As for the 14th row, then here the modular parts will need to be inserted with the shortened side. Due to this, it will turn out to designate the neck of the future animal.
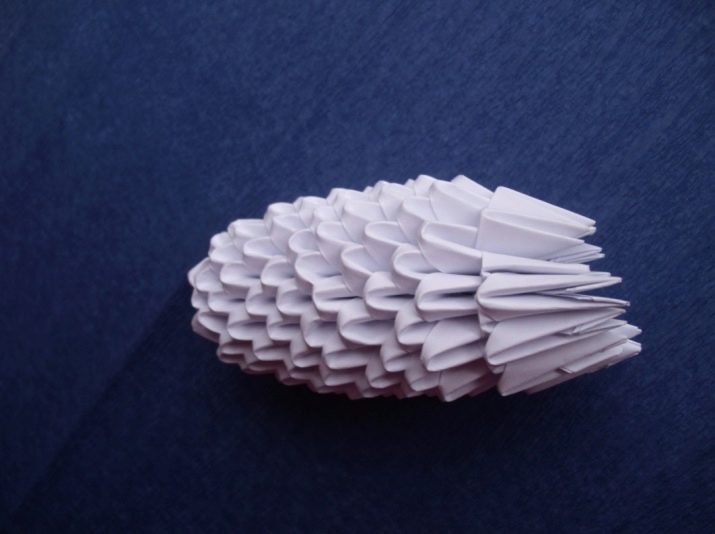
- Next 15 row will need to be assembled in accordance with the general principle - the modules will need to be inserted with the longer side.
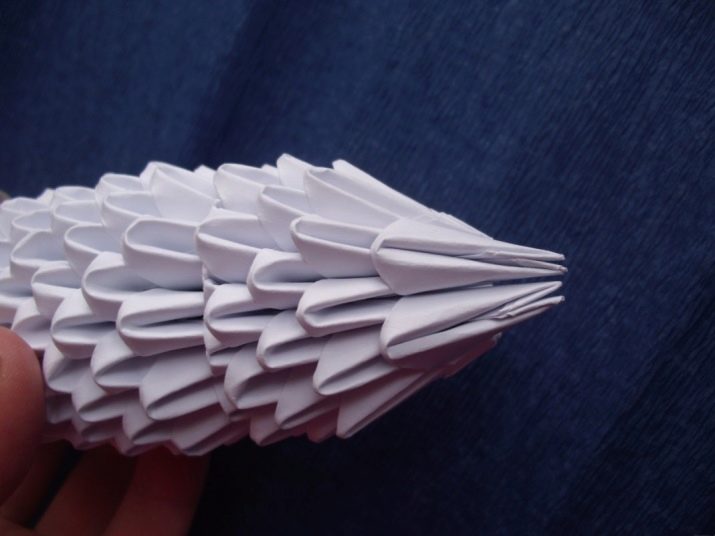
- In accordance with a similar scheme of actions, the assembly of the figure is continued up to the 18th row.... In the latter, the number of modular components will need to be halved. For this purpose, one module will need to be put on at once on 4 ends.
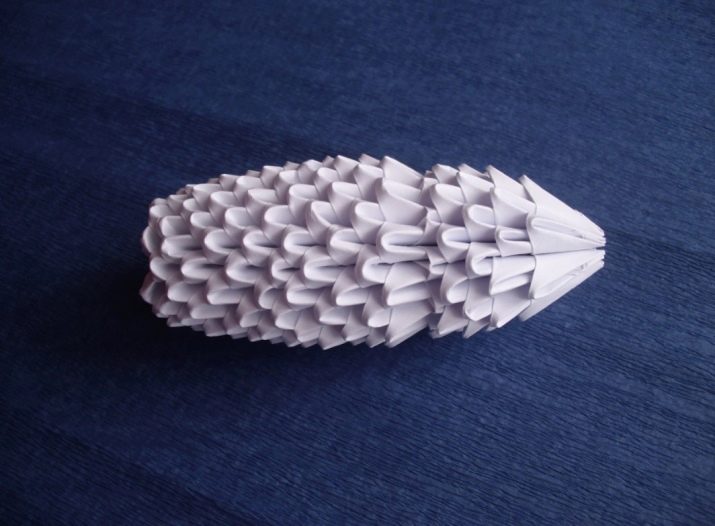
- The body of the future modular mouse is completely ready. Now you can start modeling the small paper ears of the animal. To make them, you will need to cut out a couple of additional modules from paper of a selected pink color.
Their shape should be slightly corrected.
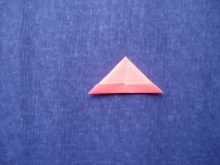
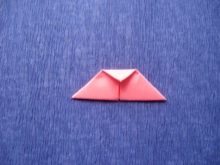
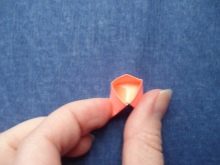
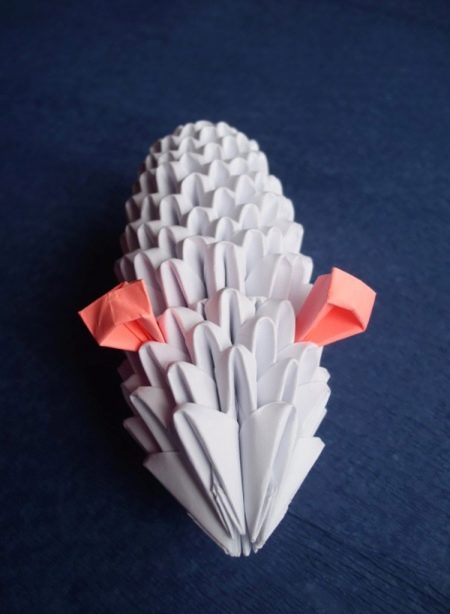
- Ready-made pink modules-ears will need to be carefully glued to the head paper mouse in the appropriate places on the head.
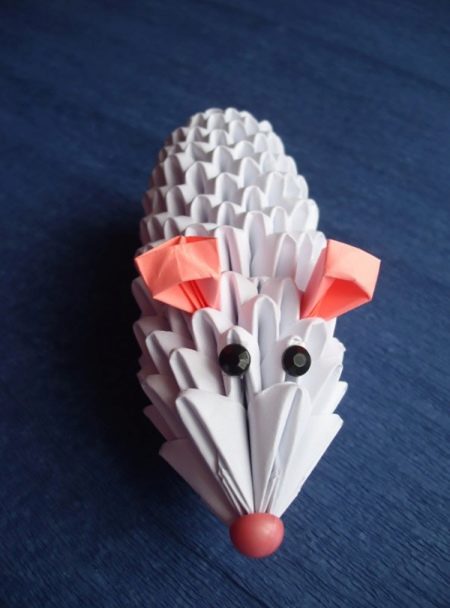
- Now you can use rhinestones, beads and buttons... From these components it will turn out to form very original and beautiful eyes and the nose of a paper mouse, simply by gluing them to the face.
- Next, you will need to prepare 4 more additional modules. They must be attached to an adhesive composition to the body of the mouse at the bottom. Thus, it will turn out to make small paws of a paper animal.
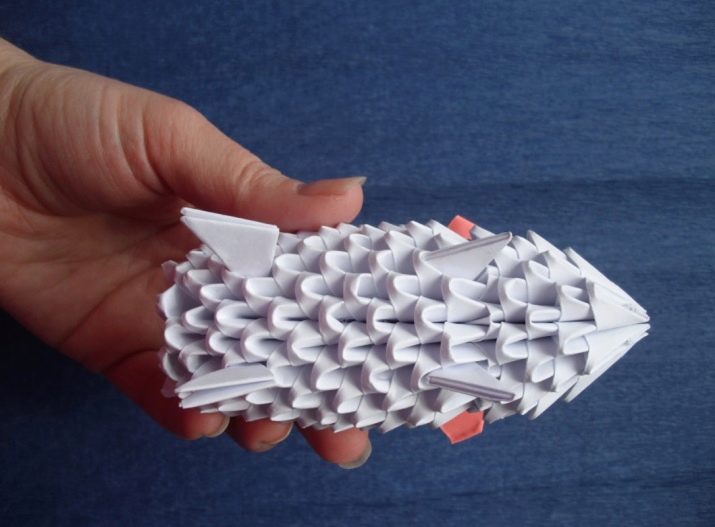
- At the final stage, you will need to take a strip of white paper. This part will need to be twisted into a tube, and then glued to the mouse - this will be the tail of the animal. The original modular craft is ready!
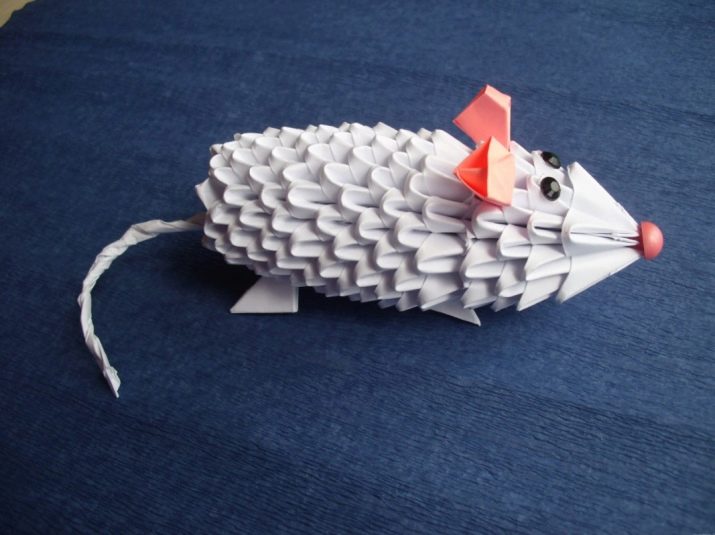
Making modular origami figures is more complicated and takes much more time. To get a beautiful and neat craft, it is important to be patient and act without haste.
Assembling such things can be turned into a fun activity for the whole family.
A detailed master class on making a mouse can be viewed in the next video.


