Origami robot folding options
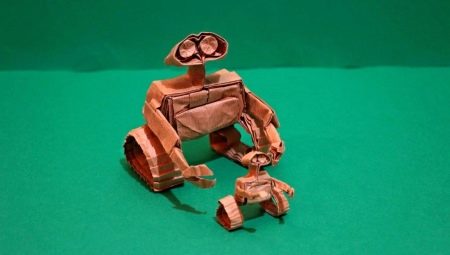
In the origami technique, you can make very original figurines in the form of a robot. Specialists have developed a lot of schemes, according to which it is possible to manufacture both the simplest and very complex crafts. In today's article, we will look at the different options for folding origami in the form of a robot.
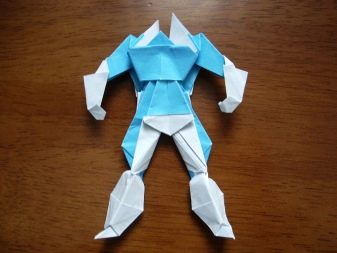
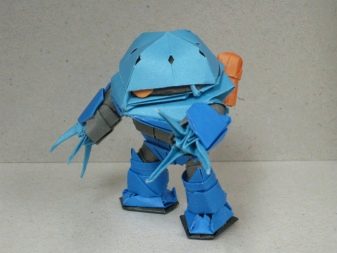
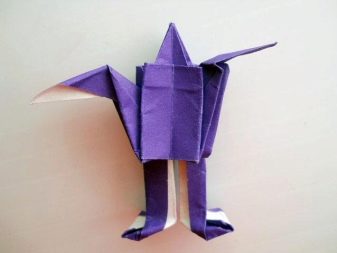
A simple paper option
The origami technique is available not only for adults but also for children. For beginners and young masters, it is best to start acquaintance with Japanese art with simple and accessible schemes. Having mastered them, you can safely conquer new peaks and simulate more complex options for paper crafts.
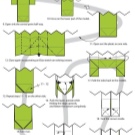
There are many simple schemes for modeling a paper robot figurine. To make such a craft, it is enough to prepare a square piece of paper. Let's take a look at the step-by-step instructions for making a simple paper robot shape.
- The first step is to form the basic origami double square shape.
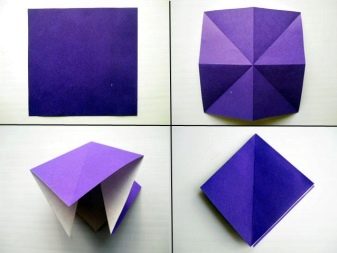
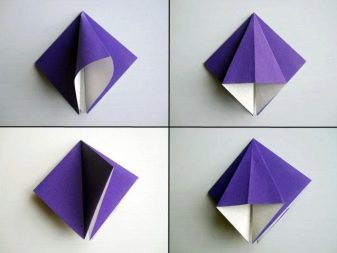
- Each of the 4 valves of the workpiece must be opened and then flattened.
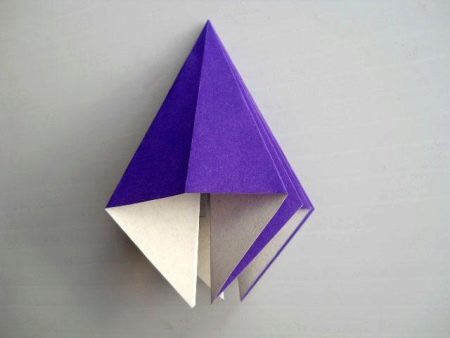
- As a result, a workpiece with a long and pointed element should come out.
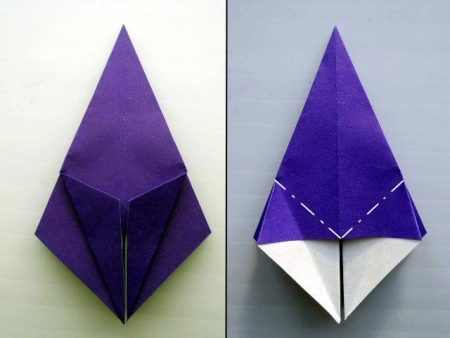
- The lower side sections of the product must be carefully bent towards the center. After that, they will need to be straightened back.
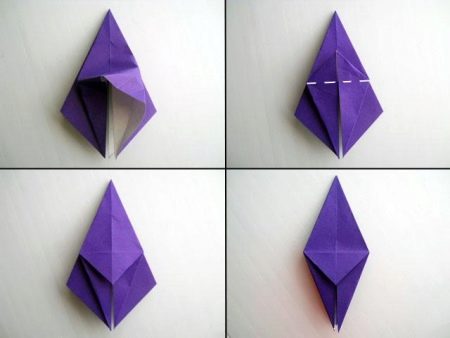
- The central part of the top layer will now need to be lifted up. In this case, an irregular rhombus should form. Actions will be in many ways similar to the formation of a basic form, called a "bird". The corner will need to be lowered down.
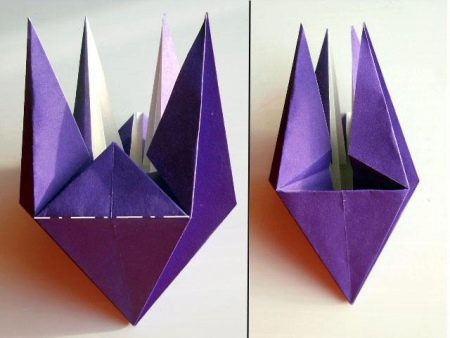
- These actions must be duplicated with the rest of the sides of the paper blank.
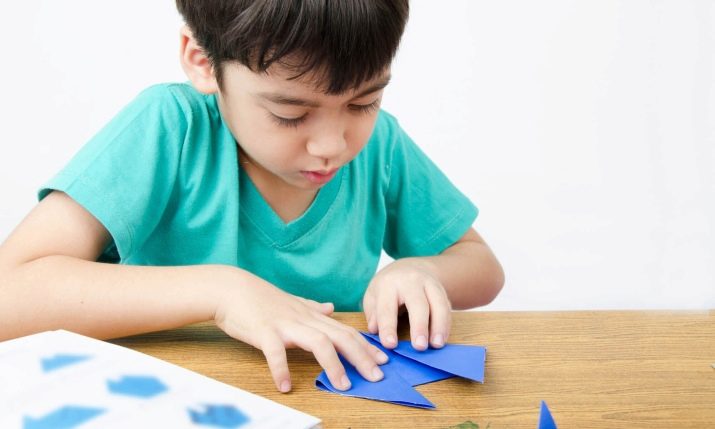
- At the next stage, the paper product will need to be carefully opened. Straight corners should be tucked into the inside of the structure.
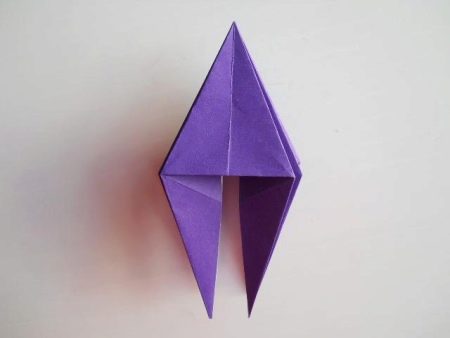
- The result should be a shape as shown in the diagram.
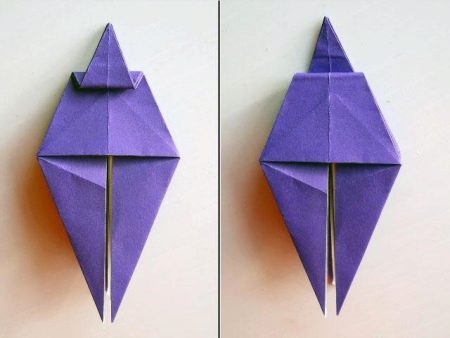
- Further, the upper corner of the structure is folded in a zigzag manner in the directions towards itself, and then away from itself.
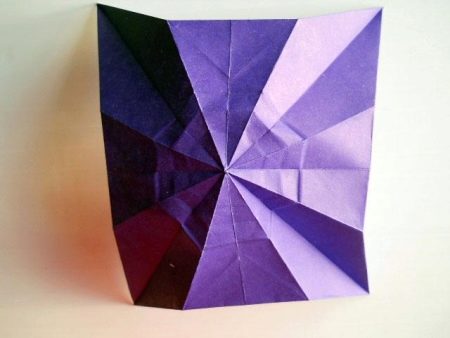
- After that, the sheet must be expanded. You should act carefully so as not to damage the structure.
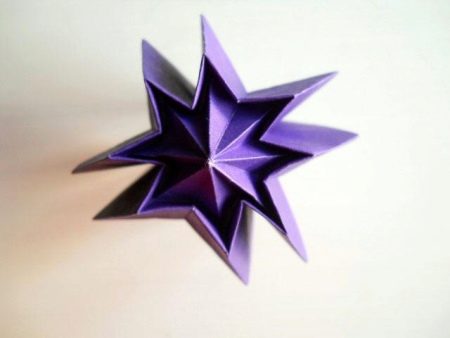
- Along the outer circumference, folds should be formed according to the "mountain" type, and along the inner circumference - according to the "valley" type.
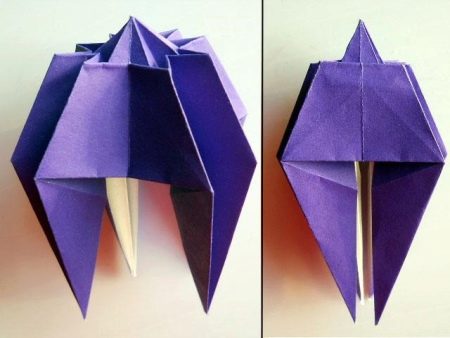
- Now the paper figure needs to be assembled into its original shape.
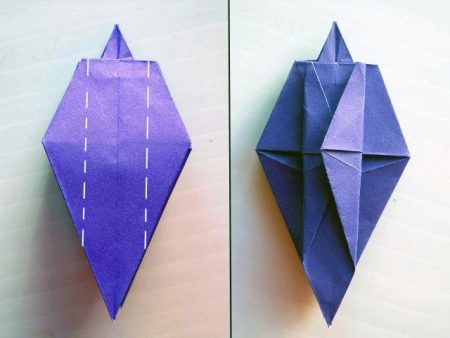
- The layers of the workpiece will need to be turned over.
The corners on the sides of the upper layer are bent to the middle.
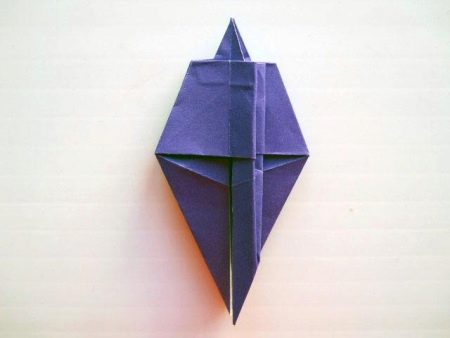
- After that, the layers must be turned over to the right side.
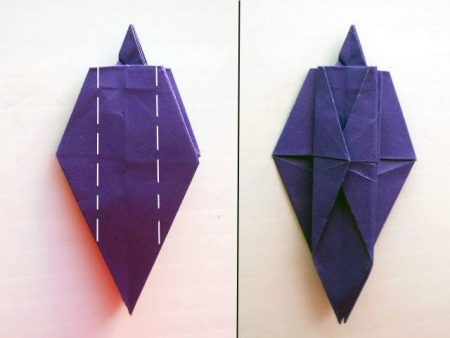
- On the next side, fold the side corners again, guiding them towards the middle.
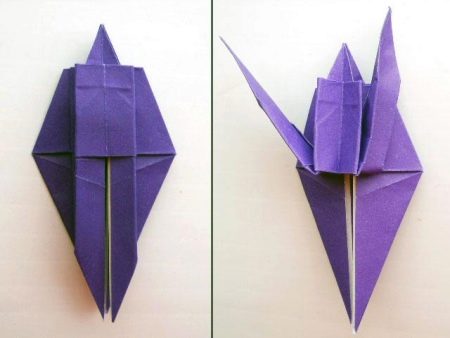
- The folded layers must be turned to the left. The strips will need to be lifted on both sides.
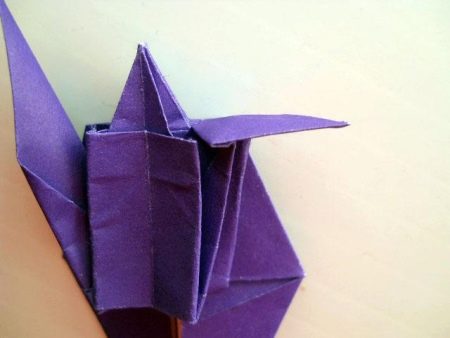
- Further, it will be possible to form the right hand of the future robot.
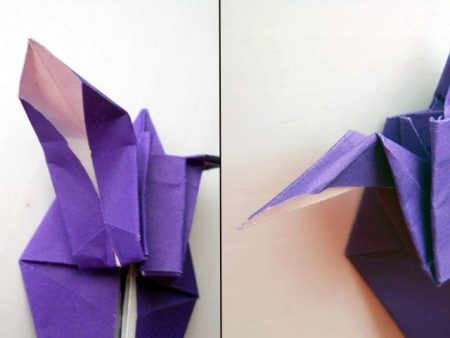
- At the next stage, the left hand is formed.
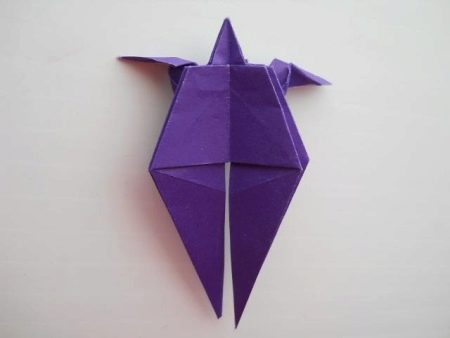
- The workpiece is turned over to the other side.
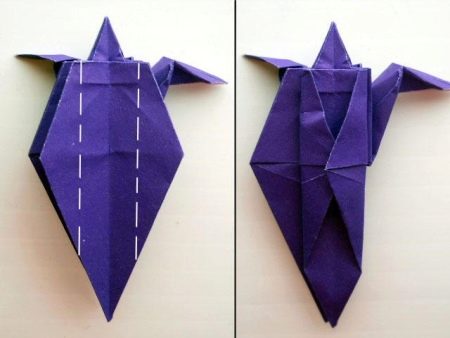
- Towards the middle, it will be necessary to bend the corners located on the solid sides of the craft.
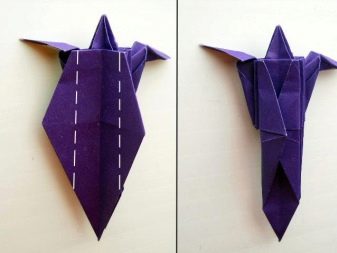
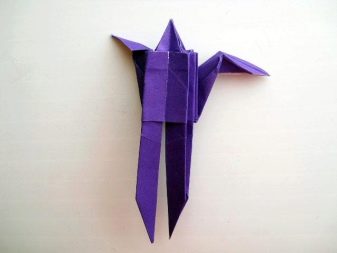
- The master can now shape the legs of the robot.
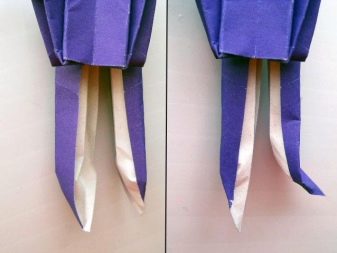
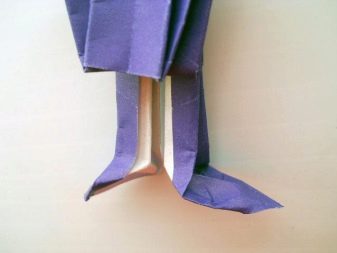
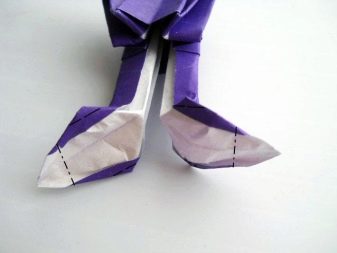
- It is necessary to make the feet. At this stage, the original paper craft will be ready!
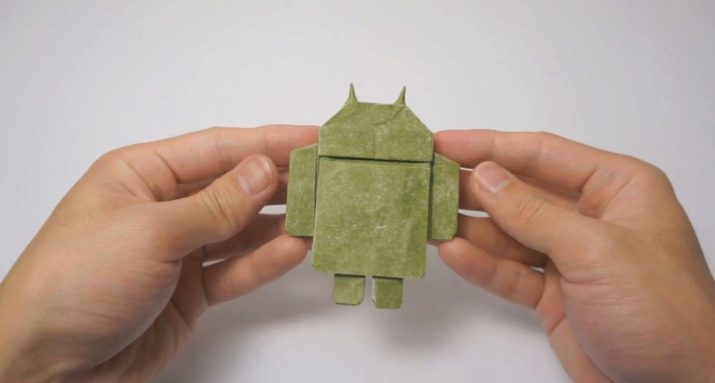
Folding the android robot
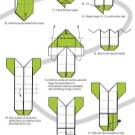
You can even make a famous green android robot with your own hands. Modeling such a craft is more difficult and takes more time than the classic versions of figures. To make an android robot, the master needs to prepare green paper.
If you plan to make such a complex paper figure, then from the very beginning it is recommended to make all the necessary markup. It should be done as carefully as possible so that during the further folding of the figure there are no unnecessary problems and inaccuracies.
The assembly of such a craft should be carried out exactly according to the scheme. The author is Gerwin Sturm. Masters use a similar scheme most often when modeling a figurine of an android robot.
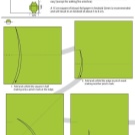
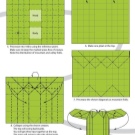
More ideas
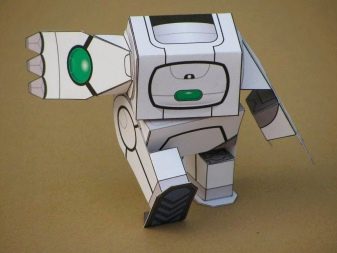
There are many more different schemes for making an origami figurine in the form of a robot. These can be flat, volumetric, and modular options. A paper craft in the form of a transforming robot will turn out to be interesting and original. Let's consider step by step how it should be done correctly.
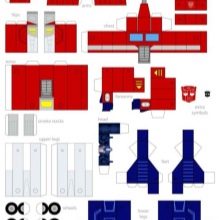
- First, you should print the drawings of the future robot on a thick sheet of paper. The sheet format can be A4 or A3.
- Place the printout on a soft surface. It can be a sofa or a bed. After that, using an awl or a needle, it is necessary to make holes in the details, marked in the diagram.
- Further, the details are carefully cut strictly along the contour. It is more convenient to cut long and straight elements with a stationery knife and a ruler.
- Next, using the blunt side of the scissors, you need to push along the ruler all the fold lines on the future structure.
- It is necessary to bend those parts of the craft that are static. This should be done along the outlined lines. After that, you will need to glue the valves.
- Those parts that are movable should be connected with an elastic band.
It is threaded through the holes, and then secured with reliable knots on both sides.
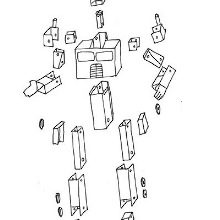
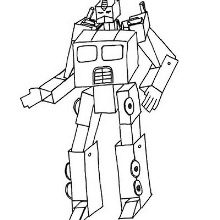
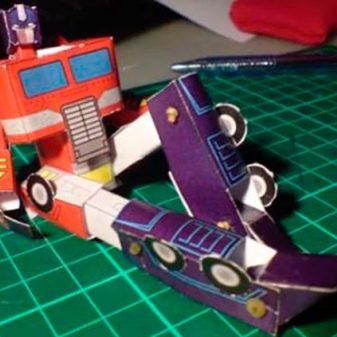
When all the details are ready, you will need to start assembling the original figurine of the transforming robot. We will find out what stages this stage of modeling paper crafts consists of.
- First, you need to glue the torso and chest of the future paper robot to each other.
- After that, the chest, shoulders and neck of the structure are fastened with elastic bands.
- Next, you will need to securely glue the neck and head of the robot together. It is not recommended to use too much glue, as it can negatively affect the appearance of the craft.
- The upper zones of the robot's legs, calves and feet will also need to be connected to each other using elastic bands.
- The craftsman will need to glue the wheels to the calf areas of the figurine.
- The torso of the craft is connected to the upper legs.
- The next step is to glue the wheels to the robot's hips.
- Now you need to glue your thighs and tops of your legs together.
- All the constituent elements of the hands of the transformer must be fastened with the same elastic band.
- You will also need to use an elastic band to connect the shoulders, shoulders and forearms of the figure.
- It remains to attach the exhaust pipes to the shoulder pads. The assembly of the original figure is complete!
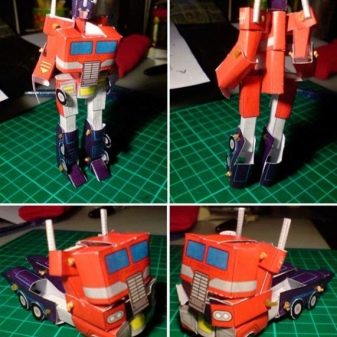
Useful Tips
You need to make origami in the form of a robot carefully and slowly. Before embarking on such operations, you must be patient. Excessive haste can negatively affect the accuracy of the craft.
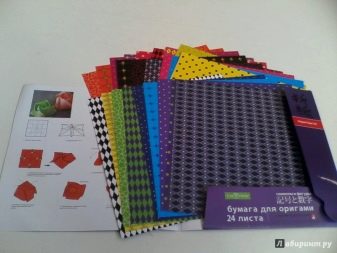
To assemble the figures, use paper of sufficient density, it should not be too thin. Specialty origami paper, which can be purchased at specialty stores that sell art and craft supplies, will do.
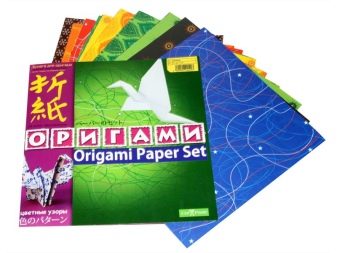
If you need to use scissors, then their blades must be sharpened well. Otherwise, the cuts will be torn and sloppy. This will reflect badly on the aesthetics of the finished paper craft.
On the faces of the finished robots, you can draw eyes and other details, highlight mechanical nodes on the body with a felt-tip pen. Each master chooses how to decorate such an origami craft.
To learn how you can fold origami in the form of a robot with your own hands, see the next video.


