How to make origami in the form of a box?

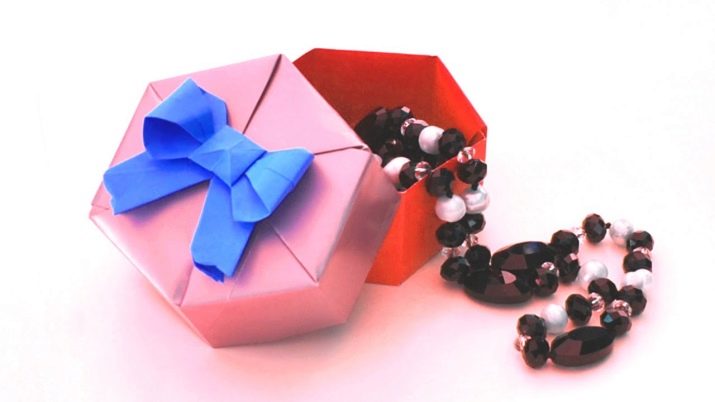
An origami-style paper or cardboard box can be used to store keys, jewelry, and other items. You can make such a device with your own hands, relying on different options for master classes.


Simple option
For beginners who like to craft paper products, there is an easy version of the box. It can be used to store jewelry. It is not difficult to make a paper box using the origami technique with your own hands. Take a square sheet and make diagonal folds on it. Then fold the sheet from the back vertically and horizontally. After that, start forming the box according to the ready-made scheme.
A similar star-shaped box can be made of cardboard.


Original modular crafts
Modular crafts look very impressive. They can decorate any interior. The hexagonal box can be folded without the use of glue. To assemble it, you will need 12 paper or cardboard squares.


The master class is presented in pictures.


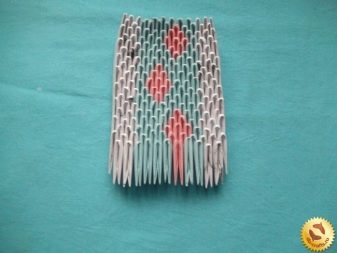
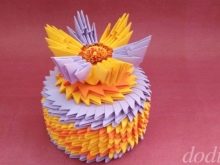
A round box is folded from triangular modules. It is important to understand the assembly diagram. Multi-colored triangles should be inserted into the pockets with their long ends. As several rows appear, a pattern is formed. To give the product a circle shape, connect the opposite ends by inserting the ends of the last modules into the openings of the initial triangles. For the manufacture of the bottom and lid, you will need cardboard and a pair of compasses. You need to calculate the radius of the box, draw and cut out the circles. One of them serves as a bottom. Place the print on another round cardboard, and on top stick 3 modular circles of different sizes and colors.
Some people prefer the top in the form of a beautiful origami-style flower.


Here's a step-by-step guide to making a beautiful modular box.
- Prepare multi-colored modules measuring 7.5x5 cm.
- Fold the first two rows from 28 white blanks, connecting them in a circle.
- The next row involves the alternation of a white element with three blue details.
- Press down on the center of the workpiece and lift the edges slightly.
- The subsequent rows must be formed with the outer side of the parts.
- The alternating attachment of alternating white and blue figures is as follows: white figures are attached with one valve to the white ones, and the second to the blue corners.
- Attach a blue module to each visible white corner of the next row (there are 7 of them), the intermediate part must be filled with alternating white and blue details.
- The sixth row consists of alternating 2 blue and 2 white modules (28 pieces in total). The first flap of blue pieces captures a corner of the same color, and the second pocket ends up on the white tip of the previous row.
- On each blue module of the next row, throw a blue blank (7 pieces in total). Fill in the intermediate section with alternating white and blue shapes.
- Form a row of alternating 2 light blue and 2 blue pieces.
- Attach a white figure to each blue ledge of the next turn. Fill in the middle with repeating blue and blue elements.
- The tenth row is formed from alternating 2 light blue and 2 blue pieces.
- On all the blue protrusions of the next turn, put on 1 element of the same color, fill the intermediate part with alternating white and blue figures.
- The next circle consists of repeating 2 white and 2 blue parts. White figures are attached with one valve to the white ones, the second to the blue corners.
- For each blue element of the next turn, put on a blank of the same color. Fill the gap with alternating white and blue details.
- The next circle consists of alternating 2 white and 2 blue elements. White parts are attached with one valve to the white one, the second to the blue corner.
- Attach parts of the same color to each white ledge of the next row, fill the intermediate part with blue figures.
- The final loop consists of 28 blue parts. They are inserted inside with the long side.
The lid is formed from 3 rings of different colors and sizes. The first turn will require 28 blue parts, the second - 21 blue blanks, and the third - 16 white modules. Connect these rings with glue. Hook on the top. It consists of 15 blue and 3 blue modules connected to each other. A beautiful box with a lid is ready.


Useful Tips
The origami box is made according to ready-made schemes. Without them, the product may not work. With the help of glue, the craft can be given strength. Involve children in creating paper and cardboard boxes. Working with small objects contributes to the development of hand motor skills, logical and spatial thinking.
In the process of folding origami, kids develop their creative abilities, train their visual memory.


The following video will tell you how to make a box using the origami technique.


