How can you make origami in the shape of a horse?
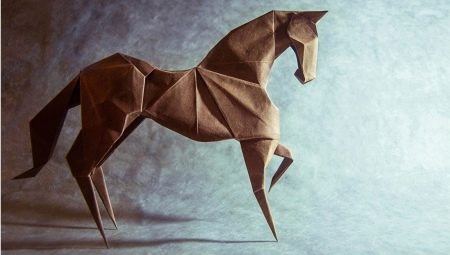
The well-known origami technique allows you to craft a variety of figurines. It can be not only geometric designs of different types, but also adorable animals. For example, a beautiful paper horse. In this article, we will take a closer look at how you can make such origami.
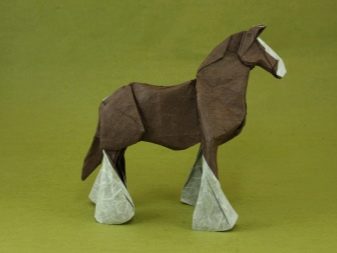
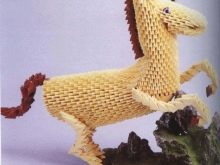
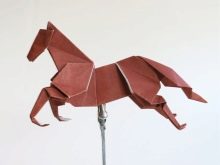
Simple options
Despite the fact that the technique of modeling paper origami figures is not too difficult to learn, it is better to start getting to know it with simpler and more understandable diagrams. It is not recommended to immediately rush to the assembly of intricate and noticeably complicated crafts. If you are planning to make a beautiful and neat paper horse, it is advisable to use the most available instructions.
One of the most popular and simplest techniques is based on the use of a double square element. Such a homemade product will look exclusively in the Japanese style, especially if you use special kami or washi paper decorated with oriental patterns to assemble it.
To model a simple horse figurine, you need to prepare a paper square with dimensions of 15x15 cm, as well as scissors with sharp blades.
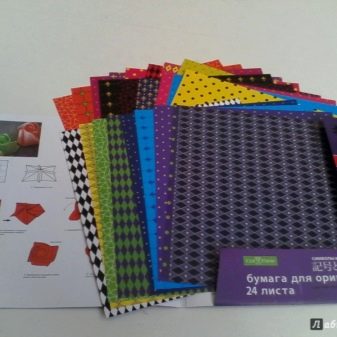
We will learn how to easily and correctly make origami "Horse" according to the simplest scheme.
- At the first stage, you will need to make an accurate marking for the "double square". This component performs one of the main functions in the assembly of the figurine.
- First, a diagonal bend is formed on the face of the paper blank. The direction should be from left to right.
- Next, you need to form another fold, but from top to bottom.
- Now the paper blank needs to be turned over.
- In the next step, you will need to outline a horizontally located axis.In this case, the lower edge is connected to the edge located at the top.
- Likewise, a fold is formed in accordance with the vertical axis.
- The corners located on the sides reduce to the bottom corner.
- You will need to lower the top of the paper figure to the same point. In this case, it is necessary to fold the craft along the previously marked bends.
- The blank of paper now needs to be flattened and properly smoothed.
- As a result of all the actions carried out, the necessary "double square" should be obtained. It will need to be turned over to its side.
- Further, the edges on the left and right are folded towards the center line of the workpiece.
- The prepared paper product will need to be turned over again.
- Now the right and left edges will need to be bent towards the center again, but on the back.
- The figurine must be revealed.
- In the next step, you will need to carefully lower the valve, which has a triangular shape.
- Then you need to make cuts along the lines marked on the diagram with a dotted line.
- The right side of the blank is opened, after which the same steps are repeated on the left side.
- The product is turned over again. On the back, you will also need to make cuts on both sides, and then open them.
- Each formed diamond needs to be bent in half.
- The paper craft must be turned over, after which it should be folded according to the arrows in the diagram.
- The product is turned 180 degrees.
- The fold lines will need to be marked along the dotted lines.
- By means of back folds, the "head" and "tail" of the paper horse are raised at a right angle.
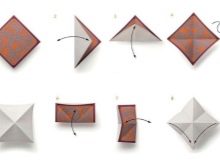
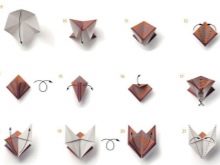
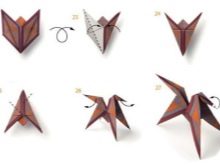
Such a craft is assembled easily, while having a cool appearance. The considered master class is suitable for children or novice craftsmen who are little familiar with the features of the origami technique.
Complicated crafts
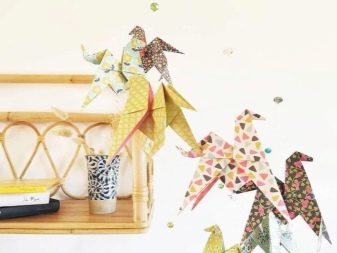
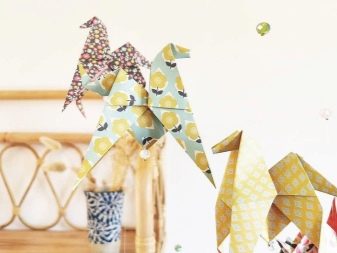
You can make not only the simplest, but also a very original and complex paper craft, which will subsequently form an elegant carousel. This design was first developed by the Spanish origamist Jose Tomás Buitrago. Ready-made paper figures can also be used as a spectacular table decoration, decorative interior pendants, and so on.
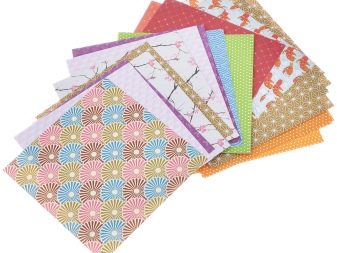
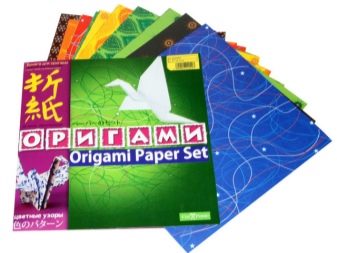
To assemble each horse, you will need paper squares with dimensions of 15x15 cm. It is desirable that the sides of these materials differ in color and available patterns or prints. It is recommended to use only high-quality paper for modeling. Options made specifically for origami will do.
Let's consider how to model such an unusual craft step by step.
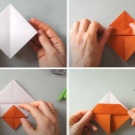
- You should start modeling beautiful three-dimensional figures with the formation of a "double square". The finished workpiece will need to be positioned with its open end pointing down.
- Next, the lower half of the paper blank must be carefully lifted.
- Then the bent part is returned to its original place. The lower part of the product must be lifted towards the center point.
- The middle layer needs to be folded in half.
- Now the second and fourth steps will need to be repeated, but on the reverse side. Then the paper blank must be turned 180 degrees. The bifurcated halves should be located at the top.
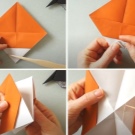
- The next step is to raise the point below. All the outlined lines must be thoroughly smoothed out.
- Next, the figure is revealed. As a result of the opening, the so-called diamond fold will be formed.
- The pyramid located at the top will need to be pressed down to the bottom.
- Now the edges on the sides are collected towards the center of the part of the workpiece. The edges must be pressed until the sides touch each other, forming a cruciform structure.
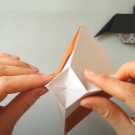
- Then the corner on the right must be folded towards the center. After that, the workpiece is opened.
- The formed "pocket" will need to be carefully expanded.
- By means of a back fold, you will need to bring the corner inward.
- The blank of the future paper horse is turned over.
- A similar fold should be formed on the back.
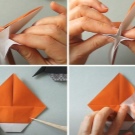
- Next, you can move on to shaping the head of the paper horse. To do this, you will need to mark the folds diagonally.
- A reverse fold is formed in accordance with these lines.
- The craft is carefully ironed so that it acquires the necessary symmetry and looks neat.
- The horse's nose can be marked by turning the tip of a different color outward.
- Now you need to open the left side of the craft.
- Both edges are folded towards the center point.
- The left side is closed.
- The pointed tip is lowered at an angle to form the horse's tail. All corners that sharpen and protrude must be removed so that the animal's back looks more rounded.
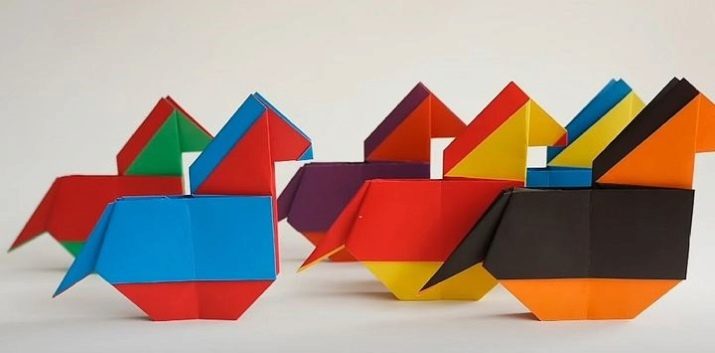
It is worth simulating several of these horses at once. It is recommended to “play” with paper of different colors to make the crafts more vivid and attractive.
Now you have to make an original carousel from the finished paper horses. Such a craft can be mobile, which will give it more attractiveness. The multicolored horses "racing" in a circle should be attached to a structure made of a turntable, a wooden skewer and special beaded / floral wire.
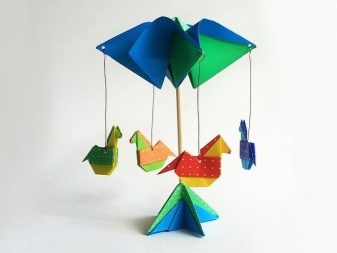
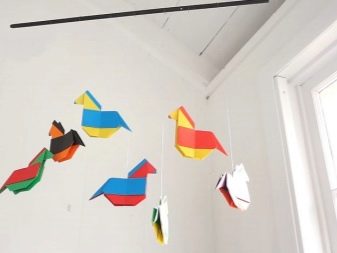
Creation of modular origami
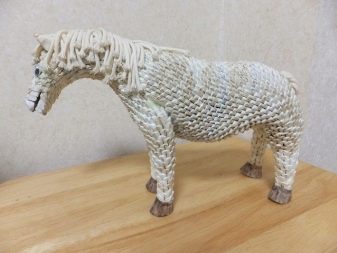
Figures made using the modular origami technique are incredibly original and bright. The assembly of such products is carried out from separate and pre-prepared modules in sufficient quantity. Modeling model crafts requires more free time.
To make a beautiful voluminous horse using the specified method, you will need:
- 409 light gray modules;
- 73 black paper modules;
- 5 more gray modules.
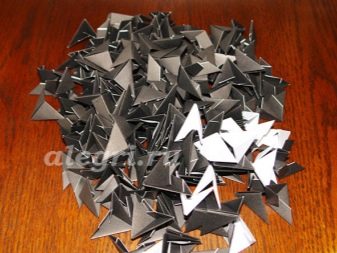
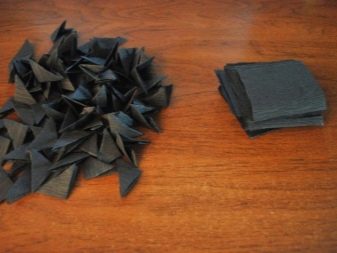
Consider the correct assembly scheme for a horse figurine from the listed components.
- It is necessary to carefully assemble the first 2 rows of the structure. To do this, you will need to fix 12 modules each, which are gray. After that, these components will need to be connected into a ring.
- The next 3rd and 4th rows will consist of 14 modular elements, and the 5th and 6th rows will consist of 16 elements.
- Rows from 7 to 13 will consist of 18 paper modules, and 14 and 15 - from 16 modules.
- Rows 16 through 17 will take 14 modular components, while 18 and 19 will only take 12 elements. After connecting all of the listed components, the body of the paper horse will be completely assembled.
- In the following steps, you will need to spend time assembling the front and hind legs of the paper animal.
- You will also need to properly shape the horse's neck. It can be modeled from 19 gray modules in accordance with the diagram. It is recommended to give the neck a slight bend. From a larger paper module, you need to cut off a couple of corners, after which they should be put on the neck of the figure - this is the head of the animal.
- It is necessary to glue a couple more modules of small sizes. These components will play the role of horse ears.
- To model a neat mane, you will need to assemble 2 chains made up of 9 black modules. You will also need a chain made of 11 modular elements.
- At the next stage, the finished mane can be fixed on the assembled paper neck of the modular horse.
- Now the legs made from paper modules should be glued to the body.
- Then you need to implement the collection of 3 more chains, made up of 12 black modular elements. Thus, the formation of a horse's tail will occur.
- After that, the prepared components will need to be securely glued to the modular body. At this stage, the original paper horse, assembled from a large number of modules, will be completely ready.
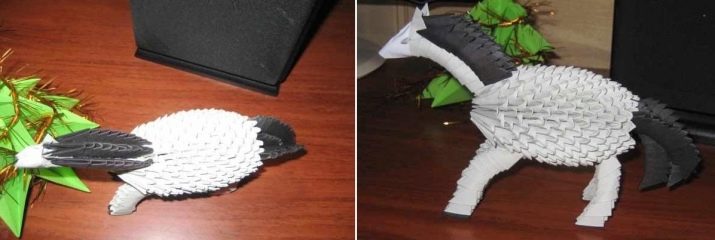
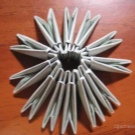
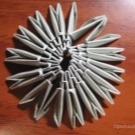
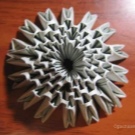
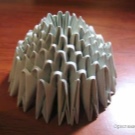
Of course, the artisan may choose other colors of paper to model such a complex craft. It can be not only gray and black, but also brown, beige and any other colors you like.
For information on how you can make origami in the form of a horse, see the next video.


