How to make origami in the form of birds?
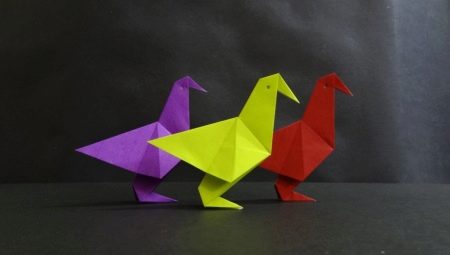
According to various legends, the bird symbolizes good luck and goodness, is able to attract wealth in the house. Therefore, birds appear in the interior: figurines, figurines, crafts and paper products. One of the most beautiful options for creating a paper bird is the origami technique. Perfect geometric figures are interesting not only to look at, but also to make.
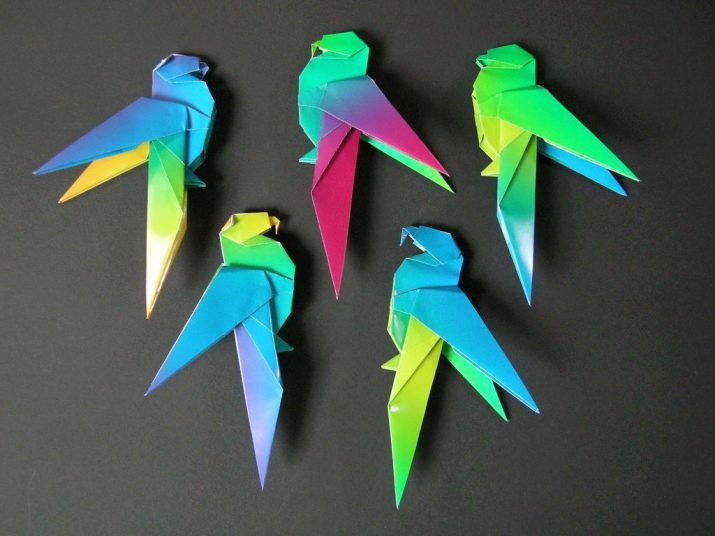


Classic options
The art of origami, if someone else doubts its effectiveness, is considered an excellent type of art therapy, promotes relaxation and relieves psycho-emotional stress. That is, just for the sake of the process itself, it is worth starting such a creative activity.

Pigeon
Whoever you ask, everyone will answer that the dove is a symbol of peace. This means that at home, a paper dove will contribute to peace between all household members.
The work is based on the traditional square. Incidentally, among the creators of origami, the Japanese, a square means the structure of the world, the combination of four basic elements, the unity of the earthly and the cosmic. Therefore, it is taken for origami as the initial view of the future figurine.
Here is a simple diagram for drawing up a pigeon.
- A sheet of paper (of any color) should be 21 x 21 cm. It is necessary to turn one of the peaks towards you. Then fold in half, connect two opposite corners: lower and upper. An inverted triangle will come out.

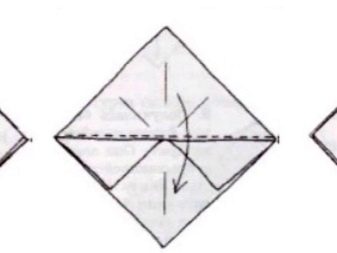
- This figure in the middle must be bent parallel to the base. The basic "boat" shape is what you should get. Only it is inverted, therefore this figure must also be turned over.

- At the triangle, the top layer is separated, bent to form a rhombus. Then the workpiece is folded in half, always from left to right. And the part that protrudes bends back. This is already the wing of a bird looming.With the rest, you need to do the same - bend. This forms the second wing.

- You can start shaping your head: a reverse inner fold is made, the midline of the fold is pressed with a finger almost at the apex. The formed fold must be well ironed so that it does not come apart.

- The dove is ready. You can write a message on it if the bird is addressed to someone or if the performer, for example, is fond of lettering.
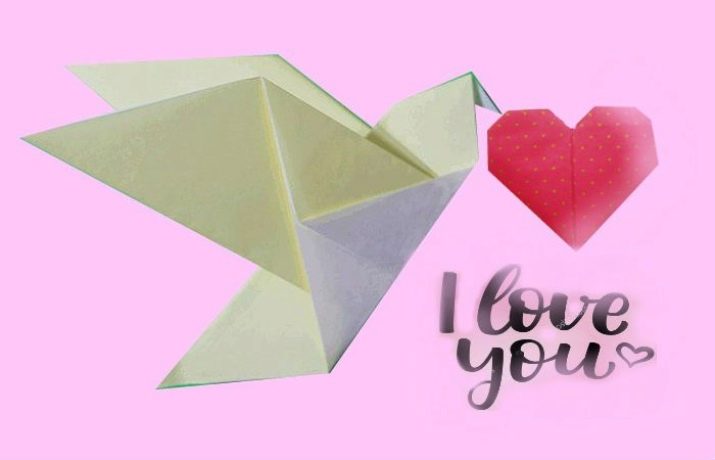
Some of these doves are made for applications, postcards, panels. Step-by-step instructions are also suitable for teaching children. It will still be difficult for kids, but guys 7-8 years old and older should cope.
Parrot
Children really like to make such a bird, it seems to them fabulous and funny, in which there is definitely some truth. Some preschoolers can cope with a similar algorithm presented below.

The parrot assembly diagram is as follows.
- It is good if there is a two-color leaf at the base, so that the head of the bird is of one shade, and the body is of another.
- The base is still the same basic square, you need to outline a diagonal fold.
- The middle line of the figure lies “facing” the performer. The sides are folded towards the center. The result is a so-called kite. The upper triangle must be bent back.
- The sides fold down to the central axis.
- The top layer of the figure should be raised.
- Bend the figures along the folds that were outlined earlier. You get the basic fish shape.
- Those triangles that are on top must be lowered down.
- Then they come back, only folded in half. You will end up with something that looks like a crown.
- The lower top has to be bent 2 times. Then both halves of the blank are closed, the folds are hidden inward.
- The resulting model of the future parrot is flipped 180 degrees.
- Where the head will soon be, a reverse inner fold forms.
- In general, the bird is ready. If you want to add something to it, you can draw eyes for the parrot.

This parrot will not be able to fly, but it will stand perfectly: it will decorate the desktop, shelf, console. You can even plant it on a branch of a house plant.
Swan
This master class is also simple, but the result is an elegant and graceful bird. This origami is perfect for decorating a table for a paper wedding. The figurine can also decorate a wedding card. It is good if two-color high-quality paper is taken for its manufacture.
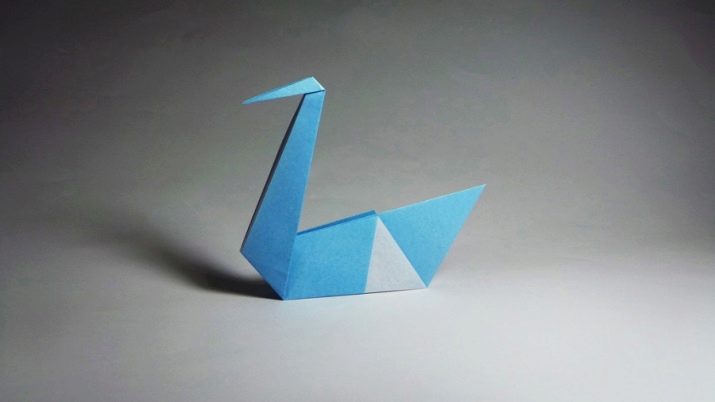
The step-by-step diagram looks like this.
- The same basic square with a side of standard 21 cm is taken. And one of the vertices is turned by the performer towards himself.
- It is proposed to start on the side of the paper, the shade of which is to be made the main one.
- The sheet is turned inside out, after which a diagonal fold is outlined.
- The sides are bent to the midline.
- The workpiece can be turned over.
- And again, the sidewalls are bent towards the center.
- The folds are leveled and carefully smoothed out.
- The sharp corner of the work must "look" at the performer. It has to be raised to the very top.
- The edges are bent down, the head of the bird is outlined. Taurus folds along the median line "mountain".
- The sides of the figure must be lowered down.
- Straighten the swan's neck, try to fix it in the most acceptable position.
- Spread the wings slightly so that the bird seems to swim.


The figurine is self-sufficient. It will really look great in the table setting. Such a swan will look no less cute on a windowsill or on a shelf.
Hummingbird
And this bird will be flying, more precisely, flying, because all hummingbirds imagine exactly this: rapidly flapping their wings.

Consider the assembly diagram.
- A basic square with sides of 21 cm is taken. 2 diagonals are outlined on it, after which it is turned over. The square is bent along two middle lines, and then bent simultaneously along all lines.
- The result should be a "double square" shape. The opening part will be at the bottom.One layer of paper must be picked up and a triangle must be bent at the top.
- The right and left corners must be aligned with the top corner of the shape.
- Then you need to bend 2 triangles to the sides.
- One paper layer is picked up, the triangle is bent down.
- It should turn out so that the center of the square on the top paper layer coincides with the top of the figure.
- Then it bends in half back, it must be turned over.
- The pockets are opened, the workpiece is lifted up to obtain the future wings.
- You need to open the inner pocket (according to the figure, indicated by the black arrow), and then repeat the same from the back.
- The corner is divided by half with a line to the right.
- The head and tail should be bent inward.
- It remains to correct the hummingbird head. Its right side bends outward. The fold line must not hit the corner.
- To make a beak, you need to form a double zipper bookmark.



The bird is ready. Its difficulty level is higher than that of the previous figures. But children from 8 years old and older have ways to master this art.
Sparrow
This MK is designed for preschoolers and younger students. With the help of adults, children 4-6 years old will also cope with the task. Guys 8-9 years old are able to perform such a figure themselves.

The instruction looks like this.
- The basic shape from which the sparrow will turn out will be the "kite". The upper triangle (it is turned inside out to the performer, which means that it is white) bends back.
- The top left and right corners fold to the center vertical.
- The figurine unfolds: the folded top and bottom sides should return to the starting position.
- The left and right sides are bent towards the median vertical.
- The lower sides should bend along the lines of the "kite", while the upper parts should bend along the lines. The corners marked with dots must fall into the upper corner.
- The two sharp corners at the top bend down and to the sides.
- The future legs are bent to the sides. It should be noted that the fold lines do not start from the center.
- A zipper fold is made on the tail. The "valley" will run right under the legs.
- The figurine bends in half and turns slightly.
- The sparrow's beak is bent inside.
- The tail stretches upward, it should turn around the designated point.
- Eyes are drawn.


Yes, it seems complicated, but only at first glance. A child together with an adult will cope quite well, and if a 5-year-old baby eventually gets such a sparrow, he will be very pleased with himself.
Creation of modular origami
If a child takes on modular origami (a rather troublesome, but interesting lesson), then you need to take a master class that, in terms of labor intensity, will be adequate to his experience. The exact same approach is recommended for beginners as well. You will have to work with very small modules, they are all made by hand, so the process will not be easy. More precisely, decent temporary resources are required.


For beginners, it may be interesting to create a small peacock using the modular origami technique. One basic detail here is the triangular module. To create it, we need 13 white and 8 yellow parts. The levels will fit on the base, at each subsequent level the number of elements will be reduced (by 1).

Let's look at the step-by-step process of creating a figurine.
- First level: you need to combine 2 white, 2 yellow and 2 white - a total of 6 modules.
- Second level: 1 white and also 3 yellow, 1 white element (5 in total).
- Third level: 1 white, and 2 more yellow, 1 white element (4).
- Then 1 white is inserted, also 1 yellow, 1 white (that is, 3).
- Next level: 2 white elements.
- Last level: 1 yellow.
- To create a neck, you need 8 white and 2 yellow modules. They all put on each other.
- The resulting column must be delicately bent, this is how a neck is formed. It attaches to the top of the neck.
- To make the tail, you need 11 white pieces and 6 yellow pieces. Four whites fit on the back half of the torso. 3 more white parts fit on them.Four yellows are set at the top, three whites go on top of the yellows, then 2 more yellow and 1 white element.
- To get a fluffy tail, you need to take 30 white modules, 16 yellow and 9 others (of any bright color).
- 5 basic white ligaments are made from three elements. Then 4 bundles of two white and one bright element. Bundles are interconnected in layers.
- The fluffy part is connected to the already finished figurine.


The peacock is ready! If you are not sure that you managed to fold it firmly with your own hands, you can glue the parts.

Useful Tips
Origami is a serious and large-scale technique. One and the same master class may end with different results, and it will be not only the skills of the performer, but also the choice of paper, for example. Let's see what else beginners need to know who decide to make birds using the origami technique.
- The principle "from simple to complex" is always the priority. First, you need to make basic figures: a boat, an elephant, a kite, an airplane, a heart (at least these), and only after learning them, start complex master classes.
- According to Eastern belief, 1000 paper cranes grant wishes. A thousand is, of course, a lot, but even 5-7 cranes, of which the garland is made, will make the interior brighter and more comfortable, and this also sets you up for the fulfillment of your wishes. In addition, paper birds in the interior will be a good spring transformation.
- Valley fold, mountain fold, zipper fold, tricks and turns are just examples of the standard notation used in origami diagrams. They should also be studied so as not to be distracted by the comprehension of an unknown technique in the process of creating a product.
- Often the techniques are written in English, because many of the diagrams and examples also come from English-language sources. But if you know the language even at the school level, it's easy to figure it out.
- Ideally, the patterns in which the birds (or other figures) turned out to be successful should be preserved. It only seems that the hands will remember. You can have a separate daddy and collect printouts there.


To make the birds even brighter and more interesting, you can use printed colored paper. Then even the simplest figurine will look elegant.
For more on how to make origami in the form of birds, see the video below.


