Origami folding options in the form of a hat
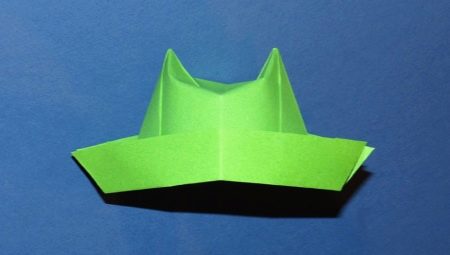
A paper hat is a hat that can be made in just a couple of minutes. Paper hats are useful not only for games, but also for walking or renovation work. Even a small child can make such a product.

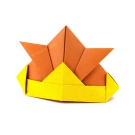
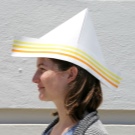
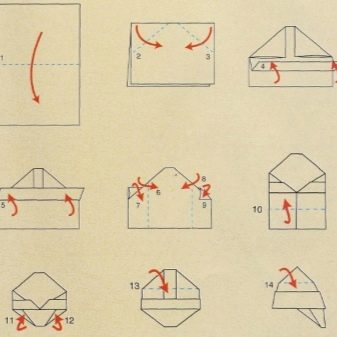
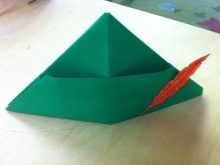
The easiest option
Beginner origami lovers should pay attention to the simplest folding scheme of the "Cap". You can make it from A4 paper or newspaper.
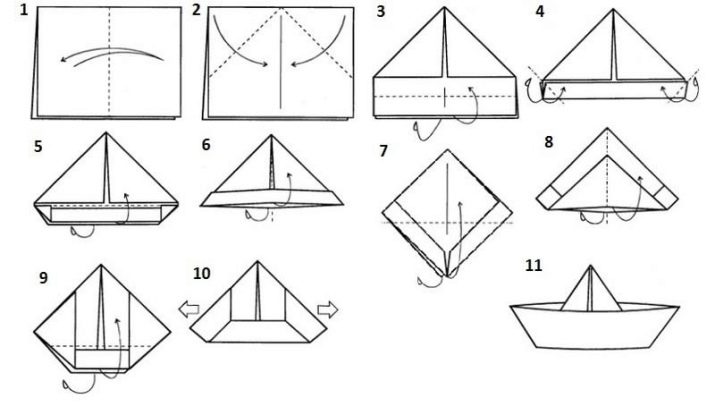
- First of all, the prepared sheet must be bent in half. The fold should be ironed.
- Having bent the workpiece in half lengthwise, you should immediately unfold it.
- The upper corners must be carefully folded down. Their edges must match.
- The bottom strip must be folded so that its edge coincides with the edges of the triangle.
- The corners of the strip must also be folded on both sides. The resulting lapels must be folded up.
- Further, pulling down the central points of the lower strip, the figure must be bent so that it turns into a square.
- The bottom corners must be lifted from both edges.
- Further, pulling the bottom lines, the figure needs to be bent again.
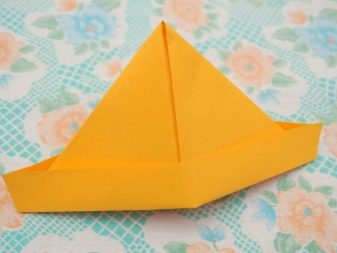
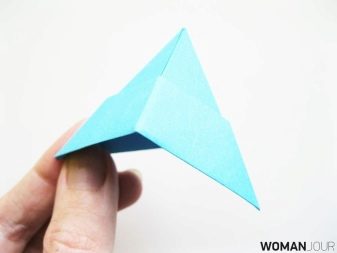
- The cuffs must be folded outward. The side edges will need to be pulled apart. You will get a beautiful and neat small boat.
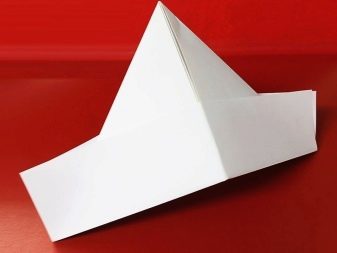
A hat made using this technique is a great option for a simple headdress for children and adults. It can be made both from white paper and from colored paper.
How to fold the medic's hat?
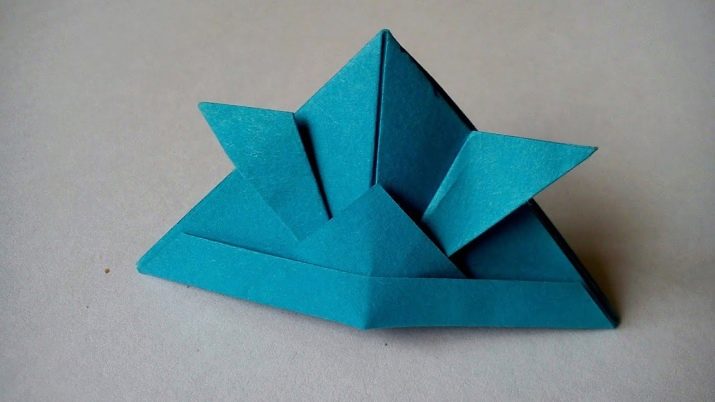
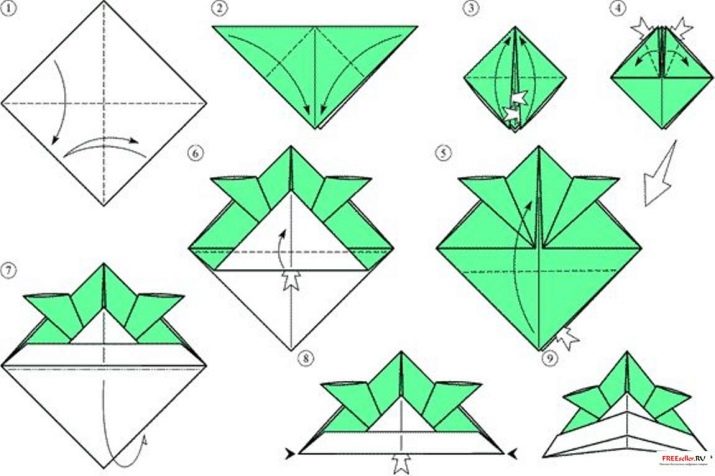
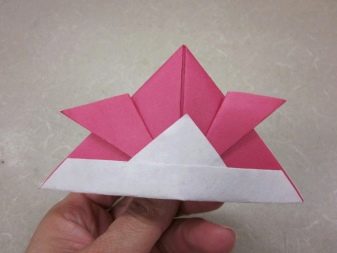
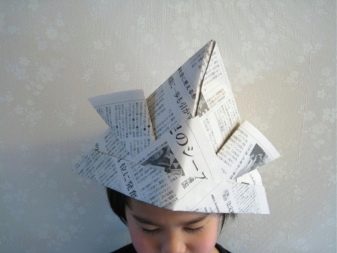
Initially, such details were used to create a samurai costume. Their appearance also resembles the hats previously worn by nurses. Most often, such accessories are made for themed holidays or photo shoots. Making a doctor's hat with your own hands is very simple. The main thing is to follow the simple step-by-step instructions.
- The square sheet must be carefully bent, connecting the opposite corners. Then the workpiece must be unfolded and folded again, but on a different diagonal.
- The sharp corners of the resulting triangle must be omitted. Their edges should touch.
- The lower corners of the rhombus must be raised. They should protrude slightly beyond the edges of the shape.
- Next, the lower part of the top sheet must be raised.
- It needs to be carefully folded. The small triangle should be slightly covered by the resulting edge.
- The formed figure must be turned over. The second part of the sheet must be folded back.
- The medic's cap must be carefully leveled. The edges should be sharp and straight.
The finished hat can be additionally decorated.
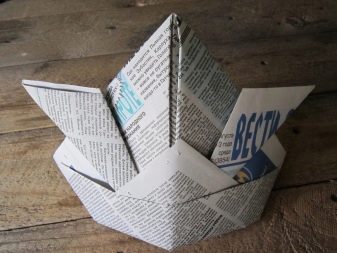
To create the image of a samurai, the paper must be painted in a dark color. The medic's hat can be supplemented with a red cross cut out of thick paper. This detail can also be drawn on paper with a marker or pencil of the desired color.
More ideas
There are other interesting schemes for creating hats from plain paper.
Pilot
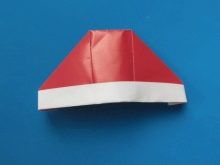
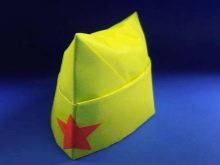
A versatile headdress that can be made using the origami technique is a garrison cap. It is best to do it from plain thin paper.
- A large square sheet is used for work. It needs to be folded in half, and then straightened. This will help outline all the necessary lines.
- After that, the sheet must be folded in half again, connecting the top and bottom edges. One of the strips must be bent outward. It should be quite small.
- The resulting workpiece must be turned over. Its edges must be folded towards the center.
- Bend the top edges to the sides. The corners should protrude slightly over the edges.
- The bottom edge of the sheet must be folded up. It should cover the side triangles slightly.
- After that, the cap must be carefully straightened. It turns out to be voluminous and neat.
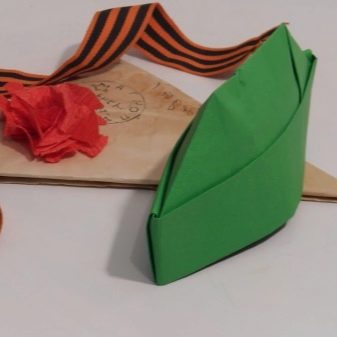
The finished product can be additionally decorated with simple drawings.
With a visor
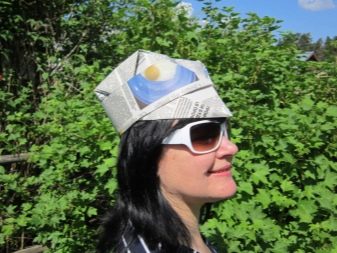
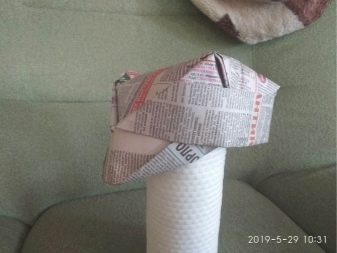
Such an interesting headdress can be easily made from newspaper or plain paper.
- The sheet must be folded in half. The upper corners should be bent to the middle of the fold line.
- One of the lower strips must be bent in half. Next, it must be bent again, creating a neat side.
- Turn the sheet over and bend the corners, hiding them behind a triangle.
- The free bottom strip must also be tucked up.
- The lower corners must be bent, connecting their edges.
- Further, the free corners are bent inside the side.
- The resulting figurine must be turned over. The free corner must also be bent inside the side.
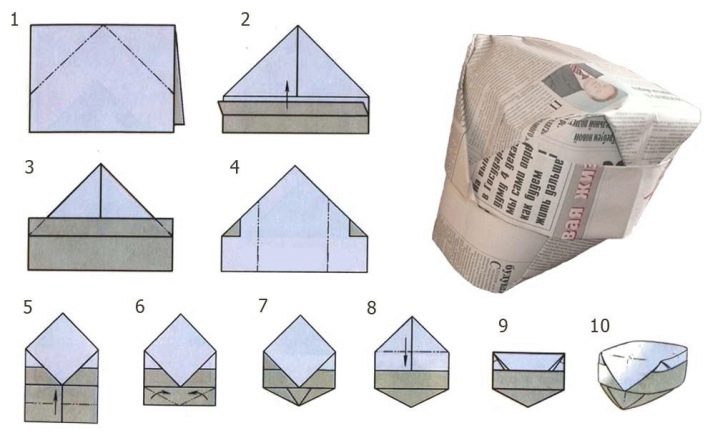
Further, the figure remains only to straighten, giving it the desired shape. The finished paper hat resembles a regular cap. It can be made in the summer to protect it from the sun.
The headpiece will appeal to both children and adults.
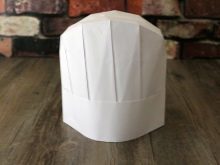
For the cook
A chef's hat can also be made from improvised means. It will be convenient to use when cooking or playing with your child. It is done in almost the same way as a cap.
- First you need to bend the sheet, marking a straight line in the middle. After that, it must be unbent again.
- The workpiece must be bent in the middle.
- The corners of the sheet must be pulled up to the resulting center.
- The bottom edge of the sheet must be folded up, forming a neat side.
- Next, the workpiece must be turned. The side edges fold to the center.
- All lines must be ironed carefully. The upper corner must be bent, hiding it behind the side.
- The edges of the free sheet must be bent to the middle. Next, this part of the workpiece must be bent back, and its edge must be hidden behind the side.
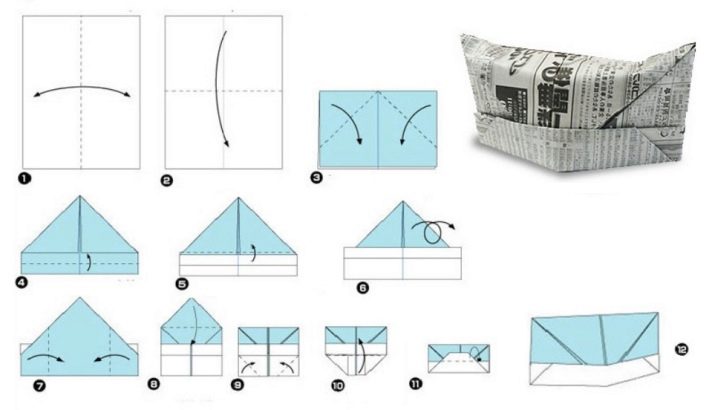
The resulting hat must be carefully straightened, stretching its corners to the sides. To make the hat look more interesting, it should be made of pink or light blue paper. The finished headdress can be decorated with an inscription with the name of its owner or a cute pattern.
Pirate
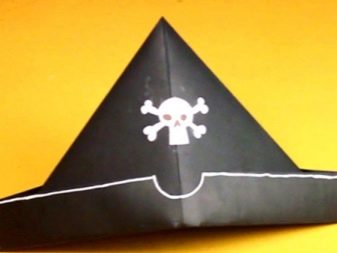
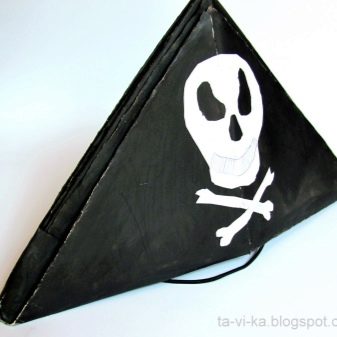
You can captivate the child with the art of origami by inviting him to create a pirate cocked hat together. The classic pirate hat is best made from black paper. But instead, you can use a regular newspaper sheet. Such a hat is made very simply.
- First of all, the sheet must be folded in half twice along its entire length.
- Further, the corners must be immediately folded, leaving only a very thin strip at the bottom.
- These strips must be lifted on both sides.
- The corners need to be bent. Further, the edges of the workpiece must be pulled to the sides, turning the figure into a square. The lines need to be aligned.
- Next, the lower parts of the figure need to be raised. Their edges should coincide with the top corner of the triangle.
- The resulting hat must be straightened. In the process, you need to try not to spoil the craft.
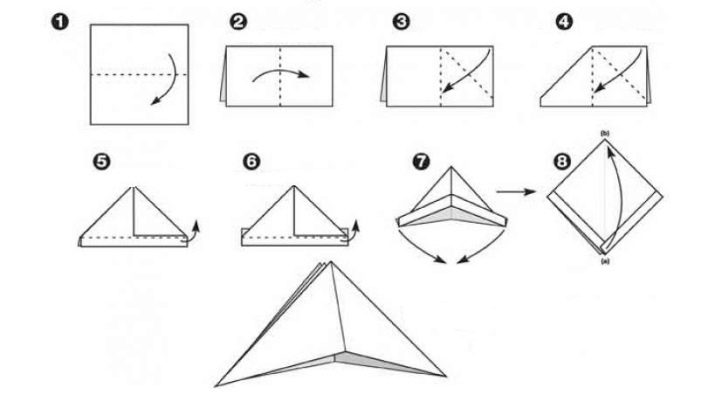
The pirate cocked hat turns out to be voluminous and beautiful. It can be additionally decorated with some thematic pattern.
To keep it from falling off your head, you can attach a comfortable elastic band to the bottom of the cocked hat.
Military
A neat military hat can be made for some themed holiday. Such an origami figurine can also be a great addition to a gift for dad or grandfather. A military hat is made quite simply.
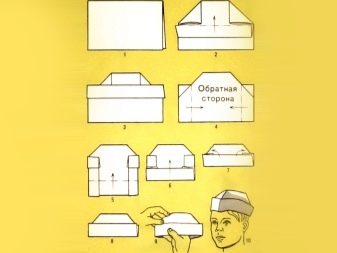
- The prepared sheet must be bent in half, and then bent in the middle.
- The upper corners must be carefully bent.
- The bottom strip needs to be folded, carefully covering the edges of the triangle.
- The same must be done with the other side, turning the figure over.
- Free corners must be bent, securing them.
- Next, the figure needs to be stretched, turning it into a square.
- The bottom half of the workpiece must be lifted. Its edge should coincide with the top of the triangle.
- The workpiece must be turned over again. Do the same with the second half of the figure. Iron all edges well.
- The figurine needs to be straightened. The military hat turns out to be laconic and beautiful.
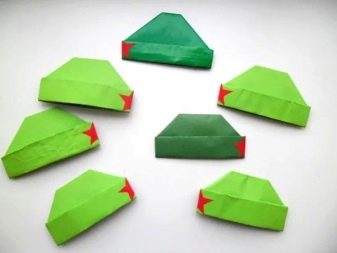
If desired, such a craft can be supplemented with a red star or a ribbon made of paper. These parts are attached to the base using ordinary glue or double-sided tape.
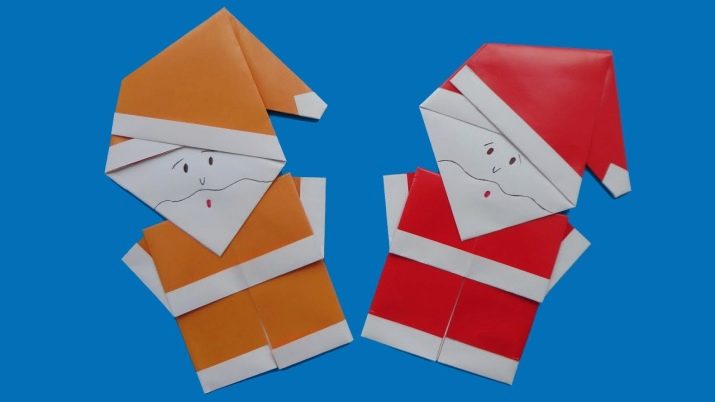
Santa Claus hat
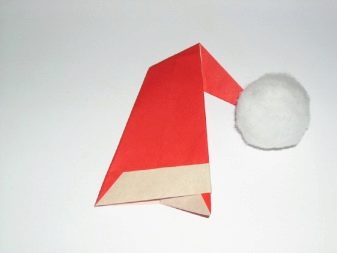
You can easily make a Santa Claus hat from thick red paper. The process of creating such an accessory consists of 9 steps.
- First, fold a rectangular sheet of single-sided paper diagonally. The edges should touch each other.
- Next, you need to expand it. After that, it is necessary to bend half of the lower corner so that its edge is in contact with the fold line.
- The protruding corner must be hidden inward. Next, the resulting line needs to be bent in half, and then bent again.
- The upper edge of the resulting triangle must be omitted.
- The sheet must be turned towards you.
- One corner must be bent so that its edge extends beyond the bottom line.
- This protruding part must be lifted carefully.
- The second corner must also be omitted. Its edge must be raised and hidden inside the workpiece.
- The craft must be turned, and its upper corner must be bent.
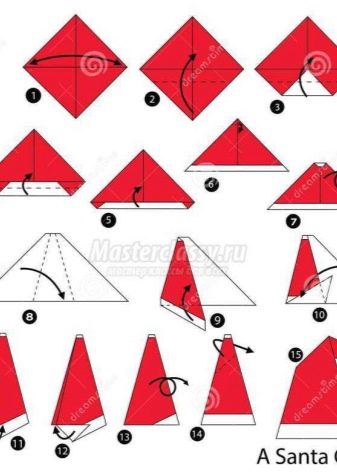
This hat can be used to decorate a New Year's card or gift. This will make the present even more interesting.
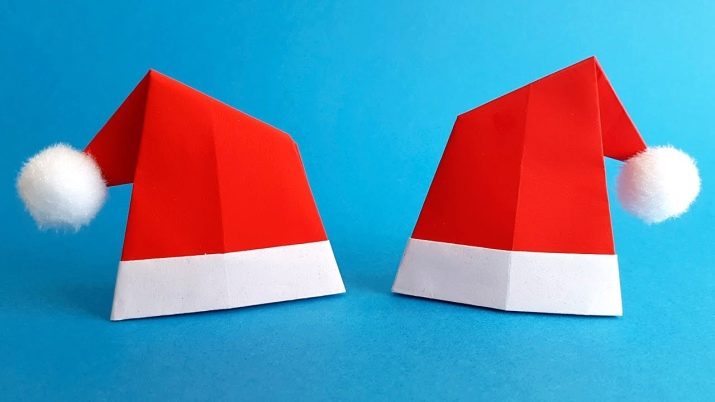
There is another way to create such a headdress.
- You need to take a square sheet of single-sided paper in your hands. At the bottom, you need to make a small bend. There will be a thin strip at the edge of the sheet.
- The same must be done with the other part of the sheet.
- The opposite corner must be carefully bent.
- Next, the sheet must be turned over.
- Two corners also need to be bent. One of them should be on top of the other.
- Half of the resulting figure must be folded back. Iron the fold line.
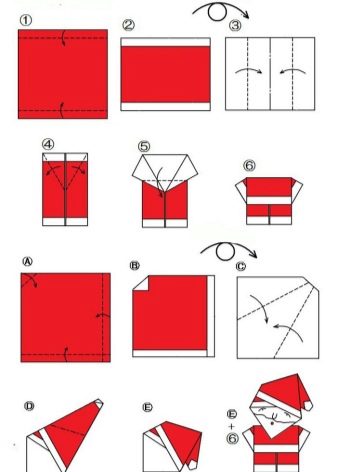
The finished hat can be used to decorate a postcard. It is securely fixed on its corner.
All the proposed hats can be learned very quickly. With a little practice, a person can make them in just a couple of minutes.

For information on how you can make origami in the form of a hat, see the next video.


