How to make origami in the form of a hare and a rabbit?
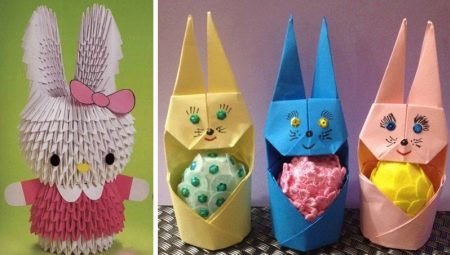
Origami figurines are loved by both adults and children. The process of their creation is especially fascinating for many. In this article we will tell you how to make a paper origami "Hare" with your own hands, considering both simple options for beginners and more complex schemes.
Simple options
Small
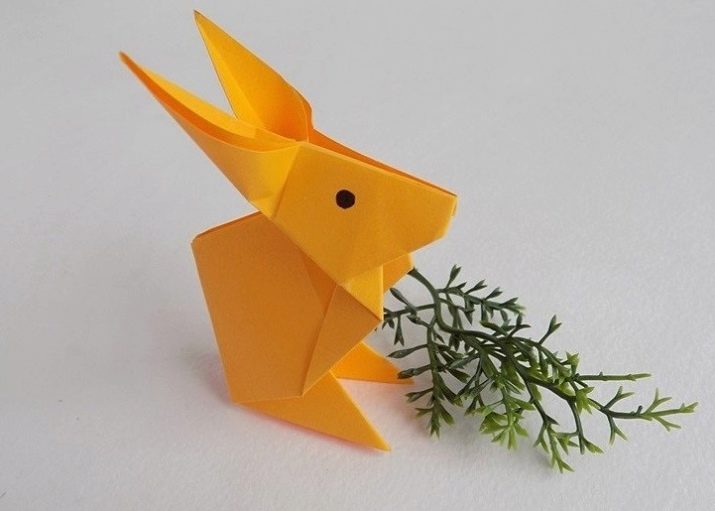
It is not difficult to make a small jumping hare using origami technique.
Even a beginner can cope with this task, and therefore such a master class can be conducted even for children in kindergarten.

For work, you will need A4 paper, scissors and a felt-tip pen.
First, cut out a square. After that, we fold the resulting figure strictly in half and again in half. In both steps, it is important to iron the fold lines well. Now we unfold the workpiece, it should be divided by lines into four identical squares.

Next, you need to fold the left and right sides of the square to the center line. We turn the workpiece and fold both sides to the middle again, ironing all the fold lines well. After that, unfold the sides of the template and rotate it 90 degrees.

Now you need to fold one of the sides of the workpiece in the form of a corner, and raise the two lower corners up.


We again unfold the future figure 90 degrees and carefully smooth out all the fold lines. We bend one of the triangles that should have turned out after manipulating the corners to the side. The other corner needs to be unbent and spread out towards the center - it should look like in the picture. Now we bend the corner, you need to wrap it inward.


We fully unfold the workpiece and form a hare. We start with his head, for its formation you need to tuck one of the corners inward.We do a similar thing with another corner to form a muzzle. The hare's nose must be folded down and pressed so that nothing falls apart.


After that, you need to fold both halves of the hare's body to the middle. We turn the figure over and unfold it as in the image. We bend the lower part to the central one, and then fold it in half again. We bend one of the corners and bend it down. We do the same with another corner so that it turns out as in the photo.



Now the workpiece needs to be turned and the legs bent upward - this is necessary so that the bunny can jump. We bend each hare's paw back, turn the figurine to the front side and bend the hare's ears towards the center, while bending the upper edges back.


It remains to draw eyes and a face for the bunny with a felt-tip pen. The bouncing figurine is ready!

Inflatable
It is also easy to make an inflatable hare; even a child in kindergarten can cope with this task. Outwardly, such a bunny will look like a small and voluminous box. To create such an inflatable figure, you will need the following materials: paper, scissors and a felt-tip pen.

First, cut off the excess part from A4 sheet to get a square in this way. After that, you can proceed to folding the volumetric figure.
It is worth considering that if you take single-sided colored paper for work, then the white part should be at the bottom. Otherwise, the figurine may not look the way you would like it to.
So, you need to act in stages, following the step-by-step instructions.
To begin with, fold the sheet in half, then, unfolding it, fold it in half again, while ironing the fold lines well and carefully. As a result, a cross in the form of bends should turn out on your square, which will divide it into four more small squares.

We fold the sheet again twice, but now corner to corner - so that folds are formed diagonally, which divide the small squares in half - all this must be done with all corners in order to get the basic shape for the future figure.
Now you need to take two points on the edges of the square and connect them, smoothing well and diligently - this way you should get a rhomboid shape. Next, add the outer corners from the rhombus to the center of the shape.

Now you need to lower the upper section of the formed protrusion. Each of the halves must be bent diagonally to form an internal pocket - it will be in it that the resulting halves will need to be inserted.
Please note that they need to be ironed well in order to fix them efficiently and securely.
Now we turn the workpiece with the other side up and start folding the outer corners so that you have a rhombus again.

After that, you need to bend the right side of the workpiece to the left side, iron the fold line well and return the side to its original position. We do the same with the left side. Now you need to spread the upper part of the template to the sides and tuck the ears into it. Almost ready! In the place where the bunny should have a nose, you should get a small hole - through it you can inflate the figure. It remains only to draw eyes with a felt-tip pen, and the hare is ready!

Easter
Making an Easter bunny is also not as difficult as it might seem at first glance. Even a beginner who has not tackled such crafts before can fold such an origami-style rabbit. The main thing is to act strictly in stages when working, doing the work with the workpiece in steps.
A special feature of origami crafts in the form of an Easter bunny will be the presence of a small depression in which you can place an Easter egg or candy.

For work, you will need the following materials: paper, scissors, PVA glue or a pencil, felt-tip pens. It should be borne in mind that the figure will consist of two parts, and therefore two sheets of paper will be required for work.

We start by preparing the base of the figure, namely the hare's face. To do this, cut out a square from A4 sheet. After that, fold the figure diagonally, thus obtaining an isosceles triangle. The sharp corners of the figure located on top must be lowered, as shown in the image. Now they need to be bent upwards, after which a figure should be obtained that looks like a rhombus. We lower the triangle down, as it was done in the photo, slightly bend its tip to form a hare nose.


After that, we turn the future figure to the other side and fold the upper and lower corners of the workpiece towards the center. We bend the triangle upward, while lifting only one layer of paper. We do not touch the second layer of paper - it will be needed to fasten the hare's face with the "basket" for the Easter egg.


We make another square out of a new piece of paper. Fold it diagonally twice, ironing the fold lines well, so that, as a result, on the template you get lines that form a cross. After that, bend all the corners of the square to its center. After that, select two opposite corners and fold them back to the central part of the workpiece. Now fold the shape in half and lift the bottom up. A hole should form at the workpiece - this is where you need to insert the first part with the face of a hare. We glue all this and draw a face for the bunny.


The Easter-themed craft is ready!
Such a figurine may well be placed on a festive table as a decoration. It is also suitable for a school or kindergarten exhibition.

Building a modular rabbit
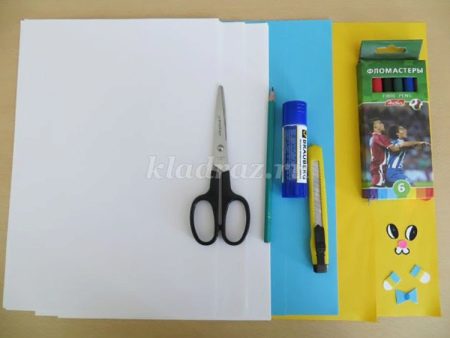
Making a modular hare using origami technique is not as easy as other figurines. This is more painstaking and difficult work, which will require more time and effort. For work you will need the following materials: paper of different colors, glue stick or PVA, scissors and felt-tip pens.
As the name implies, the hare will consist of modules. For a full-fledged figure, you need to make exactly 522 modules of different colors.
First you need to figure out how to create a triangular module. To do this, fold an A4 sheet in half, cut, fold the resulting strips in half again and cut again. This will make 4 rectangles. They need to be folded in half again and cut to form 16 rectangles. Fold them again and cut them: you get 32 rectangles measuring 4 by 6.

Take one of the resulting rectangles and fold it in half, smoothing well along the fold line. We bend it in half again, thus marking the center line. After that, you need to bend both upper edges, which do not open, to the center line. The remaining protruding lower part must be folded up.


Now you need to fold the corners of the module to the fold lines and raise the lower part, as shown in the image. The resulting figure must be bent in half. The module is ready!


We make 402 parts for the body, head and bunny legs and 120 parts in a different color for the animal's jacket. After that, we begin to gradually collect the figure.
First, take three modules and place them as shown in the photo. We insert modules into each other's pockets. Now we need to take two more modules and attach them to these three, thus forming something like a chain. The last detail should close this circuit into a ring. So you should get the main part, consisting of two rows, each of them should contain 24 parts. We begin to form the third row: for this you need to insert the modules in a checkerboard pattern.

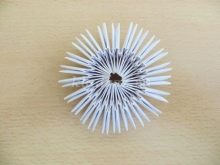

After that, the resulting part must be turned out - you get something that looks like a bowl. However, keep in mind that you need to turn it out carefully so as not to spoil anything. Now we lay out the fourth row of modules. It is made of colored elements - this will be a hare's jacket. So you need to lay out 5 more color rows.


After that, we proceed to laying out the head. This requires 24 modules, the row will turn out to be somewhat narrower than all the others.The next row will be more voluminous, it will require 6 more modules, while for every 4th module of the previous row, you will have to put on two parts at once. Note that the modules must be positioned so that they look with their long side out.


Be careful when assembling the hare's head: this part is very fragile and can easily fall apart. Thus, you need to lay out 6 more rows of 30 modules. Having collected all the rows, we bring the modules together to make a ball. Now we turn to the formation of the ears. To do this, you need to take 4 modules and fix them in the same way as the first row of the head, the next row should consist of 3 modules, and the third - from 4. The extreme details should be fixed at the extreme corners of the first two rows. So you need to make 8 rows, and the eye should narrow towards the last.


Let's move on to creating the second ear. To do this, you need to skip one module on the head of the figure. Next, we do the same as with the first ear. Almost ready! Separately draw a face for the bunny and glue it to the figure. The modular hare is ready!


Recommendations
Be careful when handling paper as it tears very easily. For modular crafts, it is recommended to choose a variety that is denser in texture to make the craft stronger.
It is worth considering that cardboard is not suitable for this kind of crafts, otherwise they will turn out to be very rough.
Children are encouraged to make modular crafts together with their parents. This will not only speed up the process, but it will also help you bond and have a good time with your family.
When drawing eyes and a face, mark them for a start with a simple pencil and only then draw around with a felt-tip pen.

A detailed workshop on making an origami bunny can be found in the following video.


