How to open an overlock seam?
Despite the fact that in the modern world, hand-made sewing of clothes is no longer so relevant, the tricks that seamstresses can share remain relevant. One of them is the technique of how to easily and quickly dissolve the overlock seam. It would seem that there is nothing easier than ripping. However, it is not. Read about how to do it right in this article.
Required tools
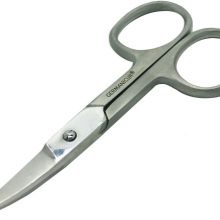
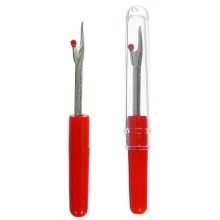
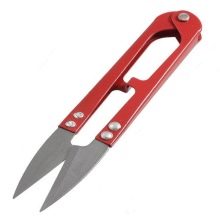
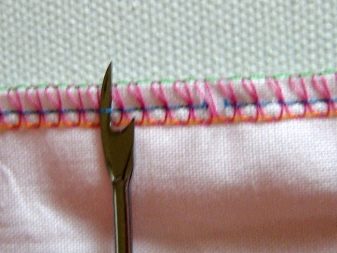
For the overlock seam method described here, it will be sufficient to use only scissors. Preferably those with a narrow tip. However, there are a couple of tools that can make the job easier. One of them is a ripper. It is a small instrument with a handle and a special forked tip. One tip of the instrument is sharp and sharpened, the other is smaller and equipped with a ball. A blade is located between them. The tool is designed in such a way that it is easy for them to pry off the thread and cut it. Another tool is a sniper. It looks like a pair of scissors, but without rings. Instead, there is a spring.
The sniper handle is usually metal, less often plastic. They are best suited for small and fine sewing work.
What shouldn't be done?
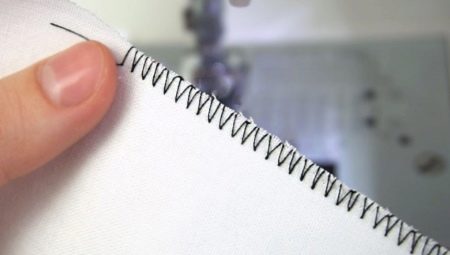
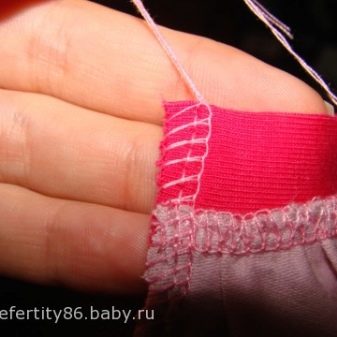
First of all, do not pull the threads out of the seam randomly. This approach can ruin not only the junction, but also the product itself. In addition, acting in this way, you will definitely not be able to quickly rip the seam. You need to start unraveling the seam not from the middle, but from the place where it ended. Determining the end of a seam is quite easy: you need to position the seam with the right side facing you. The edge to the right or bottom will be the end of the overlock stitch.
The bartack at the end of the seam is unpicked at the very end of the process.
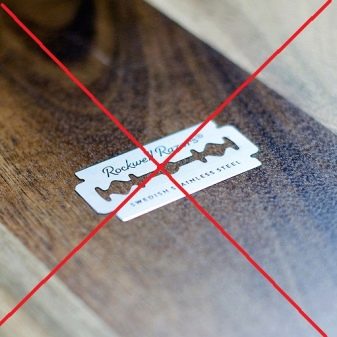
It is also undesirable for beginners to use a blade during this process. It is most often used only by professionals, as the blade can easily damage the fabric.
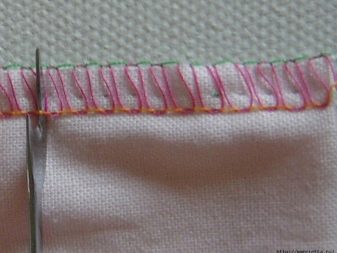
How to open a seam?
Below is a step-by-step instruction on how to properly dissolve the aforementioned seam:
- first you need to put the product in such a way that the front side of the overlock seam is facing the person;
- having outlined for yourself small gaps between all loops of 1 cm, selectively gently gently pull out some of the loops with a ripper;
- cut these loops in the middle with scissors or a sniper;
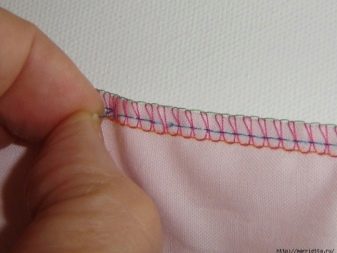
- pull on each of the cut threads and remove them from the surface of the fabric;
- now you can dissolve the horizontal line by only slightly pulling on the free edge;
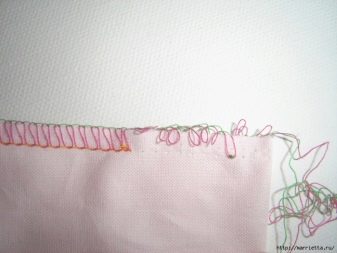
- then turn the product over to the wrong side and pull out the empty loops from the fabric - at this, the removal of the seam can be considered complete.
This instruction is for loosening a 3-strand seam, but you can also use it to open a 4-strand seam. To do this, you need to make additional cuts with a stripper in the middle and bottom lines.
In conclusion, I would like to say about the importance of such a factor as accuracy. The point of this procedure is not to damage the fabric by unstitching the stitching. Therefore, be careful and scrupulous.
How to quickly dissolve the overlock seam, see below.


