Papier-mâché fruits and vegetables
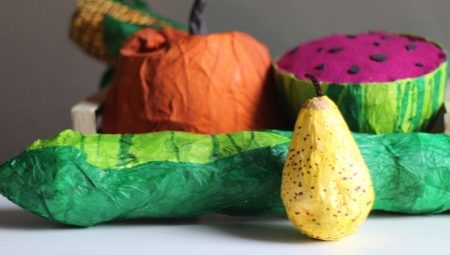
Every woman dreams of having a beautiful and cozy kitchen, where she will prepare delicious meals, and in the evening the whole family will gather at a large table. Nice little things in the form of neat figures give the room a more interesting look. Products in the form of papier-mâché products are especially popular. You should know how and from what to make vegetables and fruits using the papier-mâché technique with your own hands.
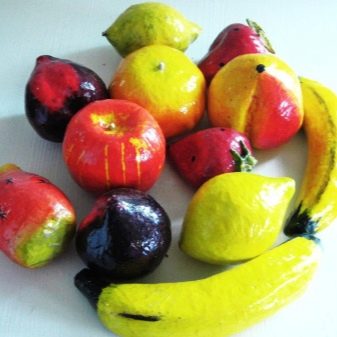
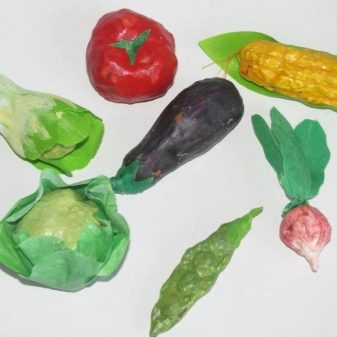
What is required?
A workshop on making papier-mâché items is very popular among housewives, because this requires improvised means that are in any home. To make papier-mâché fruits and vegetables, you will need:
- the fruit or vegetable itself, the shape of which you want to give the product;
- any paper: it can be toilet paper, napkins or an album sheet;
- plasticine or foil;
- water;
- flour / starch;
- paints;
- brushes;
- varnish.
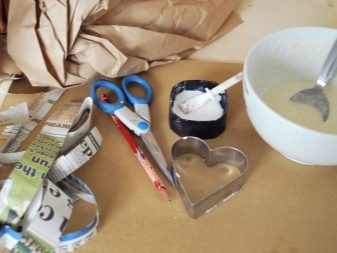
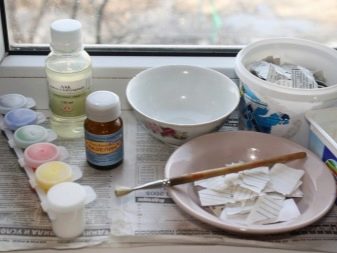
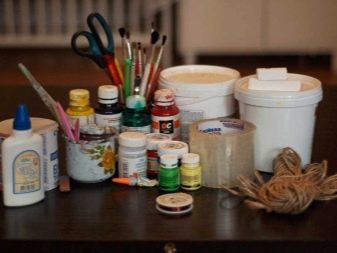
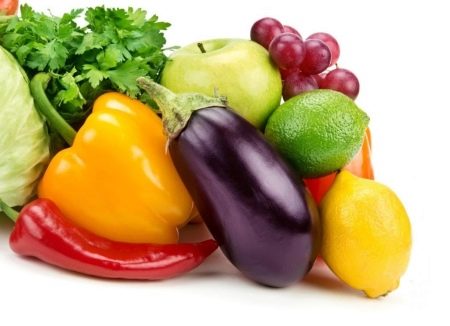
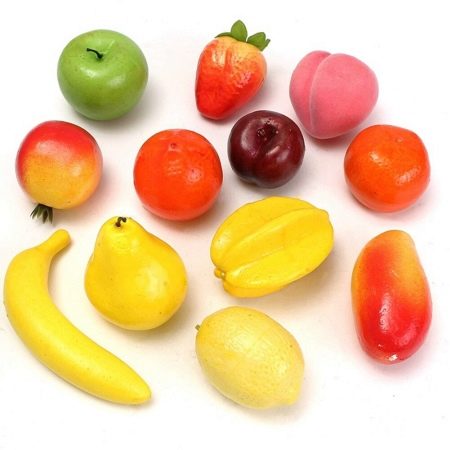
As a form, you can use both real fruits and vegetables, and plastic ones bought in a children's goods store. And also the form can be molded from plasticine or twisted from foil or newspaper. But the most realistic look is precisely those products that were made with the help of living products.
How to do it?
Crafts are made step by step.
- First of all, you need to thoroughly rinse the fruits and vegetables that will be used as a mold.
- Lubricate them with a thin layer of oil or petroleum jelly, so that later it will be easier to remove the finished product.
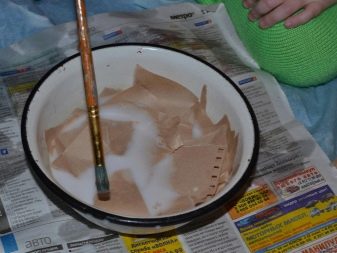
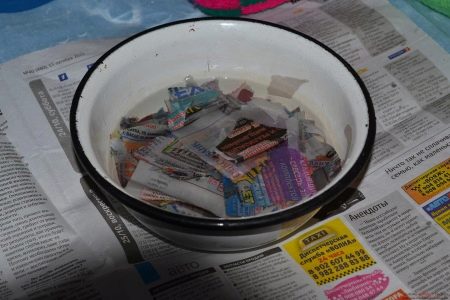
- Next, you should cut the paper into strips and collect a glass of water, then alternately lower each piece in water so that it gets wet, and then apply it to the fruit or vegetable form. Continue this process until the entire cabinet is covered with paper. This is a preliminary layer that does not involve the use of glue, so the form will not stick to the base.
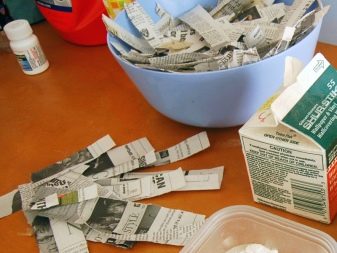
- The second layer will be already with paste, the use of which is the main feature of the papier-mâché technique. To make the paste, stir a glass of water and a tablespoon of flour, put the solution on low heat and stir until thickened. Dip a piece of paper in the glue solution and let it soak slightly, and then stick it on the surface of the workpiece, continuing the procedure until the whole fruit is covered with a second layer of paper. Thus, you need to make about 5 more layers to get a higher density.
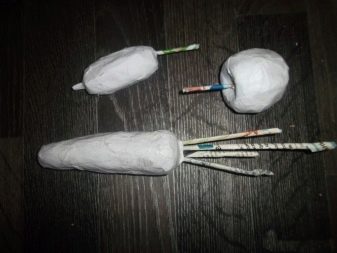
- When the cooking phase is completed, the food should be placed in the oven at a temperature of 30–40 °. This will help the paste dry faster and skip the 12 hour wait phase. The main thing is not to set the degree too high, as the paper can bake. When the product is dry and cool, the wrought layers should be carefully cut in the middle and the fruit or vegetable removed from the inside.
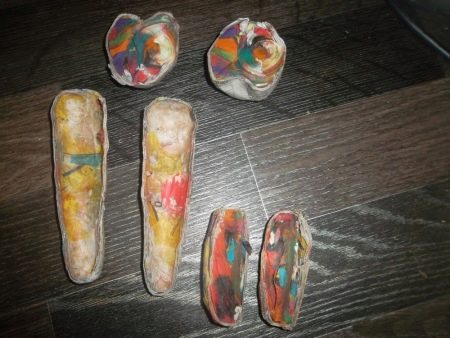
- Use PVA glue to connect the resulting halves.
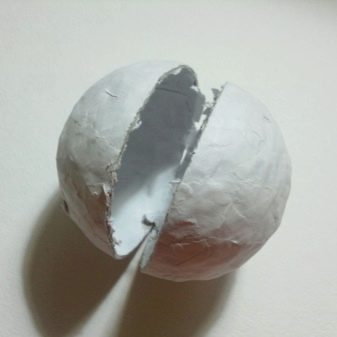
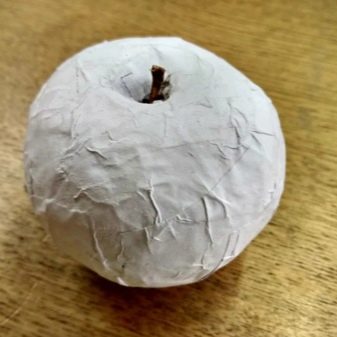
To make the papier-mâché craft more durable, it is recommended to additionally cover the resulting seam with paper soaked in glue solution and let it dry. Since the products are made by hand, there may be slight irregularities on them that are not conspicuous.
But if you want fruits and vegetables with a perfectly smooth surface, it is recommended to cover the crafts with a putty and let it dry. At the end, sand the dried putty and you can start decorating.
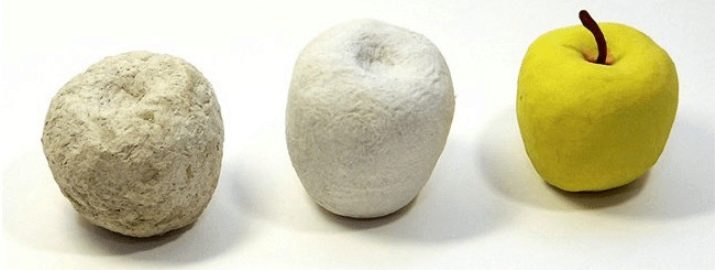
How to decorate?
Decorating figurines made using the technique of waving is the final stage, which can involve younger family members. First, spread an oilcloth or newspaper on the table, so that later it will be easier to clean everything.
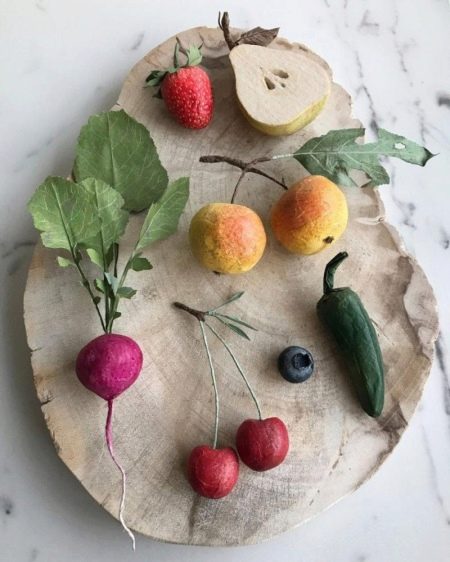
Take a large brush, dampen it with water and dip it in paint. Then color the products. Cucumbers - green, tomatoes - red, pumpkin - orange. Color the fruits as desired, as they come in different colors. Next, draw the details with a thin brush.
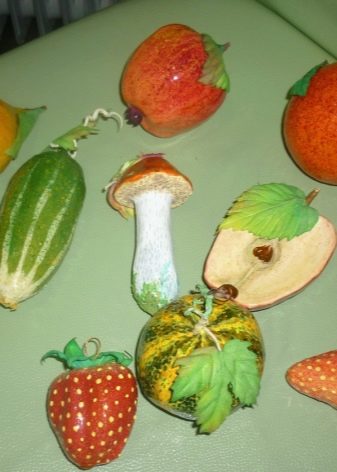
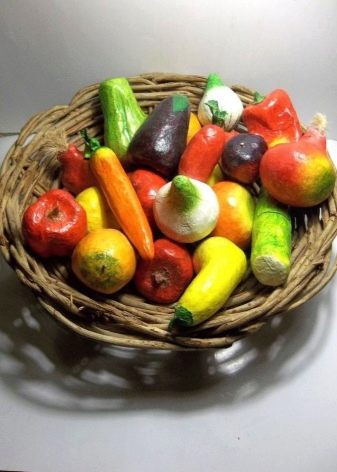
There are some varieties of fruit that need to be processed for realism before painting. For example, citrus fruits have an uneven, porous surface. To make their papier-mâché counterparts more natural, it is recommended to make holes with a thick knitting needle on the blank that has not yet dried after glue, and only then put the crafts in the oven.
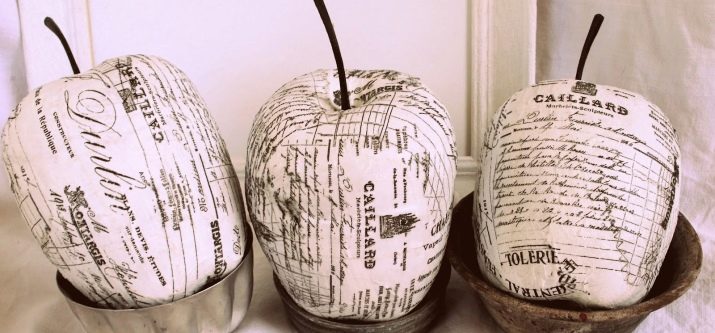
If you chose vegetables and fruits with cuttings or make Christmas tree decorations in the form of food, attach small twigs or ribbons at the time of joining the 2 halves with glue.
When the products are painted, put them to dry on the windowsill. The next day, cover all the figurines with clear varnish so that the color lasts longer and the products acquire a beautiful shine.
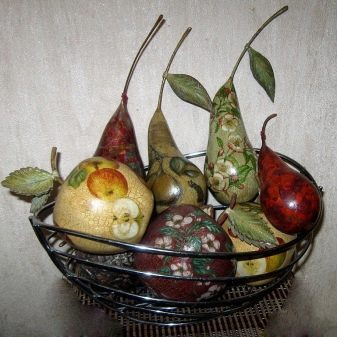
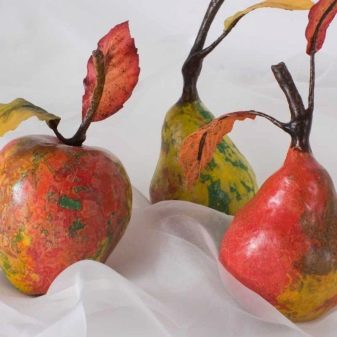
How to make an apple from papier-mâché, see the video.


