Making mushrooms from papier-mâché
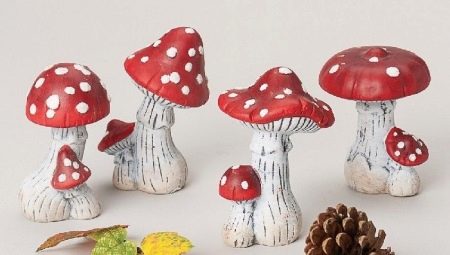
The plants around us are vibrant and varied. Some of them are well known to both adults and children. The fruits of many of them are used for food. But there are some that not everyone can see - these include mushrooms. Not every adult knows that mushrooms are neither animals nor plants, they are edible and poisonous. In order to understand this issue, remember at least some of the most common types, you can make a mushroom with a child from papier-mâché. This article will be of interest to elementary school teachers, preschool staff and, of course, parents.
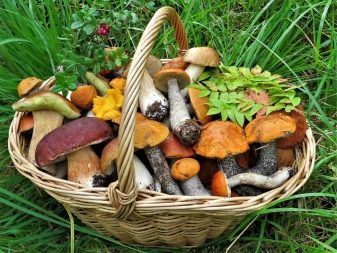
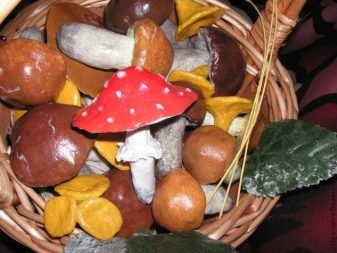
What is required?
Making papier-mâché mushrooms is a pretty fun process. The materials used are inexpensive and accessible to everyone. In order to achieve the desired result, you will need certain tools and materials.
-
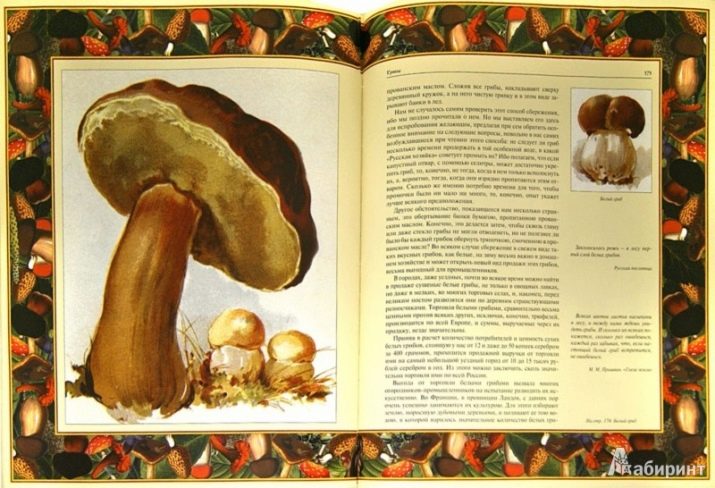
Guidebook for edible and poisonous mushrooms. It can be professional or popular. Looking at the pictures, you can give the product a sufficient resemblance and well remember the made mushroom.
-
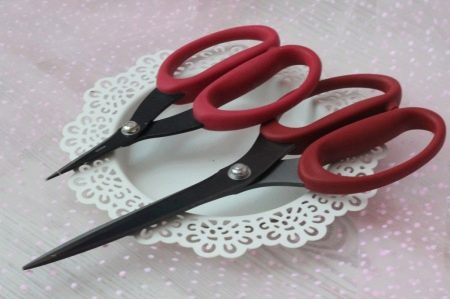
Scissors.
-
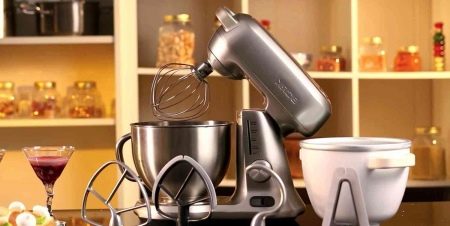
Mixer.
-
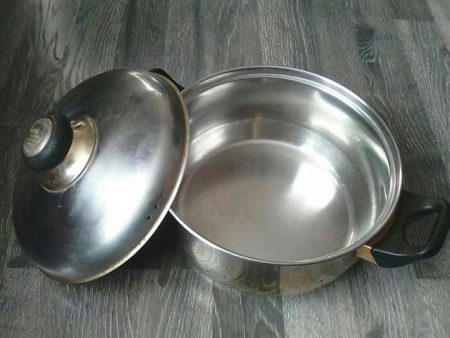
An old saucepan.
-
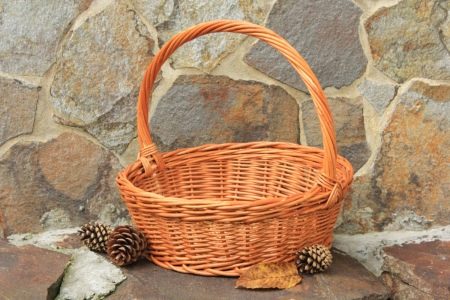
Basket, woven from a vine.
-
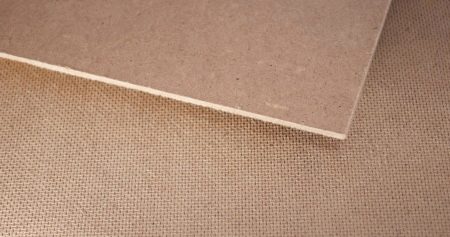
A piece of fiberboard.
-
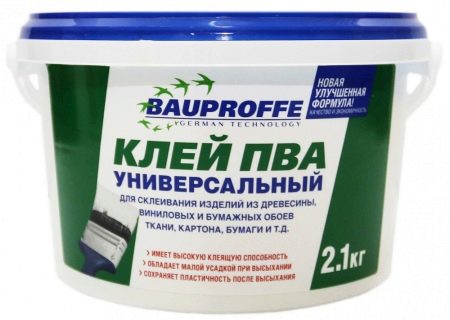
PVA glue.
-
Scotch.
-
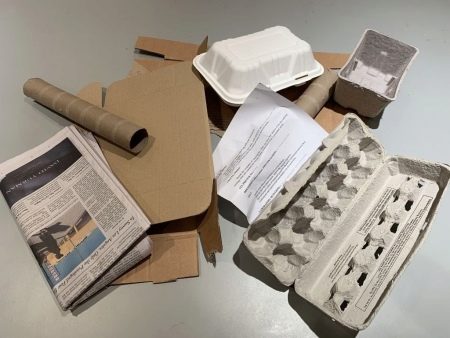
Newspapers, paper trays for storing eggs. And also toilet paper, napkins, cardboard are used.
-
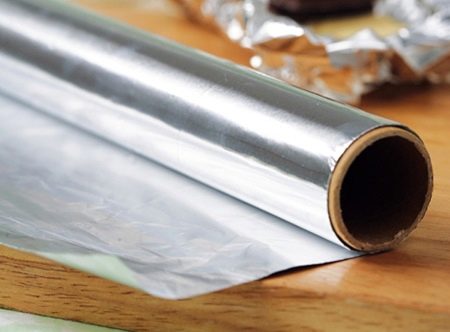
Foil.
-
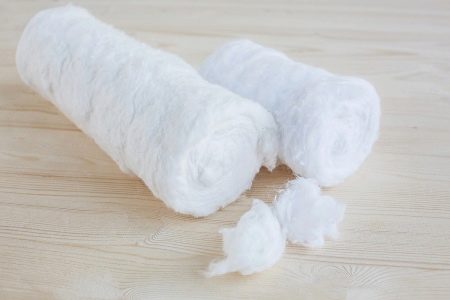
Cotton wool.
-
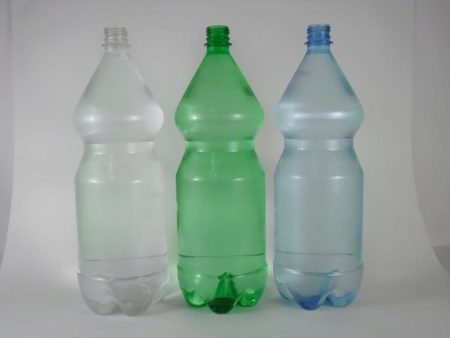
Plastic bottle with a volume of 1.5 liters.
-
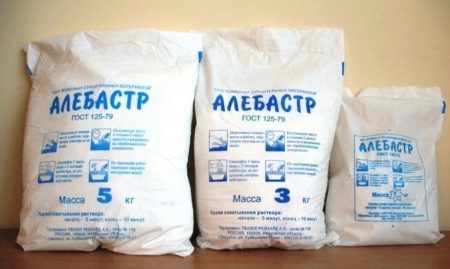
Alabaster.
-
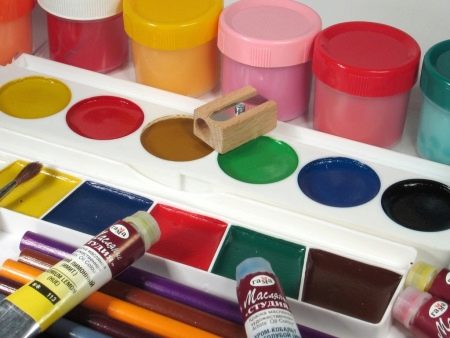
Watercolors or gouache paints.
-
Varnish.
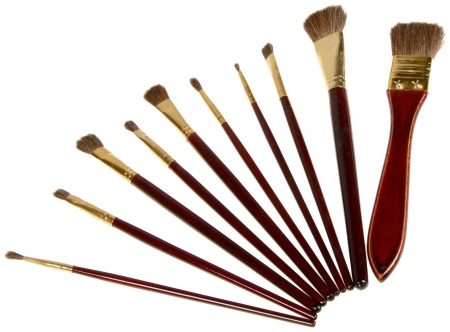
- The paint brushes are wide and thin.
In addition to the above list, plasticine, a natural material in the form of dry leaves from trees, twigs, cones, acorns and needles, can be useful in the work.
Step-by-step master classes
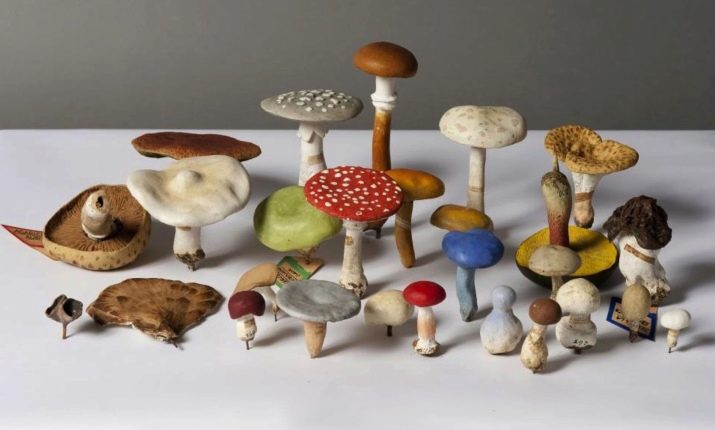
Getting started, you need to clearly understand what goals and objectives can be achieved. First of all, the proposed work will help to form in children an idea of edible and poisonous mushrooms. They should know that mushrooms such as russula, boletus, boletus can be eaten. Be able to find them in pictures, describe and name their main signs. At the same time, a number of mushrooms are life-threatening - first of all, these are toadstools and a bright fly agaric. Children should be able to easily name the species which they will put in their basket and which will not. Having made some mushrooms using the papier-mâché technique with their own hands, children will better absorb the information received. The process of work will help to unite children, will stimulate the development of creativity, artistic taste, develop fine motor skills, accuracy, perseverance.
The work is carried out according to a certain algorithm.
-
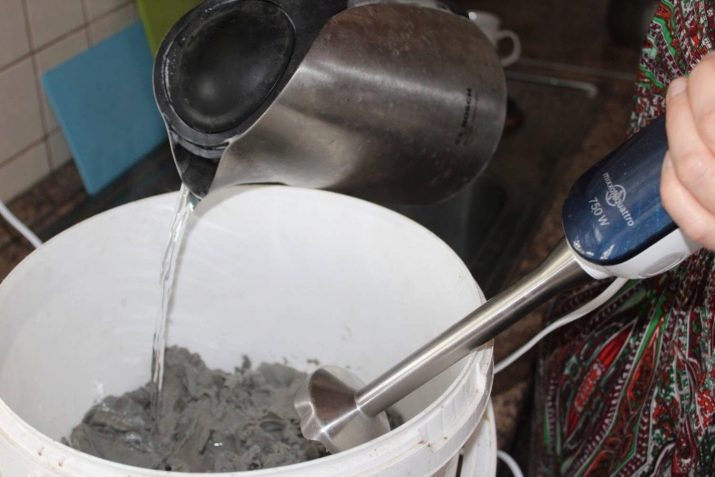
A papier-mâché mass is created. For this, shreds of torn newspaper, small parts of paper trays for eggs are placed in a saucepan. The paper is poured with hot water, put on fire and boiled. After cooling, the resulting mass is whipped with a mixer until the state of the batter. A tube of PVA glue is added to the prepared mass, and beat again with a mixer.
-
A plastic bottle is taken as the basis for a large mushroom. To give it stability, alabaster is poured into it, 3-4 cm and moistened with water. Under the unscrewed plug, a cardboard disk, about 15 cm in diameter, is installed on the thread. This is the future mushroom cap. In order to make the hat and give it a convex appearance, a voluminous upper part is superimposed on top of crumpled newspaper. Secure it with tape.
-
The basis of small mushrooms will be details made from foil. From it, gently crushing it, make lumps in the form of mushroom legs and convex caps. The legs are made either plump or thin, trying to repeat their appearance shown in the picture. Similarly, looking at the pictures, hats are made. Some of them are made small, others - large. You can give them a curvature in the opposite direction - upward, so that they become similar to chanterelles.
-
The blanks are coated with papier-mâché mass. To do this, take small cakes and carefully lay them on, trying to give the blanks a look characteristic of the selected mushroom. The mass is applied in several layers. From time to time, the process is stopped, taking a pause to dry the product.
-
The craft created in this way dries for several days. After that, the process continues. Toilet paper and napkins are carefully glued to individual parts, making their surface even and smooth.
-
You can make mushrooms from plasticine, paste over them with a mass of papier-mâché, and after drying, cut the shell, remove it. The incision is subsequently sealed.
-
At the next stage, the details are primed with white gouache. or emulsion paint.
- After dry primers on the legs are glued to the corresponding caps.
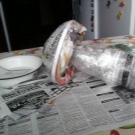
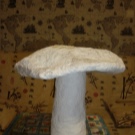
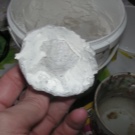
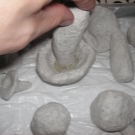
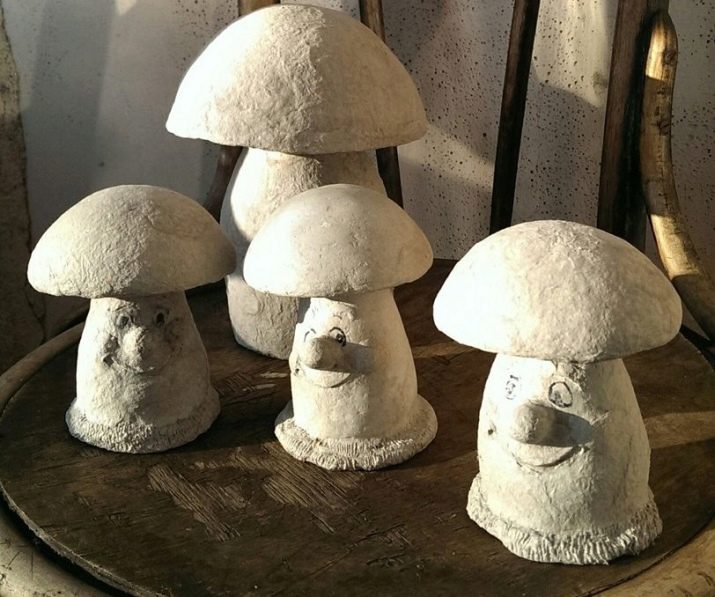
At this stage, the creation of mushroom blanks ends. They have a corresponding outer contour, but so far remain colorless. HIn order to make the finished products colorful, it is better to paint them with paints at the end of the work.
How to decorate?
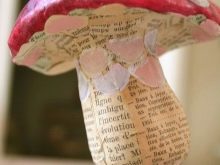
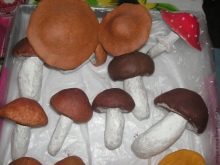
If you carefully examine the drawings of mushrooms in the guide book, it is easy to see that they differ not only in shape, but also in color. The porcini mushroom has a dark brown hat, gray mushrooms, chanterelles flaunt with a red hat, like a real chanterelle's fur coat, and the fly agaric is bright red with white dots. It is better to paint finished papier-mâché products in the appropriate colors. This can be done using watercolors or gouache. For this, it is better to take different types of brushes.
-
The hats are painted with a wide brush. Use a fine brush to create fine, clean lines and curls to match the texture of the mushroom fabric. In the lower part, black and brown paint imitate the roots of the mushroom. Dark spots are placed on the white-gray leg to make them look like real ones. The painted mushrooms seem to come to life.
-
They dry out for several days.
-
The finished product is varnished. After that, the mushrooms become just like real, bright, with true colors.
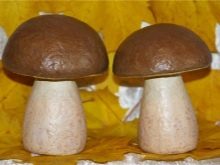
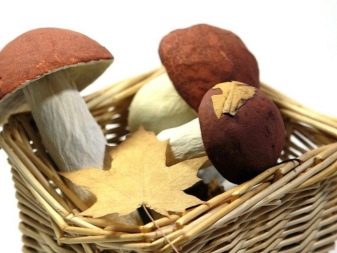
From the individual mushrooms obtained, you can assemble a composition by folding the papier-mâché craft into a pre-prepared basket.
The use of dry leaves, spruce twigs and cones, rowan or viburnum brushes will add brightness to this autumn composition.
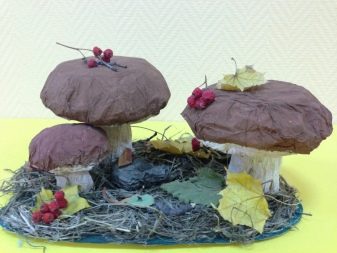
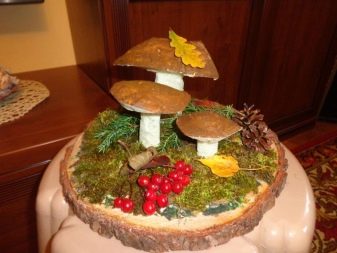
Another version of the composition can be assembled on a piece of fiberboard, on which a piece of cotton wool is placed.
To make the craft look more colorful, it is recommended to touch up the cotton wool with paints using a toothbrush. To do this, the brush is dipped in yellow and green paint. The bristles must be turned up and run your finger over them so that small droplets of paint fly onto the cotton wool. After a short time, the cotton wool changes, it becomes like a forest floor.
Even more authenticity will be added by dry leaves and spruce needles scattered over the top. On this imitation of forest soil, you can plant a group of papier-mâché mushrooms. The created composition will look like a small clearing. It will adequately decorate a child's room, a corner of a kindergarten or a classroom.
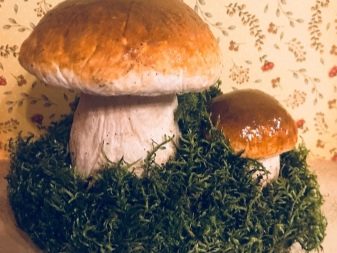
Next, see a master class on making papier-mâché fly agarics.


