Blocks for patchwork
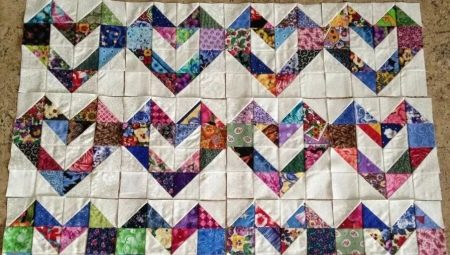
The basic element of every piece of patchwork is a block - it is found in absolutely every piece of patchwork, be it a blanket, bedspread, pillow, pillowcase or kitchen pot holder. In our review, we will talk about how to make blocks, and what interesting techniques for making them are popular with needlewomen.
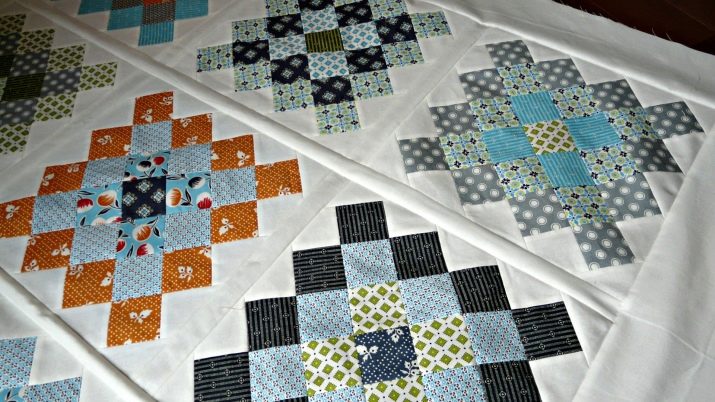
Manufacturing features
Any patchwork block is the main element of the future product.
In the patchwork technique, when making blankets, rugs, bags and other things, craftswomen, for the convenience of work, first make blanks - these can be strips of fabric, fabric cut into squares, as well as triangles and hexagons.
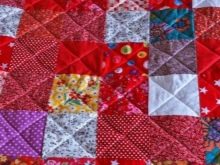
These elements are sewn together in accordance with the working scheme - as a result of all work, a block with a thematic print is obtained.
In patchwork, several blocks of the same type are made, after which they are squashed with each other, forming a conceived thing. The appearance of the needlework and its color scheme depend on the block. The block contains all the main prints and ornaments, which will be repeated several times in a large product.
Tools and materials
To get started, it is necessary to collect on the desktop all the fragments of fabric you have, sort them according to shades, density and texture, only after that it will be possible to proceed directly to the development of the working block diagram.
However, sometimes craftswomen do the opposite - first they develop a pattern, and then they cut blanks from an existing house or specially purchased material for this.
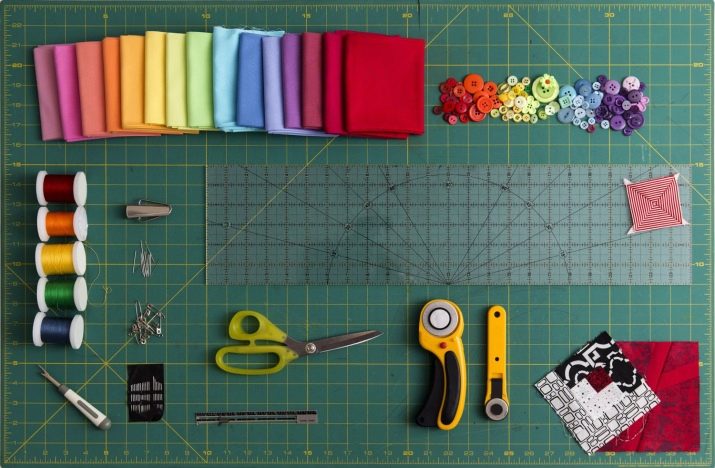
In addition to fabric blanks, the following tools are also required to create blocks:
- scissors or a sharp stationery knife;
- sewing needles and safety pins:
- chalk / pencil - they are designed to draw the markings on the canvas;
- thin plastic or cardboard - necessary to form a template;
- sewing machine.
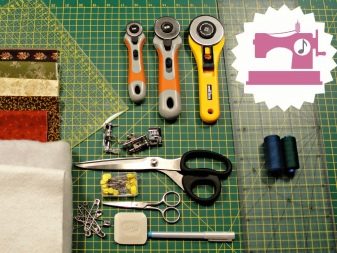
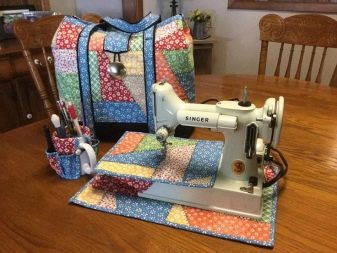
It is not difficult to assemble such a set - you can easily find everything you need for patchwork in your nearest handicraft store... In addition, on sale you can always find special kits for patchwork - in them, in addition to basic consumables and a set of tools, simple block drawing diagrams are also attached.
With everything you need at hand, you can quickly and easily make stylish things using patchwork techniques, ranging from elementary ones to real masterpieces.
Best Schemes
Quick squares
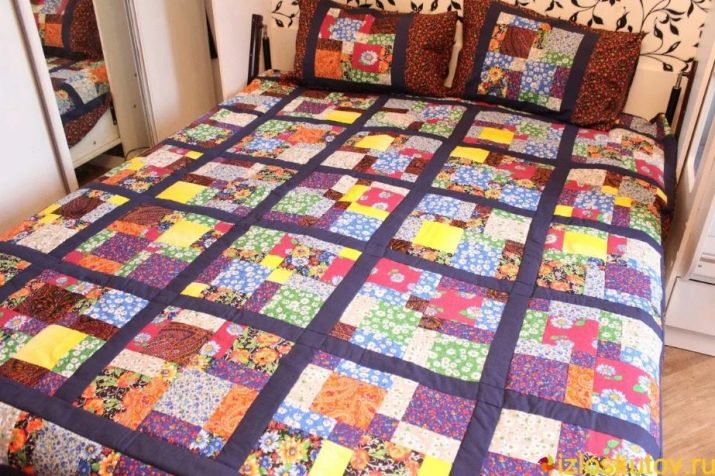
Novice needlewomen should collect patchwork blocks made of squares - they are optimal for making bedspreads, patchwork rugs, cozy blankets, tablecloths and many other large-sized items. There are several basic methods for making square blocks. They are all simple to perform, with each offering opportunities for improvisation. - that is, the choice of color, changing the dimensions of the stripes, the use of any decorative elements. All this will allow you to create creative and truly exclusive products in the style of patchwork.
The simplest technique is called "Fast squares". As the name implies, it is based on square blanks that are cut from strips of matter. 4 types of canvases of different shades are taken for the base of the block.
To begin with, two strips are sewn together, then two more. We put the strips on top of each other, sew them together. Then, at an angle of 45 degrees, to get the same size and color, cut out the squares. Prefabricated block-squares are obtained, formed from 4 types of canvases.
You can combine such blocks in any random order. 4 squares will be quite enough for making a pillow, and much more will be needed for a blanket: about 42 blanks are needed for an adult, about 24 for a child.
Strip to strip
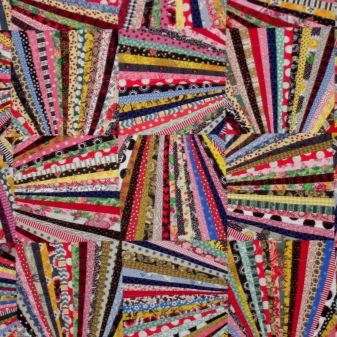
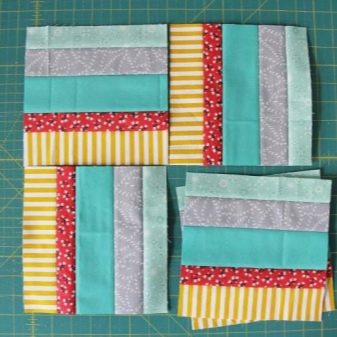
In this technique, a block is formed from multi-colored stripes of matter, at the same time, their placement and tint combination can be changed at the discretion of the craftswoman... Basically, this style is used to create large patchwork rugs or rugs in the form of parquet boards laid in a zigzag manner. However, no less popular is the connection of individual blocks in the form of corners, rhombuses, and also in the form of a ladder.
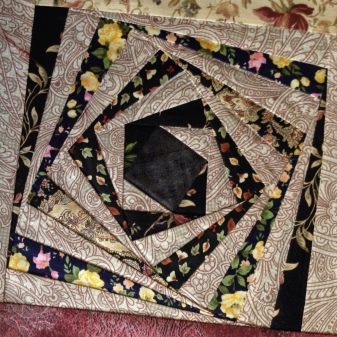
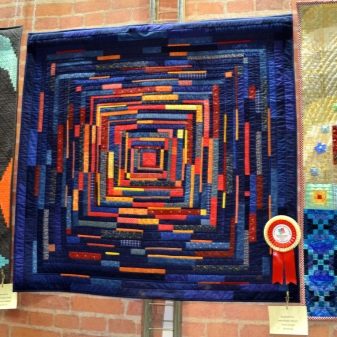
"Log hut"
This patchwork technique also uses stripes - they are collected near one square in the center and placed in a spiral relative to it. If desired, the central fragment can be slightly shifted a little to the corner - in this case, the print will come out completely different.
Magic triangles
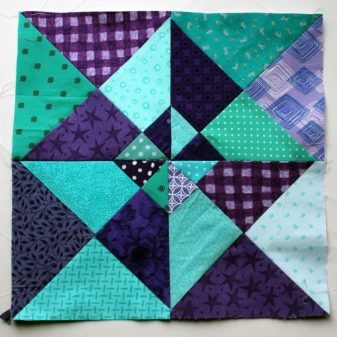
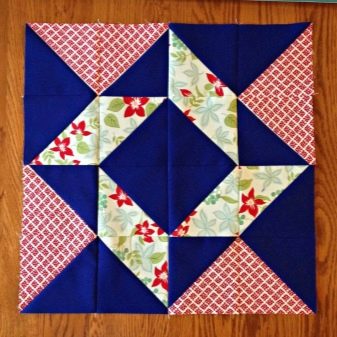
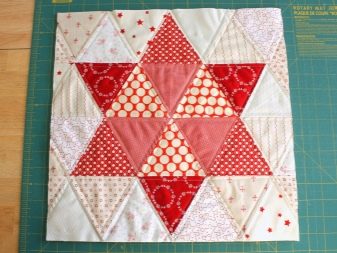
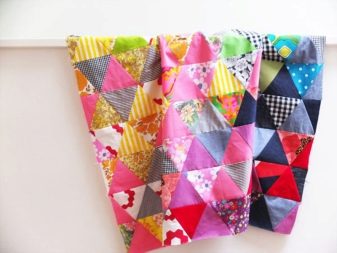
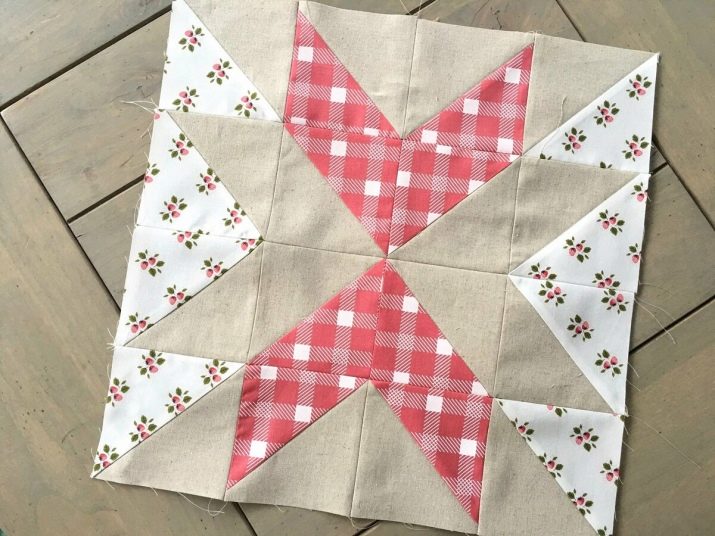
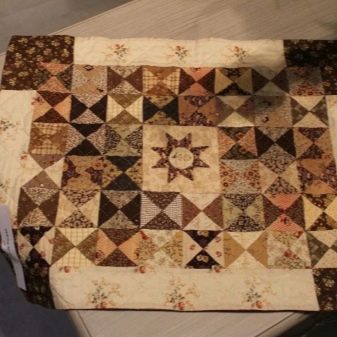
In patchwork, blocks are widespread, made up of blanks in the shape of triangles. This form is convenient to work with., since both the most ordinary squares and more complex star elements can be formed from blanks. If you take isosceles triangles, stitching them along the short side, then you can form a print from multi-colored stripes. And if you sew the long sides together, you get colored squares. Blocks of triangles received such designations as "Star", "Pineapple" and "Diamond".
Patchwork corners
A characteristic feature of the blocks in this style is that the corners do not need to be cut with scissors - they are simply folded from squares or strips of fabric. The resulting blanks are sewn into long strips, and then a large volumetric product is sewn from them.
"Chess"
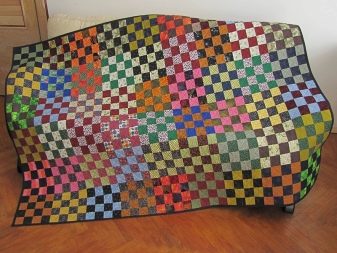
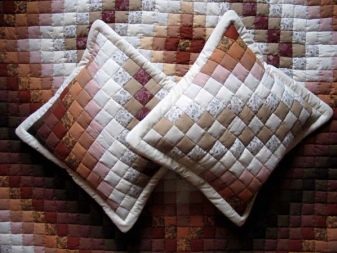
Everything is simple here. The blocks consist of small squares of light and dark colors, which are laid out in a checkerboard pattern. If desired, the square can be turned upward with a corner - then you get a "chessboard" made of rhombuses.
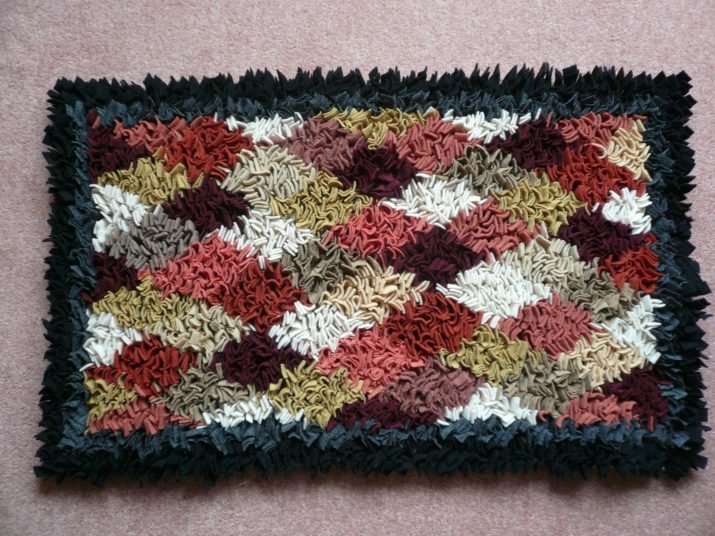
"Lyapochikha".
This is a very original technique.To decorate such blocks, multi-colored strips of raw material are attached to the base, creating a large volumetric canvas. Usually, any knitted items are used, for example, T-shirts. It is desirable that the canvas, which was taken as a basis, does not crumble much.
"Hourglass"
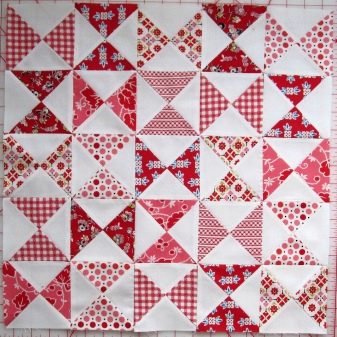
Another creative but simple technique. For the manufacture of such a block, 4 squares are made, then 4 more, they are folded with the front sides and stitched around the perimeter. The resulting square is cut in the diagonal direction and 4 ready-made hourglass-based modules are formed.
Recommendations
If you are just taking your first steps in the style of patchwork, then you should use some of the recommendations of experienced craftswomen.
Start with squares. These are the simplest blocks that can be formed from pieces of fabric - they are very easy to sew together. Leave more and more complex geometric shapes for the future - they will require skill, because it is much more difficult to sew the blanks together without distortions.
In case of any mistake, you will have to rip open the already made seam and start over.
Take large flaps. The smaller the fabric blanks are, the more work you have to do. Accordingly, this will increase the number of mistakes, and besides, you will quickly get tired of such work, and it is possible that you will simply quit your business halfway through. If you take large scraps of fabric as a basis, then the first product will take very little time.
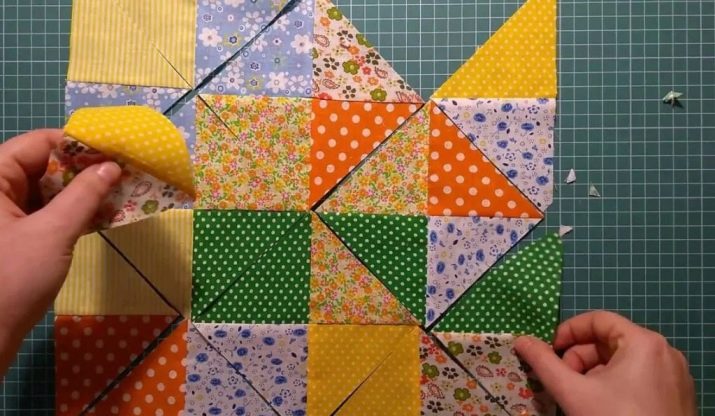
Don't chase originality... It is best for beginners to copy the work of other masters at first. First, it is important to "get your hand" by creating interior items according to ready-made step-by-step master classes. And over time, each needlewoman develops her own individual style. If you are disgusted with the idea of a complete copying of another master's products, simply change the color scheme of the fabric.
Learn to combine shades. Some Internet services will help you with this, where you can always choose the optimal shade palette so that the colors combine well with each other.
Assembling blocks is the main stage of any patchwork sewing, and having mastered this simple technique, you will be able to please yourself and your household with stylish and cozy decor items that will emphasize the unique style of your home.
The fast block technique is presented in the video.


