Patchwork bargello technique
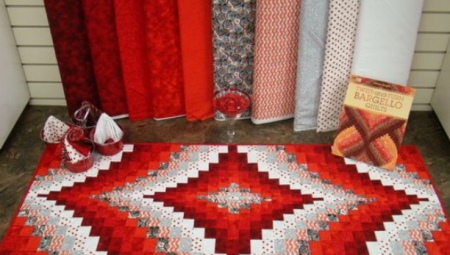
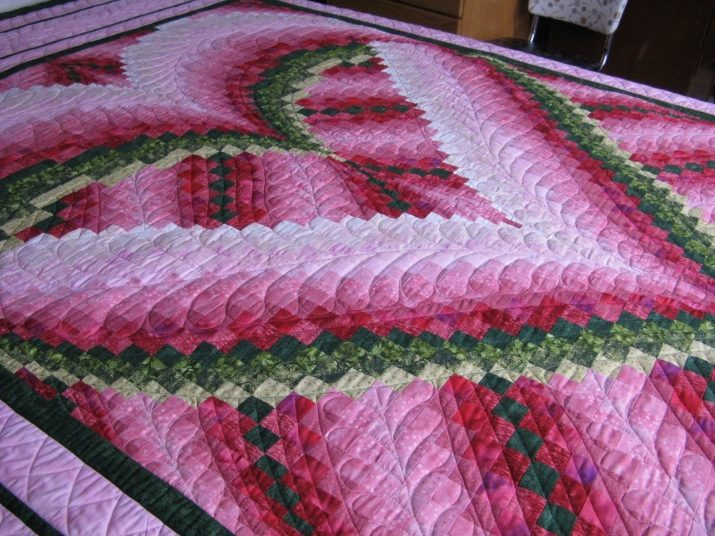
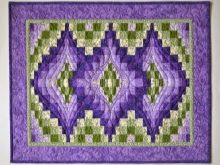
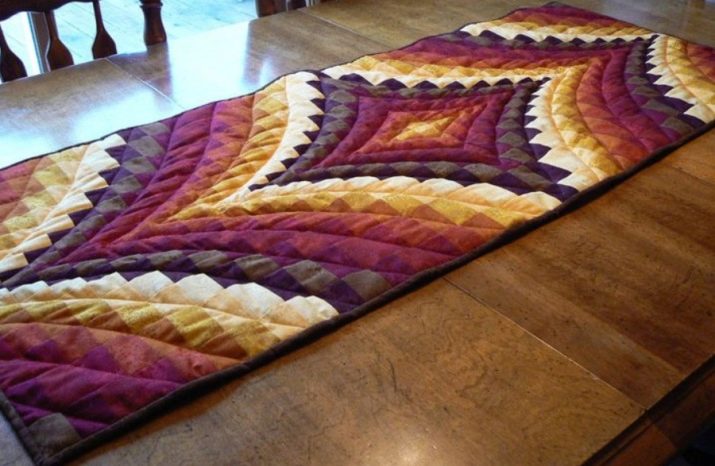
Today we will get acquainted with a surprisingly effective, but at the same time unconventional pattern of patchwork sewing - bargello. Its principle is to create interesting ornaments by forming stepped lines or folds with a smooth transition of shades.
Products made in the bargello patchwork technique, look very difficult but at the same time in production they are very simple and accessible for sewing even for those who are just taking their first steps in needlework.
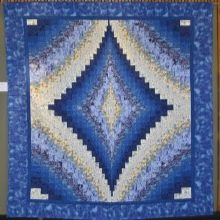
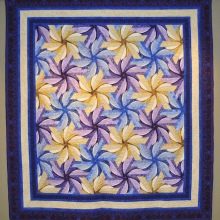
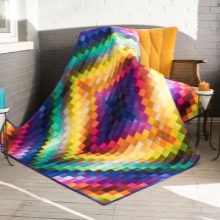
Peculiarities
According to the description, the bargello is one of the accelerated patchwork techniques, in which all the canvases are sewn together in strips into one common sleeve, after which they are cut perpendicularly and paired in some places. As a result, a new tint strip is formed in a variety of combinations - such stripes form a spectacular and vibrant color fabric.
The history of Bargello is rooted in the distant past. Initially, the direction was created as one of the techniques of ancient embroidery.
According to one version, bargello originated in Poland, and was invented by a Hungarian princess named Jadwiga, who was the wife of the Polish king. When Yadviga embroidered the vestments of a priest in this unusual technique, everyone knew about it. She depicted the coat of arms of both countries - Poland and Hungary, and it was a real masterpiece, a work of art. Many women liked this way of decorating clothes and household items, and they tried to repeat this embroidery. They were truly amazed at how easy it was.

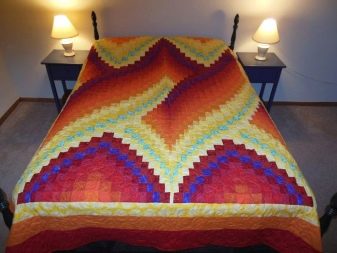
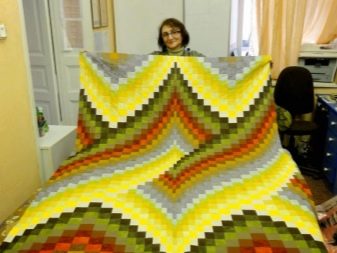
Modern needlewomen have borrowed this principle for patchwork. Bargello in this style retained his essence, that is, the formation of ornamental patterns by drawing up zigzag lines with tints. As a result of this decision, things in the patchwork-bargello style look like a gradient or ombre. To achieve this effect, sewing masters shift the stripes relative to each other.
Necessary materials
When creating a spectacular patchwork bargello, the most the main thing is to choose the right material. Here, the imagination of the needlewomen is almost unlimited, since any color ranges can be used in the work. Traditionally, for sewing blankets and blankets, several shades are selected in a single range, ranging from light to dark. However, if you wish, you can always take contrasting or complementary tones of different colors - there are no strict rules, the colors are combined at the discretion of the craftswoman, while the technique allows for the most daring experiments.

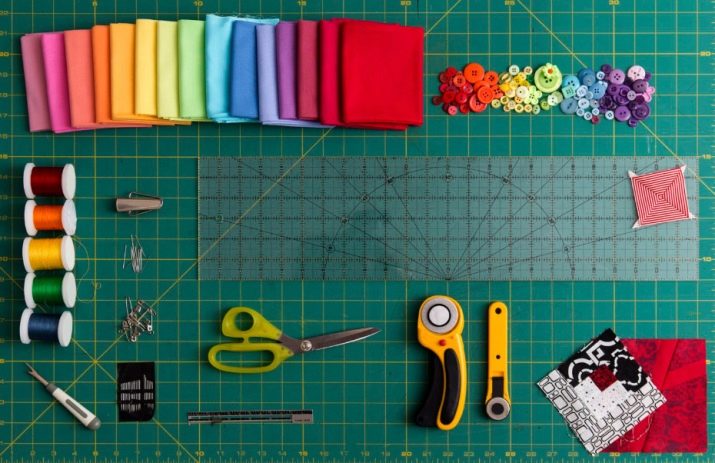
In order to sew a blanket, you need to prepare:
- pieces of fabric of 20-24 shades;
- 2 m of fabric of any dark color for finishing the finished product;
- lining fabric measuring approximately 120x160 cm;
- material for decorating the back of the product.
If you are sewing for a child or a person suffering from allergies, then the fabric must first be subjected to a full-fledged decating process.
To do this, first it is soaked without adding detergents, then thoroughly rinsed and steamed with an iron or a special device. As a result of such actions, excess dyes are removed from the fabric, factory impregnation is neutralized, and the smell disappears.
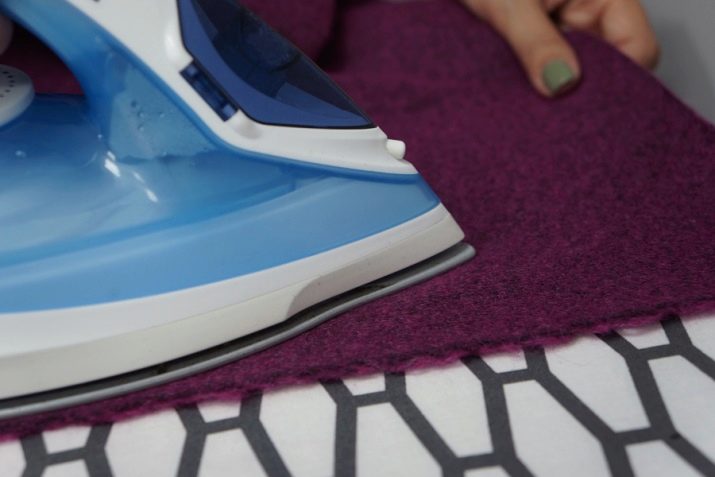
Similar manipulations can be performed when creating an adult product. - in this case, after heat treatment, the fabric will shrink, and you do not have to worry about your bedspread changing in size or distorted during the first wash.
Handicraft stores sell ready-made stripes marked with numbers - this greatly facilitates the work of those who are just taking their first steps in patchwork.
Step by step execution
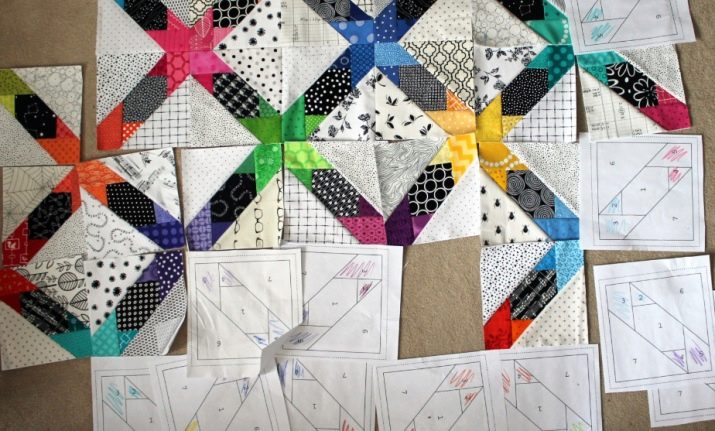
The essence of the bargello technique boils down to the fact that a stylish ornament emerges from a large number of multi-colored stripes of matter for the application of certain schemes for their further sewing. The total number of such stripes, as well as the tint palette, may vary.
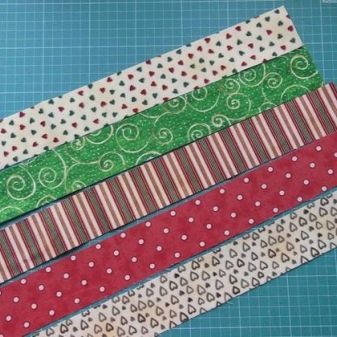
Before mastering the original style, experienced craftswomen are advised to begin acquaintance with the formation of blocks using the strip-to-strip method, which is one of the simplest in patchwork, in principle, it involves joining several stripes sequentially sewn together.
To do this, you need to take cuts of fabric and form stripes of 5 colors - you can take a variety of shades that will fully correspond to personal preferences and the style of the interior. To create a 30x30 cm block, the strips should be approximately 5x35 cm. Progressively, moving downward, all the strips should be connected together with pins on the longer side, and then sewn on them.
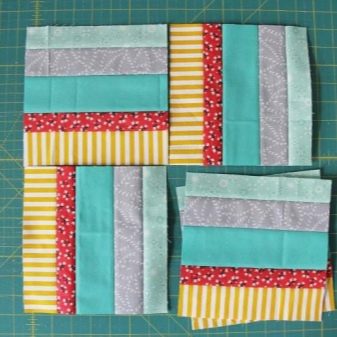
Many novice craftswomen are wondering why they need to chop off workpieces. Everything is simple - only in this way you can securely fix a piece of canvas so that it does not lead when connected on a typewriter. The pins are secured in a direction perpendicular to the seam and left until the stitching is complete. After each seam, each seam must be ironed carefully. We can say that both the iron and the pins are full and unchanging "participants" in the entire technological cycle of patchwork sewing. You cannot let go of this rule.
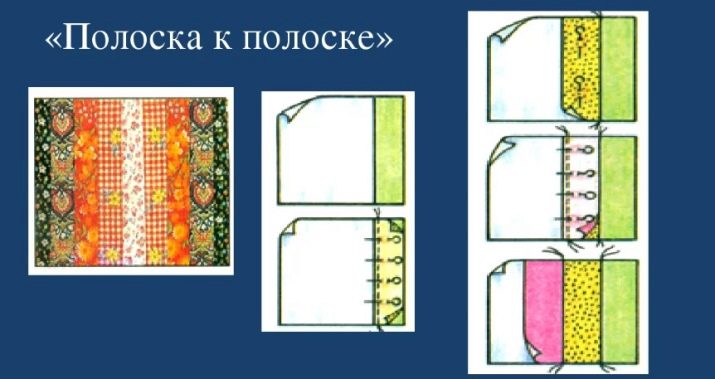
From the finished large piece, four triangles of equal sizes should be cut. When all four small blocks are completely ready - they should be assembled into a single one according to the "strip to strip" principle. All blanks are sewn in pairs.To do this, they are placed with their front sides towards each other, chipped and stitched along a horizontal line. Next, both halves are stitched vertically and stitched from the inside out, and then from the front side.
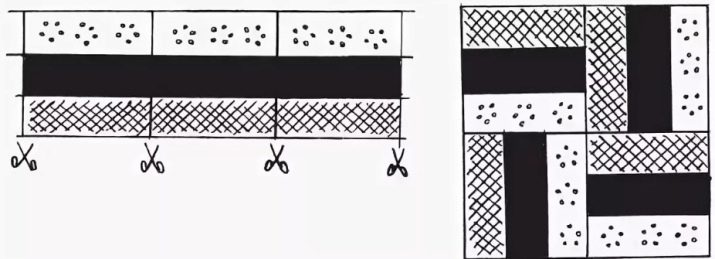
Patchwork-style block strips are ready, you can quickly and easily make some interesting little thing for home decor or for children from them.
And if you take several types of denim, cut into strips, then you can make a stylish beach bag. If desired, you can additionally decorate it with applique, beads, cords, zippers or embroidery. Such an accessory will turn out to be very beautiful and convenient, it will not be a shame to appear in society with it. After that, you can move on to more dimensional things, such as bedspreads.
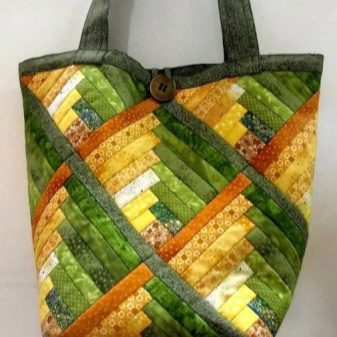
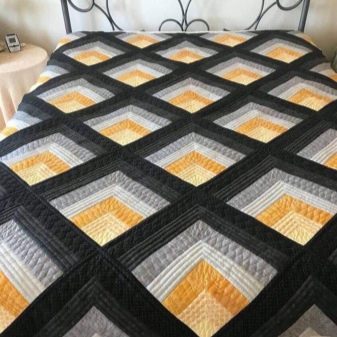
In our master class, we will take a step-by-step look at the most primitive, but at the same time very effective scheme. Using our recommendations, even inexperienced craftsmen can master this sewing method in a few hours. For work, you will need 20 strips of fabric measuring 6x110 cm - this is already taking into account the seam allowances. All stripes must be of different colors.
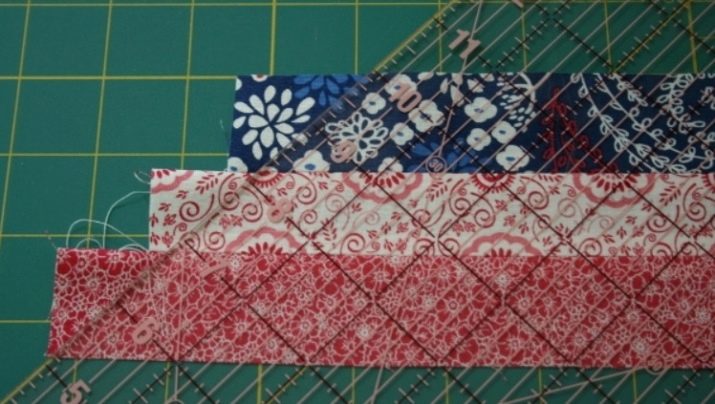
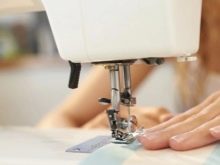
- All prepared strips are sewn into one fabric using the strip-to-strip method, that is, the blanks are alternately sewn, placing their face to each other along the long side. For the convenience of work, they are pre-cleaved with pins. After stitching, the blocks are carefully ironed from the inside out, while all the seams must be ironed on one, darker side. Then the workpiece is turned over and the front side is ironed.
- The result of all the manipulations the canvas is folded in half with the front side inward along the length, pinned, and then carefully stitched on a sewing machine. Novice craftswomen sometimes encounter the fact that when long strips are connected, the canvas begins to warp. To avoid this, it is better to alternate the direction of stitching: for example, sew the first pair from right to left, the second - from left to right, the third - again from right to left, and so on.
- As a result of all the actions, you get something like a pipe., it must be cut with sharp scissors into transverse strips so that their width is 5–7 cm. In total, you should have seven parts that resemble a ring. Each of them should be cut in such a way as to obtain a multi-step print; on subsequent strips, the notch should be located one square below. Approximately from the fifth lane, you should start the reverse movement up one step.
- The resulting stripes are sewn connecting them in pairs with their outer sides in one direction. Make sure that all formed seams coincide with the seams of the next strip when stitching.
- Upon completion of work all sides of the flap must be leveled, Cut off excess material and iron thoroughly with an iron.
If you connect the four blocks, trimming them in different directions, then you can get a rather original drawing that visually resembles a wave.
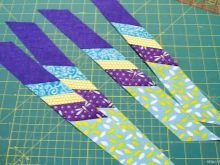
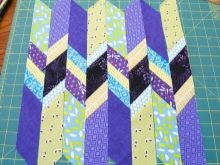
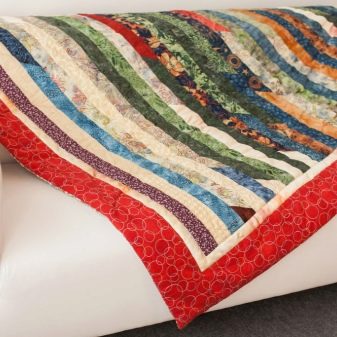
With the help of the simple bargello technique, you can create a truly luxurious patchwork quilt, having gained some experience, you can at any time change the methods of strip arrangement, their parameters and combine different shading solutions. Cushions made using this technique are very beautiful.
Try it - you will certainly have a stylish exclusive item.

In the next video, you will learn how to sew a pillow using the bargello technique.


