Paper patchwork techniques
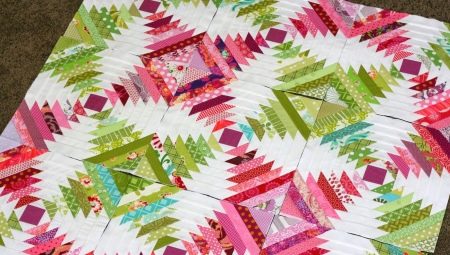
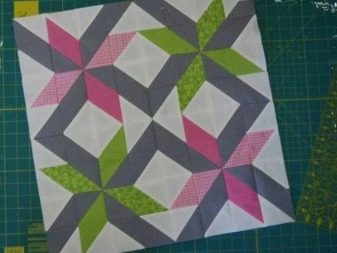
In the ancient manuscripts of the 11th century, for the first time, there are descriptions of this type of handicraft, such as joining scraps of material (fabric) into one canvas. It received the name patchwork and is currently very popular. However, pieces of matter are not only connected to each other - they are often attached to paper. This patchwork technique will be discussed in this article.
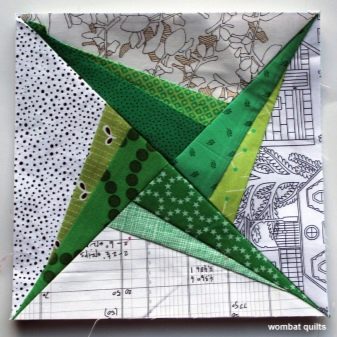
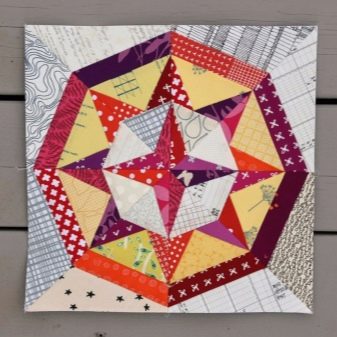
History of origin
England is considered the birthplace of this technique. But over time, it spread to other territories. Thus, products made from sewn patches began to gain interest in Europe and America.
According to some sources, the emergence of this type of handicraft dates back to 980 BC. In Egypt, the products found looked like an applique made of fragments of leather and fur, just like among the northern peoples. All this is reminiscent of the modern technique of sewing fabric scraps - patchwork. The name consists of patch (a patch, a rag, a piece of fabric of an indefinite shape) and work (work).
The causes of this type of handicraft are poverty and poverty. It was necessary to cut whole pieces from the remnants of matter and sew clothes from them, create new things united by details.
Increased demand for this patchwork technique arose during periods of crisis. Over time, such creativity moved to a higher level. Craftswomen began to make patterns, mosaics and even designs on fabric. Improved methods of collecting products from flaps began to be invented. One of them - sewing on paper.
What is required?
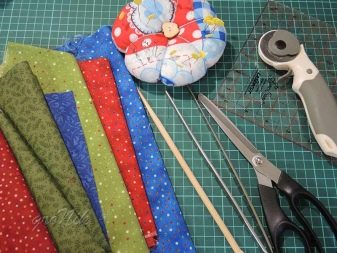
To work, you will need tools: a sewing machine, pieces or scraps of various fabrics, scissors, fastening needles, a cutting knife with an interchangeable disc blade, a ruler, a surface (mat) for cutting and paper.
Initially, you need to imagine what kind of product you want to make. This can be a blanket, a blanket, a pillowcase for a decorative pillow, a curtain for a window or a tapestry on a wall, a cosmetic bag, a bag and many more different options. For everyone, you can find a whole master class.
The ways
Let's consider the process of patchwork sewing on paper in more detail.
First you need to make a block template. Let's prepare paper in the form of a square with a drawing. The standard block size is 25 by 25 cm. The diagram (figure) can be drawn by yourself or you can find a ready-made sample on the Internet. The paper should be thin but strong so that it does not rip while stitching the parts together. On the edges of the block on paper, add 1-1.5 cm of the edge. You can deviate from the standards at your discretion - depending on the pattern and size.
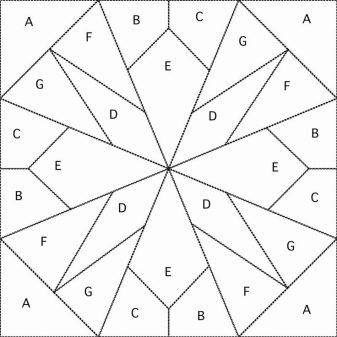

Now we take a suitable piece of cloth and cut out to fit each section of the drawing on paper, while also adding an edge section for sewing. Parts of matter fix with needles to the paper template one by one and start stitching one piece at a time... Better to start at one corner and end at the opposite.
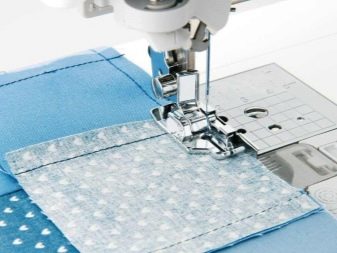
First flap put it on the paper template face up, fix it with needles, add a second flap to the border edge with the front side to the first, we also fasten with needles, turn over and sew one edge of the two parts from the paper side. We unfold the product, bend the second part, then we apply the third to it, turn again with the front side to the unfolded part and attach with a needle, unfold, sew on the side of the paper.
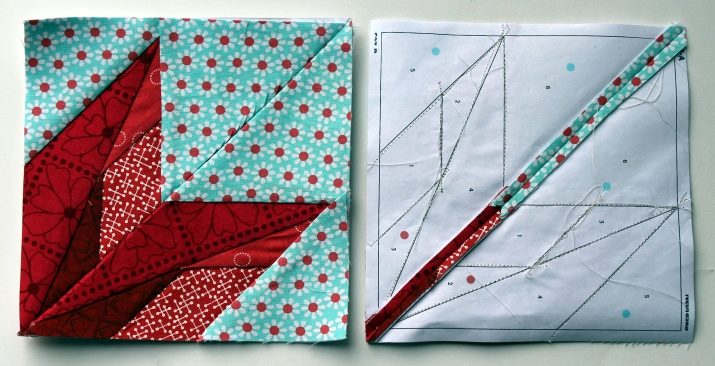
We go back to the starting position, and continue step by step, we connect the block in this way to the last shred according to the scheme... It is advisable to iron the seam after each connection. In this way, we make the required number of blocks, then we sew them together by the same method and we get a canvas for the desired product.
From the scraps you have at your disposal, you can create both simple drawings and complex ornaments, even images of objects, animals and birds, but this already comes with an increase in skill and the level of complexity of the work.
In the English technique of execution, paper templates of various shapes and sizes are used, but the most common is hexagon. In this case, the template should be made of thicker paper. In this technique, the paper template is a separate piece and is manually sewn on all sides. Thus embroidered patterns are obtained, the connection of which occurs on the seamy side by sewing parts over the edge. The template is removed from the finished structure after assembly.
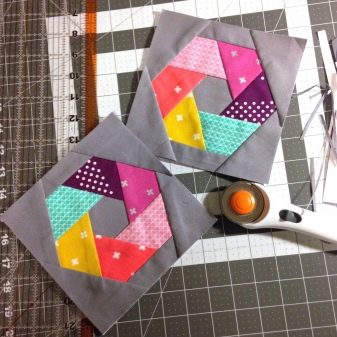
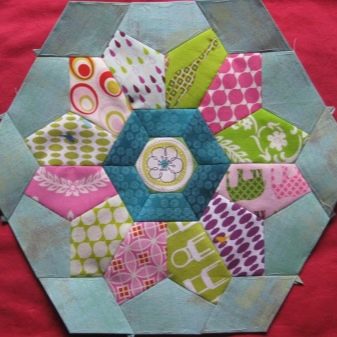
Beautiful examples
In a very beautiful and uncomplicated way, you can decorate the block with voluminous drawings.
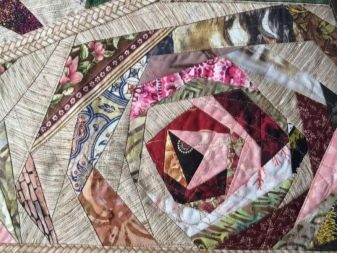
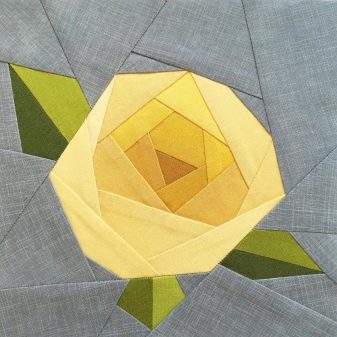
For example, flowers. The weave is suitable in red, white or yellow. It must be smoothed out before making the tape. First, we sew a long strip of fabric on the seamy side - you get a ribbon. We turn it over to the front side and fix it in the middle of the block with a straight machine seam. Then we make a 90-degree bend and sew another part. The free part of the ribbon is directed towards the center of the rose, and is sewn from the outside. Thus, petals with circular bends are obtained. Then you can hide the seam with some kind of lace ribbon, braid, or insert such an ornament already in the process of creating a block. In this case, the block will be stitched from the middle of the circuit.
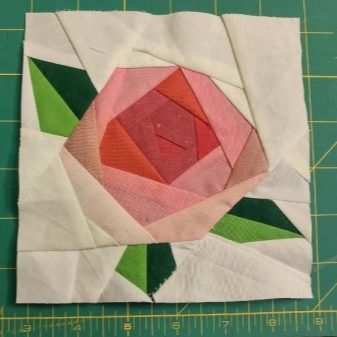
With the help of such a simple description, we got acquainted with an interesting method of making unique fabric products. In the modern world of fashion, the patchwork method is often used. Various types of parts are sewn in this way, inserts of different colors are used.
The technique of patchwork sewing on paper is presented in the video.


