Knitting in patchwork style

Knitting is one of the oldest women's handicrafts. You can study yourself in magazines or on the Internet, as well as ask your grandmother for advice. It will become a pleasant leisure time and a useful skill. Knitted scarves and jumpers are increasingly raising the degree of popularity in modern fashion.
Style features
Unique and interesting is the style of needlework using the patchwork technique - this is patchwork sewing with pieces of material, fabric. Along with this there is a knitted patchwork. An intricate technique is done both crochet and knitting needles. The web of products is made according to the example of a mosaic from individual segments connected with knitting needles. These individual pieces of knitting are called motifs. The economical and practical option later became widely in demand among knitters.
Skillful needlewomen create new patterns, styles and color palettes with the help of the knitted patchwork technique. The patchwork product combines ornament and yarn of various colors and shades, which ultimately creates an extraordinary and beautiful thing. The patchwork technique is distinguished by the fact that completely dissimilar knitting styles are compatible in it - jacquard, hosiery, lace and braids.
There are two techniques in patchwork knitting.
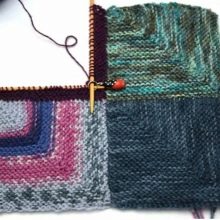
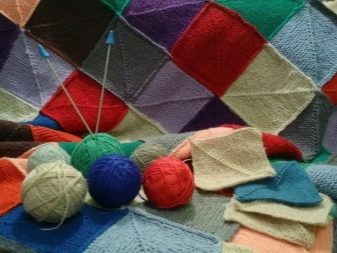
- Separate motifs are knitted (shells, squares, triangles, rhombuses). The parts are laid out according to the outlined scheme and stitching is performed.
- The elements are sewn together as soon as they are ready. You just need to be able to understand the scheme.
Patchwork knitting is the implementation of the technique according to the most common patterns, understandable even for a beginner. You just need to select the geometric shapes, link the parts and connect them.
What can be linked?
Having mastered the patchwork technique, you can easily create original and beautiful handmade products.
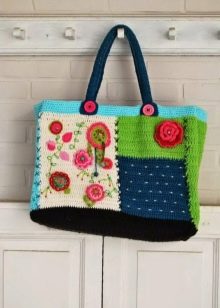
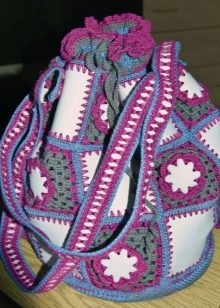
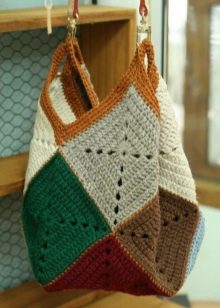
- Capacious bags will conquer anyone with their practicality and functionality.
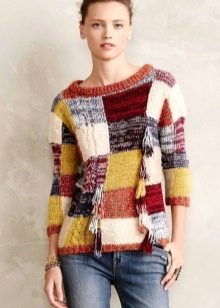
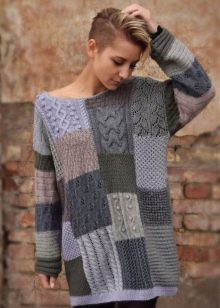
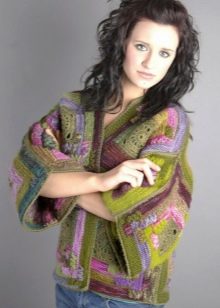
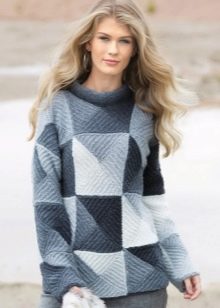
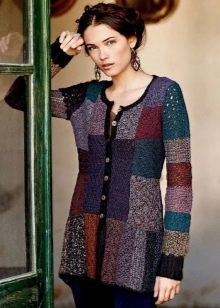
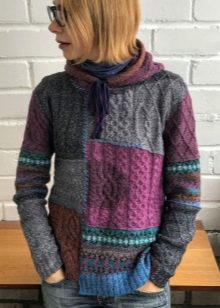
- Warm sweaters, pullovers, cardigans and sweaters associated with an abundance of geometric shapes. In them you can visit a cozy cafe or visit a friend.
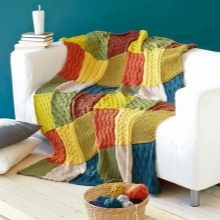
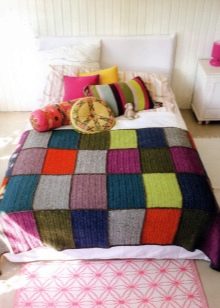
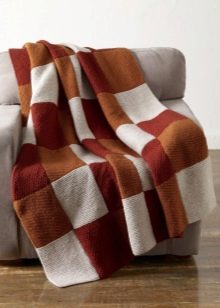
- A bedspread and a warm blanket will warm you on winter evenings.
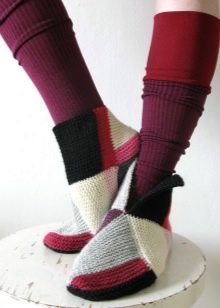
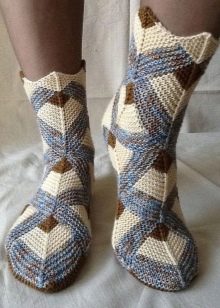
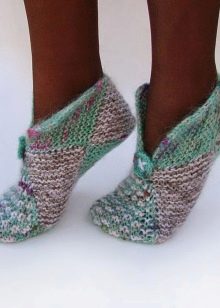
- Slippers and socks are knitted for household use.
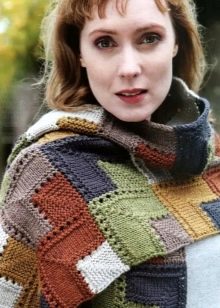
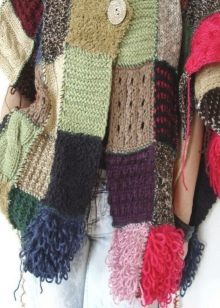
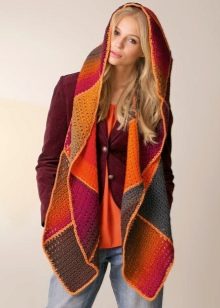
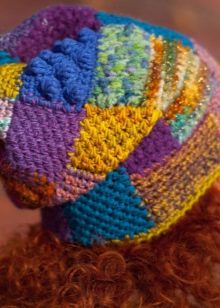
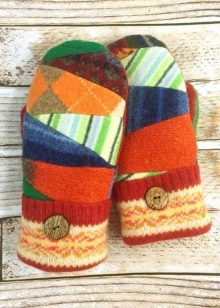
- Scarf, hat and mittens - for winter fun. Bright palette of yarn and softness of things will not leave anyone indifferent.
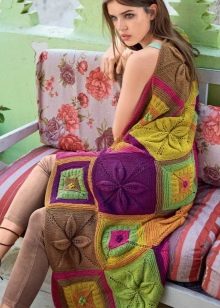
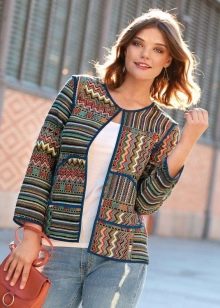
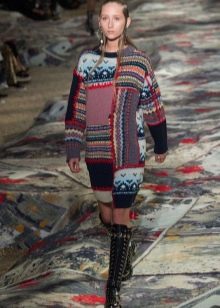
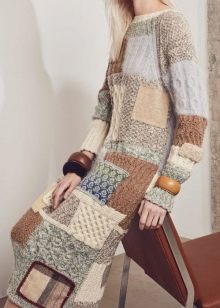
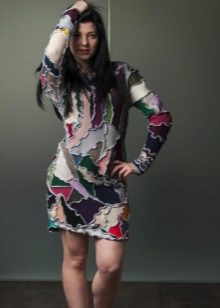
- For women, a dress with patchwork knit, tight-fitting style will become a fashionable addition to the wardrobe. A knitted jacket will give the suit a new style.
Selection and preparation of material
It is better to start mastering the patchwork technique with simple things. For example, you can knit a blanket, shawl, or bedspread. An advanced needlewoman can easily swing a dress or pullover.
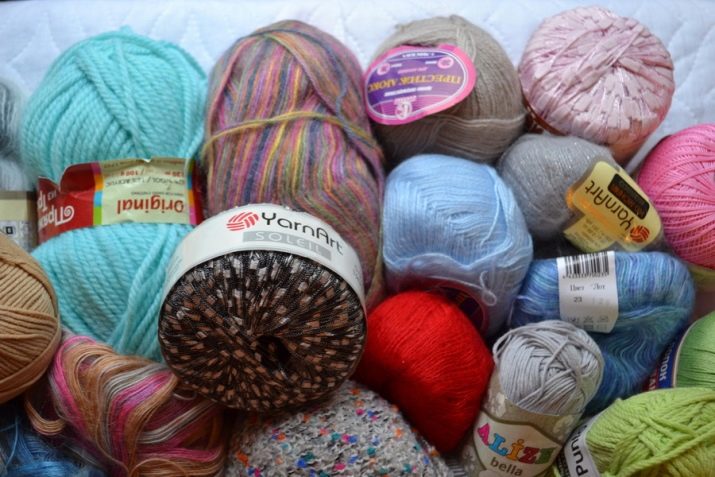
Having decided on the choice of the product, we begin to select the yarn. It is of the following types.
- Natural. Created from wool or plant fibers and used to create warm clothes. For example, wool, cashmere, linen and silk.
- Synthetic. Made from synthesized fibers. Such yarn is needed to create children's clothes, because it does not cause allergies. For example, acrylic, nylon and lurex.
- Mixed. It includes several types of raw materials. This is necessary for hard and soft things. For example, semi-wool consists of acrylic and wool.
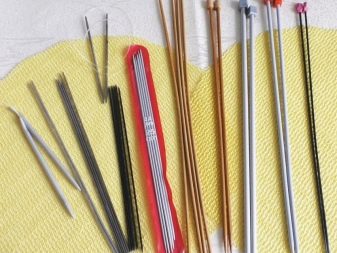
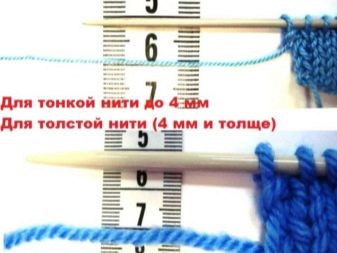
Then you need to choose the right size knitting needles. The yarn manufacturer indicates on the packaging what size knitting needles are needed. For thin threads you need knitting needles up to 4 mm, for thick ones - from 4 mm and thicker. If you cannot estimate the thickness of the thread, you need to fold it in half and compare it with the thickness of the knitting needle. They should be roughly the same.
Master class for beginners
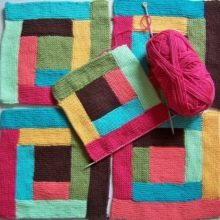
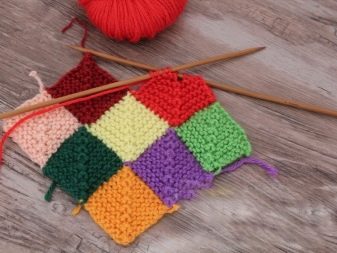
A patchwork of square, simple motifs is a great debut for beginners. However, getting started, a beginner should already be able to:
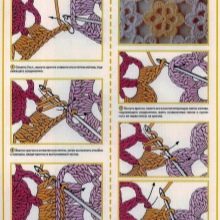
- reduce the loops (remove and knit it from the front side);
- form double-sided knitting;
- connect individual motives by linking.

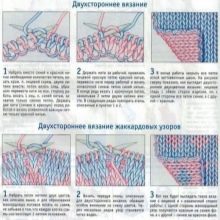
These knitting principles are basic.
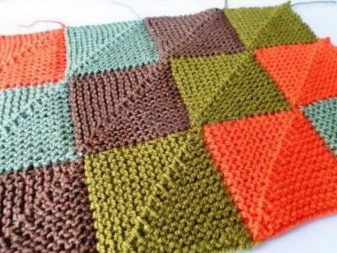
The basis of knitting is a shawl. A rough pattern can be drawn on a checkered sheet or graph paper. If a specific form of a pattern is not outlined, then it is better for debutants to learn how to knit squares first.
Knitting pattern for a small blanket for a children's room from square motifs.
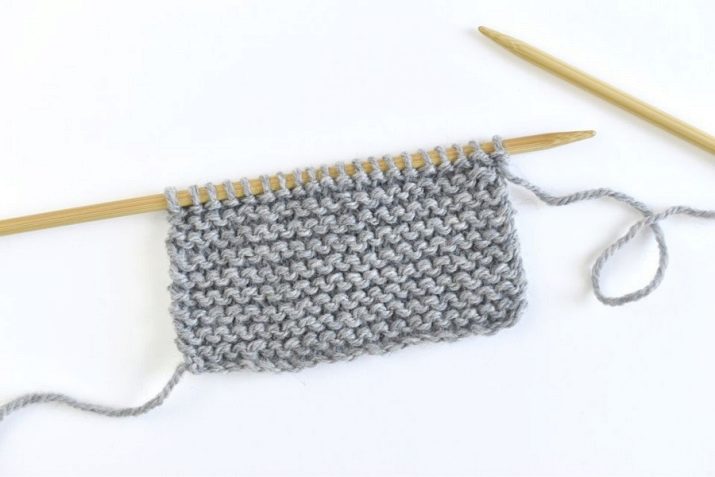
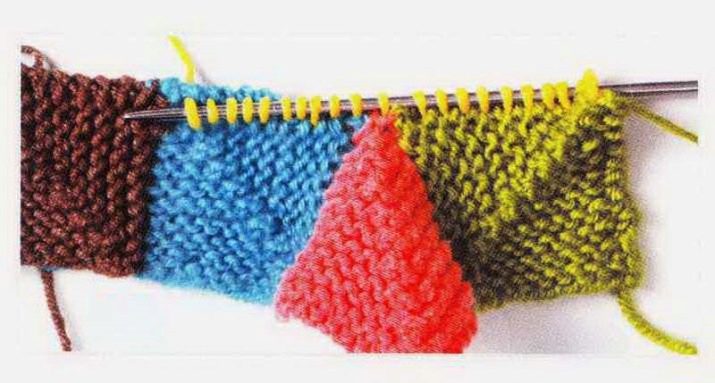
- It is recommended to start with a set of the required number of loops on the knitting needles. To knit a square, you need to form a row of 31 loops.
- Decrease when knitting the second row. To do this, remove the first loop from the knitting needle, knit the last one with the front one, subtract 3 loops by pulling it over the extreme one, and fixing it, cut it off.
The next stage is geometric element number 2
- Classically cast on 15 new and 16 additional stitches onto the knitting needle, then pull the knitting needle over the hem and pull out the loop.
- Decrease center stitches in every 2nd row as you would for the first square. Calculate the width of the product in order to knit the required number of elements. Sew all the created squares with the already knitted ones.
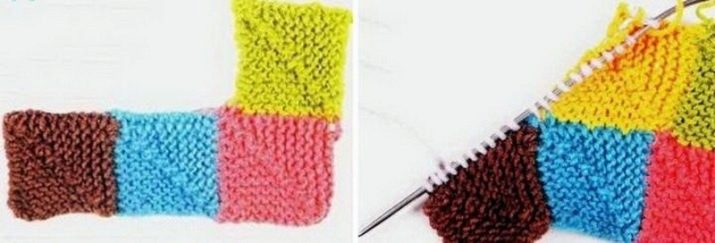
The next stage is the formation of the second and next rows of squares.
- Cast on 15 loops at the top edge and throw 16 more air loops over the knitting needles. The motive fits in the same way as the previous one. The loops are knitted, and the 3 central ones are always subtracted to obtain the desired pattern.
- The second square element snaps to the bottom and side. Cast on 15 stitches without tearing along the edge in the first row. Knit one loop from the corner, and the next one along the edge of the element that is next to it.

It is necessary to finish knitting a plaid from square-shaped motifs in the same order. It is important to remember that the knitting of the elements should be strictly in the direction from left to right. The whole process of this master class is suitable for standard knitting of bedspreads and blankets for both adults and children. Each row will have an even shape and edge.

Weave yarns of different colors and shades into the pattern, while maintaining the harmony of the color palette.
Description of knitting a kerchief model by the non-separation method
Material - yarn and knitting needles No. 5. Knitting a kerchief from squares (the technique of connecting squares and a triangle edge element).
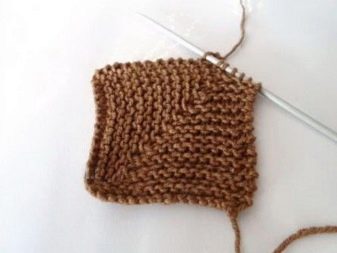
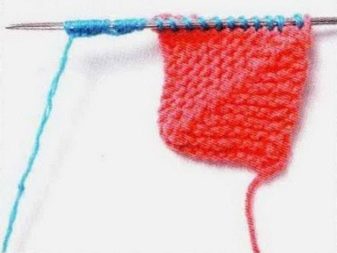
Cast on 41 sts. Only knit stitches are used in knitting. The first one is not knitted, it is simply removed on another knitting needle to ensure an even edge. The last in the row is the purl. Do not be intimidated by long, stretched loops. Then everything will level out.
Knit the back row completely, turn over to the front side, remove the first loop. Knit hem and knit 19.
3 and 3 in the center, remove the first, knit 2 together and pull the removed one. Remains 18 and edging. The next row is knitted exclusively with front loops. After that, the square can be considered ready.

The connected figure must be turned upside down and the tracks from the edge loops must be counted: there should be 20 of them.
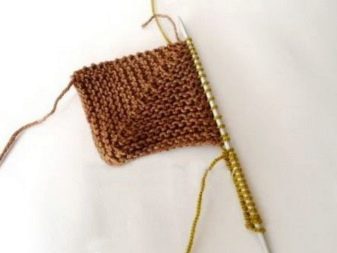
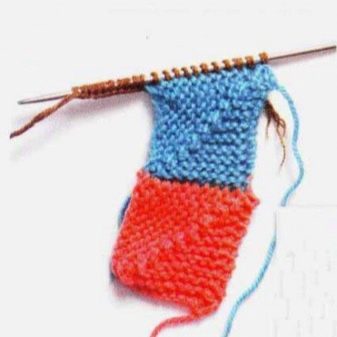
In each loop, dial an additional one with a knitting needle and from each segment along the edge 21 loops. Cast on 41 stitches from the index finger by loose winding onto the knitting needle. Repeat knitting a square on them.
The joining of the next square is also performed by the non-separation method. Set of 20 stitches by simple twisting and edge stitch and then flip to the other side.
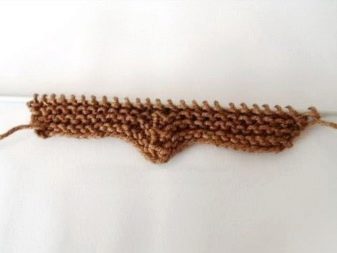
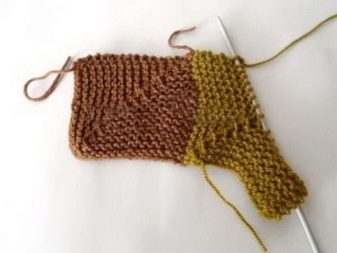
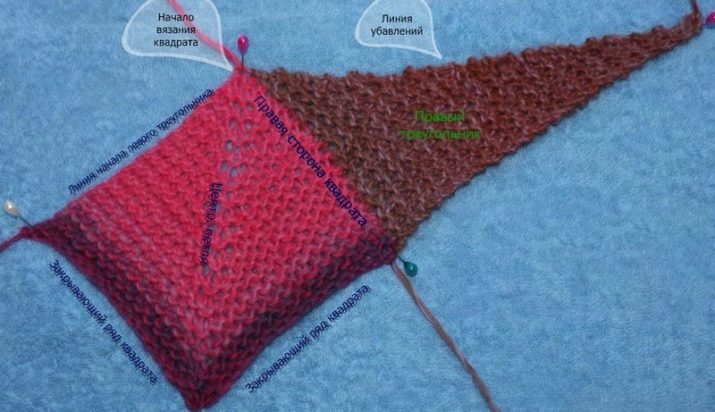
The fifth element will be triangular. Its beginning is similar to knitting squares.
Cast on 20 regular loops and 20 air loops along the edge of the square by simple twisting. There will be 41 stitches on the needles. Turn the work over to the wrong side and knit. Remove one, knit the last purl.
Turn over to the right side and knit all the loops with the front ones, with the exception of the hemming purl. Remove the first loop, knit the second with the front one and throw the first over it. In this way, the detail is subtracted. Then knit 17 stitches.

Decrease 3 loops: remove the first, knit two stitches together. Then re-roll the first one. Knit to the end of the row, leaving 2 loops on the needle. Knit to the end of the row until 2 loops remain on the needle. Knit them in the same way. It is important that they are tied together.
We have removed one loop at both ends. Thus, the formation of the triangle begins. Turn the work to the wrong side. Knit all loops with the front ones, removing the first edge. The latter is purl.
Work the row to the end and turn over to the right side. Repeat the manipulations of the previous front row until 3 loops remain on the spoke. Constantly knit 3 stitches together with the front in the center of the fragment and 2 together with the front at the beginning and end of the row.

Reduce the loop at the beginning of the row again. You should have 15 stitches before the center decrease. Remove the first, knit to the end of the row, knit two together with the front one. Make another decrease. Turn over to the front side.
By decreasing the loops from the square, we go into a triangle. Knit again knit 2 together, reach the central decrease, where 13 loops are located. Decrease in center, knit to end, last 2 together.
So gradually the number of loops on the knitting needle will decrease to 5. Close them. Remove the first, knit the second, sketch the first. The middle one is easy to knit. Knit the last 2 with the front one and turn over to the wrong side. And knit 3 loops only on the seamy side. Remove the first, 2 together with the front loop and the first one to throw. The triangle is ready!
To knit the next element in a continuous way, you need to turn the work from the front to the wrong one and bring it to the right place. TOud to draw a thread to form a chain, you will see for yourself. Knit connecting loops along the hem. The chain fits neatly using a peel-off method.
After knitting, reach the center of the element. Cast on 20 hem down and 20 stitches. You need to type so that the pigtail does not appear on the seamy side. Rotate the work, grabbing it from the other side, so that there is no pigtail on the front side either. The set is done.
Start knitting the second triangle. Knit the first loop with the front one, it is edging.
Then 18 knit stitches, 3 knit together knit stitches in the center, so the purl row falls out. Now knit to the end of the row, leaving 2 loops. As always, knit them together with the front.
At the beginning of the row, only the typesetting chain. This is compensated at the end of the row. Knit 2 knit stitches, turn over to the wrong side and knit all stitches with knit stitches, removing the first one.
It is with these two rows that the triangle differs from the previous one: the set is made not on the front side, but on the wrong side. Then everything repeats itself.
Turn over to the front side and make three decreases there. Knit 2 together at the beginning of the row, 2 in the middle of the row, and 3 together at the end of the row. Remove the first, knit the second with the front one and sketch the third. Having reached the central decrease, make it. Having knitted to the final, subtract there. Knit the back row completely with the front ones. The further is the same.
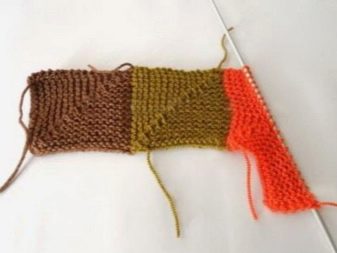
Thus, we knit a triangular motif, as in the previous triangle. K 2 together, then K 15 + decrease (3 loops together). Knit 15 to end + 2 together at end of row. The next row will already have 13 loops.
Then comes the transition to knitting squares. There are 4 squares in total, to which the triangle is then tied. By decreasing and adding squares, you will decrease or increase the size of the scarf at your discretion.
All cycles of knitting motifs are repeated. When the last triangle is tied, the working thread needs to be cut off, leaving a small tip. Then you need to tighten the loop and secure the end of the thread on the wrong side of the finished work. The kerchief is ready.
It is recommended not to strap any product until wet heat treatment has been carried out.
Examples of beautiful products
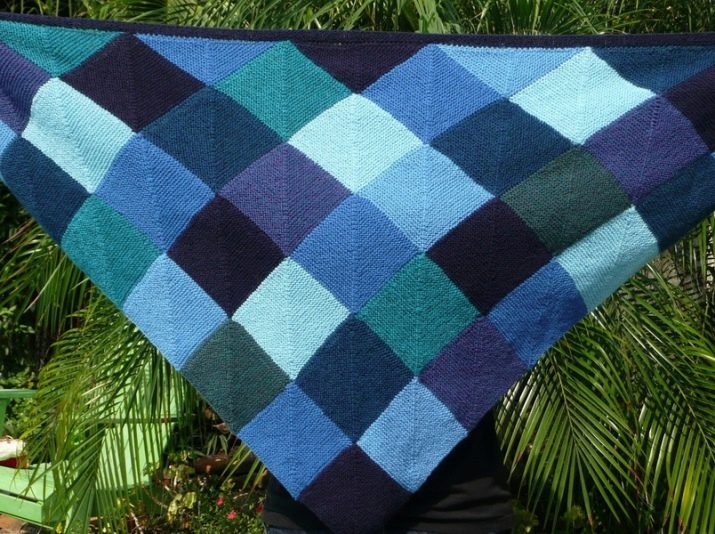
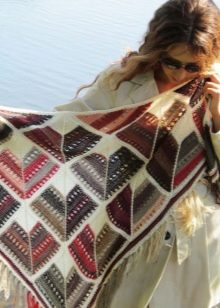
It is impossible to describe the beauty of the patchwork style. Any related thing can look like a single copy. It all depends on the chosen color and shades. The interweaving of all kinds of patterns, which can be easily applied in patchwork, creates an exclusive with each new thing.
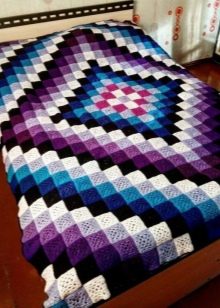
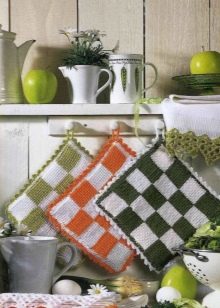
Shawls and bedspreads, blankets and kitchen utensils are all very beautiful and unusual. Whether it is a translucent knitted shawl, with a pattern of spirals and rhombuses, or a sweater with patterns of braids and geometric shapes, any item will become a bright wardrobe item or a wonderful gift.
Having mastered the technique of knitting patchwork with knitting needles, each needlewoman will be able to improve the heights of her skill.
For information on how to knit a square patchwork motif, see the next video.


