Plasticinography for children 3-5 years old
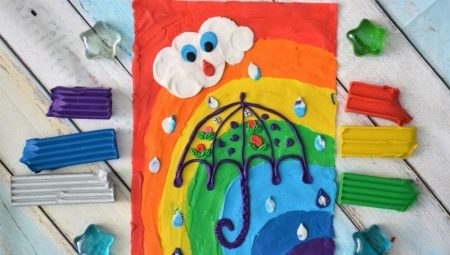
Plasticineography as a form of decorative and applied art has existed for a long time, but for the last 3-4 years it has been experiencing a new round of popularity. Plasticine paintings collect thousands of likes on social networks, and mothers with babies try to repeat the artistic experience of other mothers. However, this direction is so popular that it is impossible to tie a hobby for it to a certain age category. However, it is known for sure that the creation of plasticine paintings is very useful for children 4-8 years old.
Peculiarities
Probably everyone knows what fine motor skills are and why its development is so important for preschoolers and primary schoolchildren. Children 3-4 years old do not just get acquainted with plasticine, they begin to sculpt meaningful figures and are ready to make simple plasticine paintings. Guys 5 years old and older can already do a lot for adults. It turns out that you can draw without brushes and pencils, a plastic material that perfectly "stretches" over the surface, forms objects and color transitions. And these are also drawings - only drawing is done with the help of plasticine.
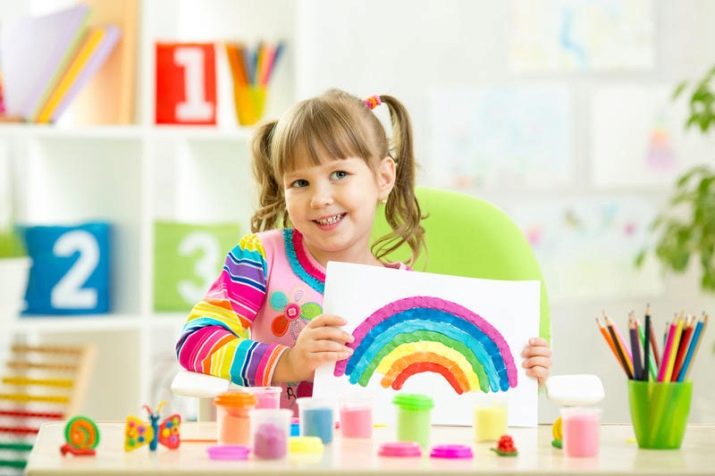
Why is it useful.
- The fingertips are not just at work, they are overactively busy, which is definitely beneficial for the child. This stimulates the mechanisms of speech development, makes the child more dexterous, and also helps him to relax, to express emotions through creativity.
- Plasticine is an opportunity to interact with color, shape, volume, learn compositional construction... That is, one material teaches a child several basic artistic concepts at once.
- This technique cannot be called hackneyed yet. The appearance of plasticine paintings at a school or kindergarten exhibition is almost always, if not a resonance, then a cool accent. Simply put, you can seem original.
Finally, plasticine is available. Plasticine, even branded, is not so expensive. The background for the work will be watercolor paper (no greasy marks remain on it), and the tools will be stacks and all sorts of improvised objects like pencils, which are convenient for making indentations in plasticine.
Fruit Creation
The topic of fruits for kids is interesting: they love to do such crafts in the garden, they will gladly join in work and at home. Usually children work according to templates: adults prepare them, draw themselves or print them.
How to make a grape branch from plasticine - work on the plane.
- You need to choose plasticine of suitable colors: purple, blue, lilac, green and light green.
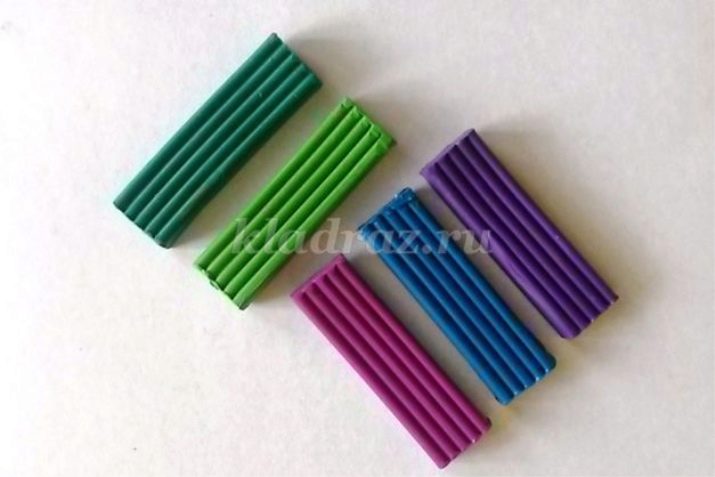
- From purple and blue you need to pinch off a piece, mix them with each other. Roll sausages or flagella from the mixed material.
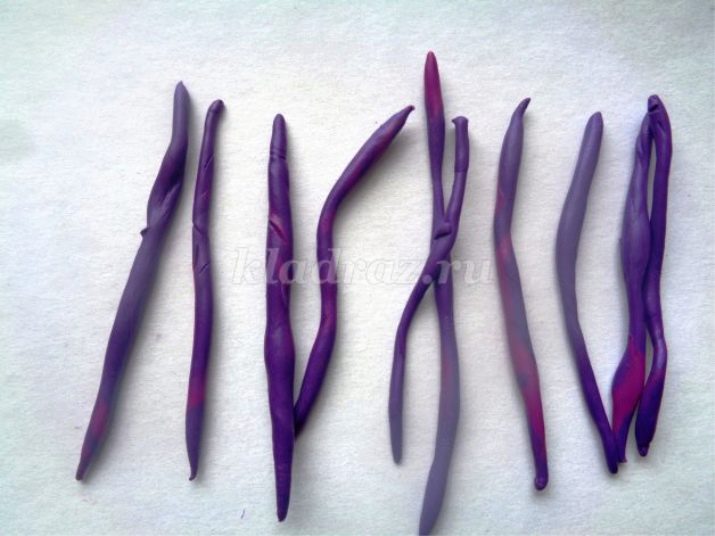
- Next, the sausage will have to be rolled into a spiral, forming something that looks like a snail's house. And put one such spiral on the contour of grapes on a sheet.
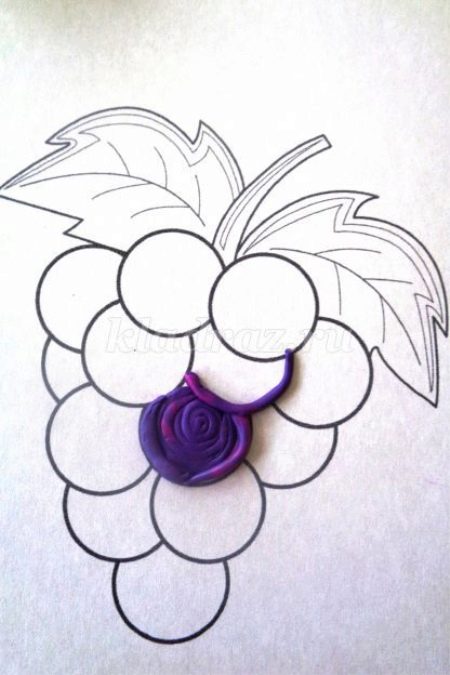
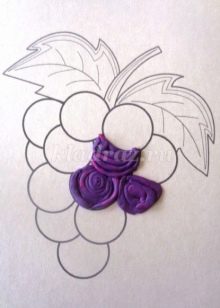
- Gradually, one by one, the berries on the paper need to be filled with purple spirals.

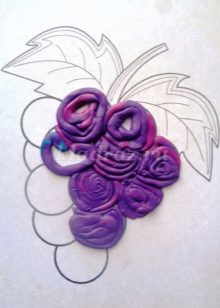
- After the berries are ready, you need to take green and light green plasticine. They also mix. A lot of sausages roll from mixed plasticine. The rolling should be done on a rubberized or plastic napkin, board.
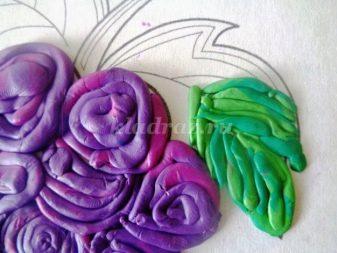
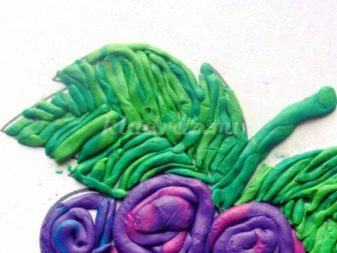
- When all the leaves are filled with green sausages, you need to make a contour - a stroke with such sausages of the leaf.
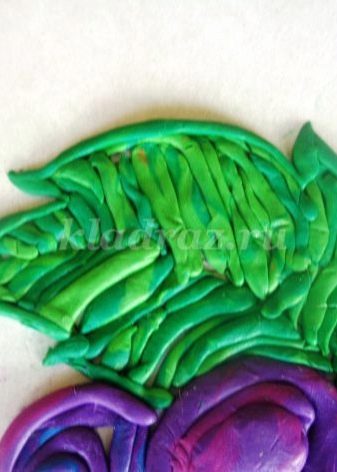
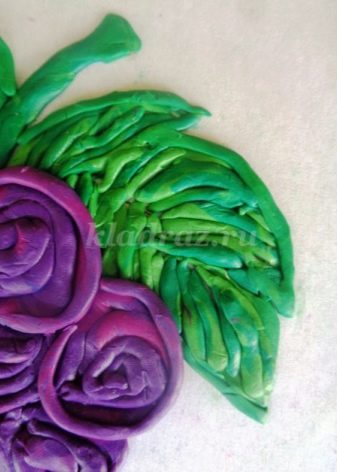
- To make the work more realistic, the berries can be made larger. That is, add a couple of smaller purple spirals on them.
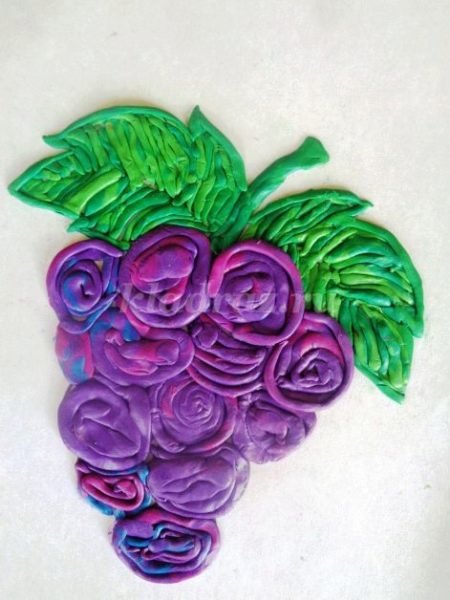
- It remains only to create a frame for the picture, also from plasticine. It can be made simple, it can be wavy (from flagella), as well as from contour points-balls.
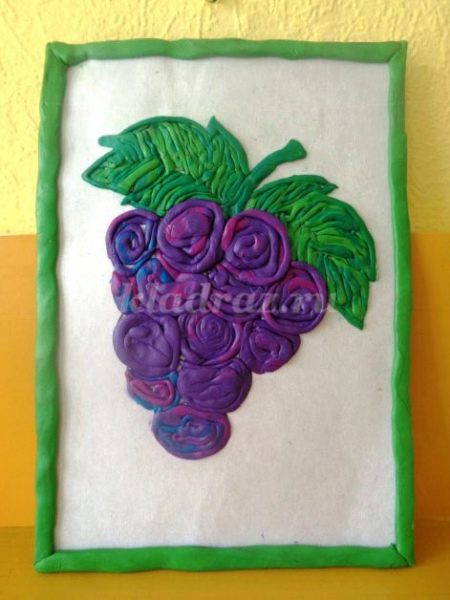
Pictures with other fruits are made according to the same principle. In addition to flagella, you can use small plasticine balls or flat circles.
How to make a Christmas tree with toys?
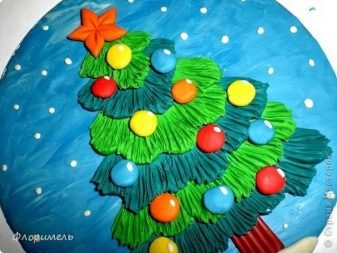
With the herringbone, one of the most expressive works in the plasticine technique is obtained and it is not at all difficult to do them. The principle of making a picture.
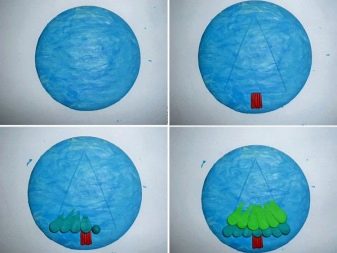
- A sheet of thick watercolor paper is taken. It can remain intact with paint, or you can tint it (use the spraying method - watercolor + toothbrush).
- A fir tree is contoured on the sheet... A star will flaunt at the top of the crown.
- By rubbing green plasticine, you need to fill the "inside" of the tree - plasticine is rolled out to the contour, to the edges of the tree.
- Do the same with the barrel, only take brown plasticine... The star is made in the same way, the plasticine is taken red.
- Now thin sausages need to be made from green plasticine. They will become the outline for the crown of the spruce. At the borders and between the levels, the sausages are rolled out in a zigzag pattern.
- Several balls must be randomly formed from multi-colored plasticine. They flatten easily - you just need to press on them with your finger. Arrange the balls on the tree randomly.
- Those balls that remain, distribute on both sides of the tree, what would be an association with tinsel or fireworks.
Mushroom molding
Mushrooms can be done in different ways, mostly the work will differ in the level of complexity.
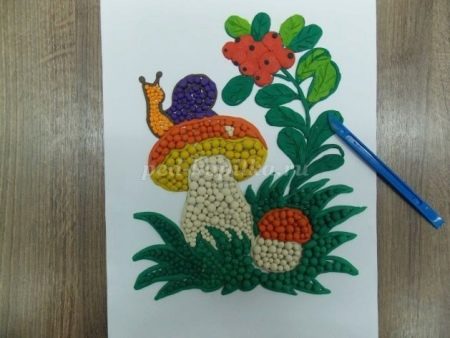
Examples of plasticinography with mushrooms.
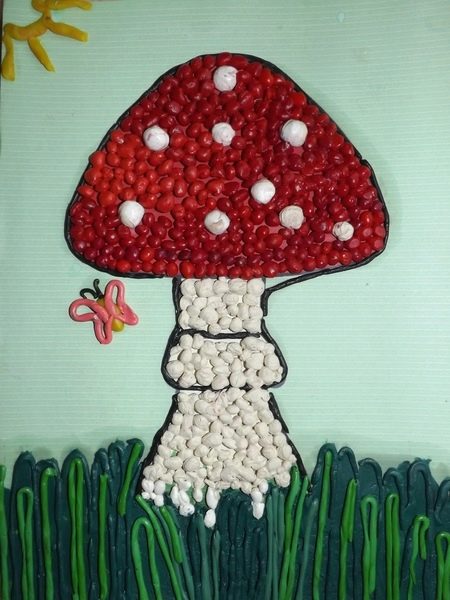
- Fly agaric: several methods of working with plastic material are used at once. The hat itself, the leg are made of many plasticine balls. White spots on the red cap should be larger than all the background balls. But the grass will be made of flagella: you can use different shades of green for this.
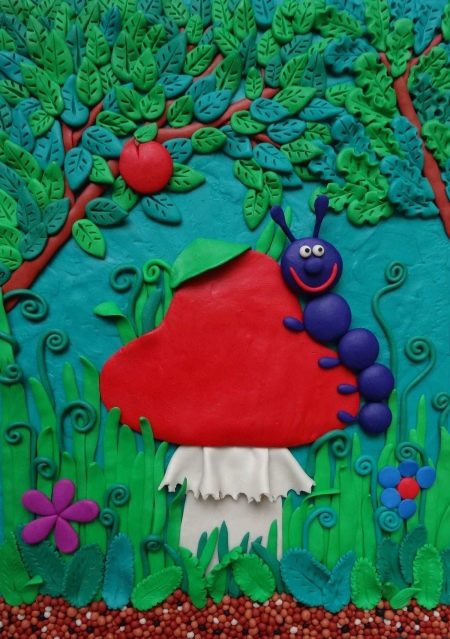
- Caterpillar fungus: the work is professional, but as a guide and an inspiring example it can be used in a lesson with young children. The background has been carefully thought out, a pattern has been created for each leaf.The caterpillar is specially made more voluminous than the mushroom.
- The background in this work is made in the "stamping" technique... Mushrooms and leaves are made of plasticine. The mushroom caps are deliberately bulky, the rest of the elements are flat.
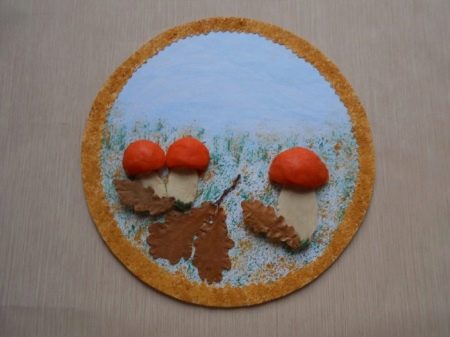
- When children learn to make flagella and sausages, they need to practice the skill... Why not sculpt a picture based on such a cute boletus?
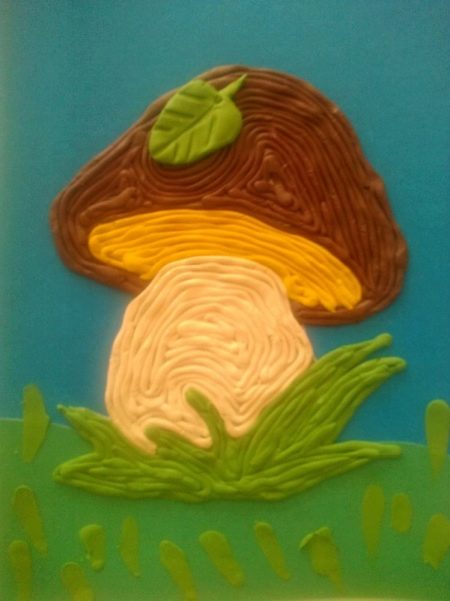
- Work with a finished sketch, with a contour drawing, which will have to be laid out with plasticine balls and not only with them. In the formation of leaves, you will need to roll out plasticine using a stack.
Making other paintings
The older the child, the more complex the picture: its composition, elements, color scheme. Examples of successful paintings in the technique of plasticineography.
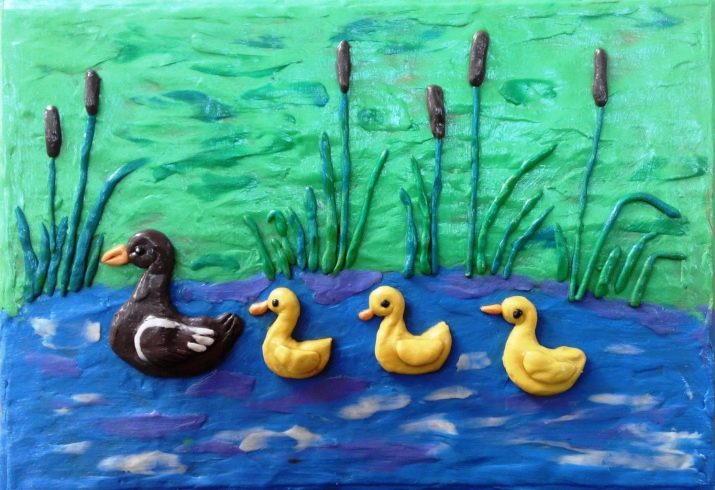
- The composition with ducks is designed for children 7 years old and older. The most practiced elements here will be the background ones: grass and water.
- And here are the sausages that children love so much. Few people can roll so many equal elements by hand. And there is no need for this - the sausages are squeezed out of the syringe (without a needle, of course). Only the clay should be soft enough.
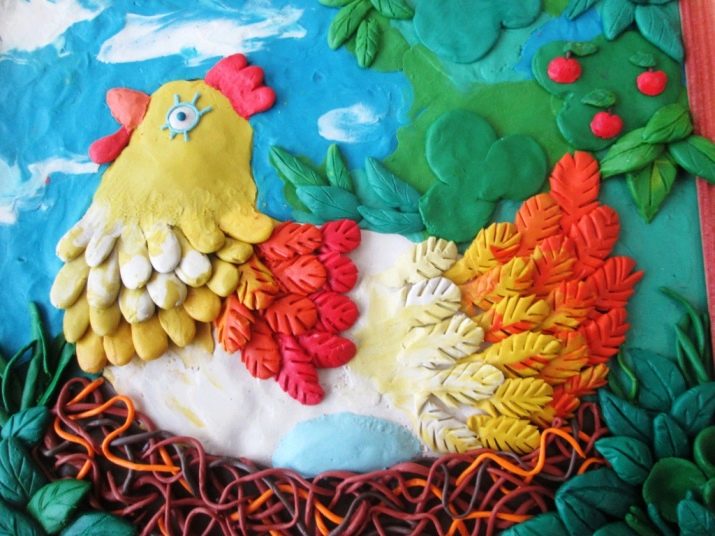
- The chicken is the main character of the composition. Each of its feathers is formed separately, the pattern on it is made in stacks. And from the sausages from the syringe, a nest is created (it is important to use plasticine of different colors).
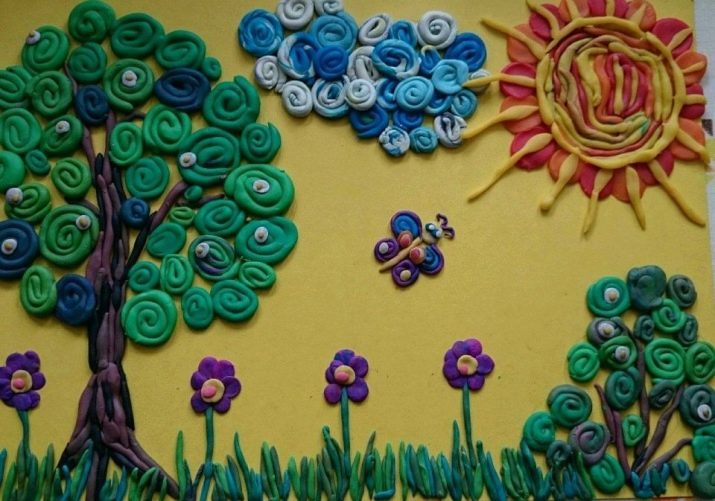
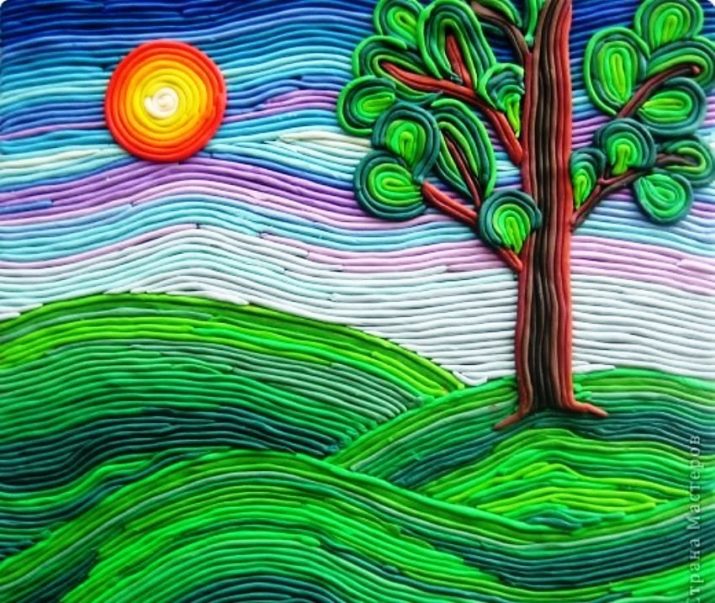
- Colored spirals produce curly fragments for the crown of an autumn tree. A tree trunk is also formed from sausages. The background is a standard rolling. For children 5-8 years old - a craft accessible in terms of complexity.

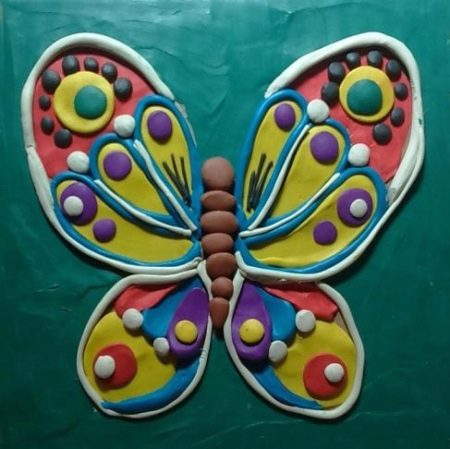
- Butterfly, which is created from flagella and balls... But they are of different sizes, somewhere the balls are flat, different colors are used, therefore the small set of shapes is not striking.
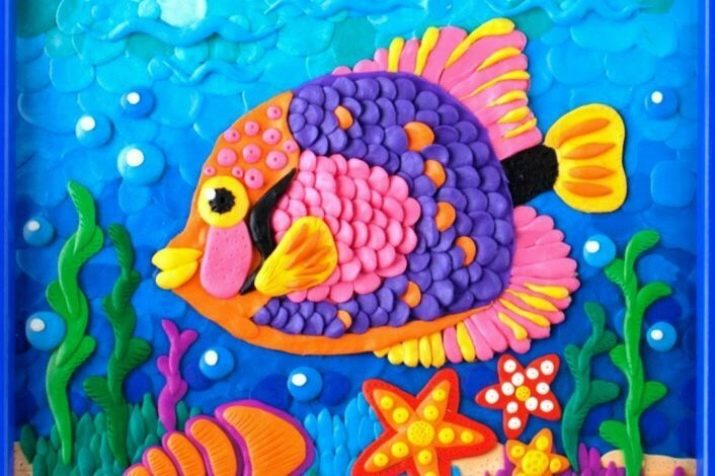
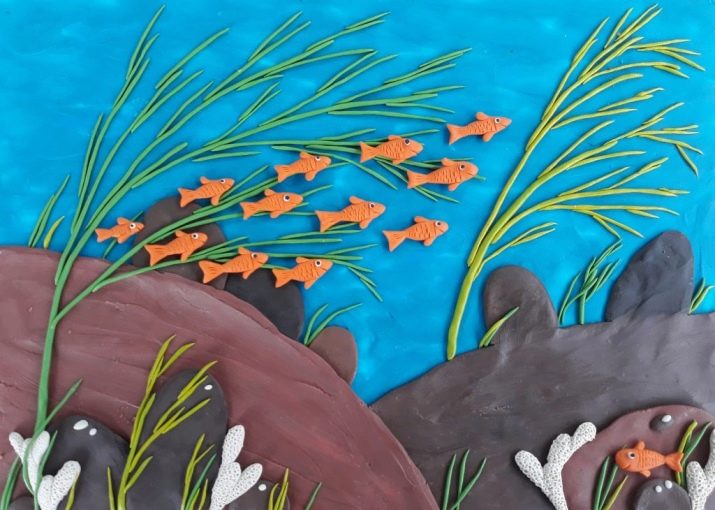
- This work combines both large forms (the relief of the seabed) and small (algae and fish)... For children 7-9 years old, it's good practice, it's definitely not a shame to hang such a picture on the wall.
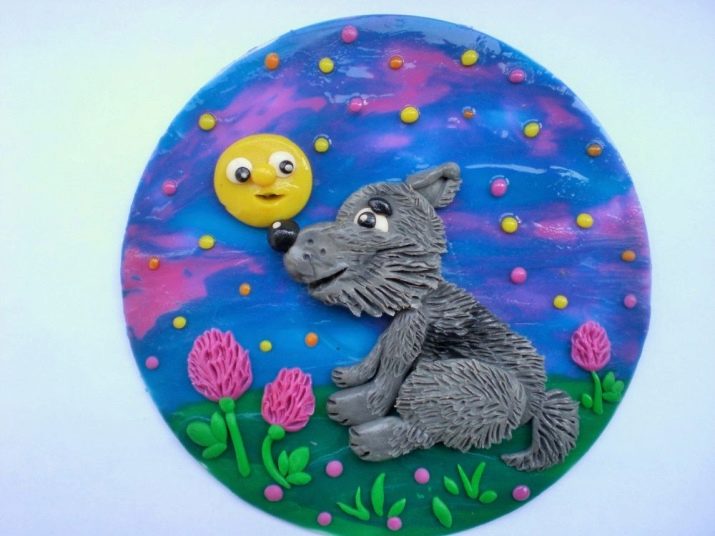
- Fairy-tale plots in plasticineography - a favorite topic... The most interesting aspect of this picture is the formation of the wolf's fur. This can be done using a regular stack.
Easy rolling and pliable plasticine!
About plasticineography for children 3-5 years old, see below.


