Pom-pom blanket: step-by-step workshops

A blanket made with your own hands warms your relatives or the one to whom it was presented as a gift with special warmth. Making a blanket out of pompons is not an easy task, but the result will delight not only you, so it's worth taking on this work.
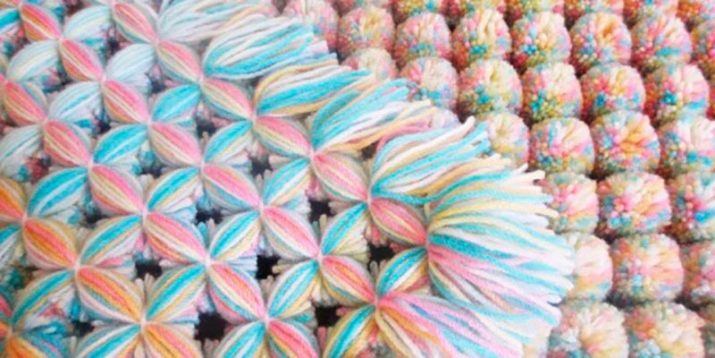
And in order to get a high-quality product at the output, you should carefully read the instructions on how to make a frame, what threads to prepare, and also study the manufacturing process and weaving technology.
Peculiarities
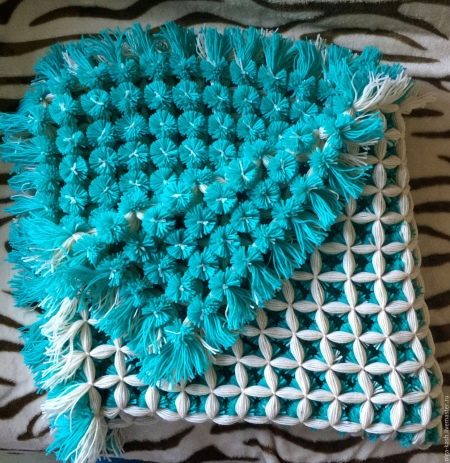
A pom-pom blanket is a great thing to hide with. It wears well and is suitable for both adults and children. Most often, such a blanket is made for children (upon discharge from the hospital), however, not a single adult will refuse such a pleasant, cozy and unusual thing.
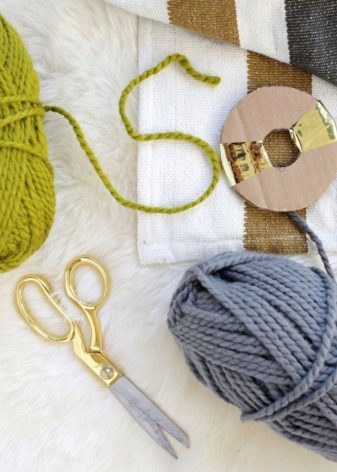
One of the features of this product is that such a blanket can be made at home. To do this, you need to prepare:
-
threads;
-
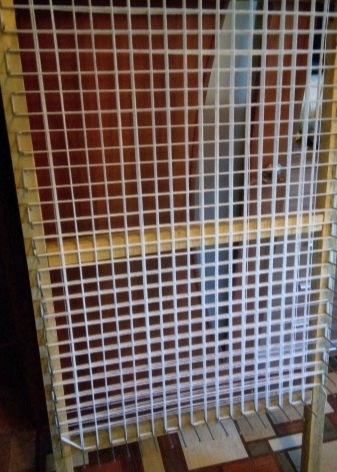
frame-base (frame);
-
nails;
-
hammer;
-
scissors.
The size of the frame is approximately and will be the size of the product.
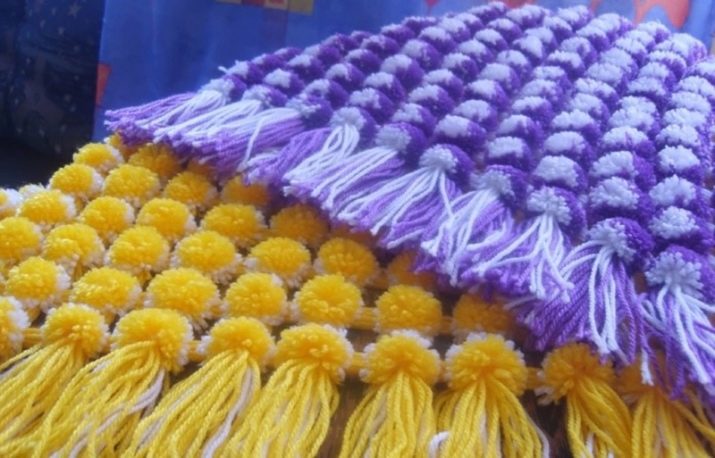
You can hide with a pom-pom blanket in the cool season, or you can make a bed or sofa with it. It can be an original cape for a chair, or it can be used as a blanket for a baby.
Be patient, because the process will not be quick, you will need perseverance and diligence.
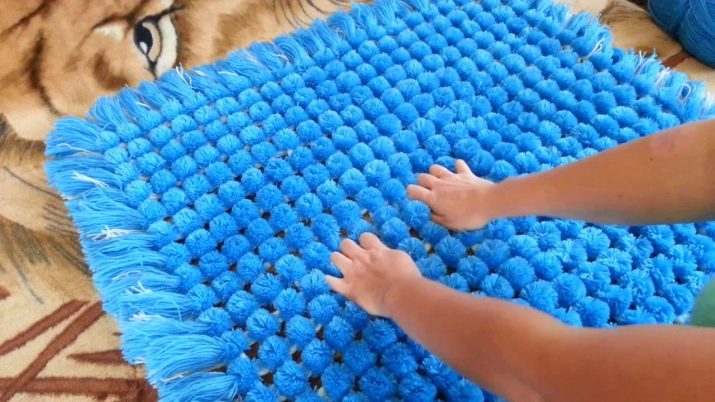
But do not be afraid to get to work, making pompons does not require special skills. The only thing you need to be prepared for the appearance of corns. But even here there is a way out: work with gloves or use a plaster.
What kind of thread do you need?
The choice of yarn must be taken with full responsibility, especially when it comes to a children's blanket. In this case, it is better to use a blended yarn, for example, cotton with bamboo, or take a combination of cotton and silk.

Would you like a woolen product? Then, first of all, make sure that the future owner is not allergic to such threads.
It is advised to mix woolen yarn with acrylic threads - this way the product will last longer, will not deform and will not lose color.
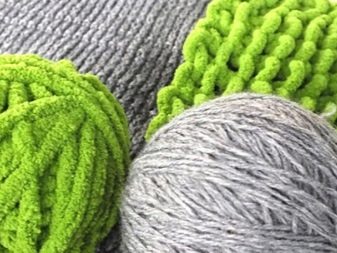

For a baby blanket, it is better to choose threads with a special mark about hypoallergenicity. Typically, these threads are already blended in the correct proportions. The weaving technique of both an adult and a children's blanket from pompons is the same, the only difference is in the volume of the frame.
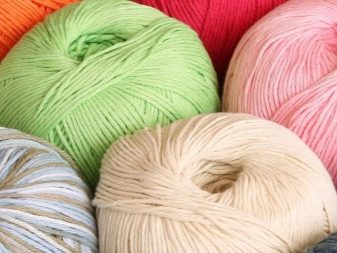
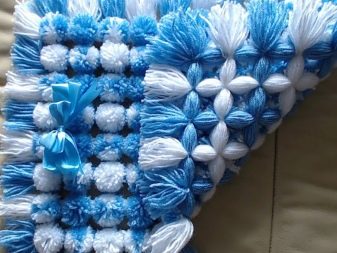
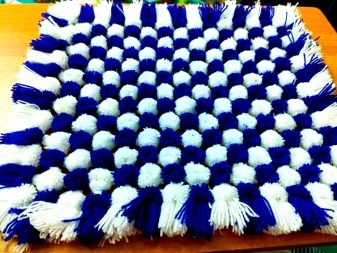
The number of threads also depends on the size of the frame. So, to make a blanket for a newborn (size 0.8 m per 1 m), you need 0.8-1 kg (from 8 to 10 skeins of baby yarn, 100 g each). By the way, acrylic is ideal for pom-pom blankets. It is recommended to stock up on two colors - this way the product will look more interesting.
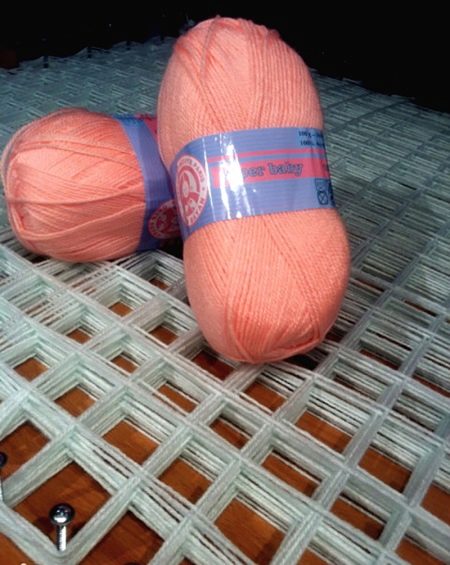
How to make a frame?
The size of the frame will depend on what size you want the blanket to be. It should be taken into account that the finished product, after you remove it from the frame, will shrink slightly and become smaller by about 10 cm, take this into account when making a knitting structure.
For the manufacture of the frame, all materials have to be prepared. And this:
-
4 slats of the required size (at least 3 cm wide);
-
self-tapping screws for connecting the frame;
-
nails (No. 7-8);
-
hammer.
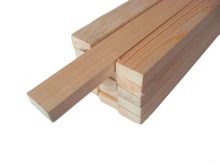
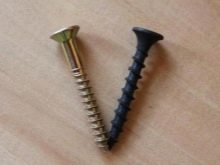

The number of nails depends on the size of the frame. With a frame 1.44 long and 1.36 m wide, 132 nails will be needed (driven in every 4 cm). But first you need to connect the rails to each other, for this you need self-tapping screws and a screwdriver.
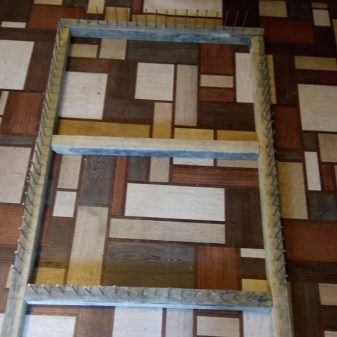
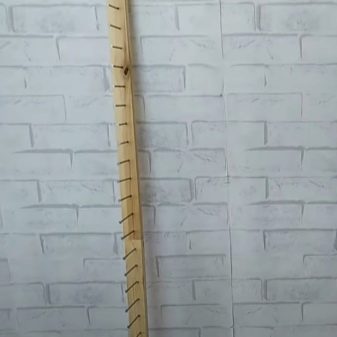
When the frame is ready, pick up the nails. In order not to split the pieces of wood, nails are driven in in the middle of the slats. Choose from size 7 so that they can withstand twisting of threads.
They must be wiped off so that the grease does not stain the yarn.
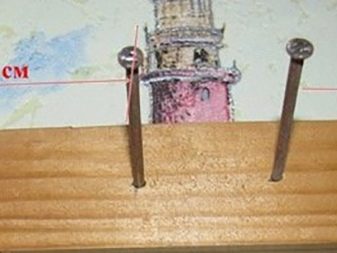
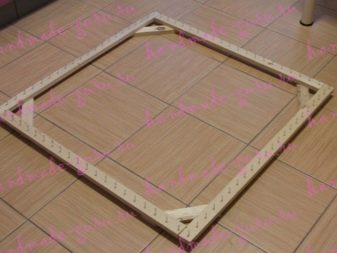
In order not to mess with the slats, you can take a regular sheet of plywood - and build a frame out of it. You can also interweave threads on a cardboard frame (choose thick cardboard), but in this case it is suitable for a small blanket.
Step-by-step instruction
You can make a bedspread on the bed with your own hands by following the step-by-step instructions. If you want to get a product with a pattern, then you will need to prepare several colors of yarn, study a master class, see the pattern in front of you, and when weaving threads, control the colors.
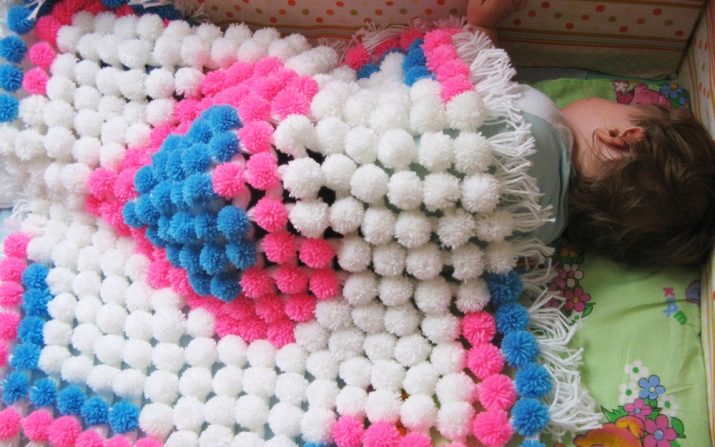
We will tell you step by step how to easily get a blanket out of pompons.
-
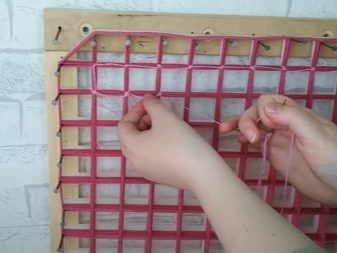
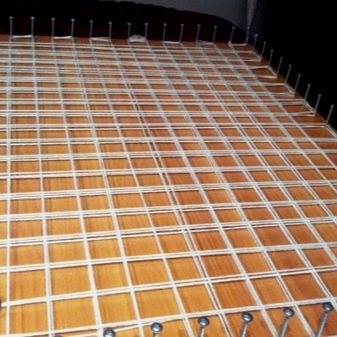
The first step is to secure the thread on the last stud from one side. We begin to wind the thread with a snake, for example, from top to bottom along the entire length.
-
Then we do the same, only from left to right across the entire width, throwing the thread over the corresponding nail.
-
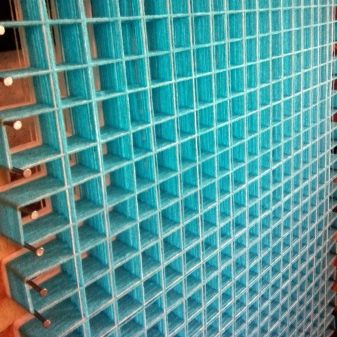
So, layer by layer, all the yarn is wound. Both vertical and horizontal layers alternate.
-
The end of the thread is well fixed at the end (tied to a nail).
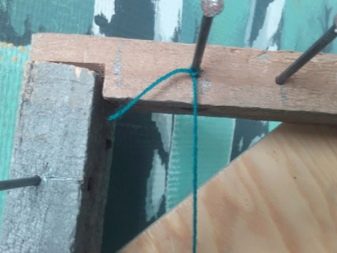
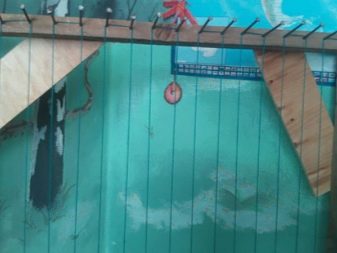
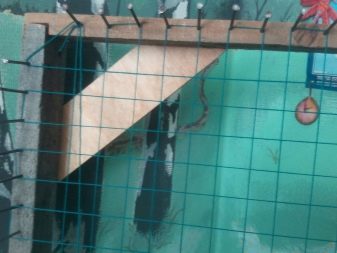
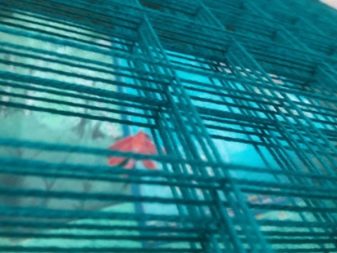
This is the first stage of work, and it is not as difficult as the next one, does not require a lot of effort and time. But then prepare up to half a thousand (it all depends on the size of the product) small pieces of thread 12-15 cm long - they will need to tie up the intersection of the vertical and horizontal layers.
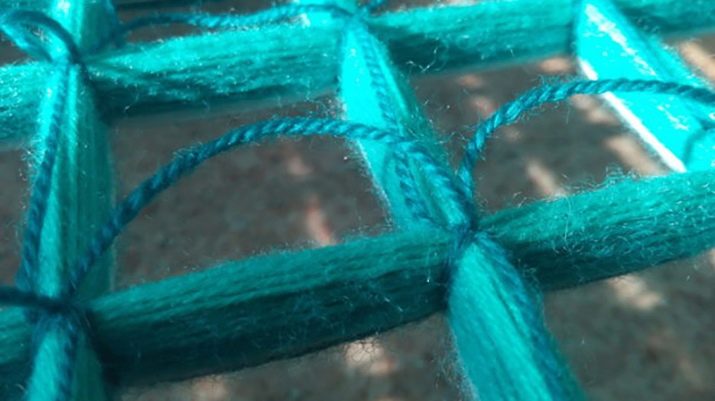
There can be half a thousand such knots or more - it all depends on how big you started the product. And this work may take more than one evening: the knots need to be tied tightly, this will require strength and the hands may get tired. For some, such work takes up to a week (taking into account that they pay attention to this for 2-3 hours in the evening).
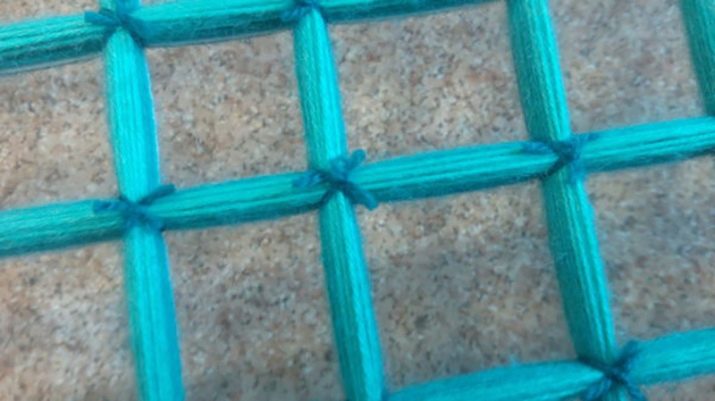
If you want to complete the process faster, and you have enough time and diligence, work as you like.
Do not forget to only protect your fingers with adhesive plaster, especially if you are not used to working a lot with your hands.
The third stage will again be simple and easy: you will need to cut the threads in the middle between the knots with scissors to form pompons. Please note that the grip should be at the level of 2/3 of the threads, that is, we do not cut all the threads.
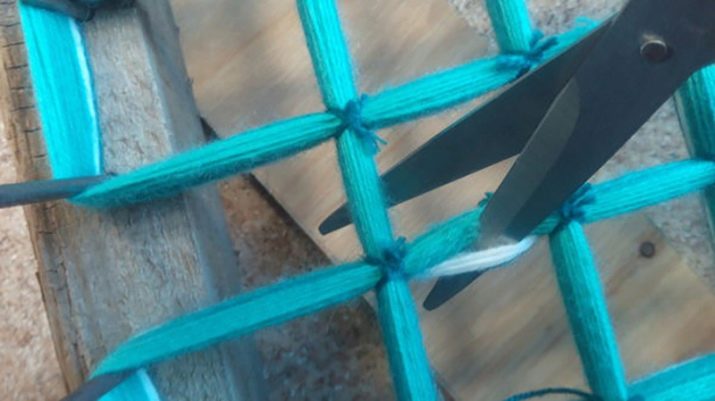
Since pom-poms are needed only on the front side, then 1/3 of the threads are left to form a flat surface on the seamy side (this is a kind of frame on which the pom-poms are held). At the very end, the threads between the nails are also cut, it is better to leave them before that so that there is an appropriate tension.
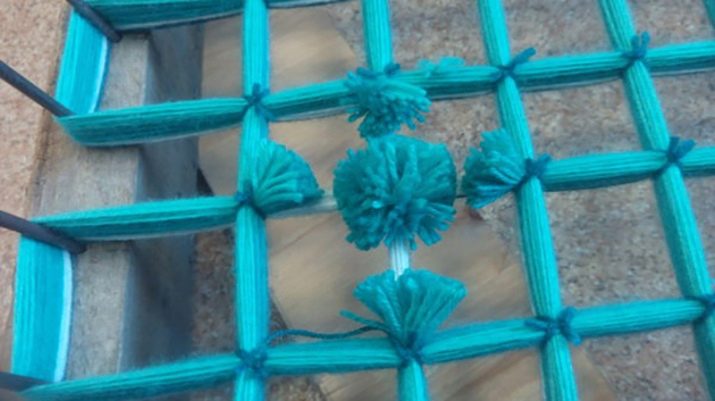
After this action, the tension weakens, the pompons take on the desired shape, the plaid must be removed from the nails by cutting the outer threads along the perimeter and making a fringe out of them. That's it, the product has shrunk a little, but if you took this into account when constructing the frame, there should be no frustration.
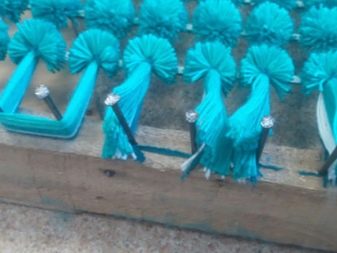
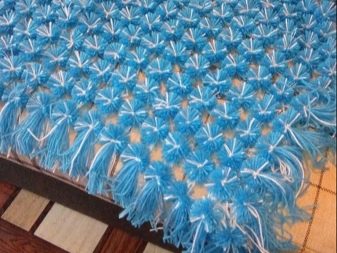
The pom-poms will be more chic, and the bedspread is fluffier and looks good with more layers in the weave. Therefore, do not spare the threads, and so that the nails withstand the tension, and more yarn can be wound on them, choose large sizes.
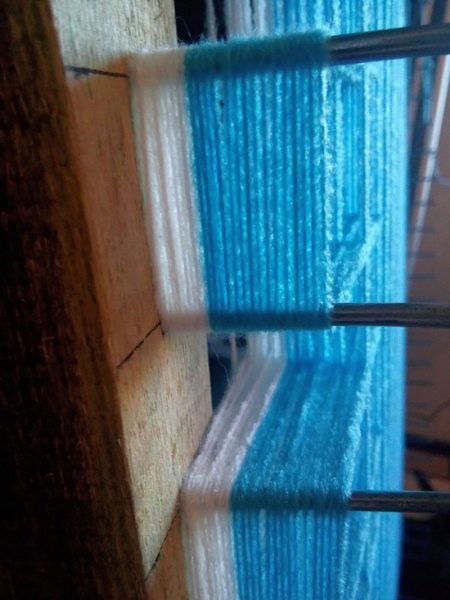
Accordingly, a good frame is needed for such a case. In short, you don't need to save money to get great results. A quality product will delight both you and the person to whom it is intended. Enjoy your work and satisfaction from your work!
Detailed instructions for making a pom-pom plaid can be found in the following video.


