Weaving from newspaper tubes for beginners
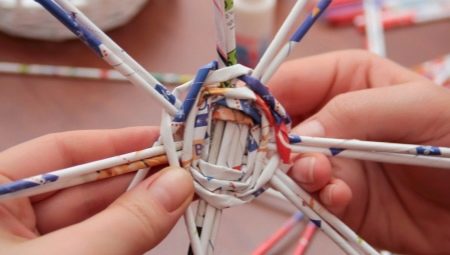
Weaving baskets from a vine has always been popular among lovers of needlework. Now this type of creativity has been replaced by the tradition of weaving baskets and volumetric figures from paper tubes. Everyone can master the basics of creating such beautiful crafts.
Preparation
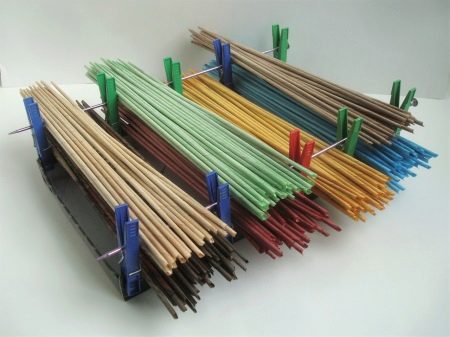
This type of creativity is suitable for both adults and children. It's worth starting work on beautiful crafts with preparation. For weaving, craftsmen can use the following materials.
- Newspapers. Even old and unnecessary ones will do, the main thing is that the sheets are even and undamaged. It should be borne in mind that paint can get your hands dirty in the process of performing work. A big plus of this material is that it is very soft and flexible.
- Magazines. Pages from various catalogs and old gloss can also be used to create a quality paper "vine". Racks for weaving from such material are denser. In addition, finished straws are much more difficult to color. However, they can be used for weaving the bottom or handles.
- Office paper. This material is best colored. For weaving, it is worth using thin paper, which can be purchased at many office supply stores.
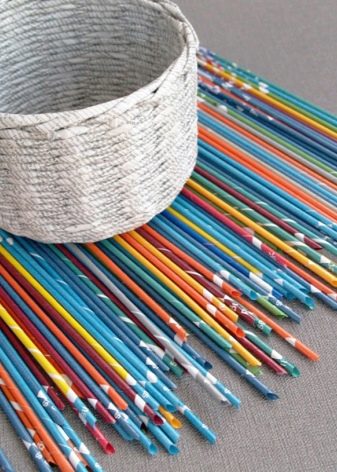
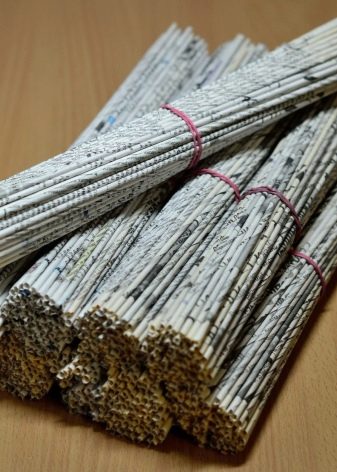
In addition to paper, needlewomen will need scissors, a high-quality glue stick or PVA, as well as thin knitting needles. Their optimum thickness is 1.5 mm.If you choose thicker knitting needles, the tubes will break during the weaving process. In addition, the product itself will not look very elegant and beautiful.
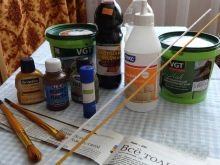
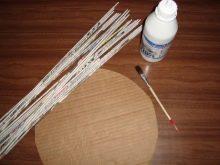
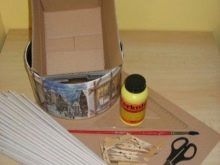
The scheme for making paper tubes is extremely simple. You need to act according to the following plan.
- Divide newspaper or magazine into neat sheets with straight edges.
- Fix the corner of the sheet to the bottom of the knitting needle.
- While holding the tip of the paper, start rolling the knitting needle while winding the paper around it. The thickness of the tube depends on the twist angle.
- You need to twist the knitting needle slowly enough. The tube should be tight and neat. Weaving such "twigs" takes very little time.
- The edge of the paper must be coated with glue and securely fixed.
- After that, the knitting needle must be pulled out of the tube. As a result, one of its edges should be narrower and the other wider.
- A workpiece of this type should be left on the table for 10-15 minutes. During this time, it will completely dry out.
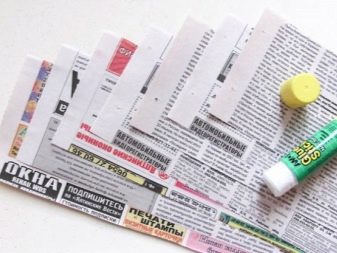

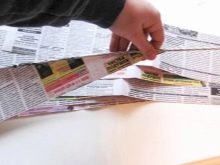
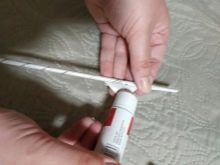
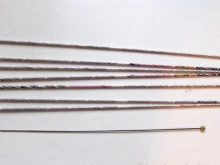
While some of the straws are drying, you can prepare others.
Crafts from paper blanks are painted in different ways. Someone prefers to do this after the product is ready. Other craftsmen color the tubes before weaving. You can use different materials for this purpose.
- Watercolor. This option is only suitable for dyeing white office paper. If you paint over newspaper pages with watercolors, the letters will show through the layer of such coating. Also, don't use too much water when dyeing the paper. If the tubules are very wet, they may lose their shape.
- Gouache. These paints are used to decorate the finished product. If you paint the tubes with them, over time, the coating will peel off. Therefore, the finished craft will not turn out very beautiful.
- Stain. This material is used to paint baskets or storage boxes, stylized in the color of natural wood. The best stains are maple and oak. Coloring should be done after the craft is ready.
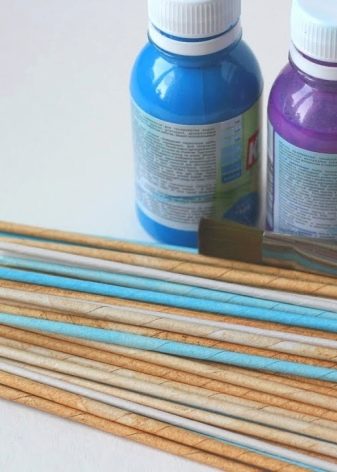
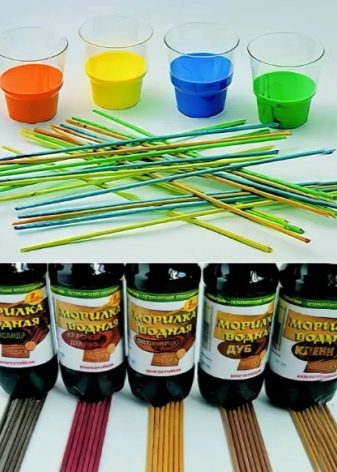
You can also use food dyes or materials used to dye clothing to dye newspaper tubes. It is worth breeding them in accordance with the instructions. But natural dyes, for example, onion peel, should not be used. The color after staining is not very persistent.
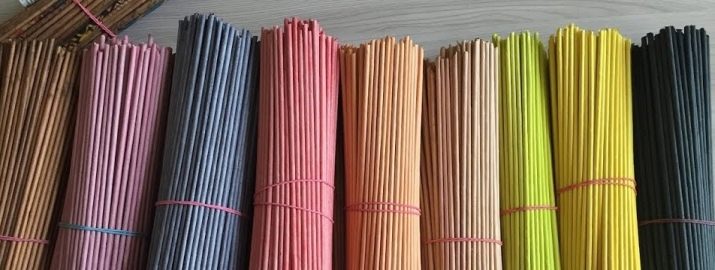
Before applying paint to paper, protect the skin of the hands and respiratory tract using a face shield and gloves. You can paint the tubes with brushes or a special spray. It all depends on the size of the finished structure.
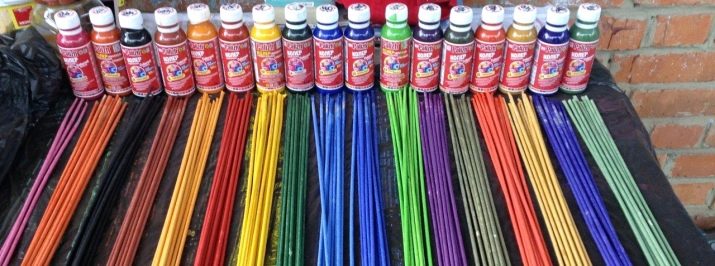
You can make the twisted tubes shiny and beautiful by lowering them into a container with varnish or liquid glass for a few seconds.
Well-dyed straws can be dried in the sun, in the oven, or in front of the oven. The process of drying them takes from a couple of minutes to several hours.
Bottom weaving
Making a basket or box from a paper vine begins with weaving a dense bottom.
Simple
Most often, the base of such a design is made rectangular or square. The first step is to prepare a solid cardboard base or part of an old box. Long thin tubes are glued to it along the edges. For this you need to use high-quality and durable glue.
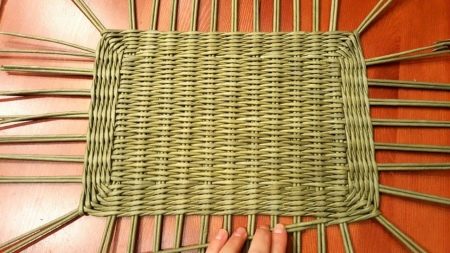
On top, you need to fix another layer of cardboard. The tubes will turn out to be fixed inside the bottom. The finished structure must be well dried. For safety, the bottom can also be covered with a layer of acrylic varnish. After that, you will have to dry it again.
After that, you can start weaving. The main struts are neatly braided with such tubes.
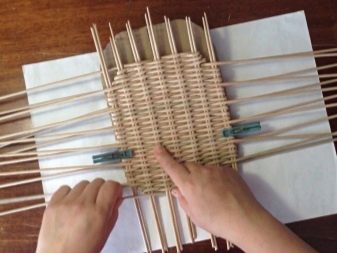
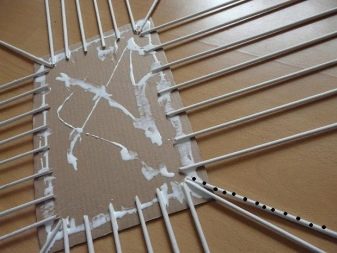
Particular attention should be paid to the corners of the structure. In the process of weaving, they must be held with your hands, slightly pulling up. Having finished with the frame, you can start weaving the walls.
Round
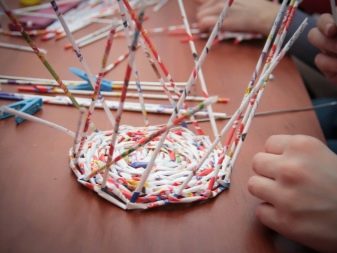
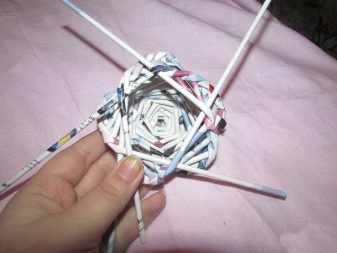
Learning to weave a round bottom is also quite simple. The first step is to prepare 8 tubes.They must be divided into two groups and fixed crosswise with glue. Having built such a base, you should take additional tubes. A long "branch" should be woven around each side of the cross, moving in a circle.
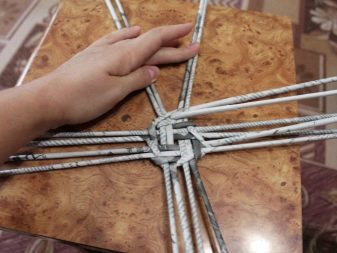
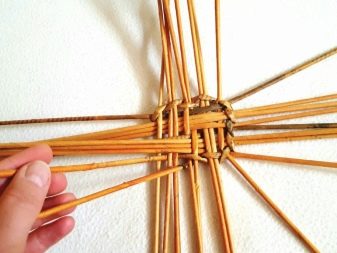
Having finished with the first circle, you can move on to weaving the second. But this time, a free tube should be braided every two, not four tubes. This will make this part of the bottom wider. This procedure must be repeated several more times, creating two additional rows.
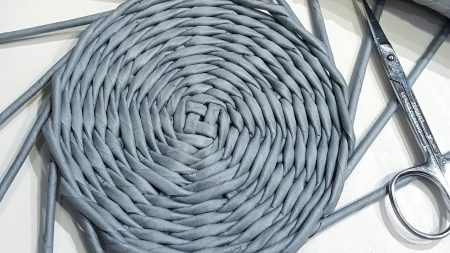
After that, you can continue to weave the bottom, circling each of the "uprights" from the main cross with a free tube. If you do everything correctly and in stages, the bottom will turn out to be strong and neat.
Other
The technique of weaving an oval bottom is even simpler. But it also needs to be considered in detail.
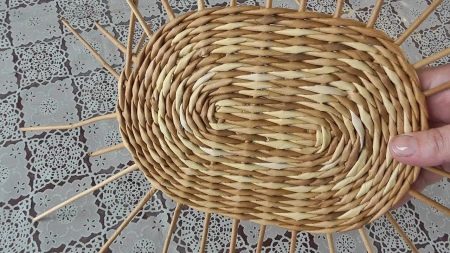
Several simple tubes are laid out on the table. The distance between them should not exceed 2 centimeters. After that, you need to take two more working tubes and braid the racks with them. This must be done very carefully.

Next, you need to take another "twig" and braid the first row of the bottom with it in a circle. In this case, the ends of the first two tubes will play the role of side struts. When the base is ready, it can be braided around the perimeter using free "branches".

How to weave the walls correctly?
After the bottom of the basket is ready, you can start weaving the walls. There are several ways to create a neat paper design.
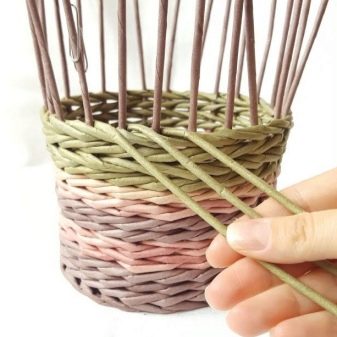
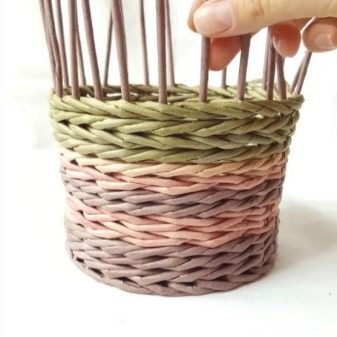
Smooth rise of the walls
This weaving method is great even for beginners. To create the walls of the basket or box, you need to carefully lift the racks up and continue to braid them with long tubes. The weaving pattern of the structure is quite simple. The posts must be leveled every three rows. So the product will definitely turn out smooth and neat.
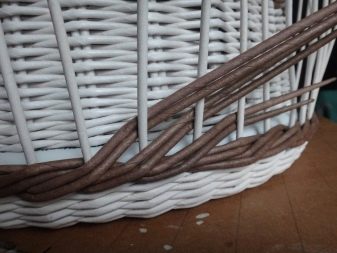
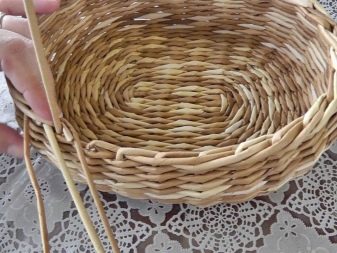
Calico weaving
Using this technique, you can weave a product that looks like a real basket from a vine. A master class on weaving such structures is pleasantly pleasing with its simplicity. The first row is woven according to a simple principle that was used earlier. But when weaving the second row, you need to pay attention to the fact that the tubes braid the free racks.
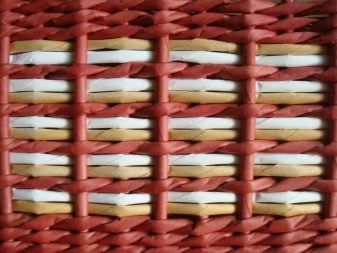
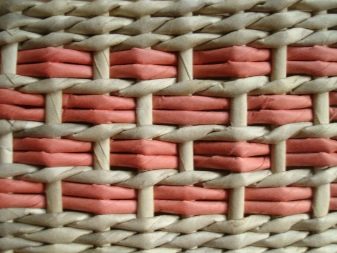
For the pattern to be even and beautiful, the number of racks must be odd.
Chess
A basket woven using this technique also looks very beautiful. The step-by-step technology is pretty simple. To weave the basket, the bottom racks must be placed in pairs. The working tubes are also used two at a time. The process of weaving a basket is elementary: double racks are encircled with tubes in turn. The pattern is neat and beautiful.
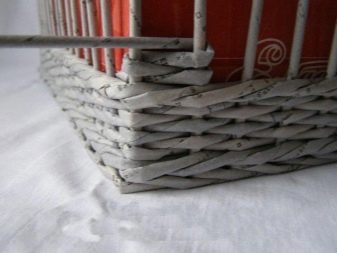
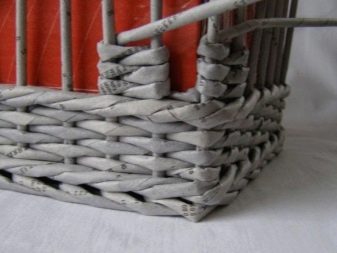
Using this technique, you can weave a decorative basket, tray, or drawer. The structure will be functional, but not particularly durable.
After finishing work, it is important to secure the edges of the tube. Usually they are simply hidden neatly. For this, a needlewoman will need a thin knitting needle or a long wooden skewer. It must be carefully pushed in, having previously retreated 3-4 rows from the edge. The working tube should be carefully bent, and its edge should be put on a skewer. The tube can be carefully guided inside the structure.
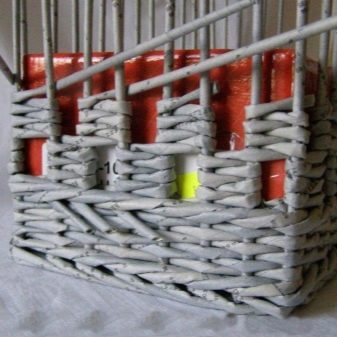
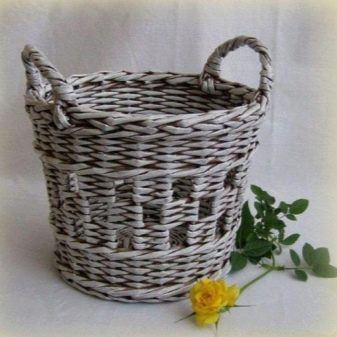
After that, the edge needs to be cut and secured inside the finished product. You can use glue or tape for this. Even a beginner or a small child can cope with this task.
What crafts can you do yourself?
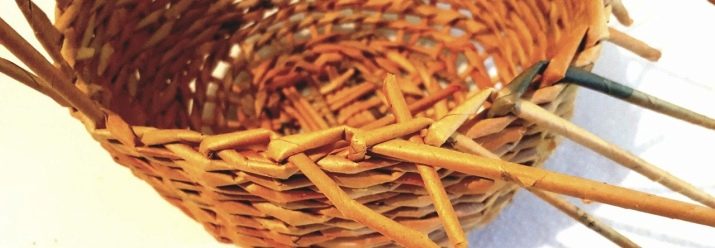
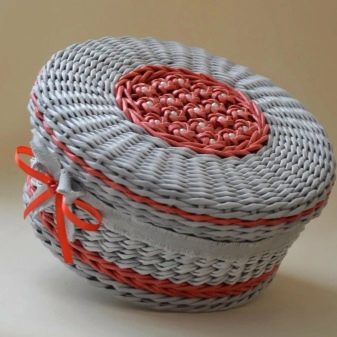
Using simple instructions, you can make more than just a basket or a box with a lid from newspaper tubes. The paper vine is also used to make various decorative elements and small gifts.
Summer hat
A hat woven from newspaper tubes can be used for its intended purpose in the country. Making it yourself is very simple.
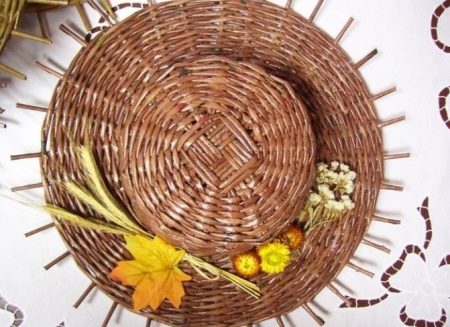
The manufacturing process of such a structure begins with weaving the base. It is woven according to the same principle as an ordinary basket. When the base is ready, the long racks must be carefully bent and straightened.You will get a kind of sun with long rays. They will need to continue to braid using elongated working tubes. After reaching the desired width of the fields, they must be carefully fixed.
The finished hat is painted with a stain or acrylic of a suitable color. If desired, the product can be decorated with artificial flowers.
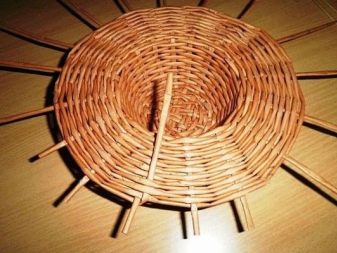
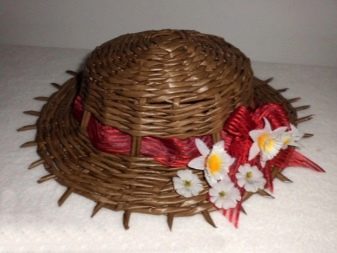
Photo frames
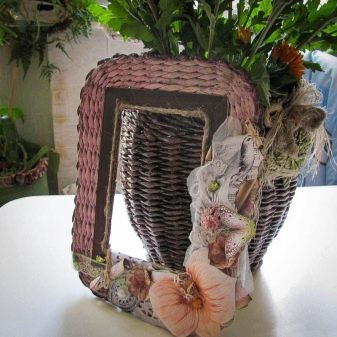
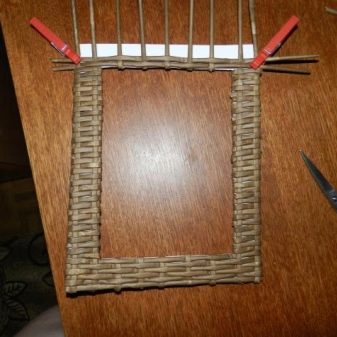
Beautiful photo frames can be made using any weaving technique. To make the craft even and neat, the tubes are fixed with glue. After finishing work, the finished product must be well dried.

You can make a photo frame in another way. To do this, the tubes just need to be cut into equal parts and glued to a rectangular cardboard base. You can fix them in any direction. The chess pattern looks the most beautiful.
Flower pot
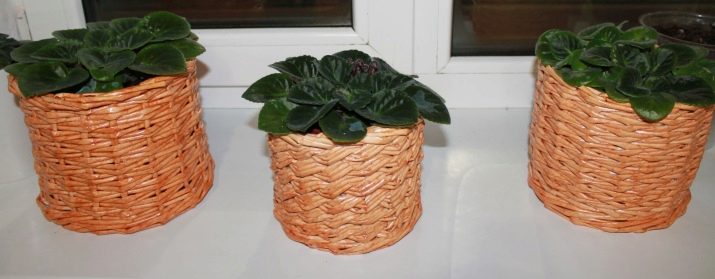
You can also make pots or stands for flower pots from newspaper tubes. To create such a design, a paper vine is used from dense magazine pages. Weaving products is worth using a real flower pot as a base.
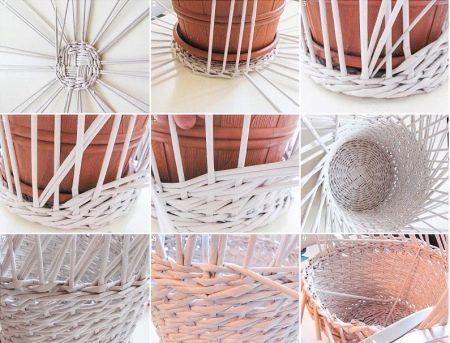
In this case, it will fit exactly into the decorative shape. To decorate the finished work, you can use lace, beads and bows. The pot can also be supplemented with sturdy handles of suitable length.
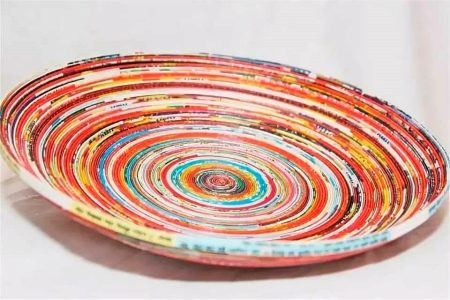
Beautiful plate
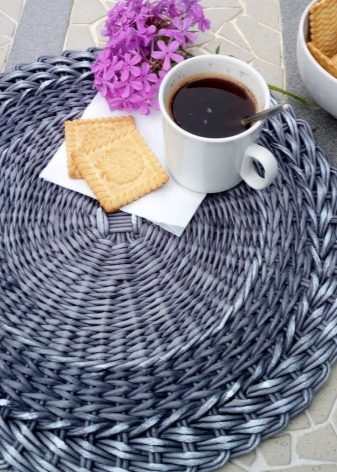
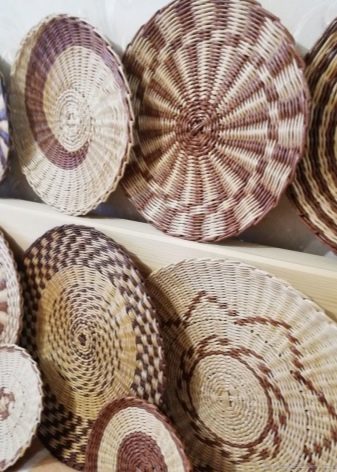
Decorative saucers and plates are made according to the same principle as baskets. In order to make the product more even and neat, it can be glued in the middle with glue. You can store anything in such a paper saucer, for example, you can put keys and various little things there, which you take with you before leaving the house.
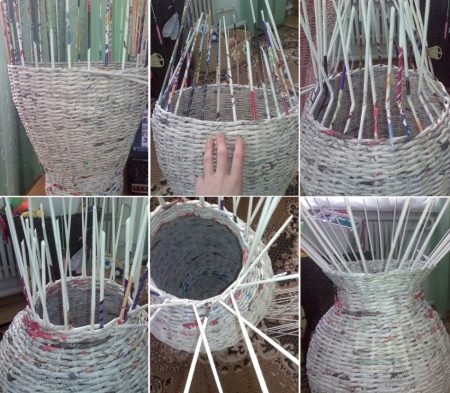
Decorative vase
Using a simple weaving pattern, you can create an original vase with your own hands. Needlewomen weave both comfortable floor structures and vases for table decoration. In the process of weaving it, it is important to act very carefully so that its shape is even.
Hot stand
Making it yourself is as easy as making a decorative saucer or lid. For this purpose, it is recommended to use thick tubes made from magazine sheets or high-quality office paper. In this case, the structure will serve for a long time. You can choose any method of weaving in the process of making the stand.
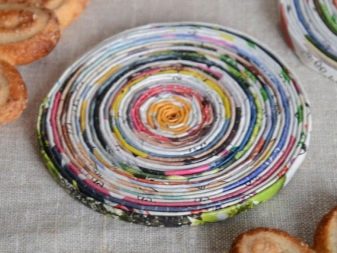
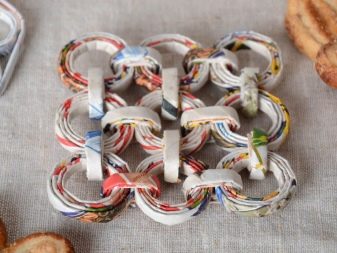
A gift set made in the same style will also look beautiful in a modern kitchen. A tray and a basket for spice jars go well with a hot plate. Paper tubes can also be used to weave beautiful molds for storing bottles with vegetable oil or wine. Such a set will become a real decoration of a Provence or eco-style kitchen.
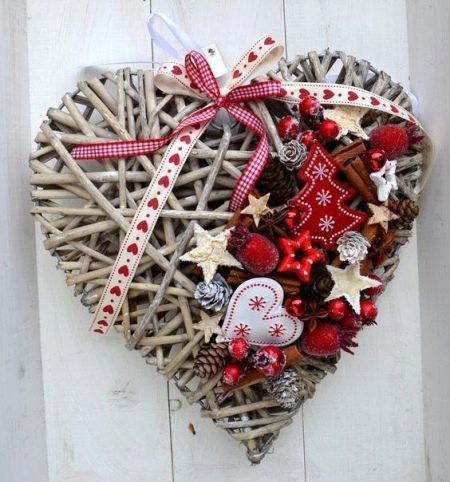
Heart made of newspaper tubes
A light heart made of thin newspaper tubes will be an excellent gift for your loved one.
The first step is to prepare the frame of the future structure. To do this, the wire must be bent in the shape of the letter V. After that, it is required to round off the edges, giving the base the shape of a heart. Then it is necessary to put newspaper tubes on the wire frame, carefully glue the joints.
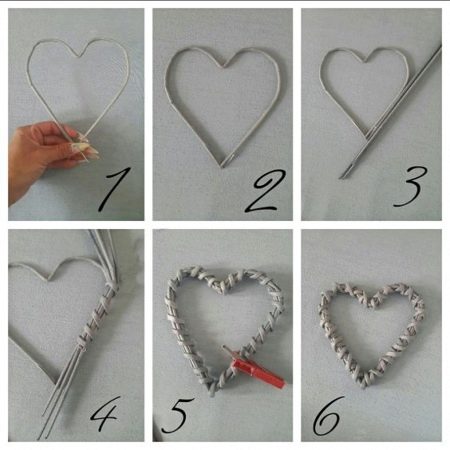
When the base is ready, you can start wrapping the heart with the rest of the tubes. In the process, their length must be gradually increased. To do this, one tube is inserted into another. You need to act very carefully so as not to tear the newspaper.
The resulting heart should be well painted over with acrylic or gouache.
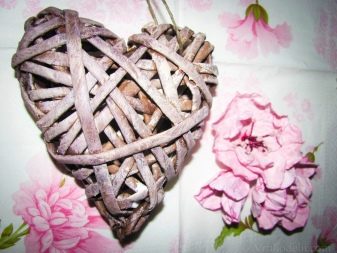
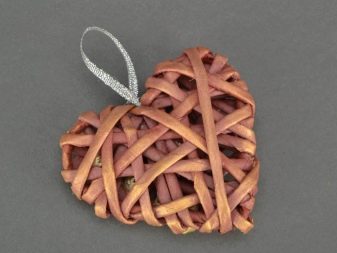
Using small braided parts, beautiful toys can be weaved from newspaper tubes. For example, a decorative bicycle, hats or wreaths for a doll. In addition, even small figures depicting animals can be weaved from thin newspaper tubes. They turn out to be quite realistic.
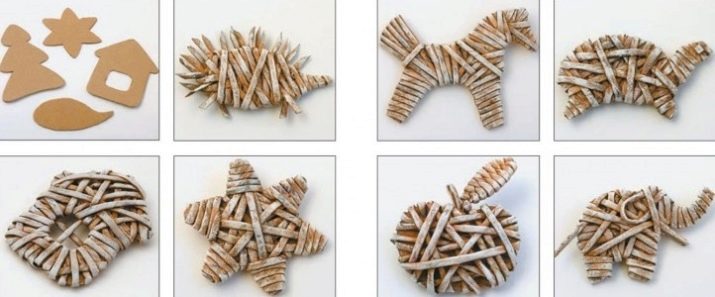
Secrets
Recommendations from people who have been fond of this type of creativity for a long time will help to facilitate the process of weaving baskets and figures from newspaper tubes.
- To prevent the pattern from "floating away", you can use a simple trick. The working tubes must be slightly moistened before weaving. This will make them fit more tightly on dry racks. Therefore, you do not have to hold on to them additionally.
- The distance between the posts should not exceed two centimeters. Otherwise, the structure will turn out to be loose and not particularly strong. The uprights must not be bent during the weaving process.
- To make the joints of the tubes less noticeable, the edges must be cut at an acute angle. They are fixed quite simply. For this, the edges of the tubes are well coated with glue and inserted into each other.
- You should not make tubes from thin strips of paper. This will lead to the fact that they will bend strongly during the weaving process.
- To make the straws more elastic, you can spray them with water.mixed with a little hair balm. This product is poured into a spray bottle and used to treat paper vines. It is important not to overdo it with hydration. If the tubes are too wet, they will begin to break or "shaggy".
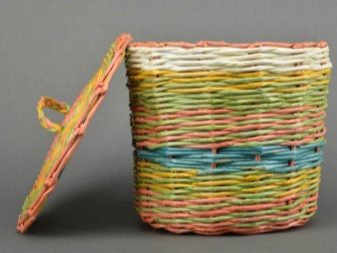
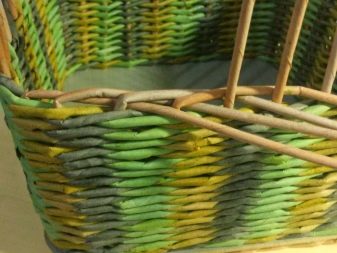
Everyone can learn to weave simple and durable structures from newspaper tubes. Using this simple technique, it can be used to create gifts and home decor.
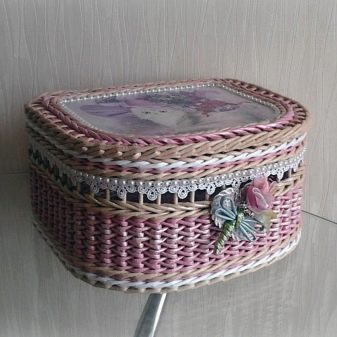
A detailed master class on weaving from newspaper tubes in the video below.


