How to make a vase from newspaper tubes?
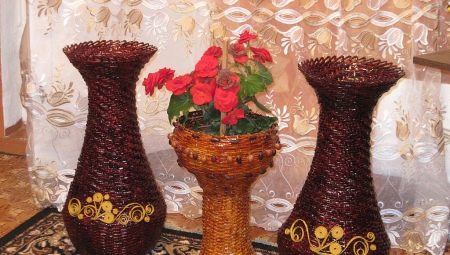
Every housewife has a flower vase in the house. High-quality containers will be quite expensive, so many people make them with their own hands. You can make a vase from a variety of materials. Today we will talk about how to make it from newspaper tubes.
What is required?
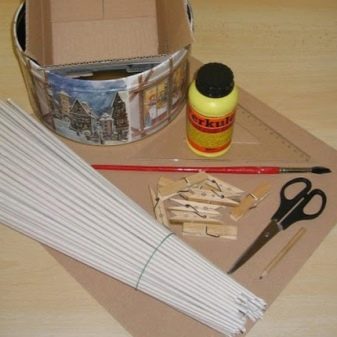
Before starting work, you should prepare all the necessary tools and materials.
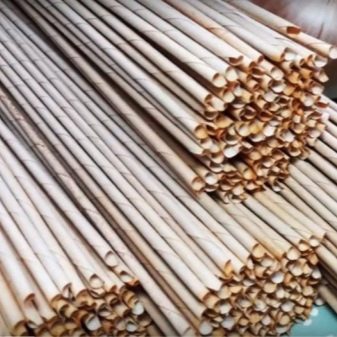
- Newspaper... It is this paper that is considered the most suitable option, since it has the desired level of density. It can be easily twisted and shaped.
- Instruments... These include scissors, metal knitting needles, or hooks (these will wrap paper around). In some cases, you will also need a clerical knife. You will also need brushes for painting a vase.
- Glue... Better to take PVA and glue stick.
- Decorative coatings... They are needed for further decoration of the finished vase. It is better to use different colors of acrylic waterproof paint. You also need to purchase a special transparent protective varnish, it will allow the paint to stay on the vase for as long as possible.
How to weave?
There are many ways to weave a tall floor vase from newspaper tubes. Consider the simplest option with step-by-step actions, which even a beginner can do with his own hands.
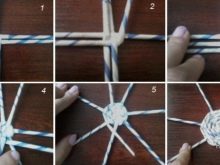
- First you need to make the bottom of the future vase. For this, 12 twisted newspaper tubes are taken. They are divided into four groups of 3 tubes each, and all this is laid out with a snowflake on a flat surface.
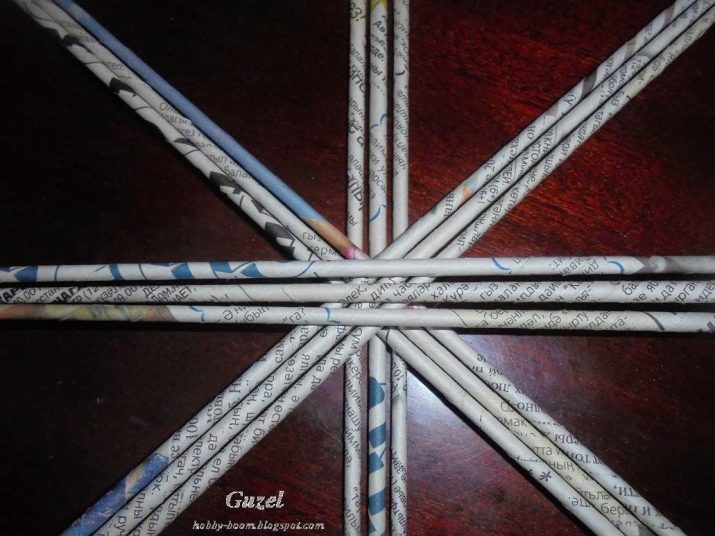
- Then we take the other two tubes, they will be working. We fold one of them in half and carefully braid three tubes with a rope, while supporting the central part with our hands a little. In this way, 3-5 circles are made.
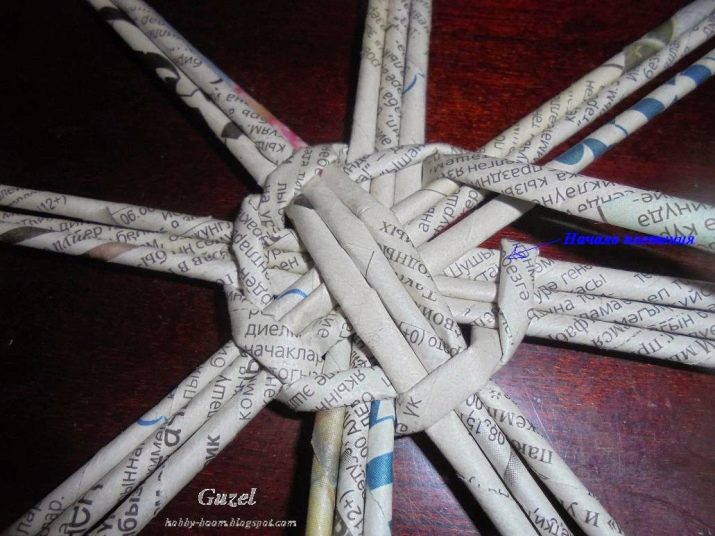
- After that, they also continue to weave the bottom of the container, but at the same time here you can already decide what kind of design and what shape you want to make. For a relatively large vase, you will need about 10-12 woven circles in total.
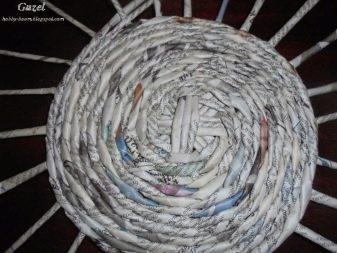
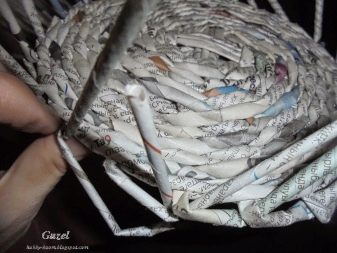
- Later you can start creating the main part of the vase. To neatly and smoothly move to it from the bottom, you need to slightly raise all the tubes up (under each adjacent strip).
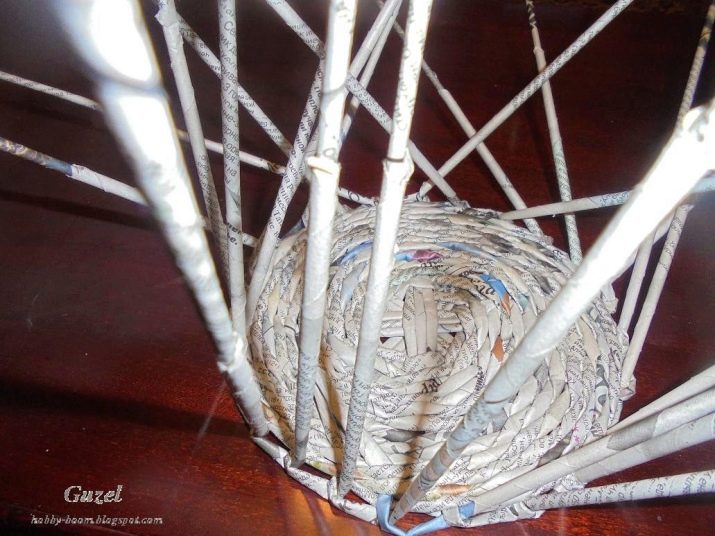
- In order for the vase to end up with the desired shape, you need a solid base. It can be a deep plate or other bulky dishes. It is lowered to the bottom of the workpiece and secured with tight elastic bands.
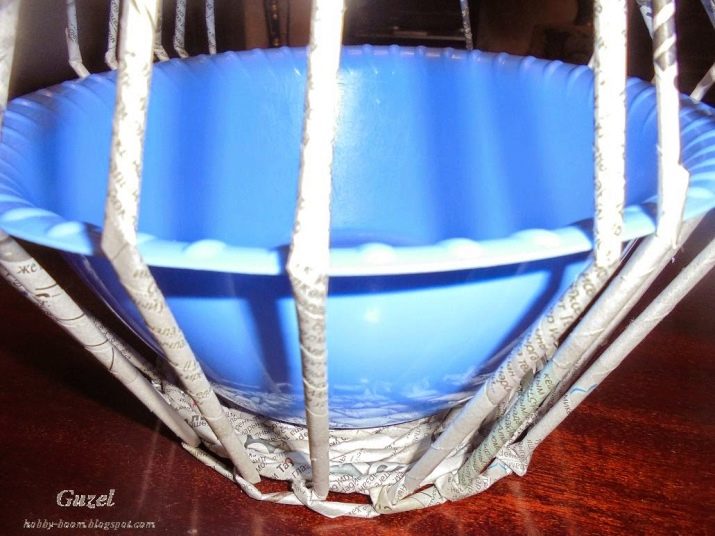
- After that, they continue to braid the base, starting from the tubes raised up. At this stage, you need to decide what height the future product will have. The bend on such a vase is made as usual.
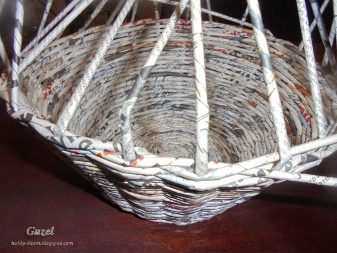
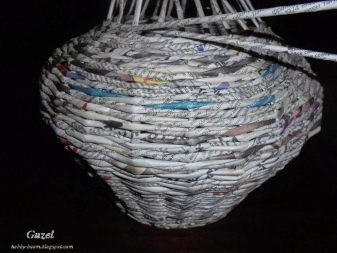
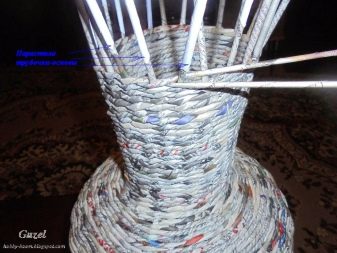
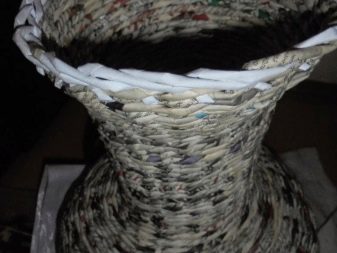
There are also other step-by-step schemes and master classes for weaving a vase from such paper.
So, you can make the bottom the same as in the previous version, and then the base braid in the usual spiral direction. Thus, the end result is a product designed in a simple and neat style.
- If you want to weave the spiral type and make the vase more interesting, then you can first take three rolled newspaper strips and place them at a 60-degree angle to each other. Then you should prepare 4 such elements by expanding them at an angle of 45 degrees.
- The part where the strips are connected is well coated with glue. A jar is placed in the center of the workpiece and another tube is added in such a way that an isosceles triangle is formed upon contact with the put container.
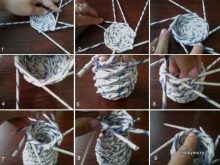
- First, the elements are folded so that they are firmly pressed against the glass jar. Weaving is carried out clockwise. Pay attention that in the process of work, the joints of the strips form right angles. The first row is formed according to this principle. The next line should already be performed in a spiral direction.
- If you want the future vase to have a narrow neck, then it is better to remove the jar and, in the process of weaving, gradually narrow the structure towards the top, checking the evenness of the formed corners. When the product is ready, the last part is carefully cut with scissors and wrapped in the inside. The protruding ends are also trimmed slightly.
How to decorate?
To make the finished newspaper vase more beautiful, it should be additionally paint and decorate. This can be done in various ways.
The first step is gluing and painting... The product is completely glued with PVA, and then, after drying, it is covered with an acrylic compound in two layers. The vase is left to dry; this can take as little as 30-40 minutes. When the product is completely dry, paint it again. Its color should be selected depending on personal tastes and preferences. Make sure that after application there are no gaps or irregularities from clots on the surface. The vase is sent to dry again. To make the design more beautiful, you can stick decoupage-style decorative stickers on the product. If they are not there, you can paint yourself with a thin brush.
It will be interesting to look at a vase, on the surface of which small stains are made using paint of other colors. You can additionally apply some glitter polish.
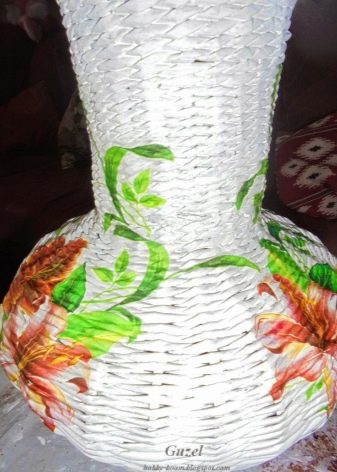
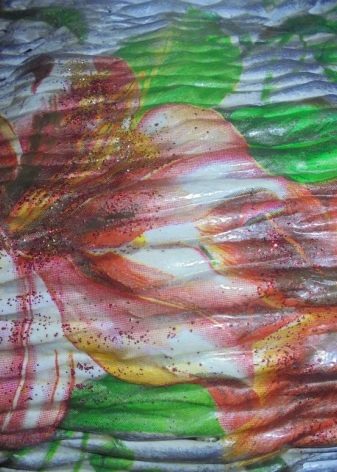
In order to decorate the product, they also often use objects that can be independently knitted, or openwork individual elements. They are often glued with PVA to the neck and base of the vase.
Separately, you can weave small blanks from satin ribbons in the form of flowers. They are sewn together to form a composition, and in this form are glued to a vase. Some beads or beads are sometimes glued to the middle of each flower.
It will look nice a small decoration made of the same newsprint. In this case, the base must be soaked in water so that it is easy to work with it, and then wait for it to dry out a little. Wet newsprint is turned into a single mass, from which decorative elements can already be made. Most often, it is formed floral ornament elements... After complete drying, the workpieces are covered with protective varnish, acrylic paint and glued to the vase.
When decorating a vase, you can do without additional decorations, but then it is better to make it using several paint colors. If you do not know how to draw, then you can simply decorate different parts of the vase with different tones (neck, bottom, main part). The colors used must be chosen in such a way that they match with each other.
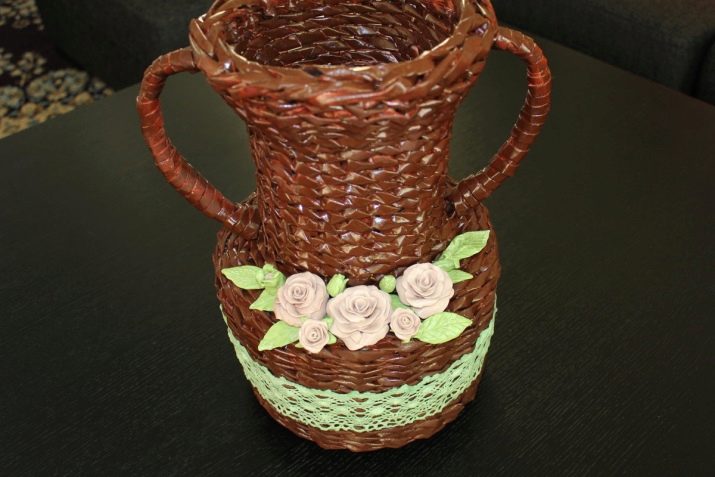
Beautiful examples
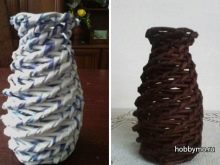
A vase for flowers in the form of a tall a floor vessel with a large round bottom and a narrow neck. It can be decorated in two colors at once, it is better to use neutral tones (beige, brown, cream, white, milky).
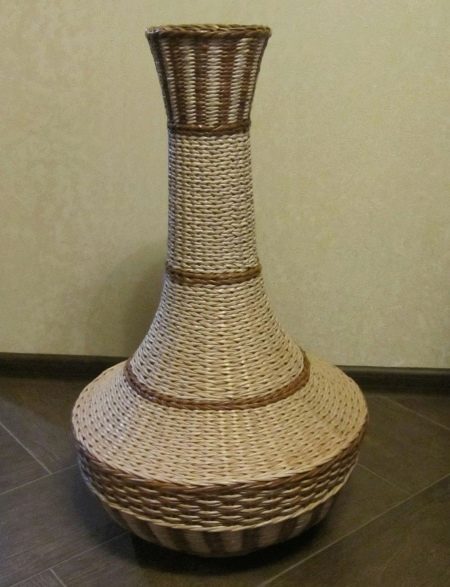
If you want to make a fruit vase, then this is a good option. product with a small wicker base. The rest can be shaped like a ball. The edge of the vase can be braided with another additional row. The product is best done with a solid acrylic coating.
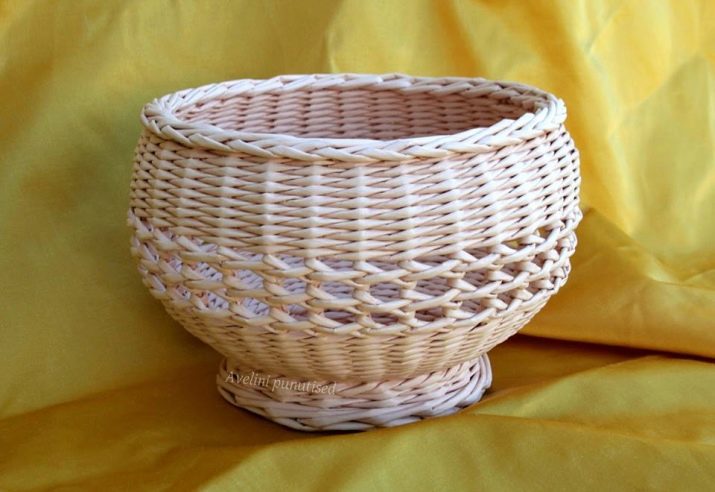
For fruits, you can do a small vase-basket. The base is made in a round shape. The walls of the product are sometimes decorated using several shades. Spiral weaving will look beautiful. At the end, a handle should be made to the resulting workpiece.
To make a pen, you must take any solid foundation. The most convenient option would be wire. It needs to be braided with strips of newsprint. This can also be done in a spiral direction or simply wrap in several rows.
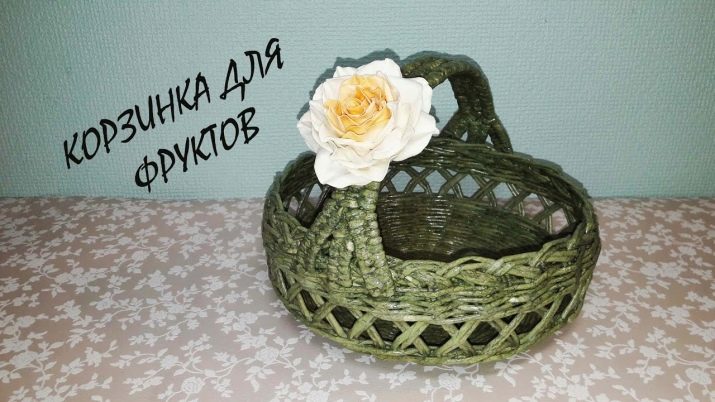
Small stickers or artificial compositions consisting of leaves and small fruits are used as decoration.
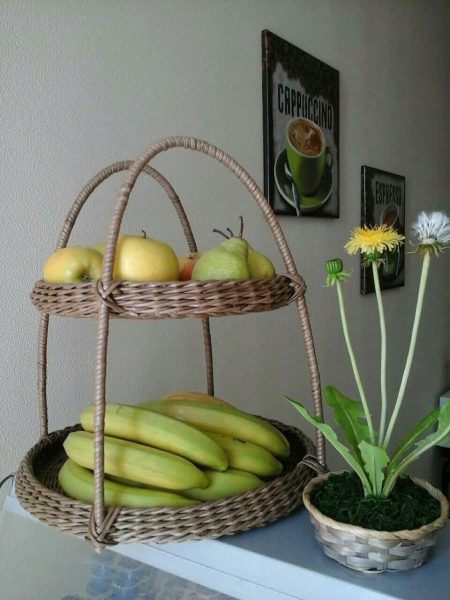
A vase on a high stand is suitable for vegetables and fruits. It can be woven separately. The base will look interesting, in shape resembling a cone, which will taper towards the end. At the beginning of such a support, the weaving should be as dense and strong as possible, since the main part of the vase will be held on it.
The vase itself can be made through simple or spiral weaving. Its ends are sometimes decorated with a large braided row and painted in a different color. But the support and the fruit compartment are best done in the same color.
How to make a vase from newspaper tubes, see the video.


