All about tubular baskets
It is easy to weave baskets from newspaper tubes yourself, using various methods of connecting them and detailed step-by-step instructions. This decorative element can easily replace traditional rattan or vine products. A master class on weaving baskets from newspapers for beginners will help make the first product, will help you understand the procurement of raw materials and other important aspects of this lesson.
Advantages and disadvantages
Weaving products from newspaper tubes is quite an exciting activity. Even beginners can easily master it. Let us note the obvious advantages of this activity.
- Ease of execution. You can create your first product in a few days.
- Availability of materials. There is no need to harvest the vine, wait until it is soaked and debarked. Paper straws can be made from scrap materials at any time.
- Environmental friendliness... Even the adhesives used do not harm the environment. For the base, natural, recyclable raw materials are also used.
- Earning opportunity. Having mastered simple weaving techniques, you can move on to complex ones, start creating products to order, for sale.
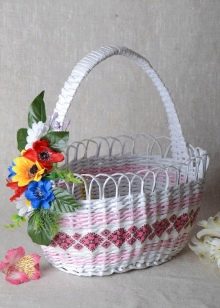
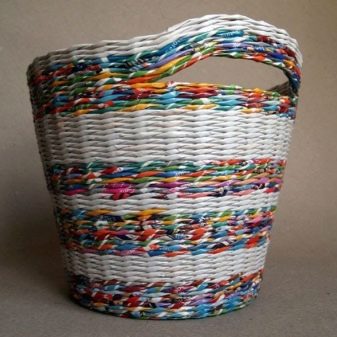
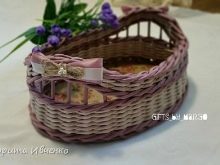
- External attractiveness. Paper vine baskets are elegant and neat. By changing the diameter of the elements used, the choice of the weaving pattern, you can give them an original appearance.
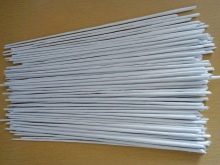
There are also disadvantages. The formation of newspaper tubes is quite laborious.... Even a small product requires from 50 to 60 pieces. In addition, the materials themselves cost money; they are not as cheap as they seem.It is not worth using paper products in a humid environment, they can deform even under the coating.
These baskets are more fragile than their vine counterparts.

Species overview
All baskets made from lightweight newspaper or paper tubes can be classified according to several criteria. The main division is made according to the further use of the product, the technique of its weaving. It is these factors that affect what the finished basket will be - an interior decoration or a utilitarian thing, large-format or miniature.
By weaving method
Various basket weaving methods often combine elements of other types of handicraft. Many techniques are taken from working with vines, macrame. Among the most popular are several techniques.
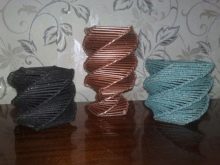
- Spiral twisting. Provides for a gradual increase in the height of the product by connecting twists in a circle. The tubes are superimposed on each other in a spiral. The method is suitable for creating decorative objects of great height, complex elongated shape.
- Layers... In this case, the basket is woven from several elements at once in 1 grip. The first rows of the product are formed using the traditional method. Then additional tubes are placed in the supports, continuing to braid the vertically located walls to the very top. This is a good solution for creating patterned products.
- Spiral weaving. In this case, the tubes are superimposed at an angle. This method is used in the manufacture of miniature objects of small diameter - glasses, vases.
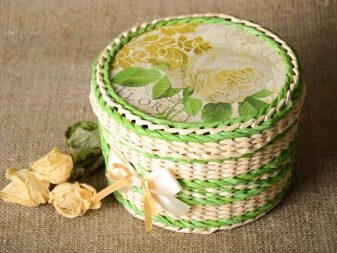
- Openwork or lace. The technique involves connecting the tubes into patterns of varying complexity. Most often, the technique is used to create boxes, gift wrapping.
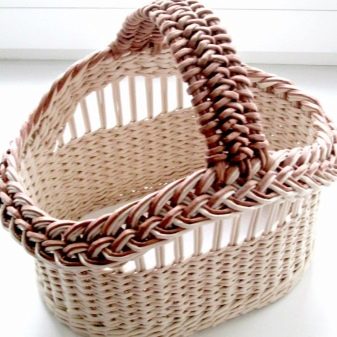
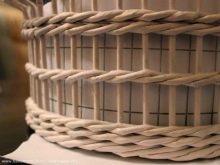
- Pigtail... There are 2 types - invoice and edging. Weaving with a pigtail allows you to achieve the maximum similarity of the product with analogues from a woody vine.
- Rope... The most common technique for people with minimal weaving experience.
These are the basic techniques used when working with newspaper tubes in basket weaving.
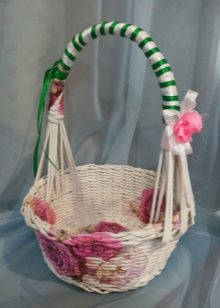
By appointment
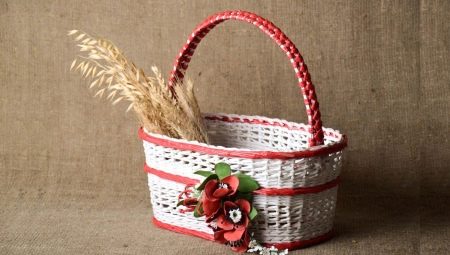
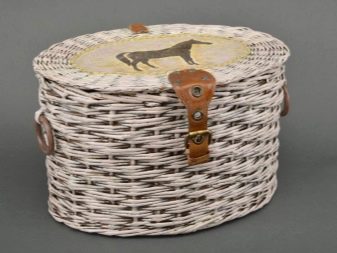
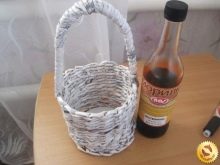
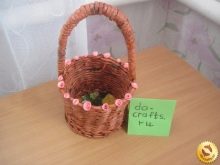
Here the division can be called relatively arbitrary. Rounded and oval openwork baskets with a high handle are considered Easter. For toys or storage of linen, high boxes are made, expanding upward. For a picnic - rectangular options with a lid.
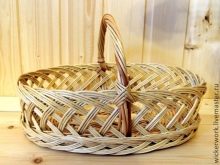
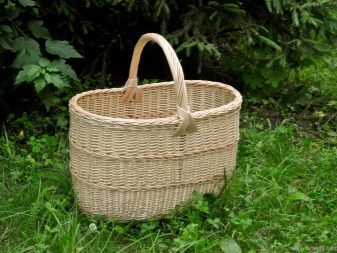
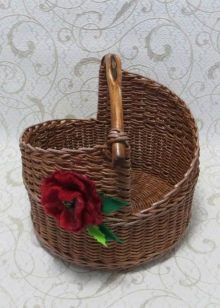
Traditional baskets with a handle are made for mushrooms.
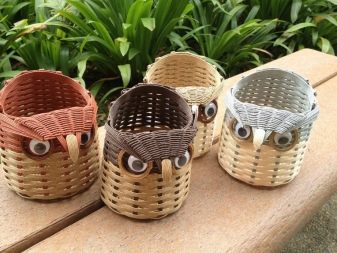
And you can also weave a jewelry box or flower pots from tubes, make a vase for dry plants.
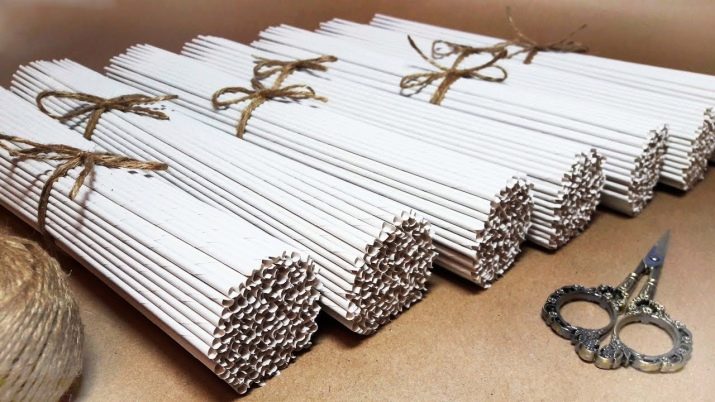
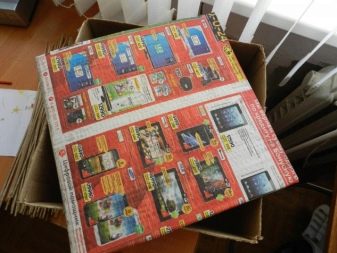
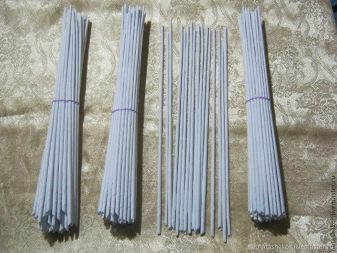
Preparation
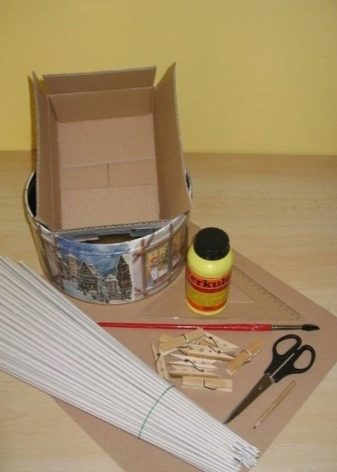
In order to make wicker baskets from newspapers, you first need to collect the necessary material. For the production of the main raw material - straws - not only a stock of newspapers is useful. We'll have to stock up on glue stick or PVA in liquid form, with a long knitting needle, scissors. Newspapers can be easily replaced with any other paper - office, fax, magazine pages or booklets.

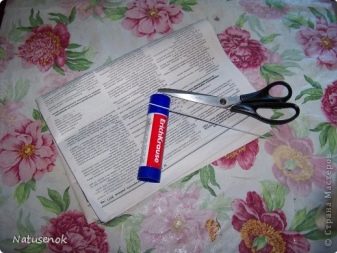
The creation of tube blanks is carried out according to a certain scheme.
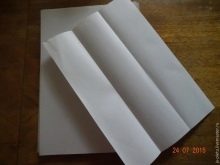
- The sheets are cut into strips 4-6 cm wide. The thicker the paper, the narrower they will be.
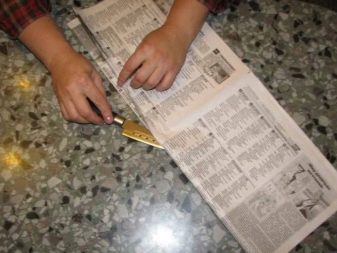
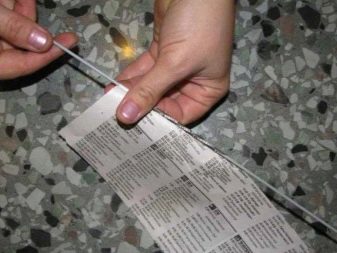
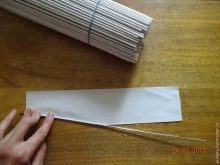
- The first strip is applied to the knitting needle. The length of the tube is determined by the sharpness of the joint angle - the smaller it is, the greater this indicator will be. No adhesive bonding is required here. If done correctly, the tube will not unwind after being removed from the base.
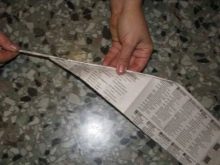
- Newspaper or paper wrapped around a knitting needle... It is wound as tightly as possible in a spiral from base to edge. During the twisting of the tube, the free end of the material is held.
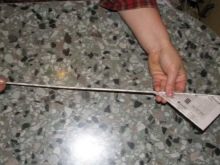
- End - triangular edge of newspaper - smeared with glue... After that, the tube is wound to the end.
- The finished product is neat removed from the spoke.
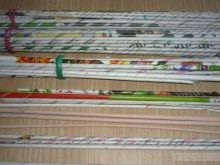
The number of blanks is determined by the size and complexity of the product. It takes a lot of time to prepare the material, but the result is worth it. Wait until the glue is completely dry before using.
Detailed master class for beginners
The basic technique of weaving from newspaper tubes - rope... With its help, you can make simple products in the form of a circle or square with your own hands step by step. For a product about 14 cm in diameter, from 40 to 50 separate tubes are harvested, it is better to have a margin in case of marriage.
Here is the order of work.
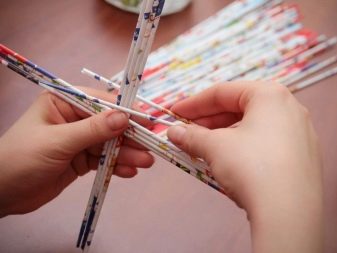
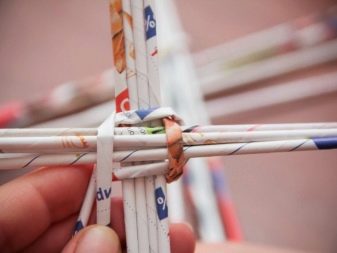
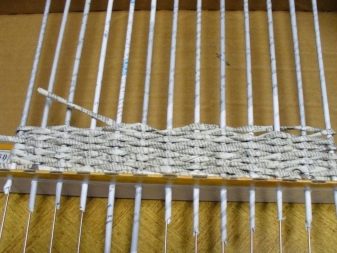
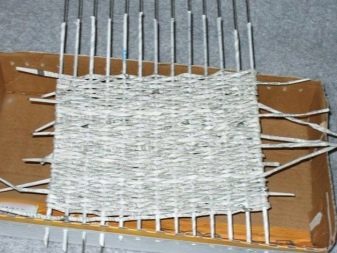
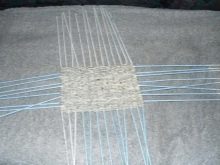
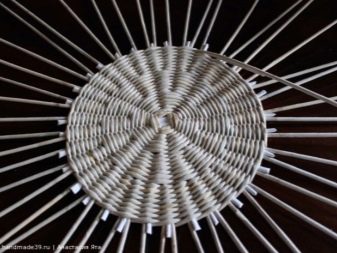
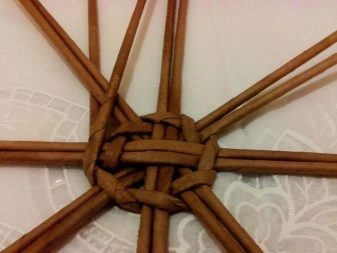
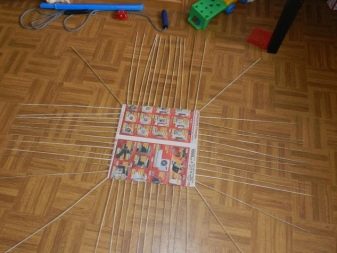
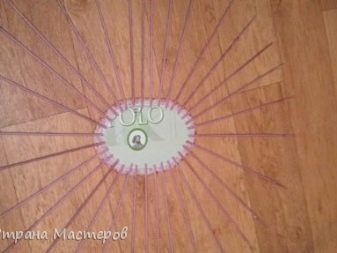
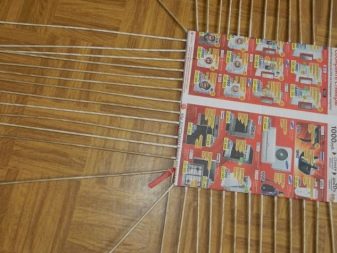
- Formation of the foundation... Eight tubes are folded crosswise, 4 pieces each horizontally and vertically. It is coated with glue. This will give the bottom more strength.
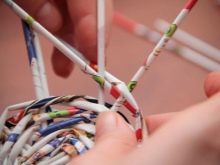
- Weaving the bottom. The first tube is folded in half in a loop, put on over 4 base elements. Further, the rope technique is used. The front elements are retracted, and those that were on the back side are retracted to the front. The steps are repeated, if necessary, performing a build-up with the placement of a continuation in the hole of the previous tube.
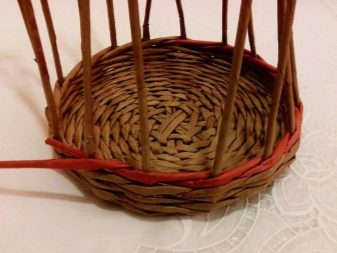
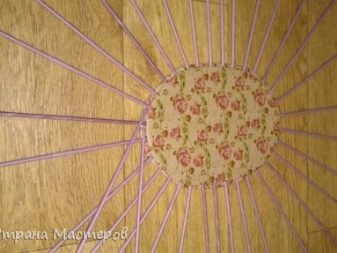
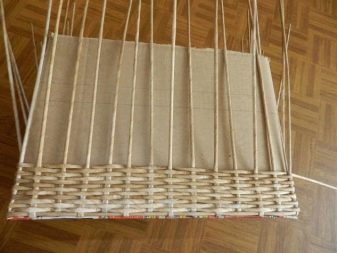
- From the 3rd row, the weaving of the bottom is carried out not through 4, but through 2 tubes... From the 5th - through 1, already to the required diameter. As soon as the desired size is obtained, the remaining blanks are folded inward, the excess length is cut off. The bottom is coated with glue, fixed with clothespins at the end of the weaving, dries.
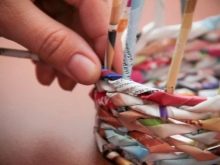
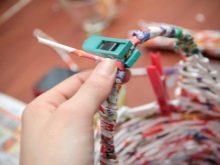
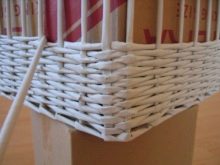
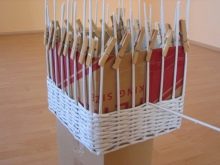
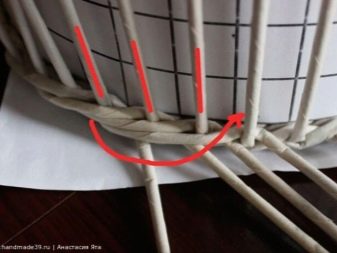
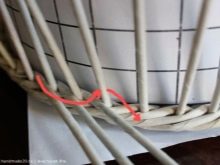
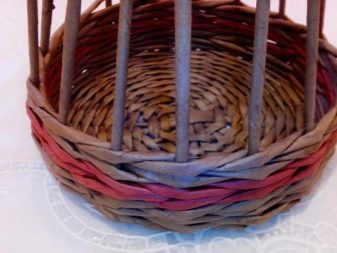
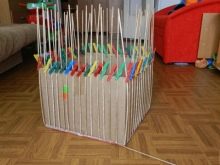
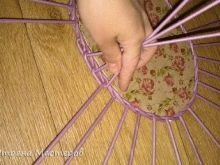
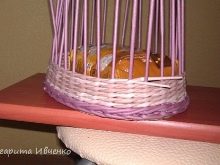
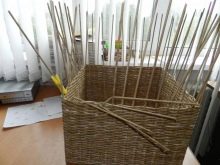
- Raising the walls... Tubes are inserted into the bent guides, guided vertically. They are also twisted in a loop, weaving begins in rows to the desired height using the same rope technique. To maintain its shape, a glass jar of the desired diameter is placed on the bottom during operation. At the end of the weaving, the ends of the tubes are bent inward, the excess is cut off, everything is fixed with glue.
- Handle formation. For her, 3 vertical tube racks are left in the sides of the basket. Weaving is carried out using a rope technique immediately from 2 sides to the center. At the top point, the tubes are connected with adhesive tape, masked under the base.
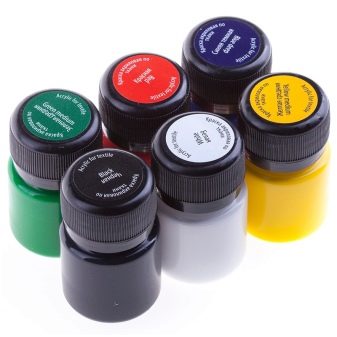
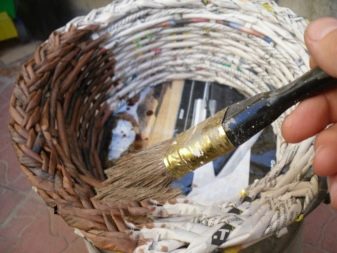
- Finishing... If unpainted material was used, it is necessary to apply the composition after weaving. The decor is made from acrylic paint, glue and water, applied with a brush or spray gun - first along the outer walls, then from the bottom. After drying, you can apply varnish, decorate the product with ornaments, ribbons, appliques, decorate using decoupage technique.
Detailed instructions will help everyone to master not only the weaving of the bottom or the handle, but will also allow you to finish the edge beautifully and neatly.
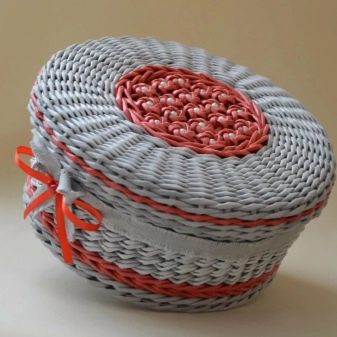
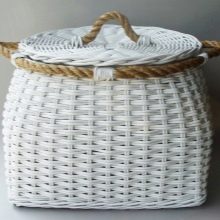
It can also be used in the manufacture of baskets with a lid. For them, the box itself is left without a handle, and for an additional detail they choose an openwork or checkerboard weaving technique. However, the rope method is also suitable.
In this case, the step-by-step execution technique will include several actions.
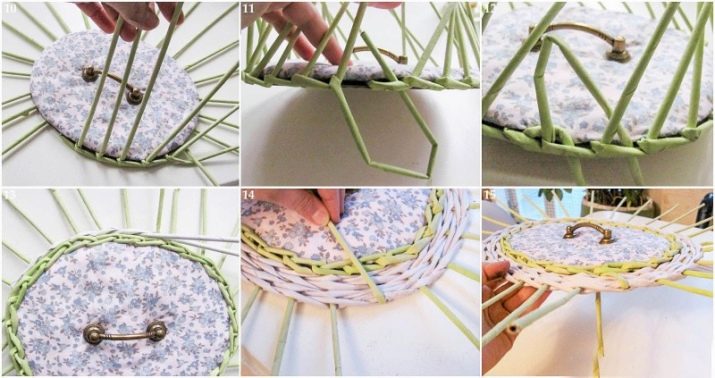
- Glue 2 circles of cardboard of the corresponding diameter with glue. Place inside in a circle, beams, newspaper tubes.
- Start braiding by inserting 4 base twigs. They are placed through 1 beam. They are carried out over the tube, then under the next one. It is necessary to achieve the formation of a beautiful wicker border along the contour of the cardboard circle.
- Form the sides... They are made by attaching the lid blank to the basket. Tubes are bent right along it, then weaving continues in a new plane. Enough 1-2 cm wide to get a border. At the end of the weaving, the ends are folded inward, trimmed and fixed.
With these guidelines in mind, you can easily make a beautiful lid for a rounded basket of the appropriate diameter. Decorating is optional. You can fix the result with transparent or tinted acrylic varnish.
How to weave different baskets?
Weaving decorative or functional baskets from paper and newspaper tubes today is performed not only using traditional rope techniques, but also using other techniques. They can be easily combined with different shapes and patterns, allow you to stage-by-stage products with lids and handles.
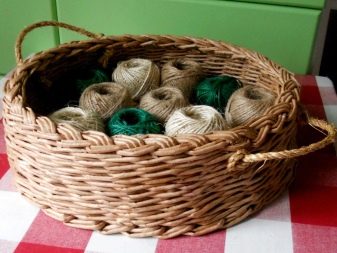
Simple small baskets can be called rather handicrafts - they are suitable for storing knitting accessories, sweets, and other trifles.Large twisted products with complex patterns - beautiful, original - can be used for more utilitarian purposes. The choice of shape and size is a matter of taste for the owner himself, but the order of weaving baskets from a newspaper is best observed strictly.
The practical application of different techniques is worth considering in more detail.
Moreover, with their help, real masterpieces are easily created.
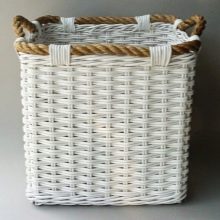
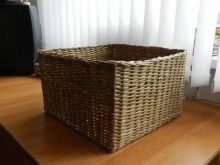
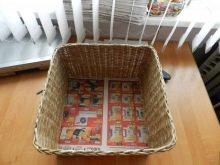
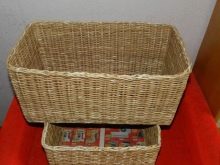
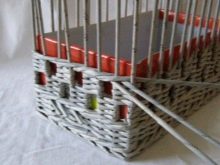
For linen
The main difficulty in the manufacture of large-format products lies in the large volumes of harvested materials. This takes a significant amount of time. For the frame, you will need thick cardboard, wallpaper for pasting. The tubes are pre-painted, it is also worth picking up a template - the product, according to which the laundry basket will be formed.
Let's analyze the procedure.
- The future is carved out of cardboard bottom.
- Pasted over with selected wallpaper or textiles.
- Holes are made along the perimeter along the diameter of the tubes with the same pitch. The material is inserted into the bottom, bent on the reverse side, glued, covered with a second layer of cardboard. The structure is fixed with clothespins during drying.
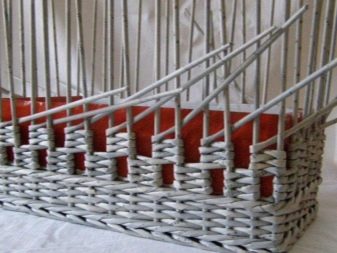
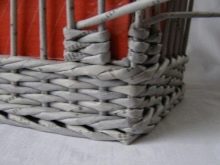
- The walls are weaving. The tubes, located vertically, are intertwined in layers, in several pieces, bent and pulled again in the same direction. It is better to install a box or bucket inside, depending on the shape of the finished product. When weaving, the tubes are wound behind the base, then brought out in front of it, achieving a connection that resembles a chintz cloth.
Once the basics are complete, handles can be made. To do this, lifting rows are formed on the sides, and then they are fixed with an adhesive composition, they are hidden inside. If unpainted tubes are used, they are coated on the outside with acrylic paint, varnish.
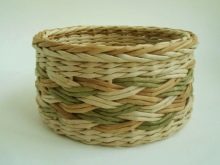
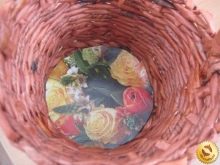
For fruit
The simplest and smallest products from newspaper tubes are created for the kitchen. Here, a paper fruit bowl can easily replace a metal or wooden one. The easiest way to weave the bottom is using a rope technique, but the sides are made more delicate. It is better to pre-paint the tubes with a mixture of color, 2 tbsp. l. acrylic varnish and 0.5 liters of water. You will need 310 blanks 270 mm long.
This is the order of weaving.
- Form a crosspiece 12 tubes, in groups of 3 each.
- Braid 6 rows... Then go to wrap around each twist. Continue working to the desired diameter.
- Place 3 additional tubes in each hole made earlier... Continue lifting to form the beads, placing a round object inside for a more defined outline. Use a layered weaving method, grabbing 2-4 rods. In the center, create a diamond-shaped pattern by simply connecting the tubes crosswise. Then build up new elements, continue working.
The fruit bowl can be left without a handle. If it is necessary, you can build it up, as in a master class for rope technique.
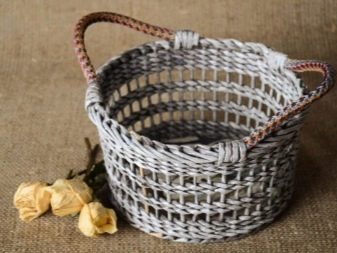
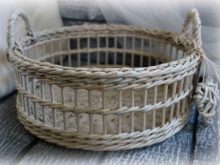
Openwork
This technique is considered the most difficult, but interesting. It is better to immediately take tubes of two different shades - bright for the pattern, traditional for the base. The bottom is braided using a conventional rope technique to the desired diameter. Then the tubes are bent up, a template is inserted inside for more precise shape keeping. Let's list the next steps of the master class.
- Weaving in the technique of a straight and reverse herringbone for 2 rows. The first tube goes behind the counter, the second is held in front of it.
- Third and 4th row are formed with the introduction of a new shade.
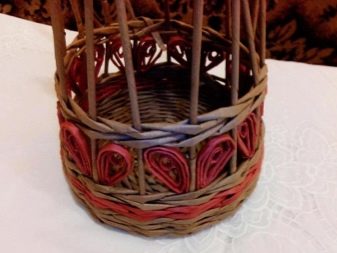
- A pattern is forming... The painted tube is bent in a spiral into an oval, inserted between the uprights so that the adjacent elements form a heart. Each decorative piece is glued to the uprights.
- The tubes are introduced in the color of the base... The basket is woven to the desired height.
It remains to fix the ends of the product along the top with glue, bending them inward. Then you can apply acrylic varnish, securing the result.

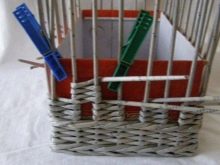
Square
This option involves using a cardboard base for the bottom. The sheet is folded in half, holes are made along its side at the bend with a hole punch, stepping back 2 cm. The number should correspond to the number of twists used, they are threaded inside. The technique resembles working with straws, so it is better to flatten the tubes themselves. Then the sticks are connected, first braiding the bottom to the desired size, and fixed.
The sides are formed by inserting new twists into the holes along the perimeter of the square. They are bent, fixing on the existing tubes. Secure with glue or clothespins and duct tape. Then the walls are woven to the very top.

Oval
It is somewhat different from the round one in execution. The cross here is made with double transverse twists and single longitudinal ones. So the first 2 rows of the bottom are braided, the remaining 9 are formed sequentially, through 1 tube. Then twists are added according to the number of future uprights, the work continues until the desired diameter is reached.
An oval template made of cardboard or plywood is inserted into the bottom, the walls are woven along it vertically.
Rectangular
Weaving is performed by analogy with a square; a cardboard box is taken to create the shape.
Chess
This pattern looks very decorative. It can be formed using rope weaving with alternating colors or layering, with gaps. The bottom is made by analogy with a simple square or rectangle. Then the sides are formed in 5-10 rows. After that, checkerboard weaving is performed using 1 tube for 2 supports, with alternating gaps.
A checkerboard pattern can be formed from several colors... But even in a monochromatic version, it looks very decorative.

How to paint?
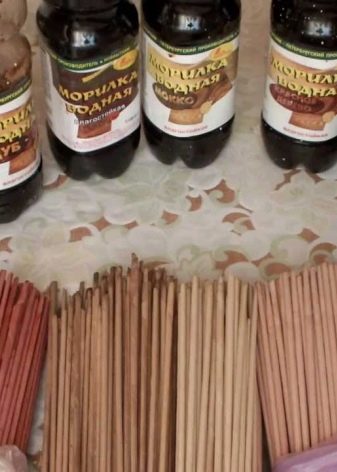
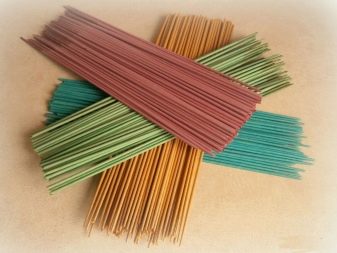
Staining the tubes is best done beforehand.... To do this, you need to immerse them in a container of shallow depth, and then fill with the selected dye, a water stain under a tree is suitable, for 3-5 minutes. Dry products on a wire rack or mesh. A brush will help to distribute the paint evenly. Ready baskets are easier to tint with a spray bottle.
You can get a blue tint using the usual blue, dissolved in a water-alcohol base. The color scheme can be varied individually. When using wood stain, the color matching will be as follows:
- maple - red-orange;
- oak - brown-red;
- ebony gives a dark gray tone;
- larch - yellow;
- fern - green;
- mahogany - pink.

When using stain, the easiest way to paint the workpieces is by dipping them directly into the container with the composition, from each end. This will color the products from the inside as well. The paper has time to soak in color, but does not get wet.
It is better not to tint newspaper tubes beforehand. They still retain visible ink residues during the initial painting. When repeated, they become brittle. You can solve the problem by applying varnish tinted in the desired tones after weaving, in 2-3 layers.
Useful Tips
When weaving baskets from tubes, it is important to follow some rules. Useful recommendations will help novice craftsmen avoid common mistakes. Usually, the greatest difficulties are caused by the manufacture of the tubes themselves. But there are not so many rules here. You can wind paper strips on a skewer or knitting needle of a suitable length, the thickness of the tube depends on their diameter.
You can rotate in any direction - towards yourself or away from yourself. Usually the right hand is the leading hand when working, the left only sticks to the edge of the paper. The knitting needle can also be applied from above or below, depending on the personal preferences of the master.
When making products to order, it is better to take clean writing or consumer paper.
Weaving is best done with slightly damp straws.... Store the workpieces in a package or file, so that 1 end sticks out - it will be harder than the second, it will facilitate building.A spray bottle with water, to which a small amount of hair balm has been added, will help to moisten the workpieces in the process.
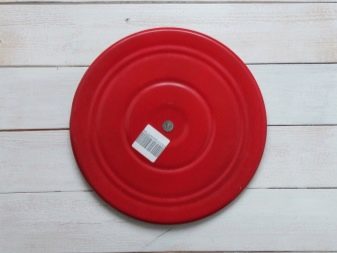
A regular gymnastic disc will help to facilitate the rotation of the product during work. It is flat and fits easily on a desk or other work surface. By rotating it, you can noticeably speed up the weaving process.
For the secrets of weaving newspaper tubes for beginners, see the next video.


