Methods of bending from newspaper tubes
Weaving from tubes is not such a new-fashioned type of needlework. It has existed for a long time, but from time to time it "experiences" a new wave of popularity. Since plastic has been squeezed out of modern interiors as much as possible, but wood, natural textiles, straw and knitted decorative products, cork, on the contrary, have strengthened their position, weaving will be very appropriate. And you can weave from newspaper tubes - an affordable and cheap material.
Weaving types
There are several weaving options, each is interesting in its own way and makes it possible to get an intricate pattern in a simple way. Some techniques can be compared to lace - usually this is how openwork caskets are made. There is weaving, which provides the craft with strength and density, that is, there will be no gaps in them at all.
Methods of weaving with tubes from newspapers:
- one strip;
- rope from three tubes;
- weaving of straight and reverse rope in strips-tubes;
- interweaving with one or two blanks;
- weaving in a spiral;
- bend "braid".
It is recommended to start with a simple weaving. This means that the frame will have to be assembled, tying its racks with one or more vines.
A great technique if you have a goal to practice in the formation of the skeleton and the control of the tubes at bends / bends.
There are some basic tips for newbies.
- The gap between the posts is no more than 2 cm. If this rule is violated, the weaving will be loose and fragile.
- The racks must be treated as delicately as possible: do not crush or bend short elements during operation.
- To avoid holes and serious gaps in the pattern of the wicker, after completing each row, you need to align the racks, pressing the wicker rows to each other as tightly as possible.
- It is recommended to hide the places where the elements are spliced in weaving, between the racks in the middle.
- If the tubes are no longer flexible, they are too dense, they can be sprinkled with water, kept in a plastic bag for 20 minutes. So the paper material becomes obedient and will not leave creases. At the same time, the paper vine will become strong afterwards.
- During weaving, the moistened tubules can become shaggy, therefore, if the moisture was excessive, the material should be allowed to dry out a little.
- It is better to cut the ends of the bent uprights inside the product. By the end of weaving, it is better to cut off the old racks, while inserting new moistened racks, which will fit well, without creases.
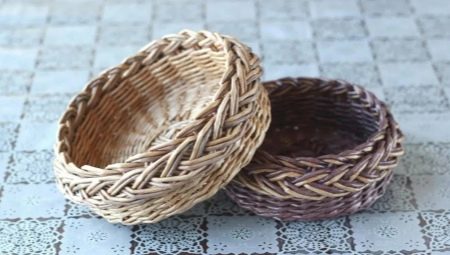
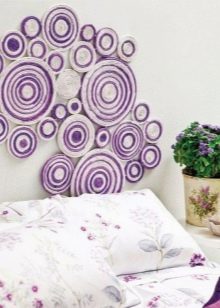
If you look at the works in this technique (for example, the famous Czech weaving), it becomes clear where the craftsmen got so much enthusiasm. Beautiful volumetric works adorn clocks, presented in the form of panels, vases, various decorative containers.
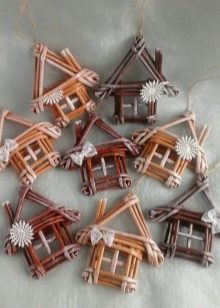
And even Christmas tree decorations made using different interesting techniques (for example, the Isis folds) turn out to be very original and authentic.
How to do it?
Any master class includes step-by-step instructions, which explains in detail the creation of a particular decor. But for those who have never picked up newspaper tubes, preliminary universal instruction will be more valuable.
- Step 1. The choice of material. If the task is to make a large box or stand, glossy magazine pages are suitable as material. And if the interior decoration is small, thin tubes are used: they are more plastic, bend easier, do not break round shapes.
- Step 2. A standard universal set of materials and tools: newspapers cut into strips of 4–10 cm, a skewer or knitting needle with a tip, scissors (a clerical knife will also work), PVA glue / glue stick / Titan.
- Step 3. Preparation of material for weaving. The newspaper needs to be cut into 4 strips on the short side, then sorted, that is, the edge strips (from which white tubes will come out) will go into one pile, and text, printed ones to the other. The cut must be laid in front of you on the table (with the white border down).
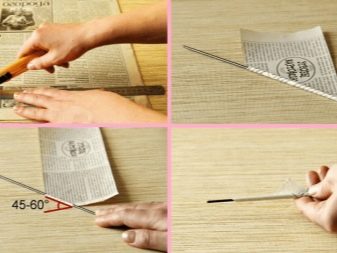
- Step 4. Beginning of work. A knitting needle is placed in the lower right corner of the cut at the desired angle. The smaller the distance between the edge of the newspaper and the knitting needle / skewer, the longer the tube will be. The corner must be wrapped with tension, on the spoke - one turn. You need to hold it, rolling the entire cut in a spiral. Winding is necessarily supported by tension along the entire length. Glue must be applied to the finishing corner for fixing.
- Step 5. Get the knitting needle. The needle is removed as delicately as possible, after which the finished tube is sent to dry. This will take an average of 20 minutes. The diameters of the ends of the tubes will be different, so they can be subsequently increased. An adhesive should be applied to the thin edge and it will insert or screw into the wide edge. That's all - we got rid of the joints in a quick way.
- Step 6. Coloristic solution. When the entire product is woven according to the requirements of a specific MK, the work needs to be painted. Sometimes this is done before weaving, if the product is multi-colored. Hue, tone saturation is always a personal experiment of the master. What can be painted: watercolors, gouache, acrylic paints, stain, water-based paints.
- Step 7. Varnishing. After the paint has dried on the intertwined tubes, varnish should be applied to the product in 2 layers. So the color of the finished work will become brighter, richer. In addition, such a product will not be afraid of moisture.


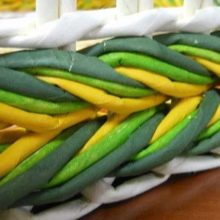
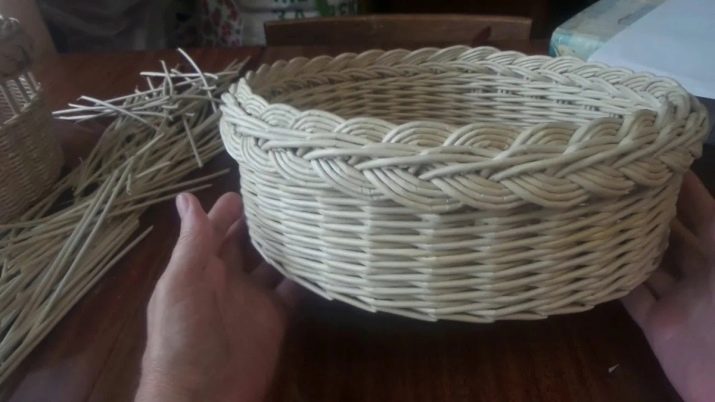
"Spit"
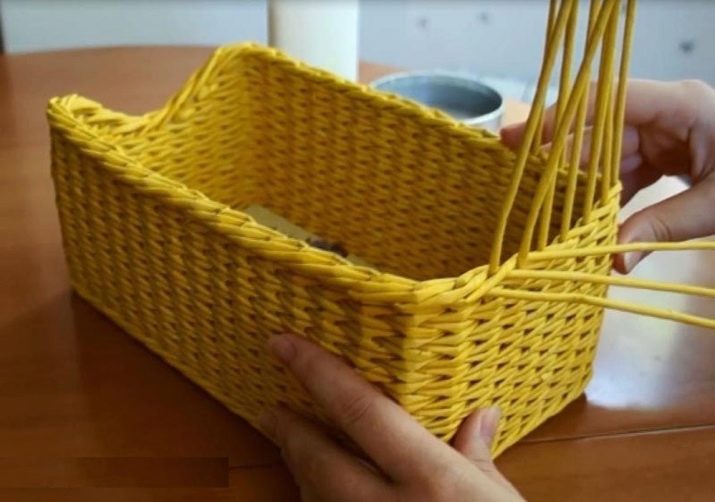
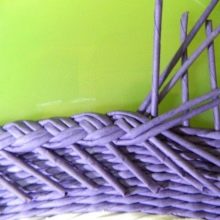
- This simple fold will have three rows. For beginners, this is the best way to learn weaving.
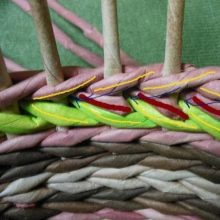
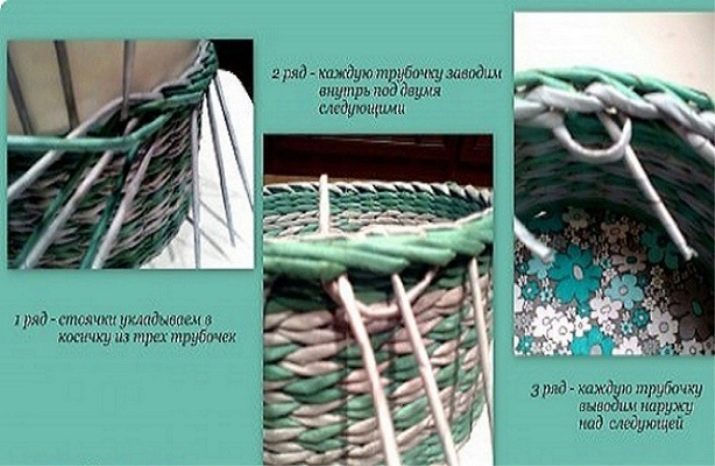
- The beginning of the weaving of the first row - in a pigtail of three tubes (in this case, pre-dyed), you need to weave the risers. The working tube must be put behind the riser, and the previous one is placed on top of it. The same is done to the end of the row.In order for the last riser to be laid, the next tube is started under the laid ones, followed by the riser. The first row is ready.
- Second row - each tube must be brought inside under the next two. Then you need to skip it to the left of the second tube. And do so until the end of the row. The penultimate tube should be wound under the first, and the last - under the second.
- Third row - each tube must be wound over the next and brought out, that is, a cute pigtail will turn out inside the product. The tails that form on the outside must be carefully trimmed.
That's it, very simple, if you figure it out, you can make a beautiful product - such a basic blank for anything... It can be just a basket without a top or a base for a future casket. By the way, in this MK weaving goes from right to left, not all craftsmen do this. If it is more convenient to weave in the opposite direction, it is worth considering that the fold will also go in the other direction.
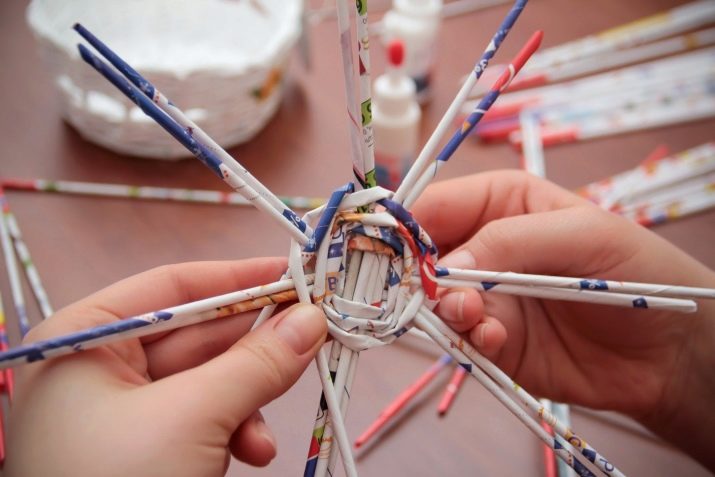
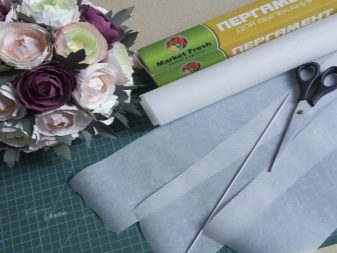
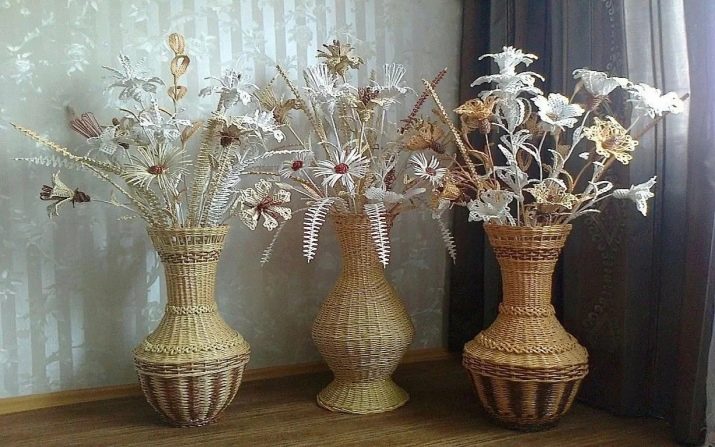
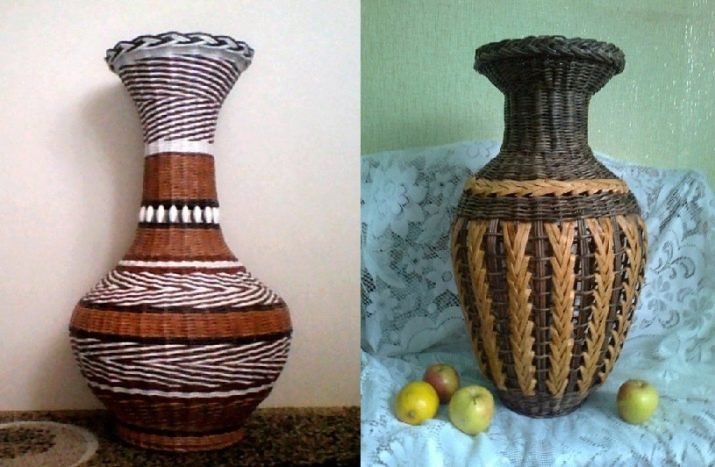
Vase basket
- To work you need to take: paper, parchment, knitting needles, PVA glue, scissors.
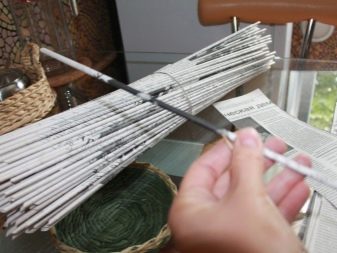
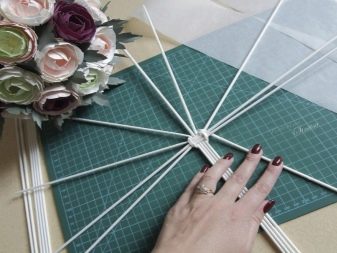
- Cut the paper into strips, divide the entire roll into pieces of 50-60 cm, and then each piece into 3 more pieces. When the strips are ready, they can be twisted with a knitting needle. To fix the beginning of the tube well, you need to apply a couple of drops of PVA glue in this place - and a few more drops along the entire strip.
- After twisting the strips, you need to make a bundle, as in the picture. Weaving goes according to the standard pattern, the tubes are overlapped, as this happens when weaving a basket from a vine. The beginning of the tube will always be narrower so that you can insert it into another element.
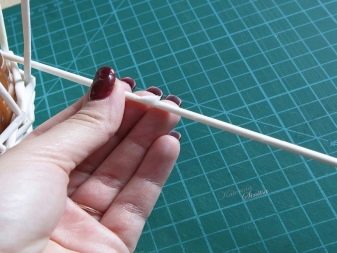
- You need to drop glue into the neck of the tube, insert the next one into it. And so weaving continues, scrolling one into another along a spiral path.
- Weaving continues until the neck is complete. Now the vase has to be made heavier and painted (if the stripes were not painted before).
A tall glass can easily fit inside the vase, which can be filled with water, and then the product will serve as intended - it will decorate small bouquets with its elegance and lightness.
Beautiful examples
And some more reasons for inspiration. This selection includes the most beautiful products made from the simplest material. Instead of newspapers, you can take office sheets, parchment (baking paper), magazine glossy pages, etc.
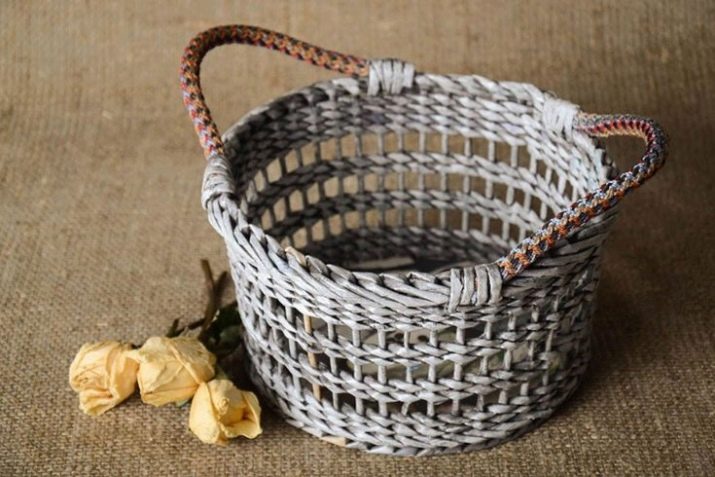
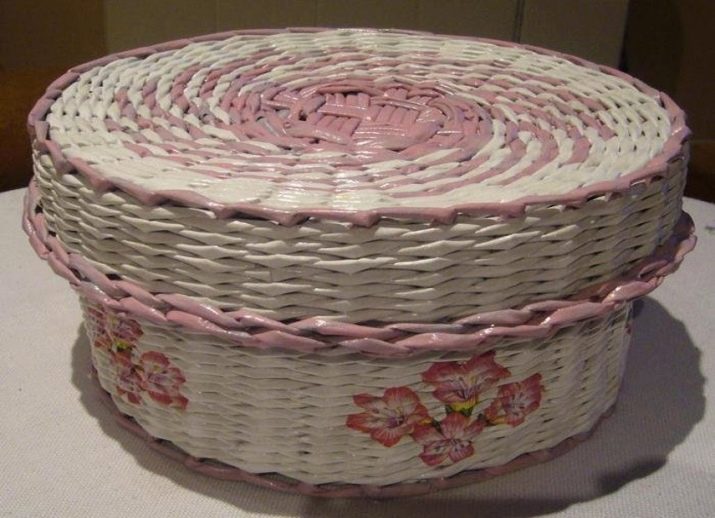
- A beautiful basket for a boho interior. It will be convenient to store combs and rubber bands here. For decorating a dressing table or mirror zone in the house - a great solution. And you can also put a few small towels in it, a fragrance for the kitchen, and such a gift will delight a mother or girlfriend for any occasion.
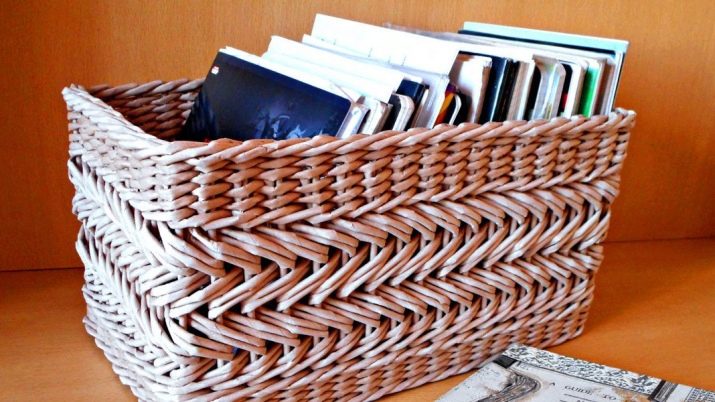
- Basket for books and abstracts. Such a storage system is very popular today, because everything is in plain sight, nothing will fall or disturb the order (unlike storing books / notebooks on a shelf).
- Basket for laundry, toys, cushions. The work is big, but the result cannot be compared to a store purchase.

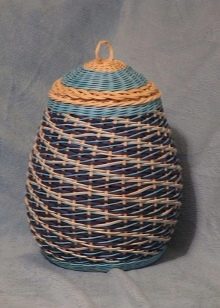
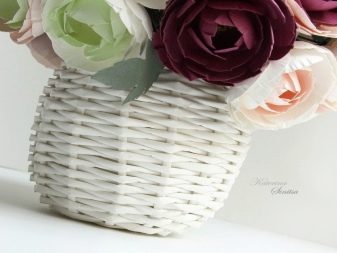
- Such a cute floor vase will decorate the corner of the living room. You can put a transparent glass vase inside, and then it is quite possible to put real flowers here.
Also, the glass vase inside can be a safe area for large candles.
- A very beautiful braid will decorate the kitchen, living room and hallway. Here you can put small vases, pencil bowls and even a sugar bowl or a container with crispy straws inside. Moreover, such a braid will be a beautiful option for serving delicious grissini sticks on the table.
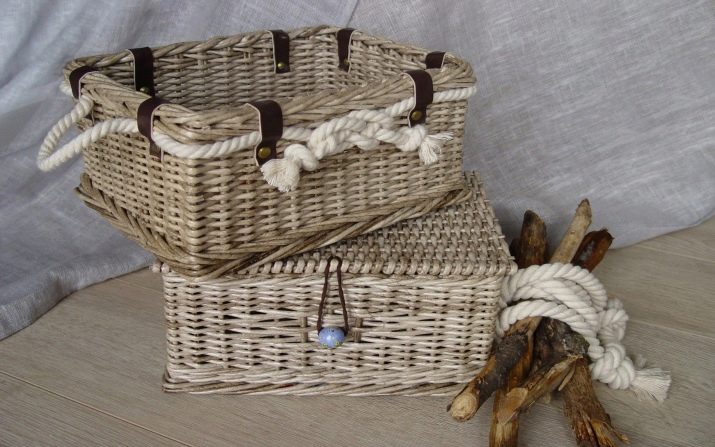
- A real girl's belongings - here you can store children's dresses for new generations, as well as the first toys, pacifiers, metrics, photo albums.
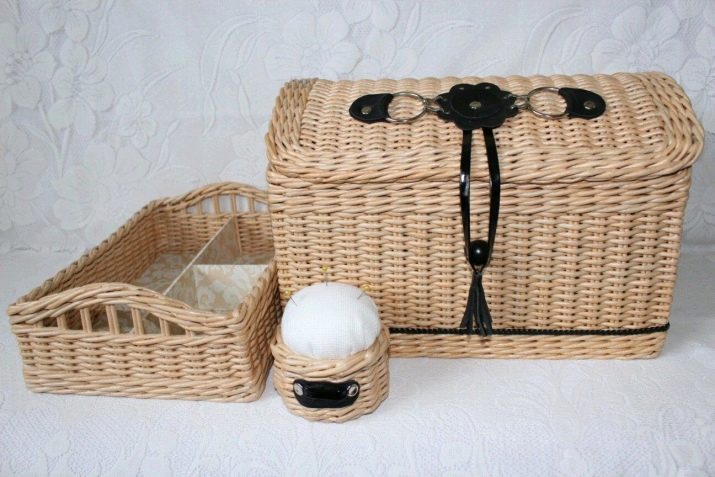
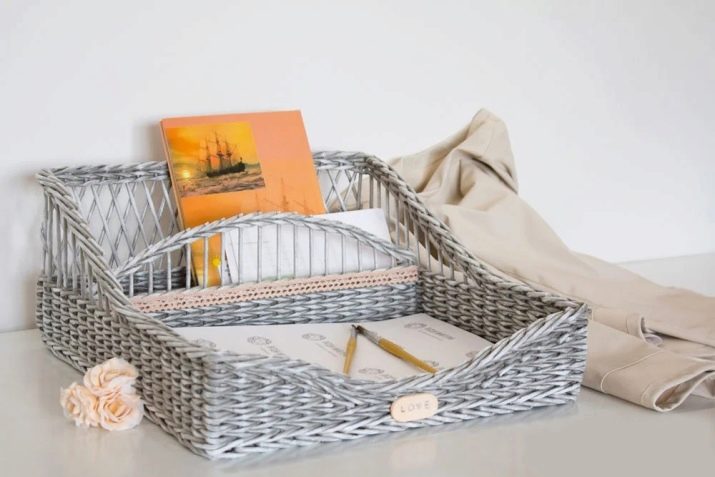
- A chic set from a needlewoman as a gift - both utilitarian and incredibly cool in a cozy interior.
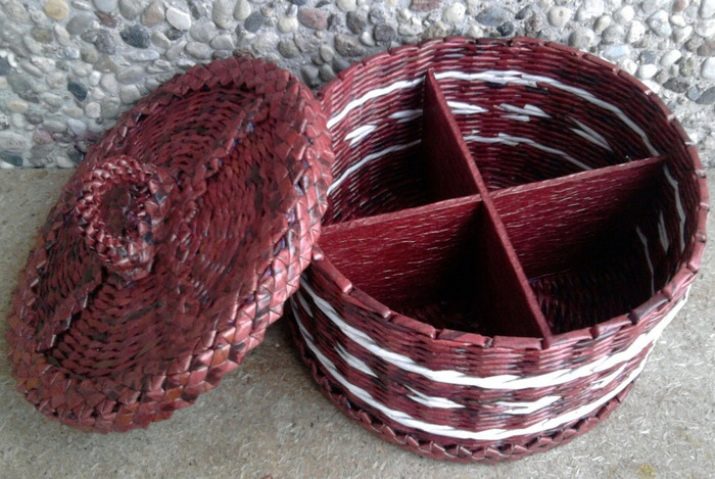
- Nice find for any kitchen - suitable for storing spices, dried fruits, napkins, etc.
- Another chic vase, in this example - in ethnic style.
- Braided organizer - practical, cute, exclusive.
Methods for folding newspaper tubes in the next video.


