Weaving from paper vine: step by step instructions
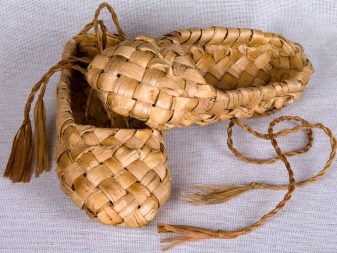
Weaving is a modern type of handicraft, rooted in the deep past. Since ancient times, in the tribes of Asia and Europe, in the lands of Australia and America, in the tents of the Bedouins and in the yurts of nomads, men and women were engaged in this craft. With the help of bark, twigs and straw, they created baskets and boxes, furniture and dishes, cradles and toys for children. Famous Russian bast shoes made of linden bast are familiar to every student from the paintings of great artists, from poetry and books, history lessons. The once traditional craft was practically forgotten, but it managed to transform, again gain popularity in a new direction of needlework - the paper vine. The main reasons for this were the relatively inexpensive cost of materials and ease of operation.
What it is?
The paper vine is a new type of needlework that emerged from a mixture of basket weaving and Korean weaving from paper strips. The main material for such a hobby is a thin long flattened tube, rolled from a rectangular sheet of newspaper, notebook or other paper products. It looks like an ordinary vine, but has a number of features.
The advantages of a paper vine over others are as follows.
- Material cost. Paper is cheaper than wood. And often materials for such a hobby can generally be obtained for free by collecting several advertising newspapers.
- Ease of acquiring material. Even if special paper for needlework is used to create a wicker basket or casket, it is still easier for a city dweller to buy it than to find willow thickets near their own home.
- Ease of preparation. If a modern inhabitant of the "stone jungle" managed to find or acquire a real willow vine, it needs to be sanded, boiled and soaked, and then stored somewhere. Preparing paper tubes does not take much time, and making them is very simple.
- Ease of operation. Natural vines are much harder than any paper roll and are therefore much more difficult to work with. With careless handling of flexible elastic twigs, there is a chance to get a biting blow on the skin, and even a child can hardly get hurt with paper tubes.
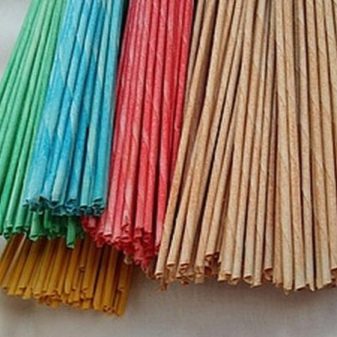
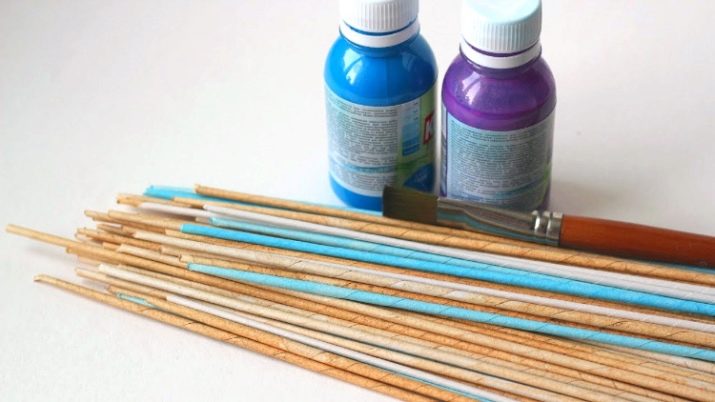
- Ease of coloring. It is very easy to paint the paper in any color you like.
For all its advantages, paper products still have several disadvantages.
- Life time. No matter how carefully a wicker basket is used, a wooden product will always last longer than a paper container.
- Fear of water. Even when using high-density paper, such products will not survive prolonged contact with water, unlike weaving from willow branches.
Fortunately, there are many paper treatment products on the market today that can help extend the life of these woven products, protect them from moisture, and increase strength. A experienced craftsmen are able to paint the product in such a way that outwardly it becomes indistinguishable from natural wood.
How to prepare the vine?
In order to weave the best crafts that will delight the eye for a long time, and perhaps even bring a small income, you need to make a high-quality vine. A for this, before making the tubes, you need to choose the right paper.
Attention should be paid to its density and be guided by the rule: thinner is better.

Experienced craftsmen have long compiled a list of the most suitable species.
- Newspapers. The most suitable material for beginners. Cheap, and sometimes free, soft and docile material.
- Consumer paper. Sheets with a density of 45-48 g / m2 can be purchased at your nearest office supply store. It is also called offset paper.
- Magazines. At home, stacks of old glossy magazines are often piled up, which are also suitable for weaving. It is worth noting that, due to the high density, products made from them will look a little more rough, and it is more difficult to paint a smooth gloss.
- Newspaper rolls. If there is a print shop nearby, you can try purchasing a few large rolls of newsprint. This volume will be enough for a beginner for a long time. There you can also order inexpensive cutting into ready-made rectangles.
- Cash register tapes, which can also be purchased at office supply stores. Conveniently, the ribbons are of a suitable width and do not need to be cut for a long time.
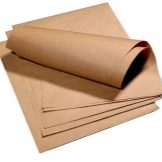
- Office, coated or kraft paper. These materials are perfect for weaving strong frames of more complex structures, since they have a high density.
- Experienced craftsmen in search of unusual designs can use a variety of parchments, tracing paper, rice or other paper... But those who are just mastering a new hobby for themselves should not start with such complex materials.

In addition to the selected paper, for work you need to purchase in advance:
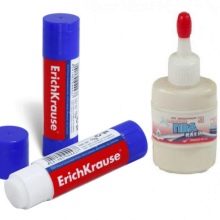
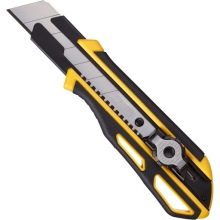
- a sharp utility knife or scissors;
- good quality PVA glue or glue stick;
- a long needle with a thickness of 2-3 mm.
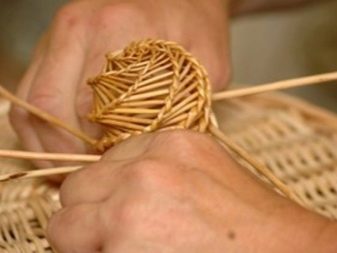
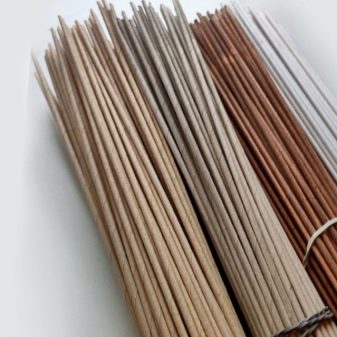
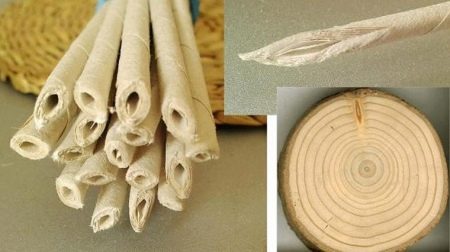
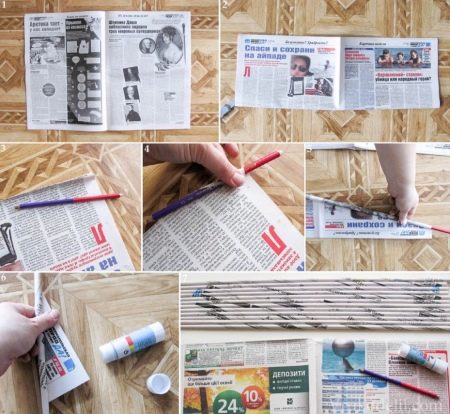
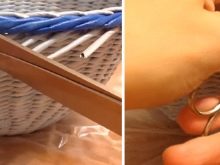
The easiest twisting method is on the table. The paper is cut into long strips of 6 to 10 cm wide. The lighter the material, the wider the strip should be. A knitting needle is placed at the bottom corner of the strip at an inclination of 30-40 degrees, paper begins to curl tightly onto it.
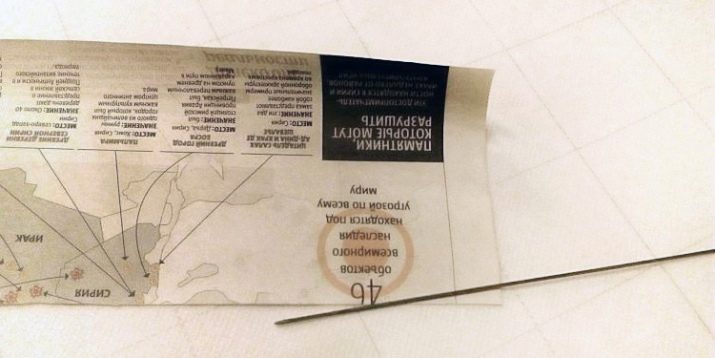
The thinner the needle, the denser and stronger the tubes will be. The most difficult thing is to correctly make the first turn so that the edge of the strip is pressed tightly against the spoke and does not slip out.
Lightly dampening your fingertips in warm water will make this much easier.
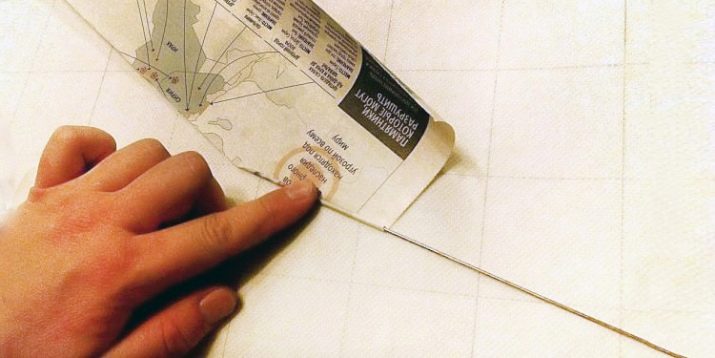
After you have managed to wind the very corner, you can press the knitting needle with your hand against the table and wind the rest of the paper with a movement reminiscent of rolling out dough. When only a small corner remains of the paper, it is carefully coated with glue and the tube is completely tightened.
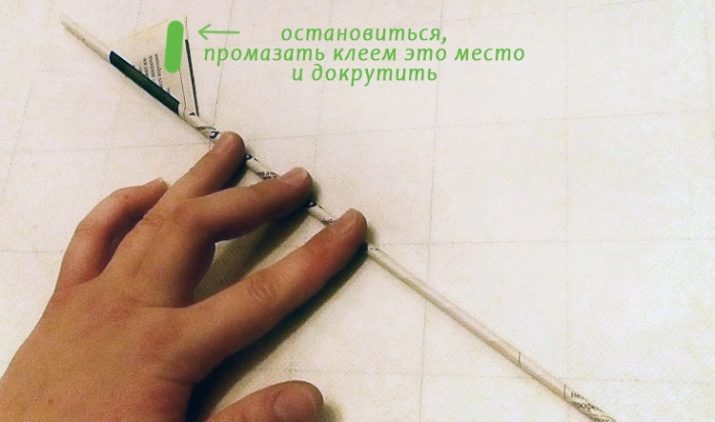
After the glue has slightly set, the knitting needle can be pulled out of the resulting vine. If the surface of the table is too smooth, and the paper slips on it, you can put a small silicone mat for rolling the dough or children's creativity.
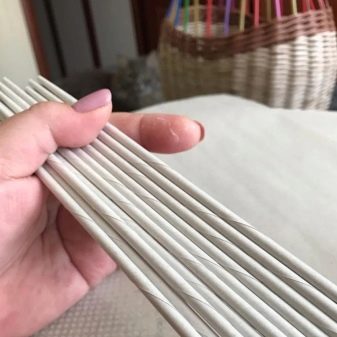
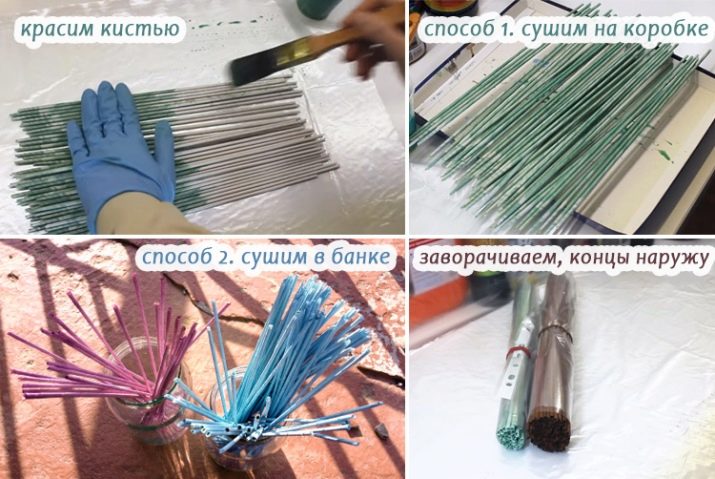
Another manufacturing method is to twist the tubes by weight. It is more complex and requires more effort, since you have to constantly keep your hands on weight. But the speed of work with such a twist is slightly higher. At this stage, the finished paper vine can be covered with a special stain, paint, primer or impregnated with various protective compounds.
The coating is dried with an ordinary hair dryer, and the vine is stored in a regular bag, leaving the ends uncovered.
In order to make sure that the resulting vine is correct, it is enough to watch a master class on its creation from experienced needlewomen and compare with your own result.
Species overview
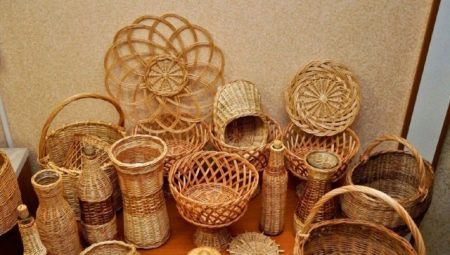
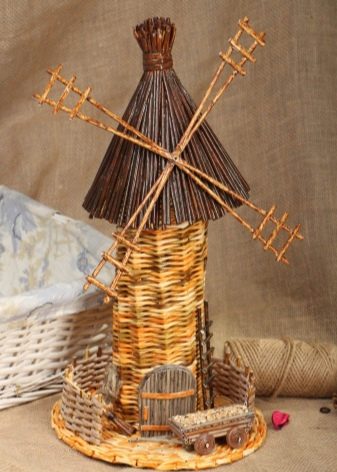
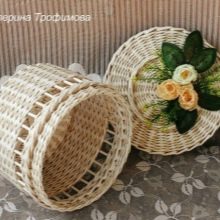
There are several ways to twist and cross the finished tubes in an attempt to create a beautiful pattern. All of them are used in ordinary basket weaving, and the pattern is chosen depending on the type of craft. With the help of some, a small pencil holder, a napkin holder, a decorative figurine of an owl or a mill, a brownie at the front door, and with the help of others, you can weave a deep basket for apples, a chest for clothes or shoes, and even a coffee table.
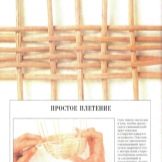
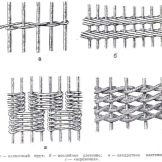
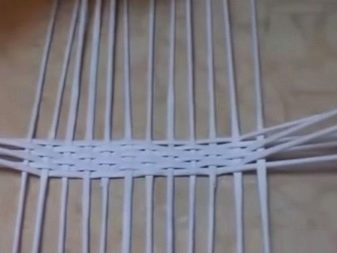
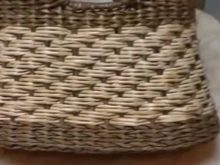
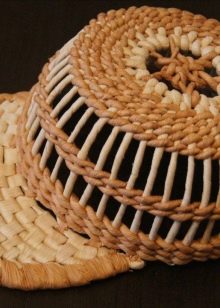
- Simple. The vine is woven through each upright with a long, continuous ribbon. One row is formed immediately above the previous one. To make the drawing solid, you need to take an odd number of racks. If a flat bottom is woven in this way, then it is called a spiral.
- Layer-by-layer. It is also woven through one rack, but in several tubes at the same time.
- In rows. The first tube is run by simple weaving through one rack. The second tube is also woven with simple weaving, but starting from the second rack. The third - from the third, and so on.
- Square. Braid the crossed racks through one to make a flat square. This is how the bottoms of baskets, boxes and other containers are woven.
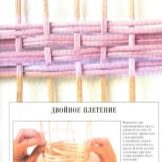
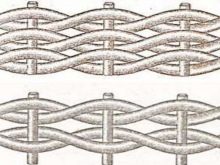
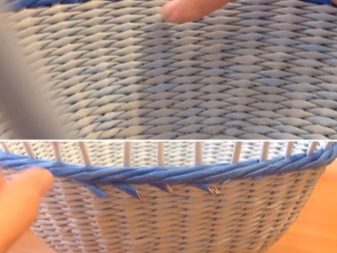
- Rope. The vine bends around the racks and intertwines with each other. Serves to strengthen the bottom and top of the walls of the product.
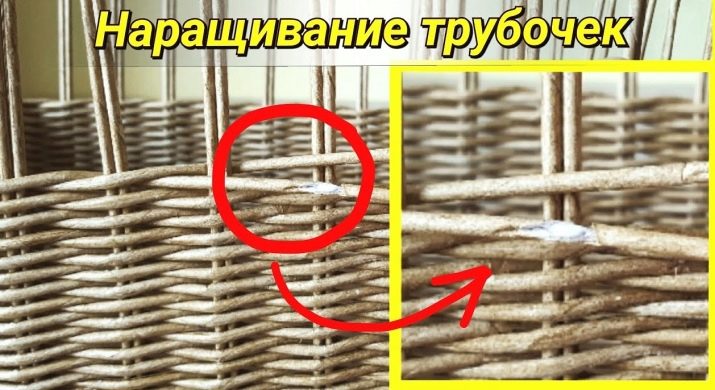
To lengthen the tube, it is enough to insert them into one another. For more reliable fasteners, you can slightly grease the inner walls with glue. The ends of the vine are hidden under the edge of the weaving with a wooden skewer or a thin stick from a sushi set.
How to weave different products?
Before starting a new craft, you can study several master classes with step-by-step instructions so as not to make mistakes and not spoil the prepared vine.
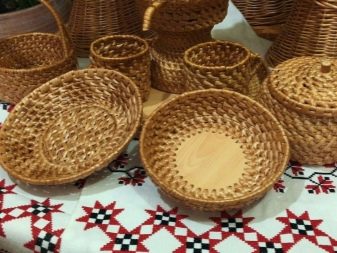
Shopping cart
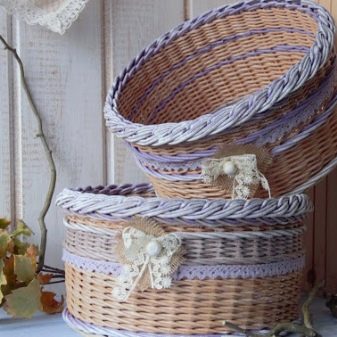
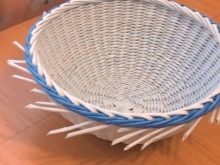
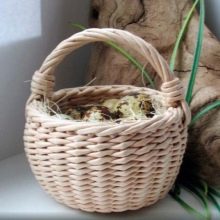
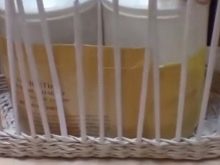
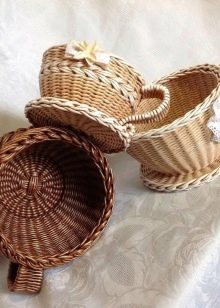
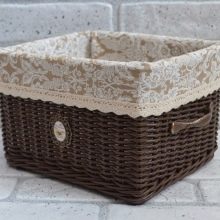
The simplest craft that many beginners start with is a small square or round basket where you can put various little things, fruits, or even use instead of a vase for flowers. After the vine is rolled up and prepared with wood stain or paint, you can start making.
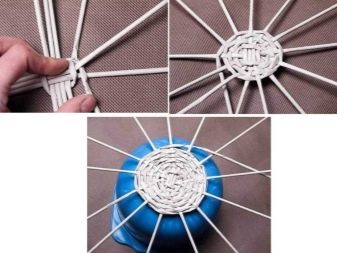
- The bottom. Take ten long tubes - racks and cross them. Lay two pairs vertically, and three horizontally, then braid them in a circle with an eleventh tube. It should be folded in half with one end passing over the counter and the other under it. So weave two rows, and then bend the ends of the racks towards the center.
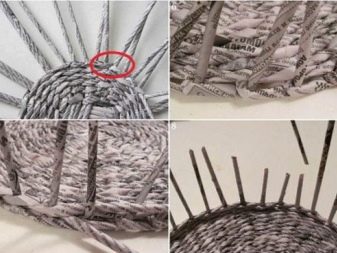
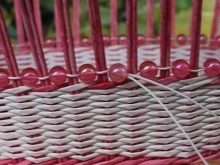
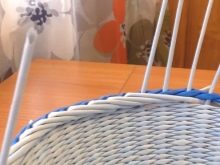
- Walls. Braid the curved racks with any chosen pattern. You can weave 4-5 rows of the pattern, then put on beads on the racks and weave a few more rows. Then the basket pattern will turn out to be more delicate.

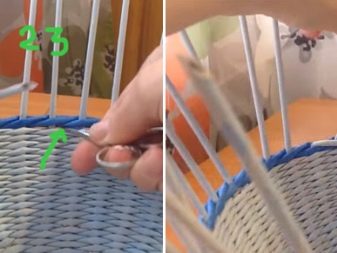
- Edge. Cut off the remaining excess ends of the working tube and racks and tuck in with a long stick, creating an edging.
- Pens. If the product has handles planned, before cutting off the edges of the posts, you need to leave three on each side, connect them and braid with one or two more vines.
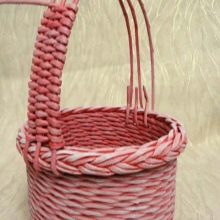
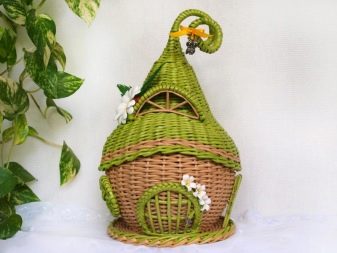
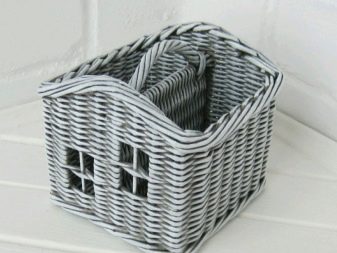
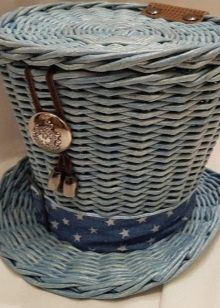
- The finished product can be varnished or painted. Wicker baskets in the form of houses, strollers or animals look very unusual.
Bag
After the baskets are neat, you can move on to creating a more complicated fashion accessory - a wicker bag with an oval bottom.
- Before weaving the bottom of the vine, it is worth cutting out a blank from cardboard in advance, by which it will be possible to check the dimensions.
- The base is made of 8 dense tubes, laid horizontally, which are intertwined with 12 vertical ones. The resulting rectangle is braided, smoothing the corners, by weaving with a string. This will make the structure more sturdy.
- Side walls. The racks are bent up and evenly braided with any pattern you like. To maintain the desired shape, you can put liter cans or other heavy containers of a suitable size on the bottom of the bag. The walls are woven in 45-60 rows.
- Handles can be weaved from several racks, or ready-made rings or squares can be weaved. Handles made of thick twine, metal or wood will look interesting.


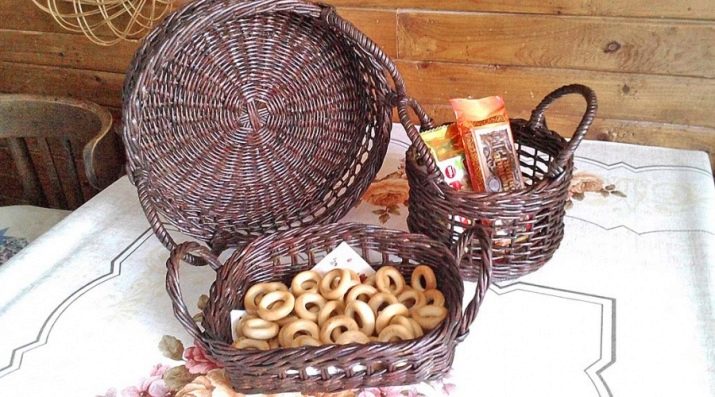
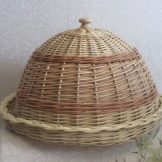
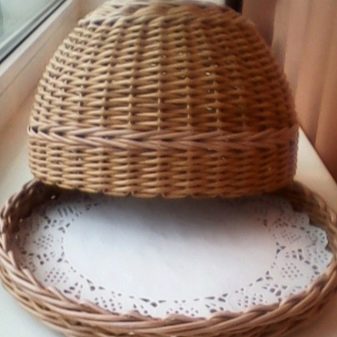
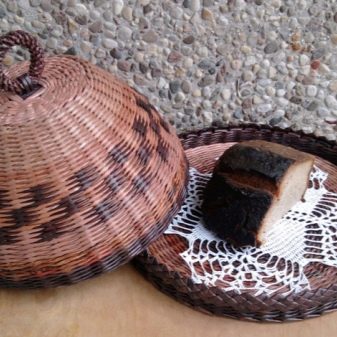
Breadbox
A bread box without a lid is woven like a regular round or square basket. A to weave a more complex and more beautiful product, you will have to twist about 300-500 tubes and weave the bottom and lid out of them, which looks like a half of a ball.
- Weaving begins from the cover. For the frame, 16 racks are used, crossing each other. They are braided in 3 rows with simple weaving, and then the entire remaining volume is braided with a string.
- Weaving the tray consists of weaving the bottom on 16 base tubes and walls from 3-5 rows with a string.
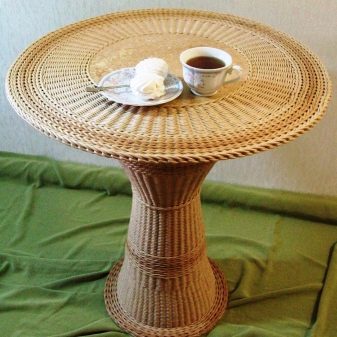
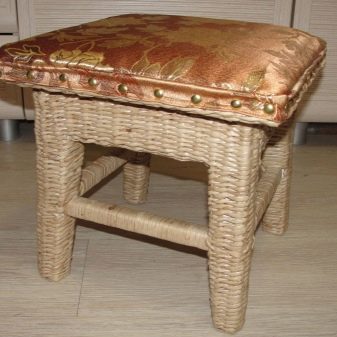
Furniture
For those who already have experience with paper vine and weaved more than one basket, various master classes on weaving furniture will be interesting. Paper can make a small coffee table, a stand for a lamp, and even an ottoman or armchair. Such voluminous things involve the primary creation of a denser frame made of solid materials, and then braiding this frame with a paper vine. On top of such a pouf or chair, you can sew a small pillow of chintz, linen or other dense fabric and stuff it with cotton wool or foam rubber.
Other
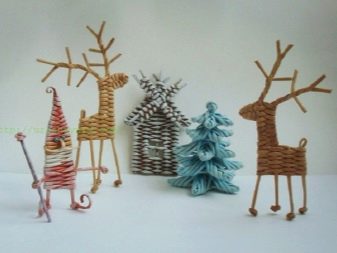
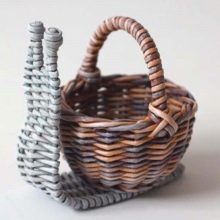
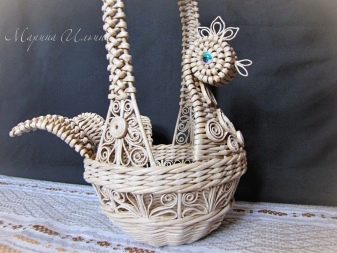
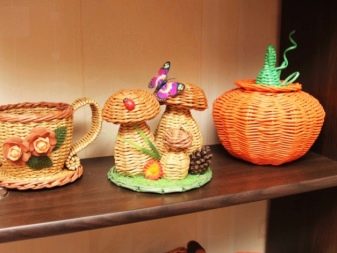
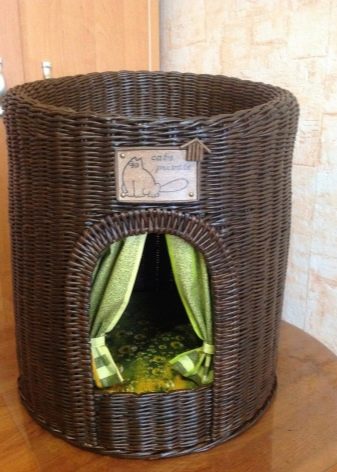
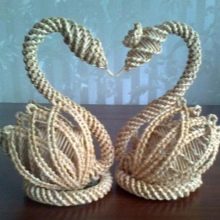
A professional weaving from a paper vine is limited only by his own imagination. He will make vases and decorative figures, gift baskets and stylish storage systems. Lovers of four-legged pets can weave a whole house with windows and a soft couch for a pet. Braided accessories are in vogue: bags, hats and even house slippers, as well as many different gift souvenirs.
Those who master all the tricks of the craft will never have to puzzle over what to give loved ones for the next holiday.
Caring for crafts
Crafts made from paper vine are quite easy to care for. It is enough to follow a few simple rules:
- do not soak;
- do not wipe with cleaning agents;
- do not leave outdoors and in direct sunlight;
- do not leave near fire and heating devices.
Quality paper rod products are not just a creative hobby. Of course, the first crafts will never come out perfect, but professionalism comes only with experience and work. And perhaps a simple pastime for a pleasant relaxing handicraft will subsequently bring income and recognition.
For visual information about paper vine, see the following video.


Very interesting article. The twisting of the tubes and the weaving of the bottom are especially clearly illustrated. Thanks, it helped me a lot.