DIY original paper valentines
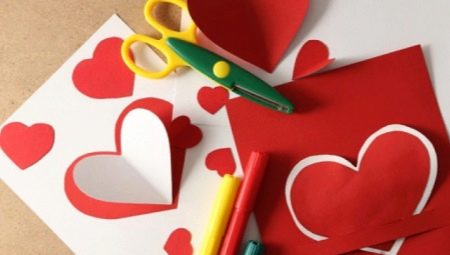
How nice it is to receive and give gifts made with your own hands! Lovers very often prefer to give gifts and cards with their own hands, rather than buying something ready-made. Such a desire is understandable - a homemade postcard is much dearer to the heart - you want to put it in a prominent place and always admire it.
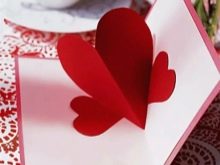

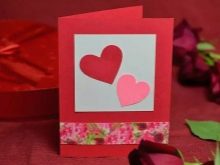
If it is difficult to come up with something on your own, fortunately, there are master classes, thanks to which you can create something interesting.
You can make a Valentine's card from a variety of materials, you should not be limited to paper alone. In addition, the design of postcards can be very diverse.
How to Create a Cloud with Paper Hearts
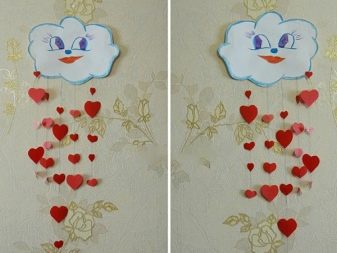
A cloud with hearts (or several, as you like) can be an excellent decoration for the bedroom. A thundercloud will delight you not with rain, as you might guess, but with a parade of hearts attached to a string. Decorating the bedroom is not difficult, everything you need for the craft is sold in the store.
Do not forget about experiments - you can take note of the step-by-step instructions, and add something of your own during creation.
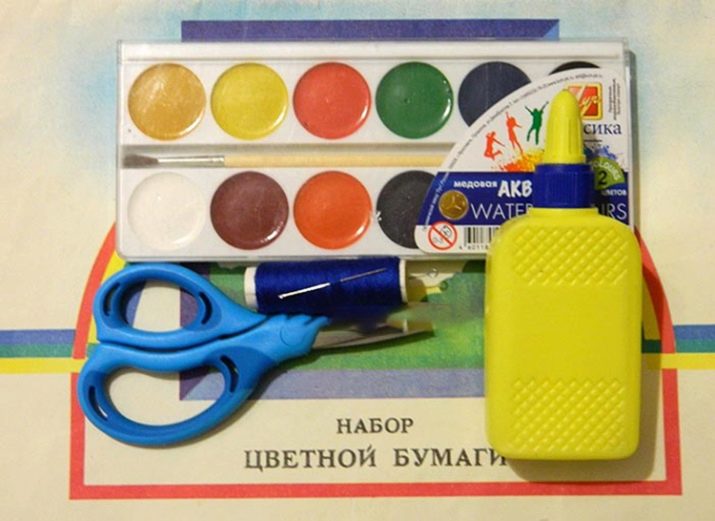
For work you will need:
- colored paper - red (for hearts);
- A4 white paper (cardboard is better) - for a cloud;
- brush;
- paints;
- needle;
- scissors;
- threads (white).
Step-by-step instructions will help you get the job done quickly and easily.
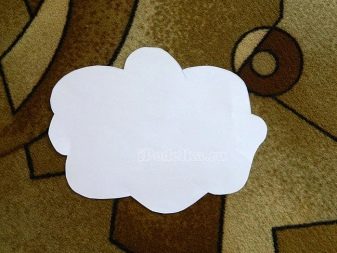
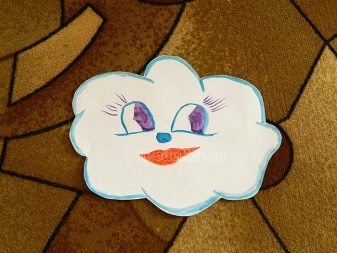
- Take a white sheet of paper and draw a cloud. We cut it out.
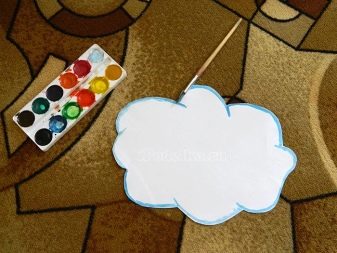
- Next, choose a blue color from the paints and paint with a brush along the edges of the cloud.
- At the next stage, you can draw a little cloud face: eyes, nose, mouth. This will make the cloud look funny.Initially, the face can be drawn with a simple pencil, and then with paint (to avoid mistakes). Also, the muzzle elements can be colored, cut out of bright paper (optional).
- Now it's time to get busy with hearts. If the colored paper is not double-sided, you can simply glue the sheets together. Hearts can be cut immediately or rhombuses first, and then cut out of them. All hearts should be of different sizes (it looks more beautiful).
- We pierce the hearts with a needle - top and bottom. Through them we will thread the thread, and the end of the one that turns out to be below, we will tie it into a knot. We continue in the same spirit - at a short distance from the first heart (5 cm) we make a knot, place another heart on top, continue to string everything in this way. The knots are needed to hold the hearts. This is important: it is better to place the largest hearts at the bottom and top of the thread. If you want something more interesting, make corrugated paper hearts.
- You will get about 5 strands with hearts. The matter remains small - we pierce the cloud with a needle, and then we hang hearts on it, securing it with a knot from the seamy side of the paper.
- We attach the finished cloud with a pushpin, placing it on the wall (it will look better than the craft, glued with tape). You can also hang the craft on a chandelier or on a table - whichever you prefer.
An elegant cloud is ready to decorate your bedroom for Valentine's Day!
Step-by-step production of a volumetric heart
A voluminous heart, presented to a loved one on Valentine's Day, will certainly evoke enthusiastic emotions in him. Having done some simple manipulations, you can make a beautiful heart. To do this, you need a printer to print the heart pattern you like.
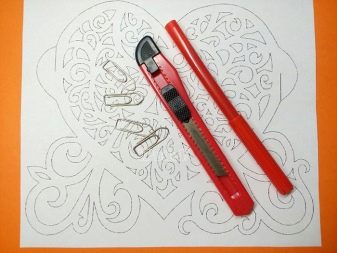
For a voluminous heart, you will need:
- stationery knife;
- a printer;
- paper - 2 sheets of orange;
- paper clips - 4 pcs.;
- felt-tip pen - any color;
- pattern - drawing of a heart.
We follow a certain algorithm of actions.
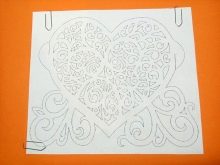
- It's good if you have a printer at home. You need to find the heart template you like and print it. We choose the size of the heart at our discretion, but a large heart looks more beautiful.
- We connect the drawing printed on the printer with two orange sheets (we do not glue it, but we connect it with paper clips). Under the orange paper we put something that is not terrible to damage (you can put newspapers on the table).
- Sketch in the heart the areas to be cut out.
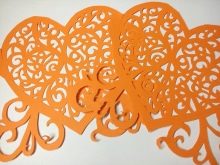
- We take a clerical knife and cut out the painted areas.
- When all the elements are cut out and only the outline is left, cut out the heart.
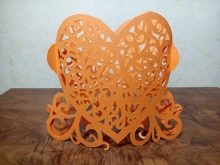
- There is very little left before the appearance of an amazing craft. We take the 2 resulting hearts and connect them together (there should be slots on the side, insert the edges of the hearts into them to fix the structure).
Tip: in the middle of hearts, you can put a love message to your significant other.
The 3D heart is ready - now you can give it to your loved one!
How to make a valentine card
The most popular for the ease of execution among lovers is the valentine card. It is always better to make something for your loved one with your own hands - this way you can show your imagination and tell the person about your feelings.
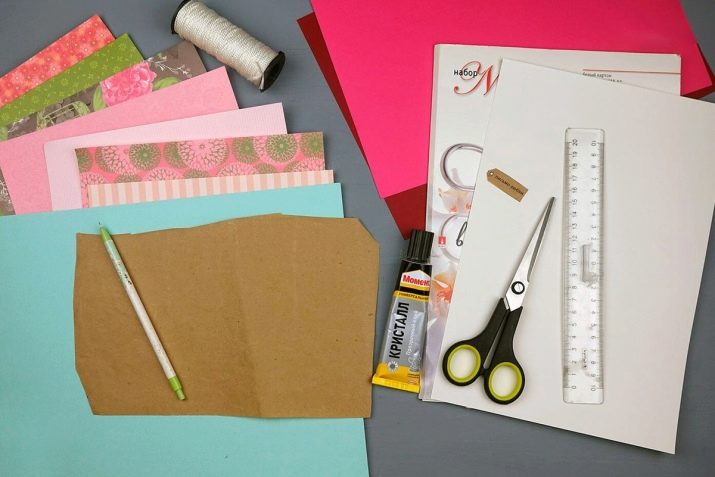
For work you will need:
- cardboard - white;
- a set of scrapbooking paper;
- glue;
- ruler;
- pencil;
- scissors;
- thread - strong nylon;
- kraft paper - 1 sheet of brown wrapping paper.
The procedure is simple.
- First of all, we take a cardboard sheet in our hands. It needs to be folded in half.
- Now we take craft paper and create an envelope, having previously cut a square out of paper. We fix it with glue, leaving only the top open.
- Cut out a small tag from the same wrapping paper and make a hole in it (you can use a hole punch to make it even). We write on it the name of the person who will receive this postcard.
- We take a cardboard sheet (which was previously folded in half) and beautifully glue the envelope on it along with the tag.
- We take scrapbooking paper and cut out hearts from it: they should be different in color and size to look prettier.
- We glue the hearts on the spread of the postcard (we create the impression that the hearts fly up in different directions from the envelope).
- Now we take a nylon thread and glue one end of it to the tag, and the other to the envelope.
The postcard is ready. Don't forget to write a love message inside.
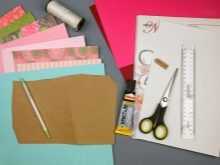
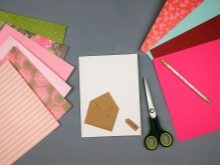
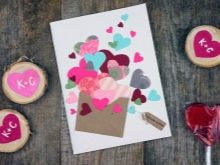
That's all. In a matter of minutes, you can create an original postcard that your loved one will definitely appreciate.
Other interesting ideas
You can make a lot of original and beautiful gizmos with your own hands. The main thing is not to forget to put a piece of your soul into a gift and show your imagination. Master classes will help you make amazing valentines.
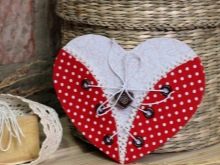

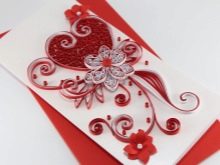
Kirigami
On February 14, your loved one can make a voluminous postcard. Such a craft will take pride of place on the table or curbstone of the person to whom it will be awarded. Just a few manipulations - and you will get a bright, interesting postcard.
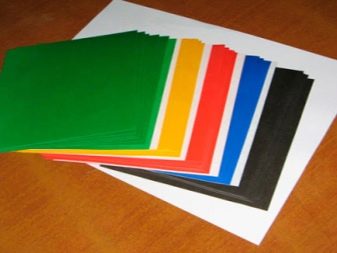
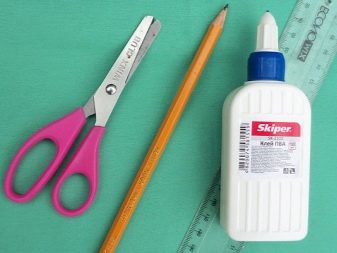
For a postcard, Kirigami will need:
- paper - A4, 2 thick sheets;
- colored paper;
- glitter paper;
- pencil;
- glue;
- scissors.
Step-by-step instructions will help you do everything right.
- We take white sheets and fold them in half.
- We take one folded leaf, from above and below we retreat 3.5 cm from the side of the fold. We mark the places with a pencil. Now we draw lines from each marked edge of 4 cm.
- Cut off the drawn lines (4 cm each). Iron the fold line.
- Then we unbend again and fill some of the paper inward. A step should form.
- We retreat from the cut line on each side by 2 cm and draw with a pencil 3 cm high.
- We make cuts along the outlined lines. We bend each part in the opposite direction. Iron the folds.
- Now we unbend these parts back and tuck them inward. Thus, 2 more steps are formed.
- Again, from the cutting lines, retreat 2 cm and draw lines. Their height should be 2 cm.
- Now for the most important point. Cut only the top of the postcard (top fold). Next, bend it back, iron it and tuck it inward.
- The steps are ready, now we take the second sheet and glue the structure onto it.
- We take colored paper and with sparkles - draw many hearts on them: large, small. We glue them to the base.
The postcard is ready. The result is impressive! Such a postcard will want to be placed in the most conspicuous place. Each time, looking at her, a person will experience positive emotions.
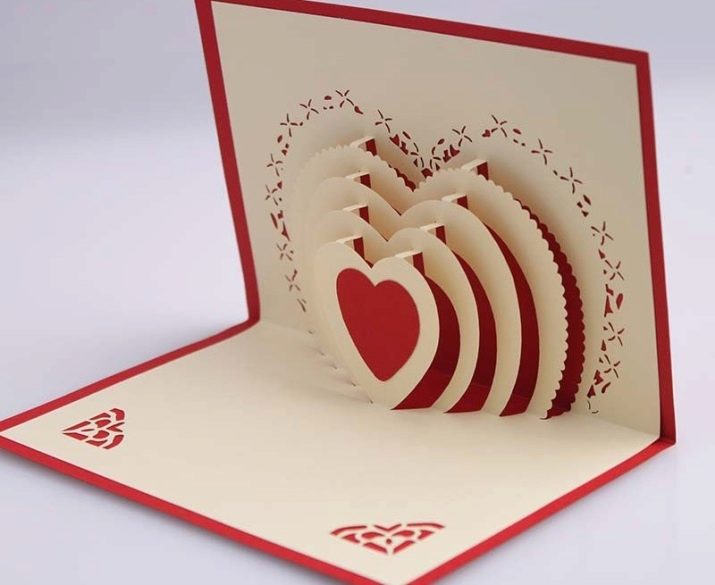
On magnets
Hearts with magnets can be created both for a loved one, and for loved ones, friend or girlfriend. DIY craft can warm loved ones even in inclement weather and cheer them up.
For hearts with magnets, we will prepare:
- fabric - light felt;
- corrugated board - dense;
- satin ribbon;
- scissors;
- glue "Moment";
- magnet (or magnetic tape);
- pencil;
- decor - at your discretion.
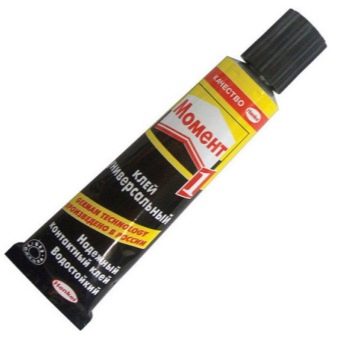
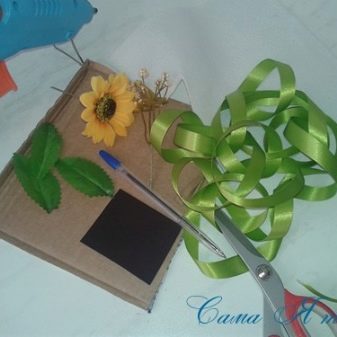
We follow the instructions.
- We take a dense corrugated cardboard (this will be the basis). Cut out a heart from it (you choose the size yourself).
- Next, along the cut out heart, cut out 2 more from felt.
- We glue the felt hearts on the corrugated cardboard heart.
- We take one end of the ribbon and glue it with glue to the seamy side of the heart. We wrap the whole heart with it. We process the second tip (after we have finished wrapping) with fire so that the tape "does not climb", and then we also glue the tip with glue.
- We glue the magnet on the seamy side.
- We decorate the heart to your liking.
You can experiment: use pink, blue, red ribbons and decorate hearts with flowers, beads, animals - as you wish.
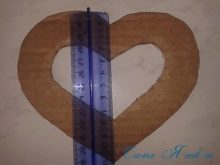
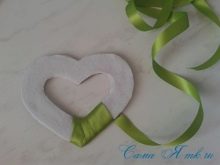

Origami
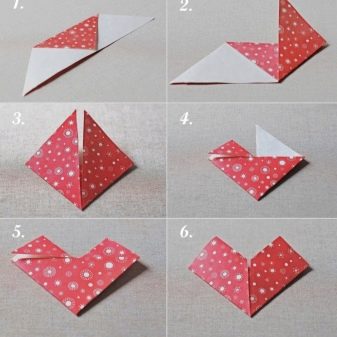
Many are frightened by the name "origami", because at first it is very difficult to create gizmos out of paper, even repeating after the master. The hearts made with this scheme are easy to make. All that is required is to purchase the necessary materials and repeat the steps shown in the photo.
For origami hearts you will need:
- scrapbooking paper;
- Chupa Chups;
- felt-tip pen.


Step-by-step instructions will help in making crafts.
- Cut an equilateral triangle out of paper. We bend its tip to the base.
- We connect the other two corners in such a way that their sides are connected in the middle.
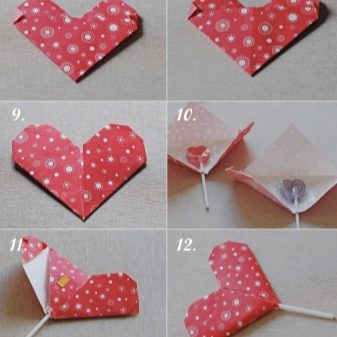
- We bend two corners diagonally.
- We bend the top of the heart so that it turns out to be rounded.
Please note: you need to write a message in the heart. Also, if you wish, you can make a hole in the paper and thread a cool heart-shaped lollipop through it. Such a surprise will especially delight the sweet tooth.
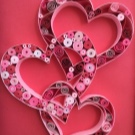
Quilling
The quilling technique helps to create stunning crafts from ordinary colored paper. For a quilling heart you will need:
- glue;
- paper strips - one size, monochromatic;
- awl;
- brush.
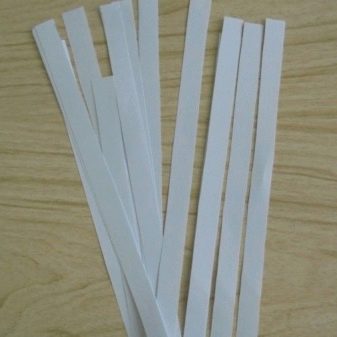
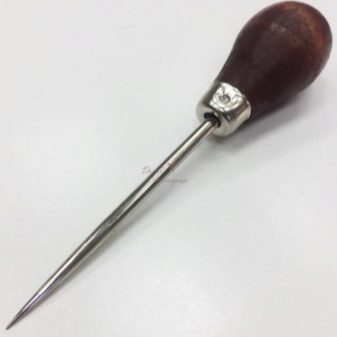
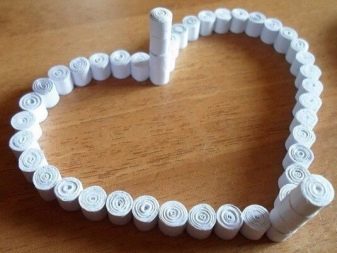
Further instructions will help to make a present in the form of an unusual heart for a loved one.
- We take an awl and use it to make many rolls of paper (they should be wrapped in a spiral).
- We dissolve some of them, and then, holding them with our fingers, create elements of different shapes (and sizes), as shown in the photo.
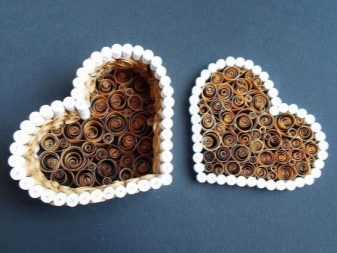
- We spread the contour of the heart on the work surface from volumetric figures (those that are of the same color and size). We fill the empty space with elements of different shapes and sizes.
- At the very end, we take a brush and apply glue to the side surfaces of the spiral figures (in those places where they dock together).
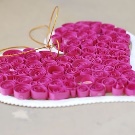
A voluminous and beautiful valentine is ready! She will decorate any room. These hearts can be crafted on Valentine's Day to create a romantic setting.
With roses
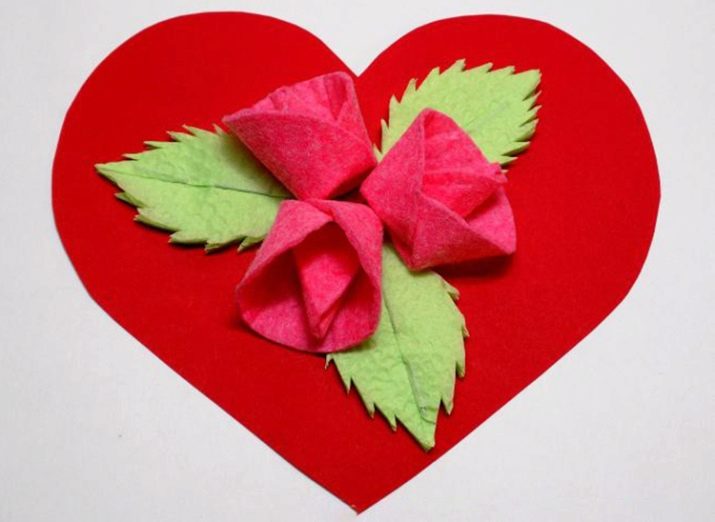
A valentine card with roses can be made in a short time, because the technique is very simple. In addition, to create it you will need a minimum of items:
- a sheet of cardboard - red;
- napkin - green;
- napkin - pink viscose;
- scissors;
- stapler;
- PVA glue;
- pencil.
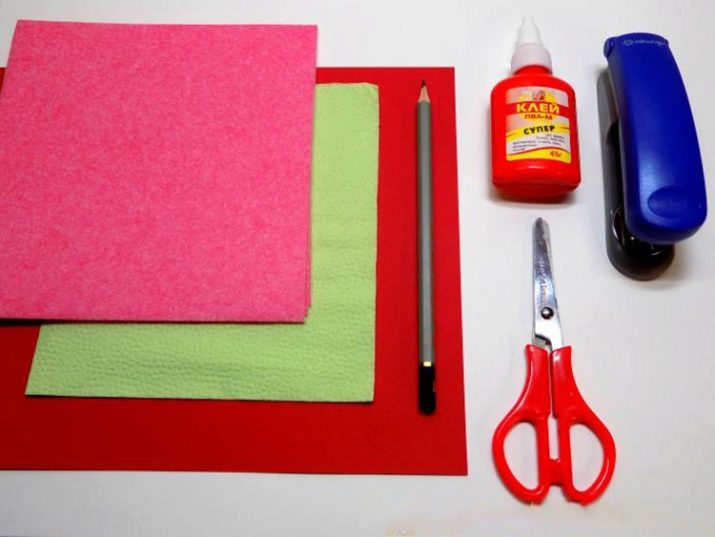
Let's go through the points of making the craft in more detail.
- We take a heart template and draw a heart on cardboard using it. We cut it out.
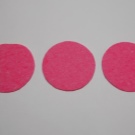
- Draw 3 small circles on a pink napkin.
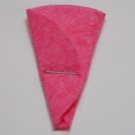
- Having cut out the circles, we fold each so that a triangle is formed.
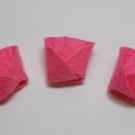
- Using a stapler, we fix the triangle in the middle. We do the same with the other triangles.
- We turn out the triangles - they make roses.
- Now we take a green napkin and fold it 2 times, in the end we get 8 layers. We cut out a strip, and from it a leaf.
- With a stapler we fasten the leaf in the middle.
- Next, we make cloves along the edges of the sheet. It is advisable to bend one layer of napkin to cover the paper clips from the stapler.
- Glue the resulting leaves (there should be 3 of them) on the heart, and on top of them there are roses. We fix everything with PVA glue.
A charming valentine can be presented on Valentine's Day or for no reason to a loved one to remind you of your feelings. Don't be afraid to experiment - the card may also have beads or birds.

Ready examples
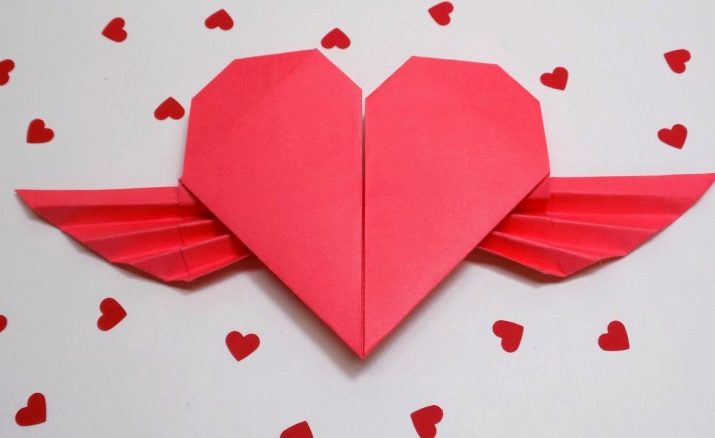
Postcards with hearts are very popular among lovers. Do not limit yourself and strictly follow the master classes. You can always add something of your own.
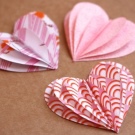
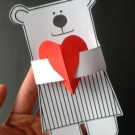
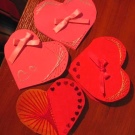
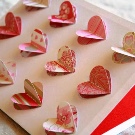
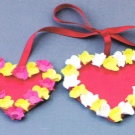
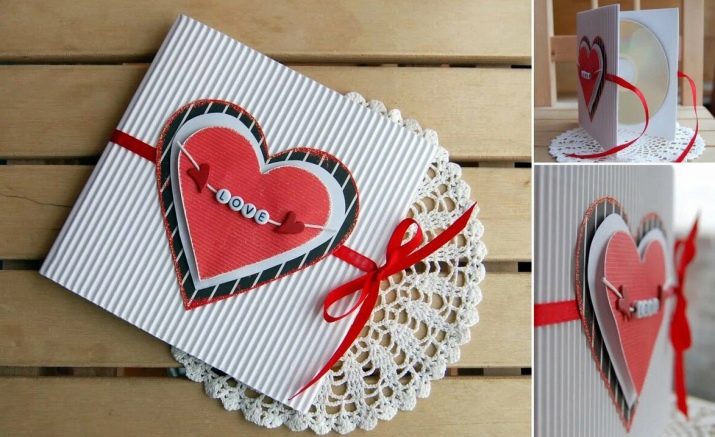
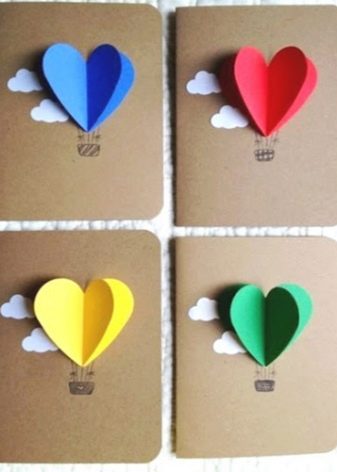
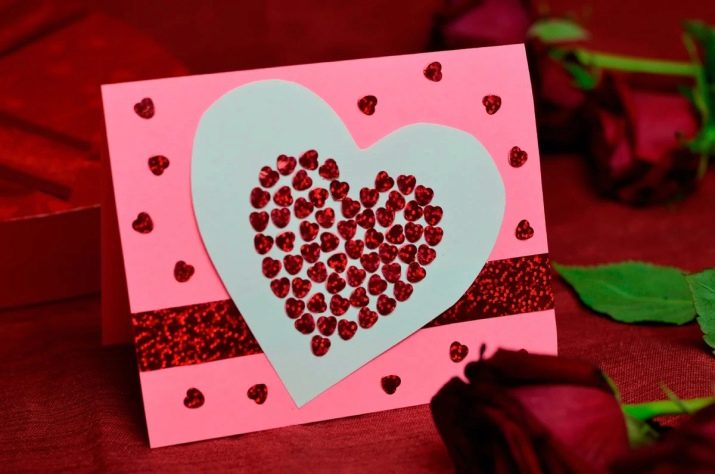
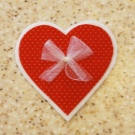
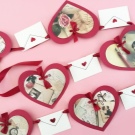
The photo shows spectacular ideas - watch and get inspired! Hearts with pictures look very nice - you can make a bunch of balls on a postcard from them, as shown in the photo.
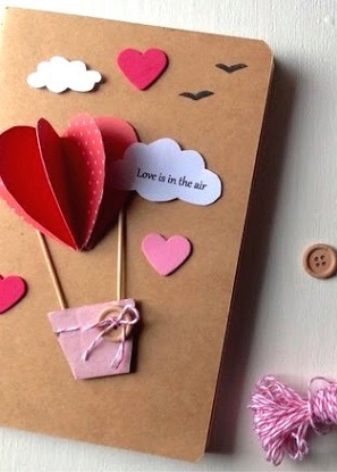
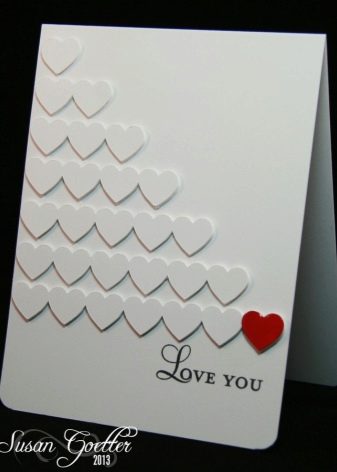
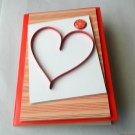
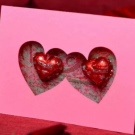
In a minimalistic style, hearts in a row will look incredibly interesting, and the last one is painted over in red. A card with protruding hearts looks interesting and very nice.
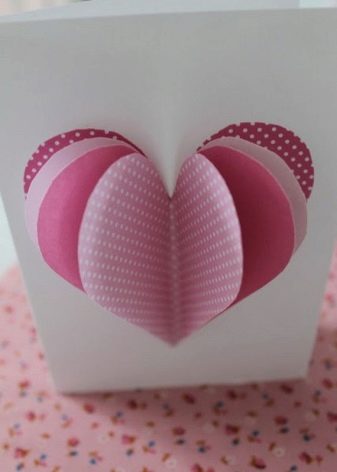
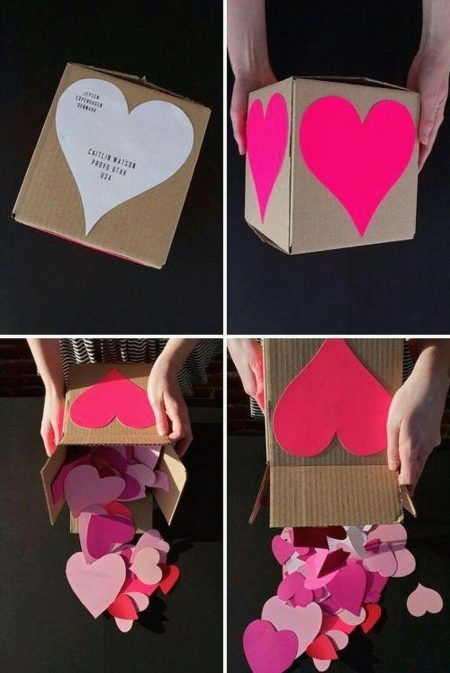
Another interesting solution is to cut out a lot of hearts and pack them nicely in a cardboard box. On the outside, a heart cut from colored paper will look cute. You can write the name of the recipient on it.
A person will open the box and on each valentine will read something pleasant to himself - his mood will definitely rise!
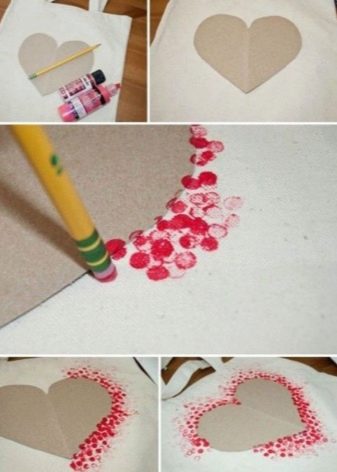
A very unusual technique is to glue a cardboard heart onto a fabric bag.After that, you need to take a pencil, dip it in paint and walk along the edges of the heart (as in the picture).
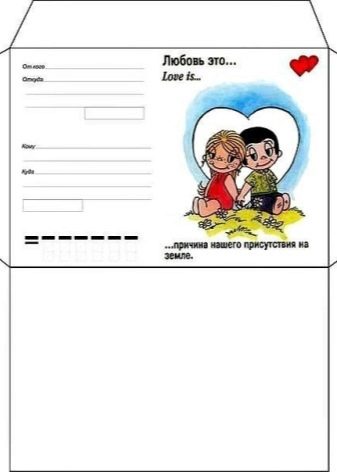
It is better to give a Valentine's card in a suitable envelope - you can decorate the envelope with a sticker from the gum "love is ...", draw small hearts and sprinkle it with perfume.
When creating an original craft with your own hands, the most important thing is to do it with love. When you put your soul into something, it is reflected in the final result. As a result, you will put love, kindness and bright emotions into the little thing - do not even doubt that they will be passed on to your soul mate.
For information on how to make a paper valentine with your own hands, see the next video.


