How to make original applications for February 23?
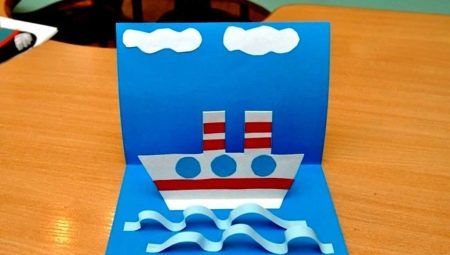
Applications have always been a simple and accessible form of creativity, including for children. Now, when there are a huge number of types of paper, cardboard, when a glue gun, materials for scrapbooking and the Internet, unlimited in ideas, come to the aid of a creative person, it has become even more interesting to create. And everyone can congratulate a loved one on February 23 with a beautiful and original application.
What is required?
Adults and childrens applications differ in the level of difficulty. Usually appliques are done with children, although in the world of professional artists, decorators, applique is a separate art form.
In order to make a beautiful applique with a child, you may need the following items.
- Colored paper of different types. Both simple and office dense double-sided, and glossy, and velvet, and metallized. There are whole sets of designer colored paper with a ready-made print. In creativity, such sets are great help out and uniqueize crafts.
- Colored cardboard of different density. From standard to embossed cardboard, there are many choices today.
- Plasticine. Perhaps the applique is intended to be voluminous, so it makes sense to prepare plasticine as well.
- Scissors. Usually these are large office scissors and small, more like manicure scissors, they are easier to cope with hard-to-reach places and small work.
- Glue. Most often it is a glue stick or PVA glue. Silicate glue is practically not used today. The glue gun is a very handy tool for many creative manipulations.
- Pencil. Draw templates, make markup.
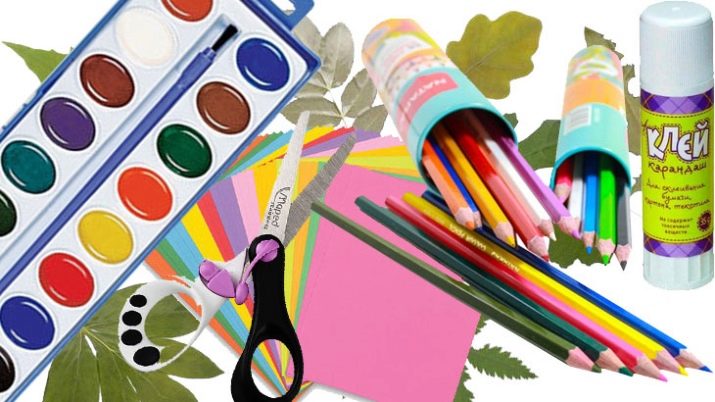
This is the base for the appliqués.But if you plan to do them more than once, then you can separately assemble a box (folder, any suitable container) for material that can be used later.
These are, for example, old notes that have excellent decorative properties. Or it will be text printed in a beautiful font, output through a printer on ordinary sheets, which are then made aged. To do this, you just need to "bathe" in coffee.
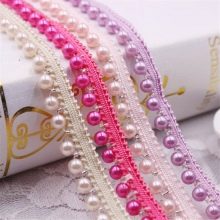
Some small beads, beads, braid, satin ribbons, beautiful buttons can be collected as material for scrapbooking. And in the application he may well find a place. Even as brutal as the craft for February 23rd.
Manufacturing process
Using the most common topics as an example, you can see how do-it-yourself applications are made by February 23rd.
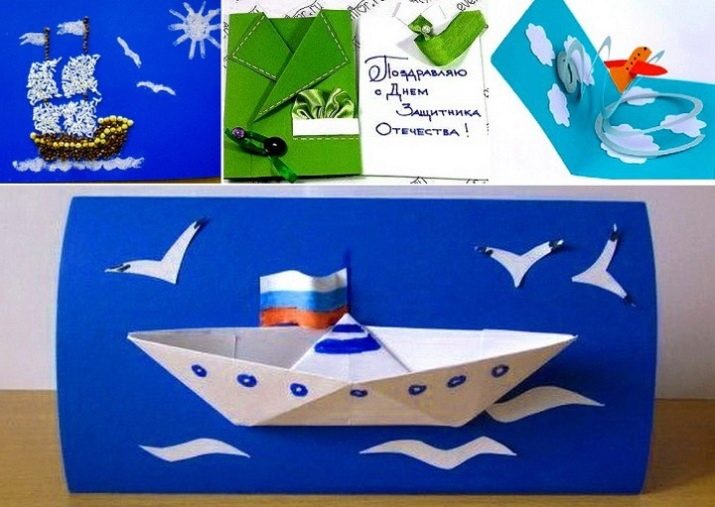
They can be presented in the form of a postcard, a collective work for the Defender of the Fatherland Day.
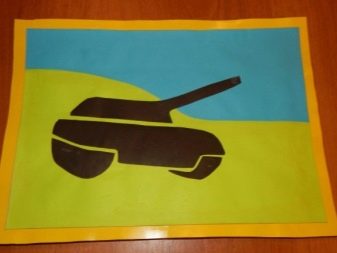
Tank
Such voluminous work together with adults can be performed by preschoolers. A present for dad on the occasion of the holiday is provided.
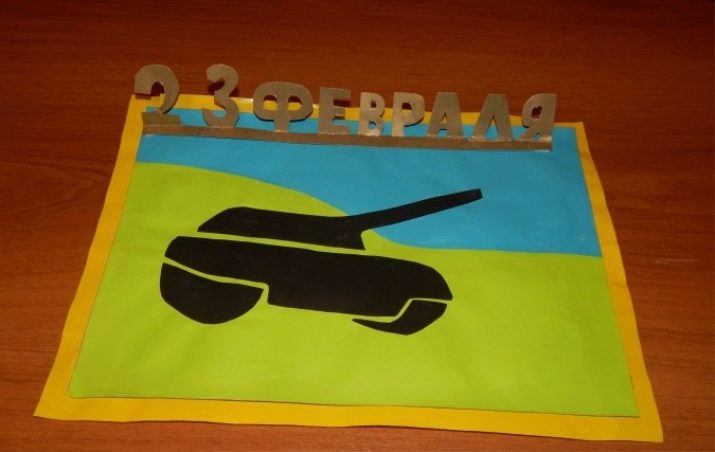
Materials / tools:
- colored paper or black cardboard (textured paper can be used);
- a sheet of cardboard that will become the main postcard;
- office paper blue and green;
- PVA glue;
- scissors.
The tank template is easiest to download on the Internet, but you can draw it yourself.
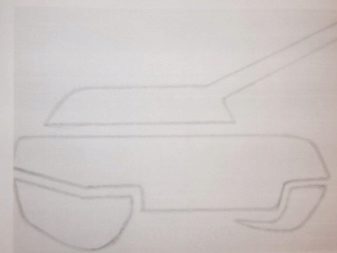
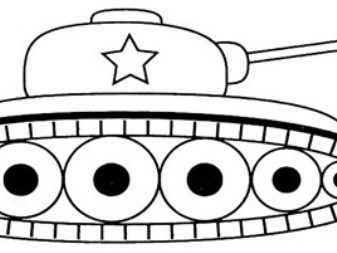
The size of the template depends on the parameters of the postcard. The template is transferred to black paper, the details of the template are pre-cut. You need to translate it to the wrong side of black paper. After that, the details can be cut.
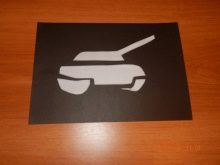
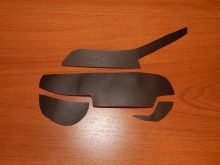
Now we need to take the cardboard for the base and the blue office sheet. The latter is cut in half. The half is glued to the cardboard base - this is how the sky is obtained.
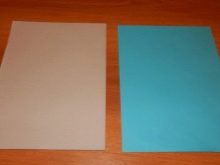
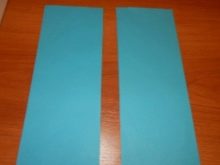
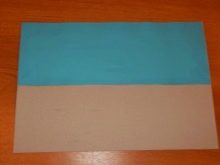
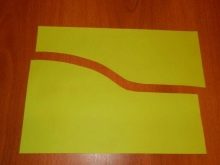
A winding line is drawn on a green office sheet, approximately in the middle of the sheet is grass. The grass is glued to the bottom of the cardboard base. Next, you need to glue the cut out parts of the tank on the grass, closer to the center, but not exactly in the middle.
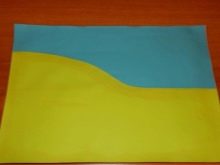
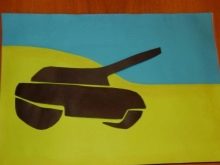
The applique needs to be framed. It is easier to stick it on a sheet larger than the finished applique, so that its edges become a frame. And in order for the postcard to become voluminous, it must be supplemented with “standing” letters forming the inscription “From February 23!”.
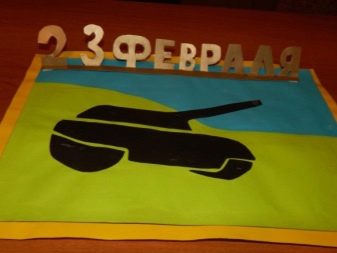
The letters are glued either according to the corner principle, or in any other convenient way.
Children of 4-5 years old will cope with such a task perfectly, under the guidance of an adult, of course.
Tie
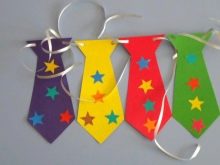
The applique is made in the form of a shirt with a tie. It can also be used as a postcard.
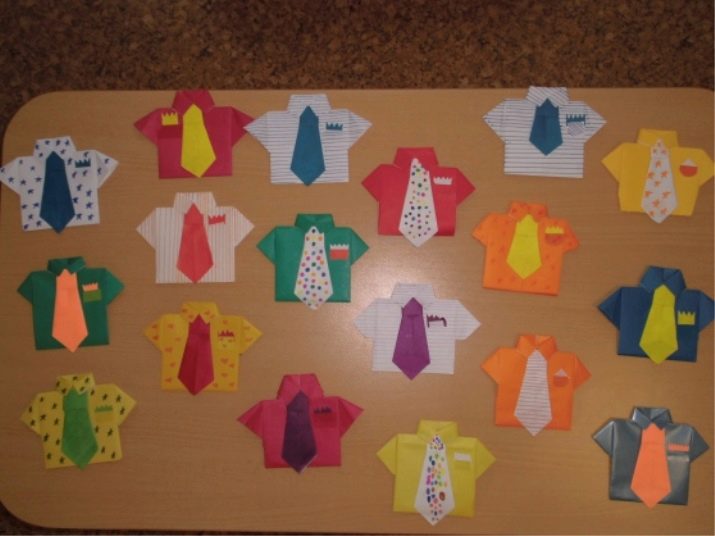
For work, you need to take:
- A4 sheet for a shirt, any color;
- leaflet 10 by 10 cm for a tie, the color is also arbitrary;
- glue stick;
- scissors.
A leaf 10 by 10 cm must be bent diagonally. Then unfold and bend the corners as if they were making a paper airplane. The tie is turned over, the top corner is folded.
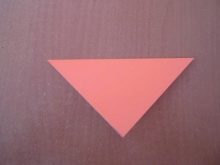
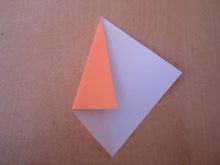
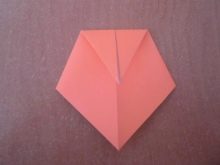
Then the corner needs to be bent back, leaving a little space on top. The entire upper part is folded to the level of the upper corner. Now the tie needs to be turned upside down, and part of the paper must be folded according to the pattern. The tie is ready.
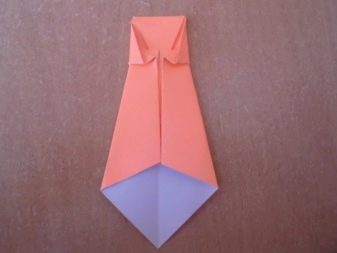
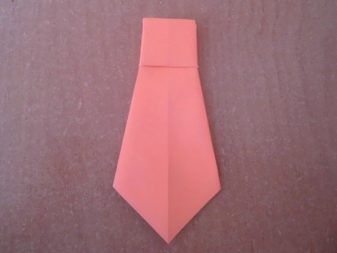
It's time to grab your shirt. A4 sheet must be bent in half, and bend each half again. Then the extreme corners are bent from above, then the entire upper part. The extreme strips are bent inward, bent so that a triangle is formed in the middle. The outer corners are bent in the middle. You will get a hexagon. If you turn it over to the other side, a T-shirt is formed.
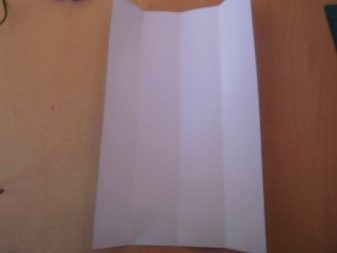
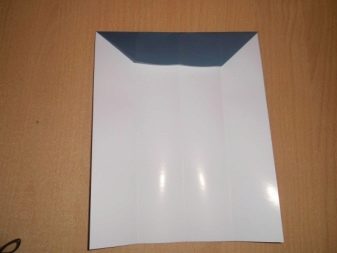
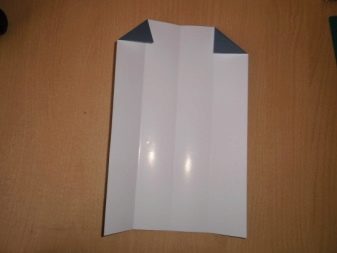
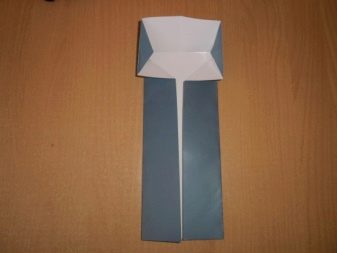
Next, a small piece of paper must be folded down, it will become a collar. Then a flip to the other side, bending the corners. The shirt folds in half, the corners of the collar are threaded over the shirt. The shirt is ready.
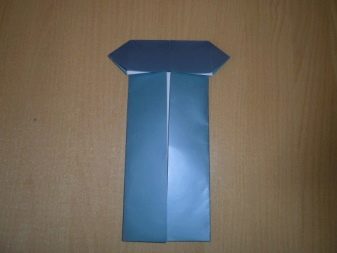
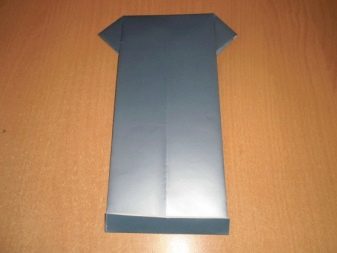
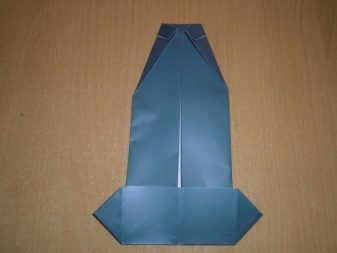

At the final stage, the tie is glued to the shirt.
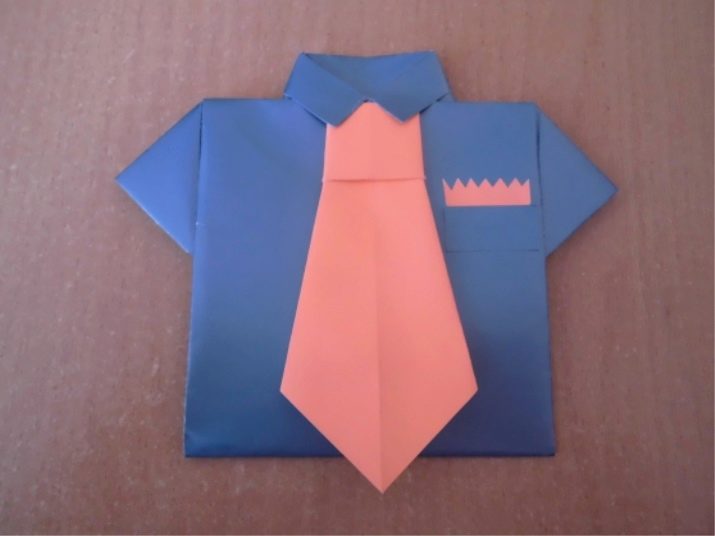
You can write something congratulatory on it or glue a pocket made of the same paper as the tie.
Ship
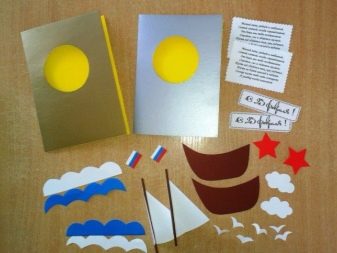
An excellent bright postcard, designed for preschoolers and first graders, turns out quickly and easily. It can also be considered as an application.
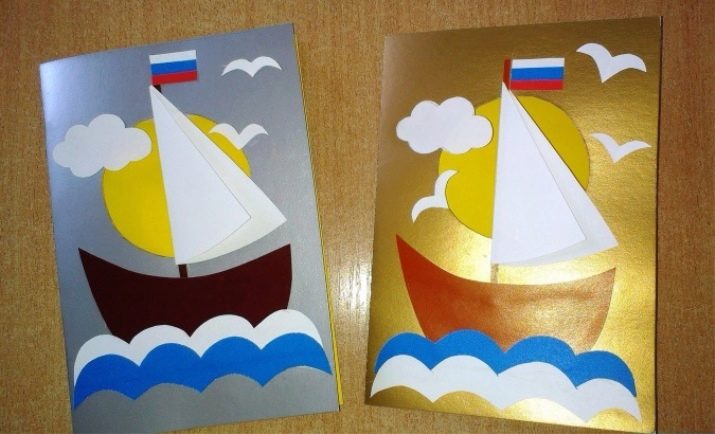
You need to prepare:
- cardboard of the following colors - silver, golden, brown;
- white paper;
- colored paper - yellow, red, blue;
- regular scissors;
- scissors with a zigzag blade;
- glue stick;
- printed congratulatory quatrains or printed inscription "From February 23".
First, you need to draw shape templates on cardboard. Either an adult does it right away, or an adult draws templates and invites the child to translate them. Next, you need to fold a sheet of golden or silver cardboard in half. A hole is cut out on the front side, a circle with a diameter of 8 cm. A yellow sheet is glued to the inner right side of the postcard applique.
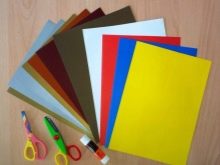
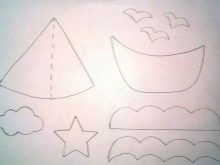
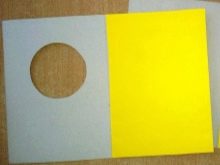
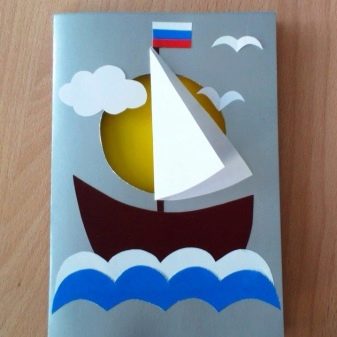
All other elements of the craft are cut out according to the templates: sea waves, clouds, seagulls, ship details, stars, a flag. Inside the postcard, where the yellow sheet is glued, a congratulatory rhyme, an inscription, one red asterisk are fixed. On the front side of the craft is a boat that floats on the waves.
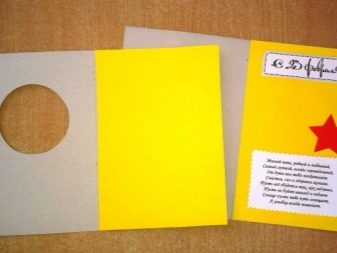
His sail will turn out to be voluminous. For children, such work is interesting, the postcard turns out to be aesthetic, cheerful.
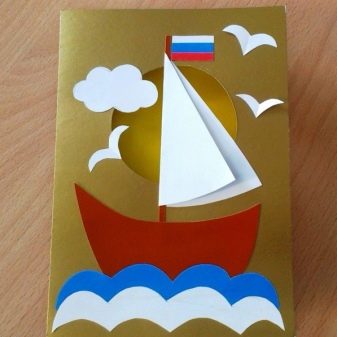
And there is no direct association with soldiers, battles, battles, medals - you still need to be careful with the topic of militarization.
Airplane
The volumetric applique with an airplane turns out to be very bright.
For work you need:
- blue cardboard;
- White paper;
- blue paper;
- any bright paper;
- glue stick;
- scissors.
First, you need to cut out some clouds from white paper. Then make a circle out of blue and use scissors to cut a spiral from it, half a centimeter thick.
Next, an airplane is drawn on colored paper. The wings are cut out separately and glued to the airplane body. The clouds are completely glued, the spiral goes beyond the center, the plane - in the center. The application card can now be folded in half. And congratulations are written or glued between the pasted elements. Or on the back of a postcard.
Other
A chic present for dad is a cool postcard with a retractable helicopter. It can also be an exhibition application.
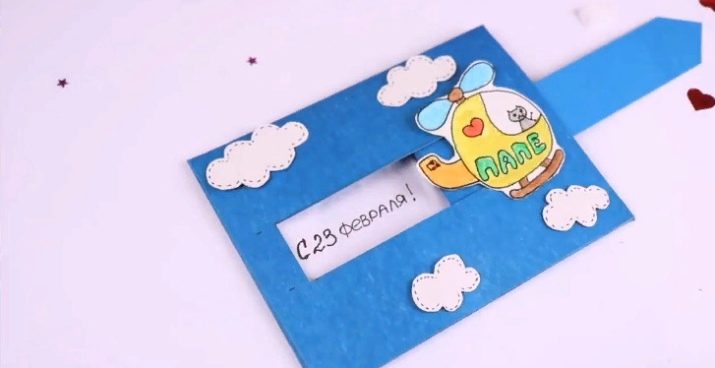
For work, you need to take:
- blue thick paper;
- pencil;
- ruler;
- scissors;
- stationery knife;
- glue;
- white paper;
- felt-tip pens;
- double-sided tape (foamed).
The work is not fast, but interesting.
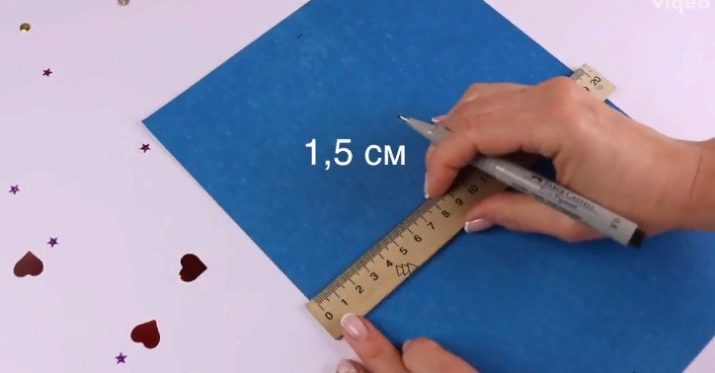
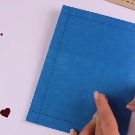
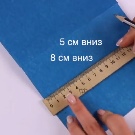
- Marks 1.5 cm from the edges on thick paper on all sides. Lines are drawn through these marks. The sheets are folded across. Scissors should be drawn along the lines on one side. On the other hand, you should cut out the drawn squares in the corners of the leaf and bend the resulting strips inward.
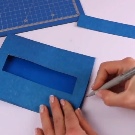
- The future postcard applique must be opened on the side where there are no folds. It is necessary to put marks at 5 and 8 cm from the folds to the left and right. This height indicates the distance of 2 cm from the edge of the paper. The points are connected by lines, a window is cut out.
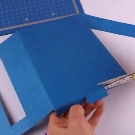
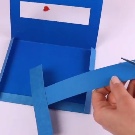
- You can close the postcard. Now, to the right of the window on the folded strip at the same height, you need to make a mark. This piece is separated with scissors. A 19 x 3 cm strip is cut, on one side it's time to get rid of the corners. The element is fixed to the strip horizontally.
- White paper is glued inside the craft. The connected strips are inserted inward. The lower and upper parts of the craft are glued together. The stripes should move and reveal the white paper. Congratulations can be written on this white paper.
- Clouds are cut out of white paper, a helicopter - they need to be painted at your discretion. The helicopter is glued to the retractable strip with foamed tape. The clouds are fixed onto the postcard itself.
Instead of a helicopter, the main object on the postcard may be a parachutist, but the flight path will have to be changed.
You can make these cards in one evening, and you can present them like this - a mug of tea on the table, and an applique is flaunting next to it. Dad will be pleased.
Examples of finished works
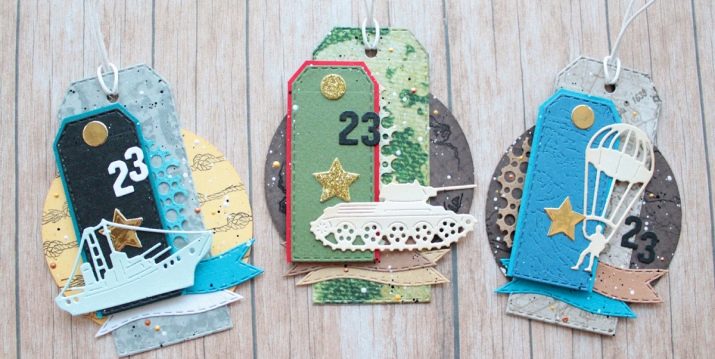
For inspiration 10 beautiful applications that can be repeated and / or improved to your liking.
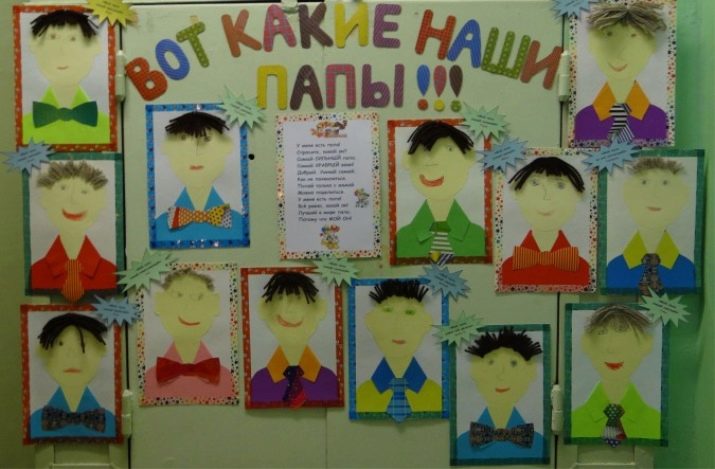
- A portrait of dad is an interesting idea for older guys. Usually, in the kindergarten, only portraits of mothers flaunt at the exhibition of drawings, but with the help of a simple application this can be corrected. Dads are also worthy of such an exhibition!
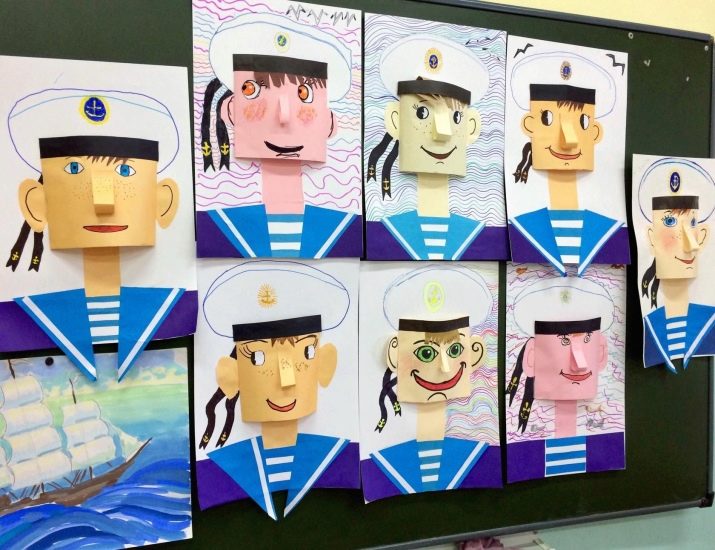
- Another variation of Dad's portrait - this time of a brave and cheerful sailor. The application turns out to be voluminous due to small tricks - the nose, for example.
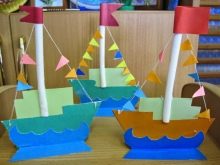
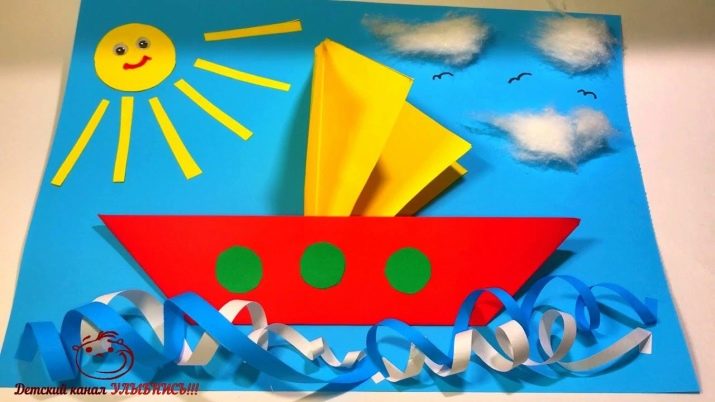
- A voluminous boat on appliqués, like a childhood memory. All dads were once romantic boys.
- The most beautiful boat, for the manufacture of which you will need a dense base, burlap, twigs and designer cardboard.
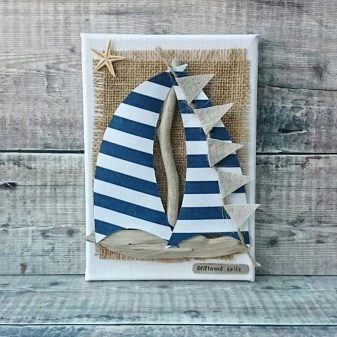
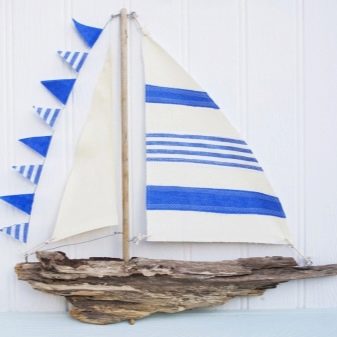
- The theme of boats does not get boring, there is a lot of romance and real male adventures in it. This cute applique is proof of that.
You can use felt instead of paper.
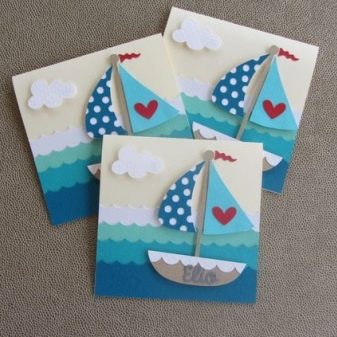
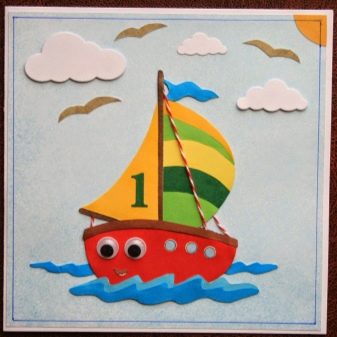
- A simple and quick idea for an applique postcard, with a little 3D effect.
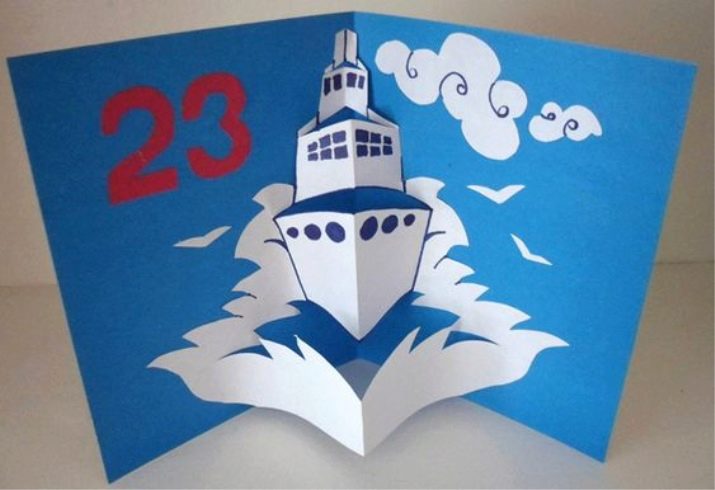
- You need to use designer cardboard for such a ceremonial uniform.
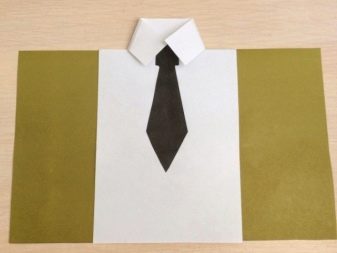
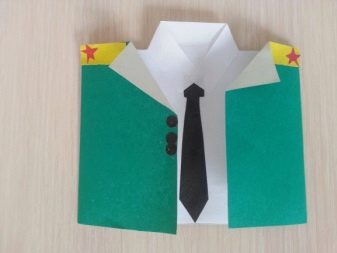
- Another nautical theme with beautiful boats made from improvised means - burlap, cardboard and a summer supply of shells will come in handy.
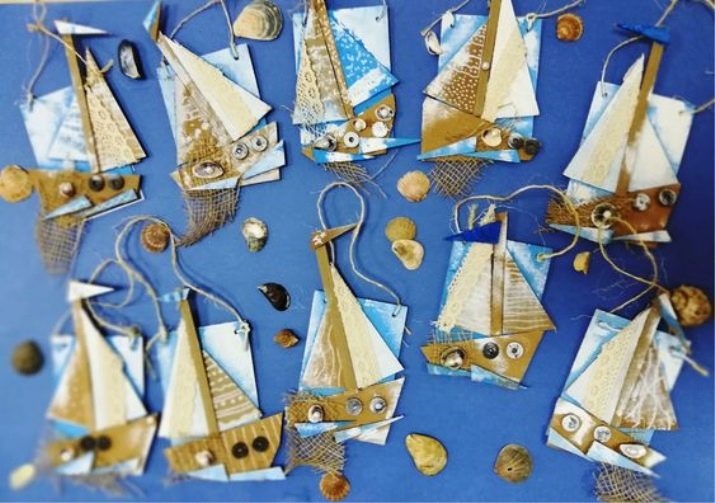
- This app has everything at once: ships, rocket, and elements. But dads should like it.
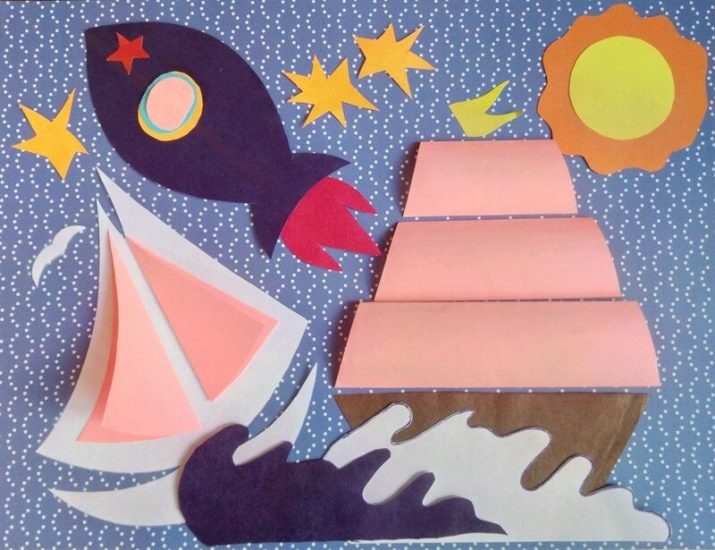
- More complex work, reminiscent of the scrapbooking technique. Very stylish and beautiful.
See the next video for even more ideas.


