How to make a postcard-shirt for February 23 with your own hands?

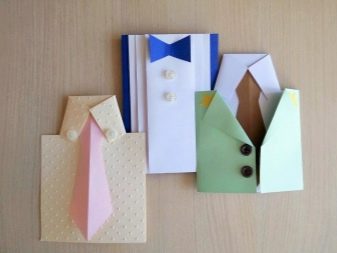
For men, February 23 is a truly important holiday of the year. And every representative of the stronger sex is sure to expect to receive something unusual and interesting as a gift. Women try to make the small dreams of their spouses, fathers and grandfathers come true. And small children persistently create unusual crafts or drawings as a congratulation. By the way, the fair sex can take an example from them and independently glue a postcard-shirt for the dear defender of the fatherland.
Tools and materials
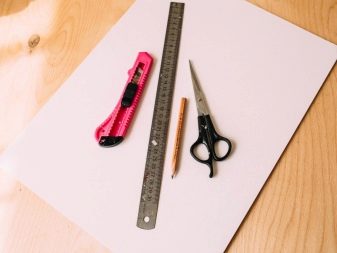
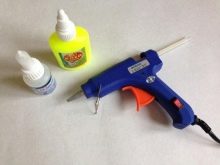
A simple version of a shirt postcard requires a minimum supply of materials and tools. First of all, colored paper. As an addition, it is worth taking several sheets of A4 office paper. You will also need cardboard from which a tie or bow tie is made, a pencil, a stationery knife and a ruler. To connect the parts, you need to purchase a glue gun with PVA. Buttons, rhinestones, beads, satin ribbons can be used as decorative elements.
To create an original paper present, you can use other materials, for example: velvet fabric (make inserts out of it) or textured cardboard. As a basis, you can use scrap paper, as well as banknotes or pieces of wallpaper.

Craft options
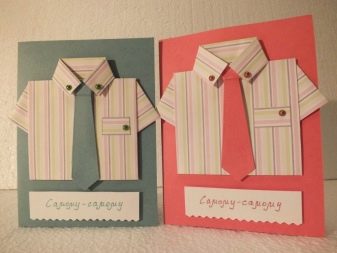
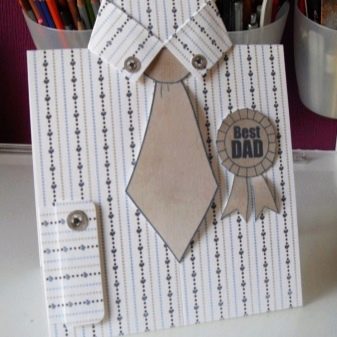
The most affordable and very original handmade gift for dad or grandfather on February 23 is a postcard shirt with a tie. To create it, you can involve children, since working with paper develops the child's fine motor skills.However, you will need to stock up on a minimum set of materials and tools. In order not to spoil the craft being created, it is important to carry out all the steps of the work in stages.
In fact, a postcard in the form of a shirt with a tie is a good alternative presentation for men who are not related to the army and military operations.
But at the same time, they are still defenders, which means they should receive a gift.
Further, a detailed master class is proposed, where the process of making a postcard-shirt with a tie is described step by step. For work, you will need to purchase black and red sheets of cardboard, office paper, pencil, scissors, PVA, buttons. Ribbon or string can become strings.
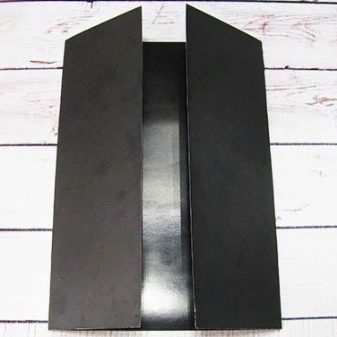
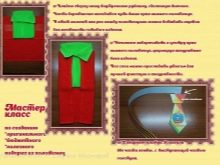
- You need to take black cardboard and lay it horizontally.
- It is required to bend the cardboard on both sides - so that the workpiece resembles double door leaves.
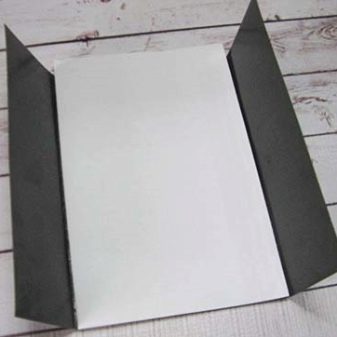
- Next, you need to take white paper, fold the sheet in half and across.
- The folded sheet should be glued inside the black cardboard.
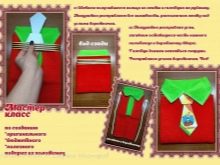
- You need to take a sheet of white paper and prepare a shape for the collar. You should get a rectangle measuring 5x14 cm.
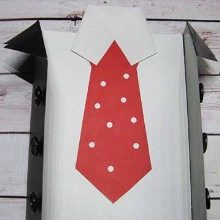
- A tie and a knot for it are cut out of a piece of red cardboard. The length of the tie should not be less than 20 cm.
- The collar must be folded. To do this, the ends of the rectangle are bent towards the center with a slight downward allowance.
- The collar must be glued inside the postcard, on top of the white sheet.
- A tie is glued inside the collar.
- A knot is glued over the tie.
- It remains to fix the ends of the collar with glue.
- The free corners of the folded piece of black cardboard should be slightly bent outward.
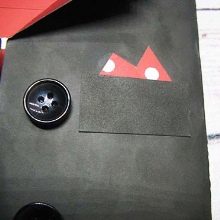
- The buttons are glued below the collars of the jacket with a hot gun. If you don't have a hot gun, you can use a thread and a needle.
- At the corners of the lapels of black cardboard, you need to make small cuts, resembling the shape of a real jacket.
- Next, you need to open the card and decorate the tie with the desired decor, for example, white peas.
- It remains to arrange the breast pocket of the jacket. A rectangle should be cut out of red cardboard and bent along a diagonal line so that 1 part of the improvised scarf is higher than the other.
- A rectangular pocket must be cut out of black cardboard.
- A red scarf is glued to the jacket, over which a black rectangle is fixed, which plays the role of a pocket.
- On medium buttons, it is necessary to fix the ribbons for tying the craft.
- Inside the postcard itself, you can write a congratulation for your beloved defender.
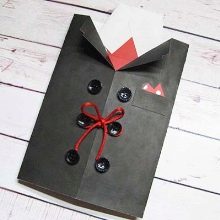
Approximately the same scheme of work will be in the manufacture of a volumetric postcard in the form of a military suit, which decorates bottles with expensive alcoholic beverages.
Simple
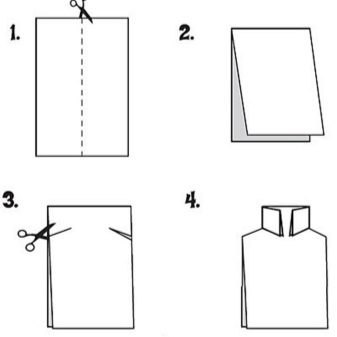
To make a small present for February 23, while spending a minimum amount of time, it is worth considering a master class on a simple postcard in the form of a man's shirt. All work in time takes no more than 5 minutes.
- Colored paper, cardboard or scrapbook is taken. It needs to be folded and cut in half.
- The resulting workpiece should be bent in half again. Then, departing from the bent line about 2.5-3 cm, put the marks on both sides with a pencil. And then make 2.5 cm cuts in this place.
- Next, the corners are bent to form the shape of the collar.
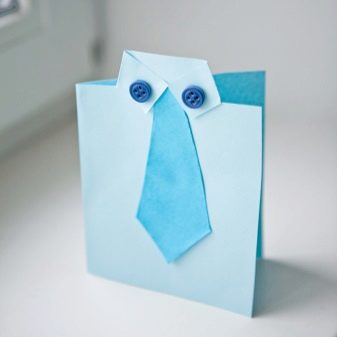
- To decorate a tie, you can use any colored material. Buttons should be used as decorative elements.
With applique
Quite an interesting and most common way to create a greeting card is an applique. It is very easy to make a unique present.
- First of all, you need to take a regular sheet of paper or cardboard. Fold it in half.
- On the right side of the open craft from above, measure the midpoint with a pencil and draw a line of no more than 3 cm down from it. Then cut the drawn strip with a clerical knife.
- The corners of the base should be turned outward to form the collar shape.
- A tie cut off along the perimeter of the shirt must be glued under the collar.
- The last step is to write the greeting words inside the postcard.
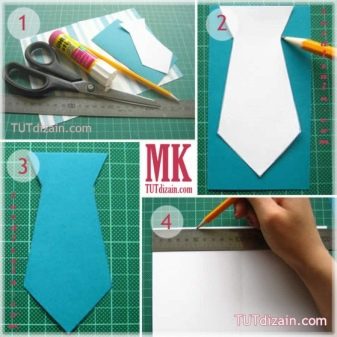
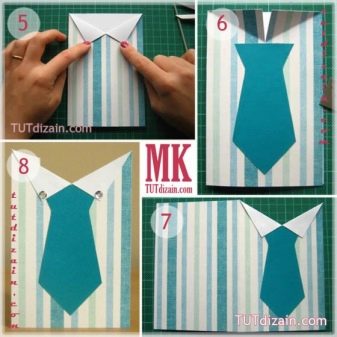
To complement the card with a festive outfit, you can use contrasting paper, cut a jacket or vest out of it.
Origami
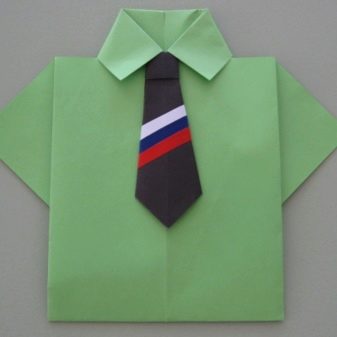
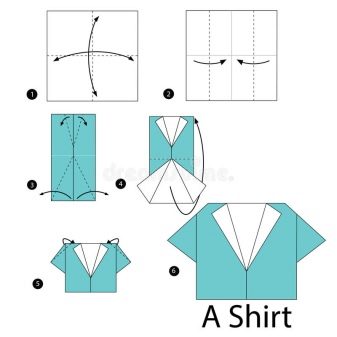
The Japanese technique for creating masterpieces from paper - origami - is very popular among Europeans. Using a few ordinary sheets, you can create a unique present for a dear person. In this case, it is proposed to consider a very interesting guide to creating a paper card for a spouse or father on February 23rd.
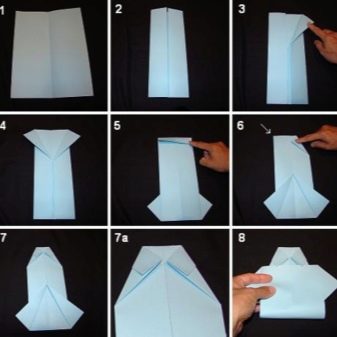
- You need to take a sheet of paper, fold it in half, then unfold it.
- Wrap the right and left sides of the base of the craft to the bent line.
- The top corner of the right side should be folded up like a collar.
- Fold the left side in a similar pattern.
- The base to be prepared must be turned over to the opposite side. Bend the bottom edge of the craft by 1 centimeter.
- Further, the folded sheet is turned over to the reverse side and unfolds from top to bottom. Where a 1 cm bend is made, you need to take the right corner and bend it towards the center.
- The 2nd side is wrapped in a similar way.
- Now the workpiece must be folded in half. Fix the lower edge of the craft under the collar of the shirt.
For more realism, buttons or stars should be attached to the craft.
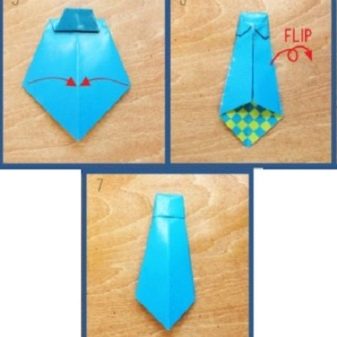
Having made a shirt, you need to start creating a tie.
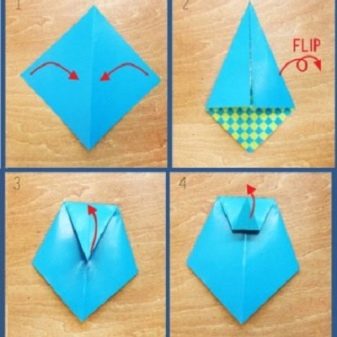
- First of all, a 10x10 cm sheet of paper is taken and folded diagonally.
- You need to take the side corners and join them together along a diagonal fold line.
- Unfold the workpiece to the opposite side. The corner of the resulting triangle must be slightly bent.
- Then the shape resembling a trapezoid should be folded in half to the fold line.
- The workpiece is turned over. The left and right parts of it are bent towards the middle.
- As you can see, the tie is ready. It remains only to glue it to the shirt.
February 23 is directly related to the army and the army in general. Accordingly, the base material must be of a suitable color.
Original ideas
Today there are many ways to congratulate your men on February 23rd. It doesn't have to be a postcard. A towel folded in the shape of a shirt will look very interesting. Firstly, such a gift is necessary for any person. And secondly, the effective design will make it clear how dear the recipient of the presentation is to the donor.

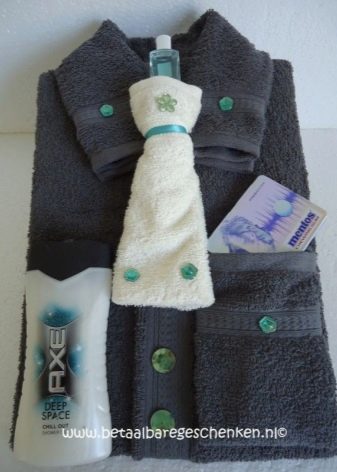
First you need to stock up on some materials. The most important thing is 2 towels 30x50 cm. As a decorative addition you will need a tie figure (you can print) and a St. George ribbon. And to give additional strength to the gift, it is recommended to take a sheet of thick cardboard.
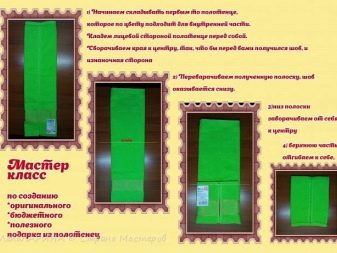
- First of all, take a towel in a contrasting color for the inside of the craft. It must be put with its front side in front of you. Tuck the edges to the center - so that the visual seam and the wrong side appear.
- The base must be turned over so that the seam is at the bottom.
- The bottom of the towel needs to be wrapped away from you towards the middle of the base.
- The upper part must be bent towards you.
- From the top of the visual strip, it is necessary to form a collar zone. All layers that appear can be smoothed with an iron to give a stronger hold of the fabric.
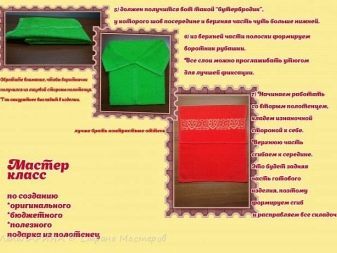
- Now you need to take the 2nd towel. It should be placed with the wrong side facing you. Bend the upper part to the middle and straighten the folds.
- On top of the second towel, put the first, already folded. Part of his collar should be just above the edge of the 2nd towel. It is at this moment that it is best to insert cardboard to increase the density of the gift.
- You can start folding. First of all, you need to wrap the side pieces of the 2nd towel over the 1st. The collar should be outside.
- Next, a printed tie is taken and fixed on the tape with double-sided tape.
- The tape is wrapped neatly around the towel base. The folds that appear are leveled so that the tie protrudes directly from under the collar.
- The last step - the base of the 2nd towel remaining at the bottom should be folded up and brought under the tie, gently straightening out all the jam.
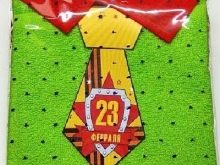
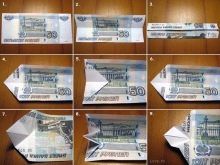
Another interesting way to make a unique gift in the form of a shirt-postcard for a dear man is to use a dollar bill, or more (depending on the donor's capabilities).
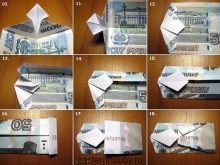
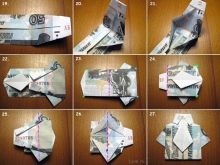
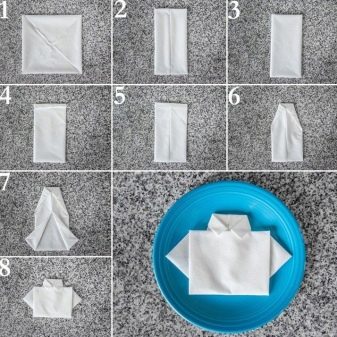
And if you delve into the Internet, you can find a huge number of master classes that allow you to create unique greeting crafts even from ordinary wet wipes.
Beautiful examples
Surely many women have already tried to create greeting cards for February 23 with their own hands. But not all crafts turned out to be successful. The reason for this is haste. Any work requires calmness, concentration and step-by-step execution of actions. There is no need to rush. It is under such conditions that it will be possible to create unique masterpieces from paper.
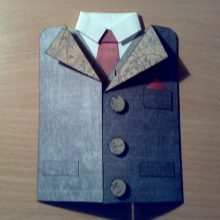
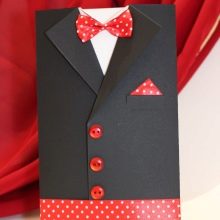
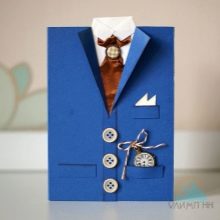
To learn how to make a postcard-shirt for February 23 with your own hands, see the next video.


