What kind of crafts can you do on February 23?
On Defender of the Fatherland Day, fathers, grandfathers, brothers and husbands would like to give something special from the bottom of my heart. Children are happy to make gifts with their own hands - why not keep them company and help them make military-themed crafts? In the article, we will consider simple and popular crafts. Take note!
What can dad and grandpa do
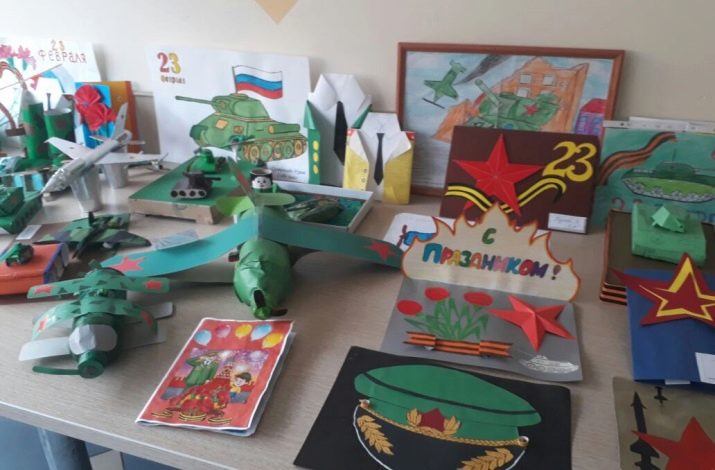
On February 23, crafts can be made from everything that comes to mind: from socks, matchboxes, round candies, cotton pads, foil, plasticine. What a young dreamer will not come up with! The best part is that it doesn't take a lot of money to make a military-themed gift, and all the materials can be purchased in the store. An unusual gift from a daughter or son with his own hands will surely be appreciated by every man.
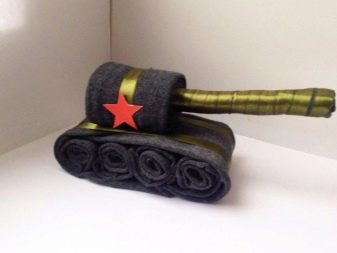
A granddaughter can make a tank out of plasticine and give a present to her grandfather. It can also be made from ordinary socks - in this case, they are folded into a caterpillar, and then a tower is folded out of them. A decorative ribbon is wound around the pencil and stuck between the caterpillar and the tower. The design is tied with a ribbon and tied with a bow. A man will be delighted with such a gift!
Don't forget about the postcard - you don't have to buy it in the store.
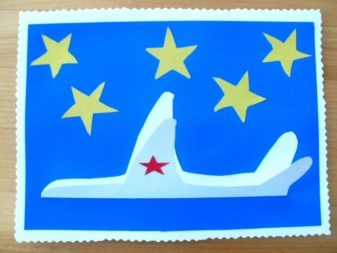
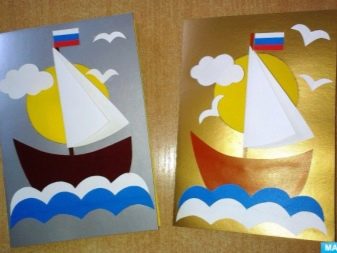
Even a schoolboy can handle drawing clouds and an airplane, that will show off on the spread. It is important to use double-sided tape to create a multidimensional composition. The easiest option for young creators is circle the airplane figurine according to the template, cut it out, and mom will help to glue it to the base. You can also depict other military equipment: a ship or a tank.
Airplane from a plastic bottle
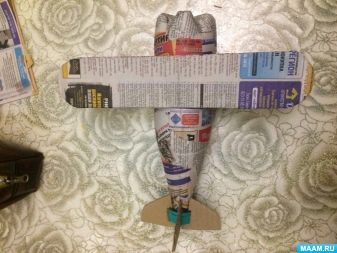
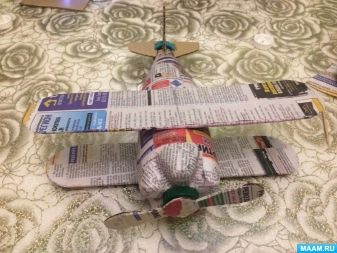
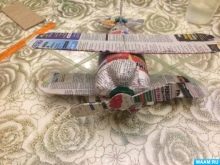
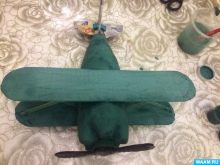
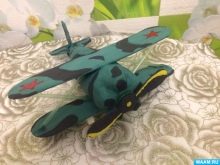
The military aircraft turns out to be very interesting and beautiful - it will need to be placed only in a prominent place!
You will need:
- container - 0.6 l;
- cocktail tubes;
- yoghurt lids (for example, from Actimel);
- newspaper;
- cardboard;
- paints - gouache;
- brush;
- PVA glue;
- glue gun.
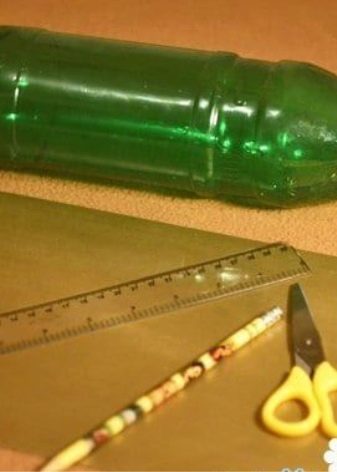
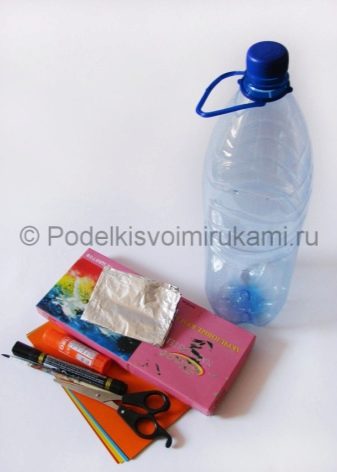
Step by step technology.
- We take a bottle and glue it with a newspaper using PVA. We leave to dry.
- Now we take cardboard, draw a screw, a tail and wings on it with a pencil.
- We cut out all the blanks and also glue them with newspaper.
- To make the chassis, take the tube and glue the caps to its two ends (these will be the wheels). This structure must hold tight - use a glue gun.
- Also, using a pistol, glue the tail and wings on the neck (we do this slightly below the middle of the bottle).
- We glue the cork to the bottom of the container, and a screw to it. We attach the chassis.
- We make the tubes crosswise and glue them from 2 sides between the wings of the plane.
- We paint the plane and wait for it to dry (you can paint it the same way as shown in the photo or turn on your imagination and do something unusual).
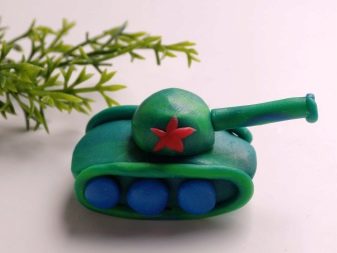
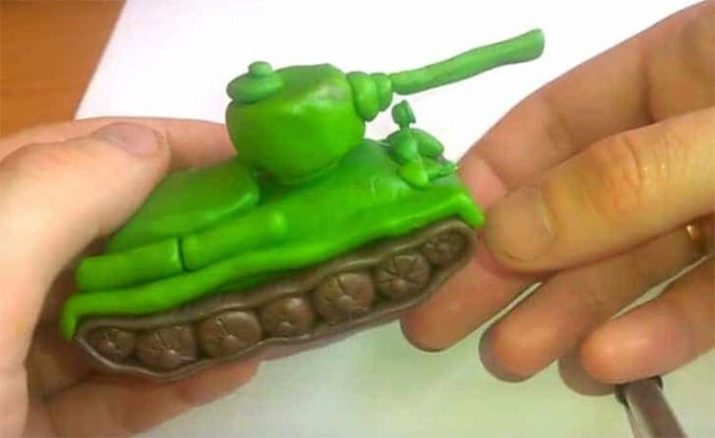
DIY plasticine tank
A plasticine tank can be made by a child even of preschool age. It turns out to be bright, so it can be submitted to the school competition by February 23rd.
You will need:
- cardboard;
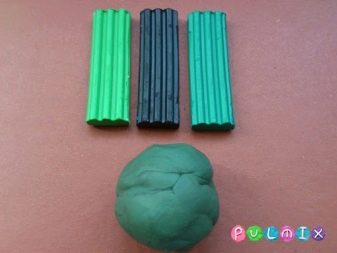
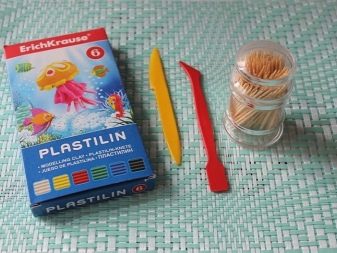
- plasticine in black and green;
- wood skewer;
- box of matches;
- plastic knife.
Manufacturing instructions.
- First of all, we warm up the plasticine of two colors in our hands so that it can be easily molded.
- Mix together the black and green colors and continue to crumple in our hands.
- First, we sculpt the tower: we roll the ball, then we need to flatten it and stretch it into a conical shape.
- Now we make the central body of the tank: a large rectangle.
- We connect the tower and the hull together.
- Now we make balls: 4 miniature and 10 larger ones. The wheels should be flattened, draw vector images on them.
- We make long thin "sticks" from black plasticine. Let's also flatten them. We spread a row of wheels on them (each caterpillar should have 5 wheels, and the 2 smallest ones should be at the edges).
- Next, we collect all the details of the tank, as shown in the photo. We also wrap the skewer with plasticine (this will be the barrel).
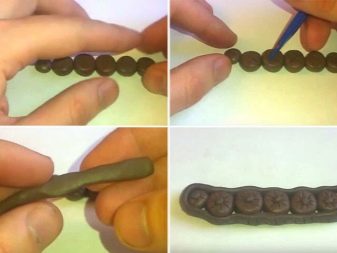
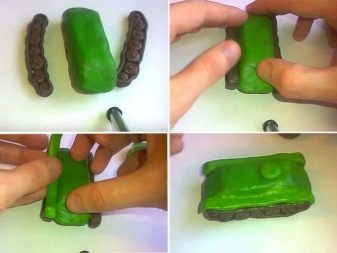
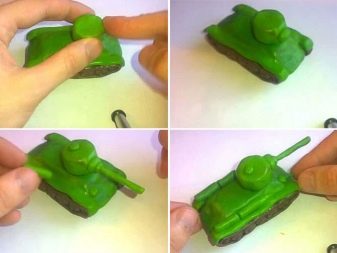
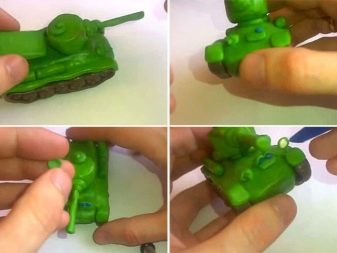
We place the craft on cardboard.
Airplane made of paper
Probably, everyone made airplanes out of paper, and then watched where they landed. The task will be a little more complicated - we will make an airplane that can be presented as an additional gift or glued to a postcard.
You will need:
- 1 sheet of paper;
- scissors;
- glue;
- Matchbox.
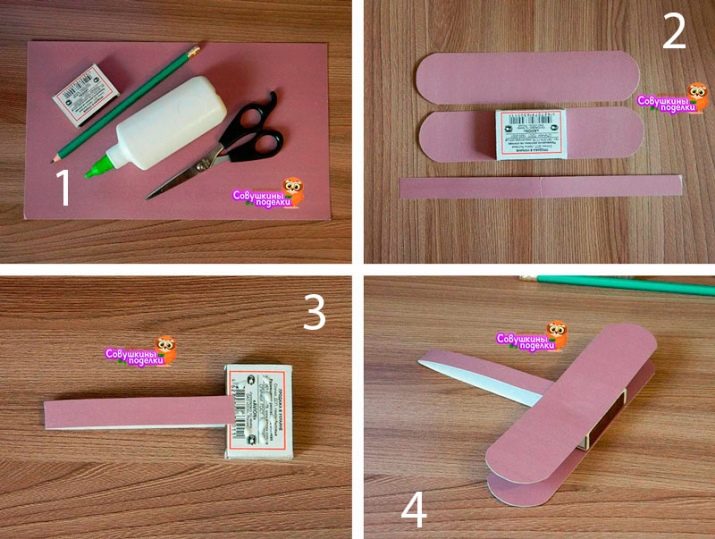
How to do:
- on sheet A4 we draw all the details of the aircraft;
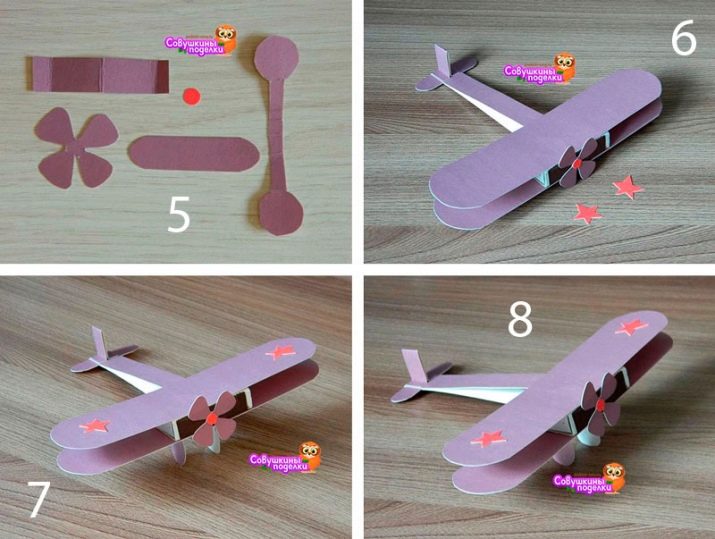
- cut out the parts and glue them together (what parts and step-by-step gluing you need can be seen in the photo).
Candy steering wheel
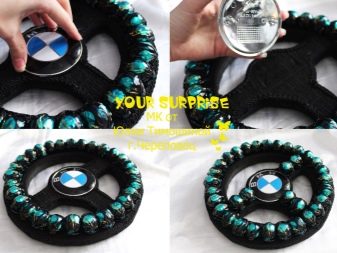
A steering wheel made of sweets is a wonderful gift for a man on February 23rd. If a man loves sweets, he will really like him!
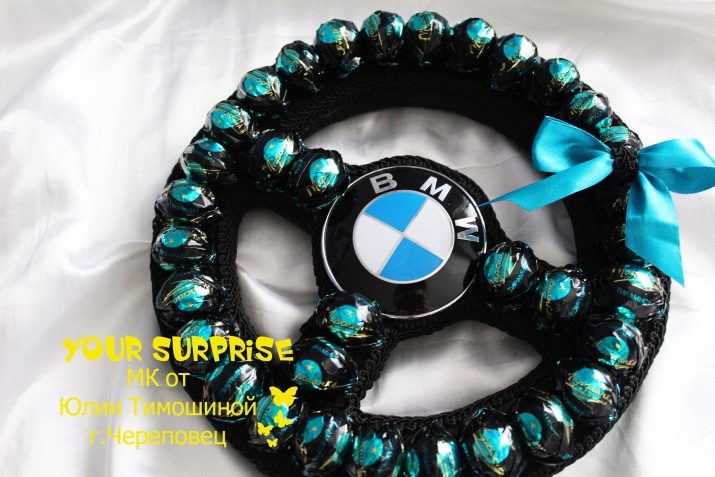
You will need:
- Styrofoam;
- black paper tape and crepe paper;
- candies;
- hot glue
- car sign (can be replaced with a bow).
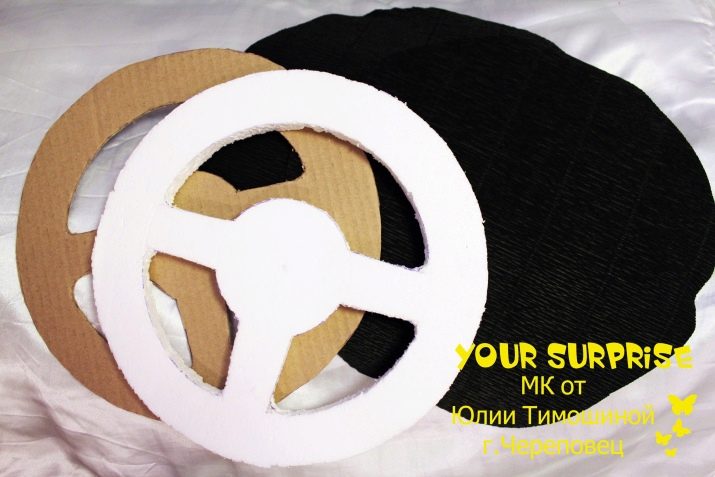
How to do:
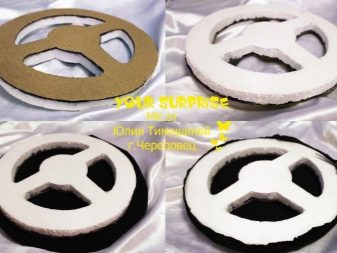
- we take the foam and cut out the base for the steering wheel from it;
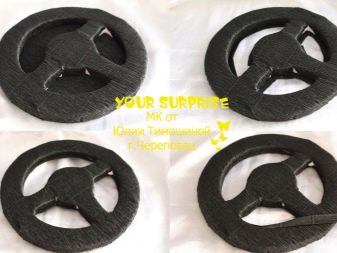
- wrap it with black crepe paper and black paper tape;
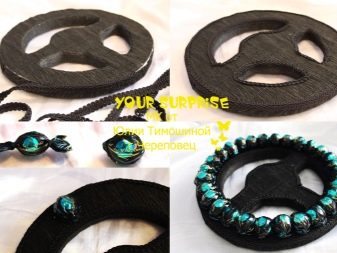
- glue delicious sweets on a drop of hot glue around the perimeter;
- we cut out any car sign in advance and glue it in the middle (you can replace it with a bow).
Male flower
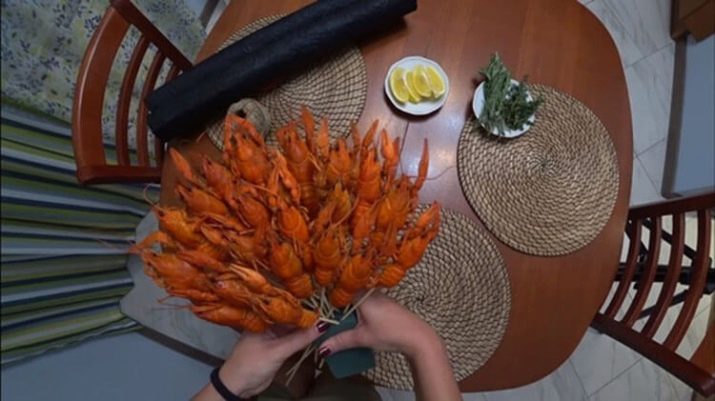
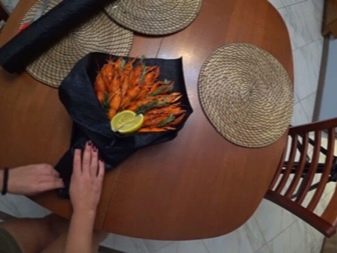
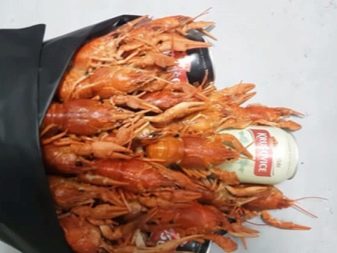
Men love getting flowers too, especially if they are made from ingredients like crayfish and beer! You can use newspaper or parchment paper for wrapping.
You will need:
- skewers;
- crayfish;
- lemon;
- rope;
- rosemary;
- newspaper or paper;
- sponge.
How to do:
- we prick boiled crayfish on skewers, bending back the tails;
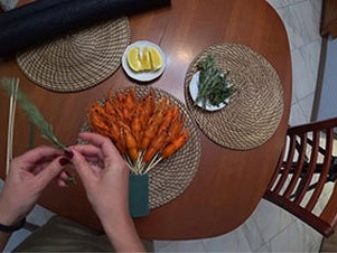
- insert them into a sponge and add them to decorate with rosemary sprigs;
- cut the lemon into slices and also prick it on skewers;
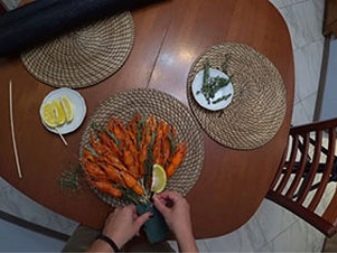
- wrap the bouquet with paper and insert cans of drinks into it;
- the bouquet can be tied with a rope, beautifully decorated in advance (for example, wrapped with a ribbon).
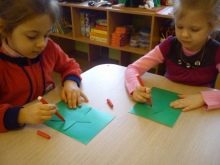
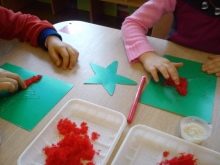
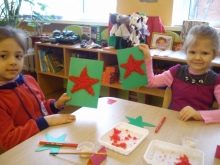
Star made of thread
This interesting thread star can be made by February 23rd in kindergarten or in the company of mom.
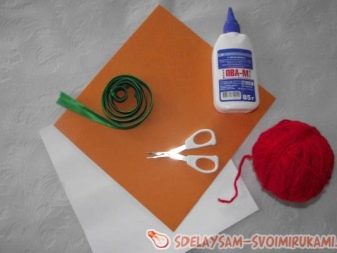
You will need:
- colored cardboard;
- threads are red;
- red felt-tip pen;
- paste;
- brushes;
- scissors;
- saucer for thread.
How to do:
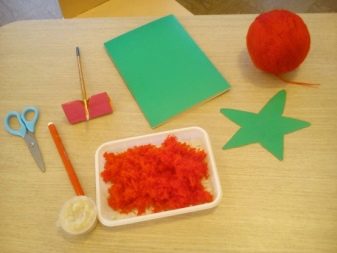
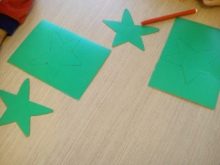
- fold A4 sheet in half, cut into 2 parts;
- draw and cut out a star;
- the child traces the asterisk in the pattern;
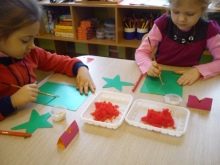
- the drawing is covered with paste;
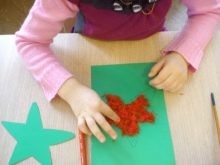
- on top, the asterisk is sprinkled with a thin layer of red threads, the child neatly straightens the threads according to the pattern;
- it turns out an asterisk that a daughter can give to her dad.
Other options
Helicopter
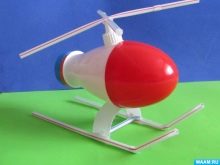
If you wish, you can decorate a funny little helicopter and give it to a man on February 23rd, or just have fun any day by decorating your desk with crafts.
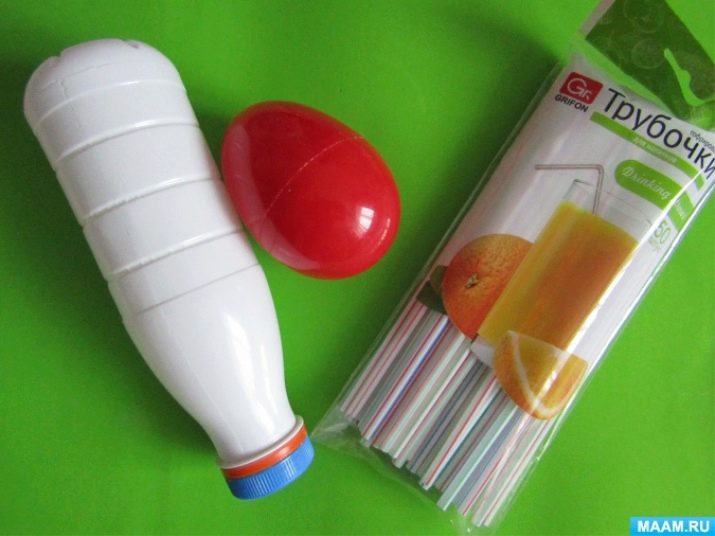
You will need:
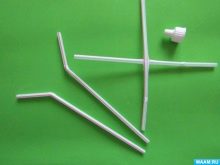
- cocktail tubes (they must have a bend);
- bottle (from yogurt "Miracle" or any other identical to it);
- ball from "kinder" (or for ping-pong);
- nail;
- stapler;
- scissors;
- glue - preferably hot.
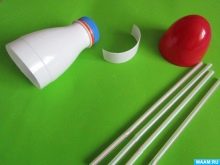
Manufacturing instructions.
- We make a hole in the yogurt bottle.
- Cut the tubes in half.
- Cut out the round part from the bottle and make a strip from the remainder.
- We will make a chassis from tubes with bends. We attach a strip to them with a stapler. We also insert the tube into the lid - into the hole made earlier (so that the tube does not fly out, it can be attached with glue).
- We attach the helicopter body to the landing gear (also using a stapler).
- For the propeller, tubes are suitable (you need to cut off parts with bends from them), fasten them crosswise with a button. Insert the "kinder" ball into the body (it can be replaced with a ping-pong ball).
Soldier
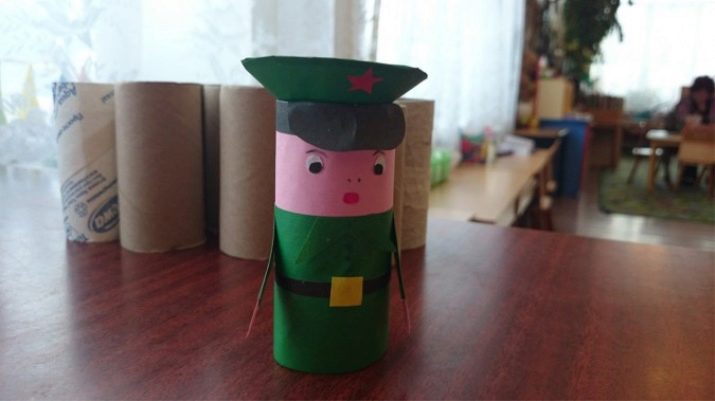
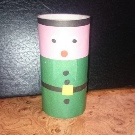
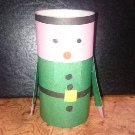
Such a soldier can stand. Dad, grandfather or brother will definitely appreciate this gift and put it in a prominent place (on a table or in a glass cabinet).
A soldier can be put in a gift bag and presented along with a chocolate and a postcard.
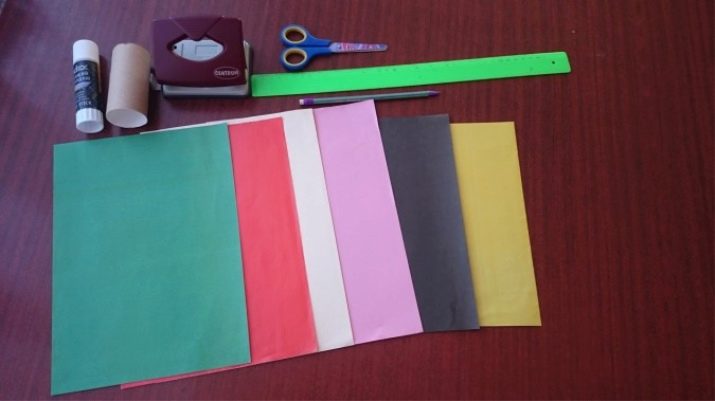
You will need:
- brush;
- sleeve;
- pencil;
- cardboard;
- paints;
- glue;
- twine;
- half an egg mold (or ping-pong ball);
- marker;
- scissors.
The algorithm of actions is as follows.
- We take a sheet of cardboard and draw a rifle on it (how it looks like, you can look at the picture or draw any other - if you wish), a circle (it should exceed the diameter of the egg) and the soldier's hands. We paint the details.
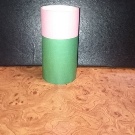
- We paint the sleeve green (this is a military dress!). After drying, we create a camouflage (for this, you can draw individual parts and decorate them).
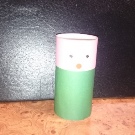
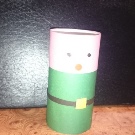
- We glue the handles to the sleeve. We connect the rifle with a string and also glue it to the sleeve. Create a hat for the soldier and put it on the top of the sleeve.
- We draw the soldier's face (you can repeat and make it the same as in the photo, or turn on your imagination, for example, add mustache or freckles to the soldier).
Overview of crafts in kindergarten
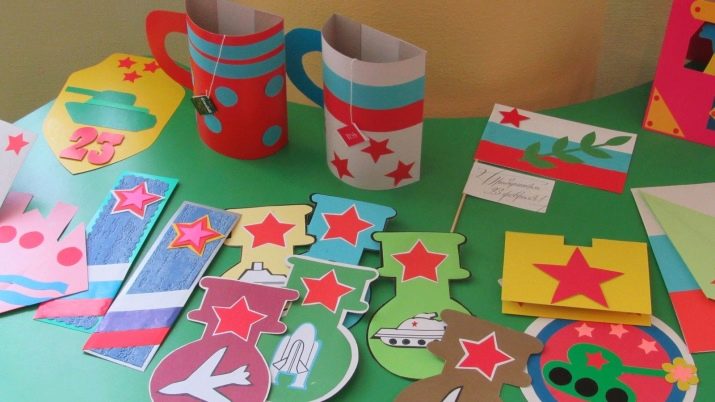
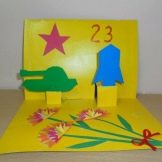
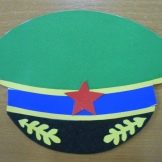
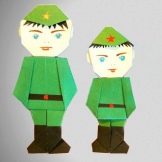
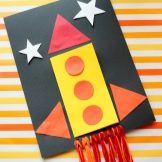
With children, you can make simple crafts by February 23 in kindergarten: postcards, a cap, soldiers, rockets. They are simple and great for toddlers. You can cut out blanks for applique from colored paper - let the child glue them himself. Postcards can be made for every taste: easier or more complicated, with an airplane, with a boat or flowers. You can help the child, but let him decide for himself what will show off on the postcard or which face is better to draw with a paper saldatik.
Shirt with tie
Even preschoolers can make such a product. Children 5 years old will make such a craft in no more than 10 minutes.
You will need:
- white cardboard - 1 sheet;
- colored paper - green, red, black, yellow;
- ruler;
- glue;
- scissors;
- pencil.
How to do:
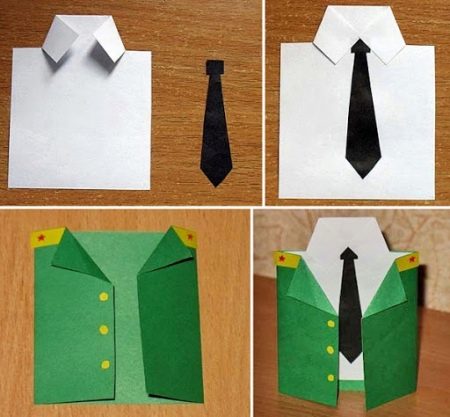
- we take a sheet of cardboard, make cuts on it and fold it in such a way that they resemble a shirt collar;
- draw a tie on black paper and cut it out;
- glue the tie to the collar;
- now we make a jacket out of green paper and bend the corners;
- we connect all the parts together;
- we decorate the jacket with buttons, stars and shoulder straps cut out of colored paper;
- we write congratulations on the shirt (it can be used as a postcard).
Pasta applique
The simplest crafts for preschool children are applications using products: pasta, salty sticks or buckwheat. The key point is the cut from the template. It can be very different - it all depends on the child's imagination.
You will need:
- cardboard - 1 sheet;
- pasta (can be colored);
- figure: ship, tank or plane;
- glue gun.
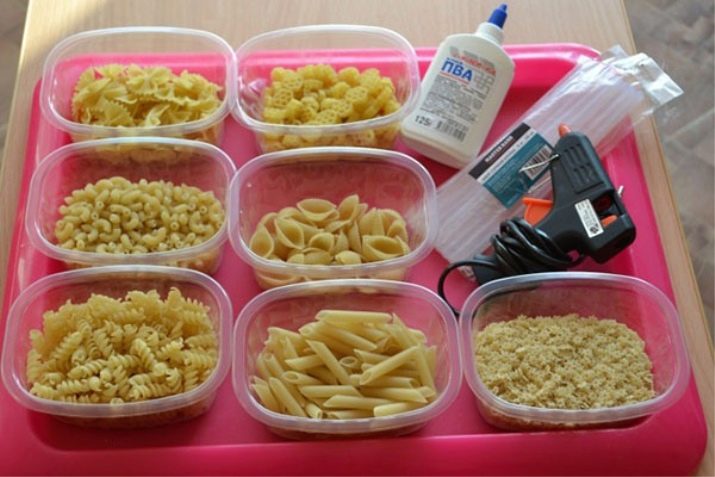
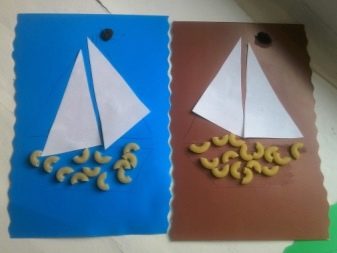
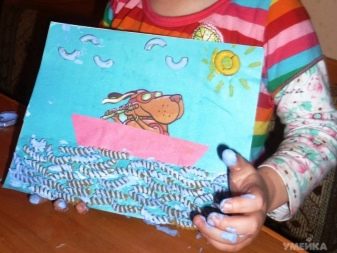
How to do:
- we cut out a boat from colored paper;
- glue it onto white cardboard;
- cut out the waves and glue it too;
- glue pasta onto the waves using a glue gun.
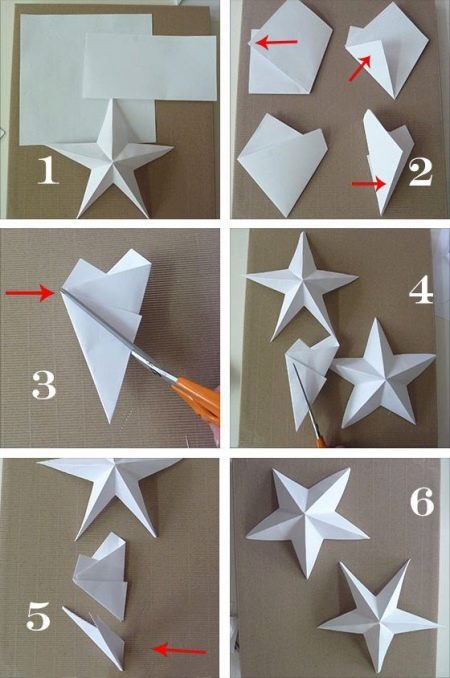
Volumetric star
Both a girl and a boy will like to make a voluminous postcard. You don't need templates or pencils to create it.
Tools and materials:
- scissors;
- sheet of colored paper.
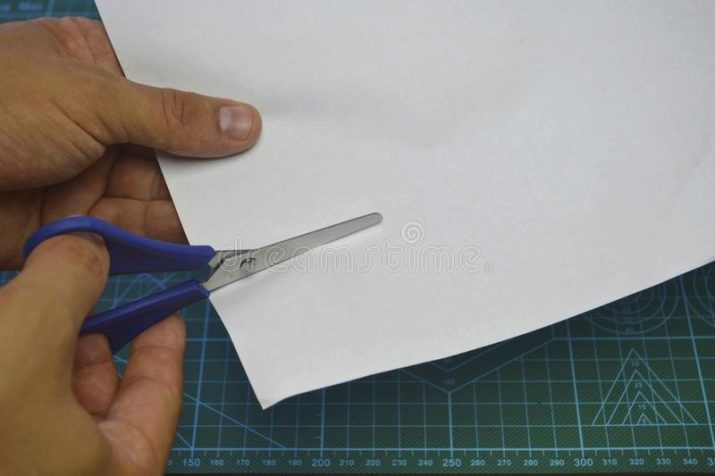
The photo shows the step-by-step folding of paper - we are doing a craft on it.
School options
For the Defender of the Fatherland Day, I would like to make something special for the school. With the help of adults, a child of grades 1, 2, 3 and 4 will make an interesting craft, supplementing the step-by-step instructions with his imagination.
Salted dough
You will need:
- salted dough (prepared in advance);
- plug;
- paints;
- flag - tricolor on a skewer;
- water in a glass.
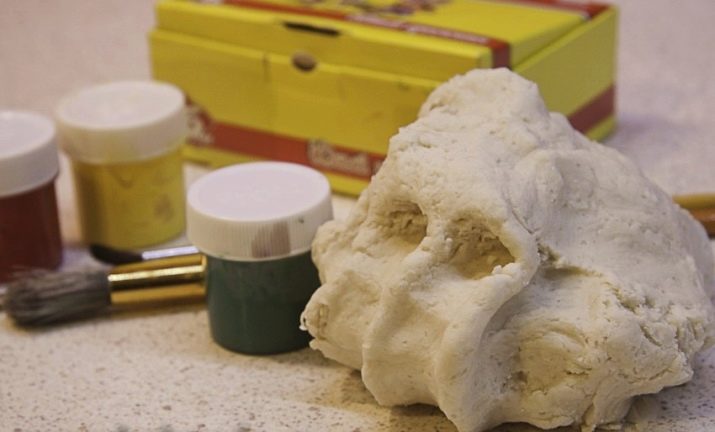
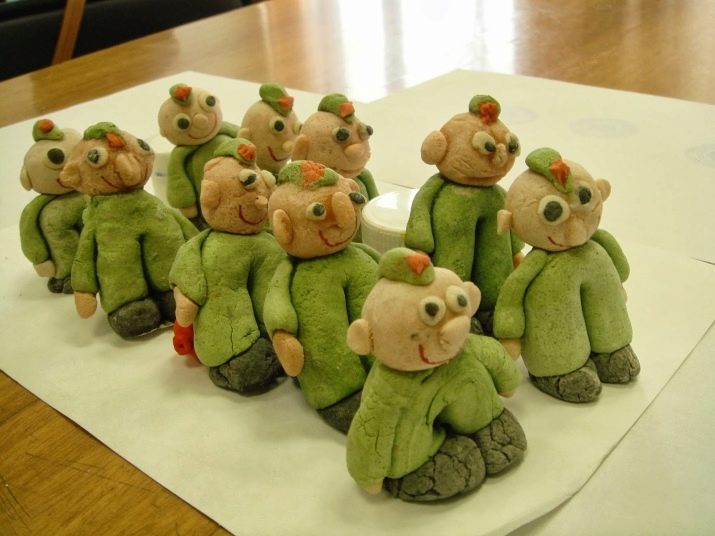
How to do:
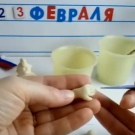
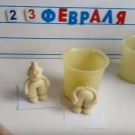
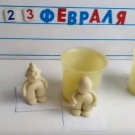
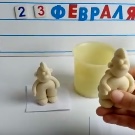
- roll up 2 small balls - this will be the soldier's shoes;
- we roll up an even thick sausage, bend it into an arc - these are panties;
- we fasten boots and pants, smearing with water;
- now we make hands, work on fingers (you can use a toothpick);
- we glue our hands on the pants;
- roll the ball (this will be the head) into an oval shape;
- we make eyes, ears, bangs;
- bake a soldier (or a whole army);
- decorate the figurine.
From beads
At the sight of a variety of patterns, embroidered with your own hands, it is impossible to take your eyes off! However, mastering a complex technique with beads is a long process.
Those who have not learned to embroider with beads can easily make a phased applique.
You will need:
- PVA glue;
- frame;
- brush;
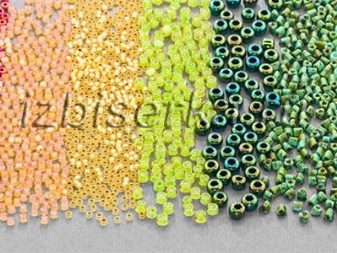
- beads (to make the picture more beautiful, use different colors);
- coloring (you can choose the theme of eternal flame or another).
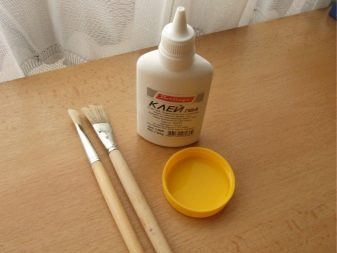
How to do:
- place the picture in a frame (cut from the coloring);
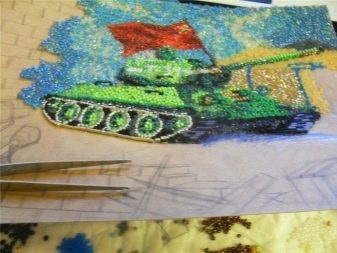
- we smear one part of the picture with glue (for example, we start with fire), take the beads (we select the color for the picture) and apply it to the glue;
- level the beads with a needle;
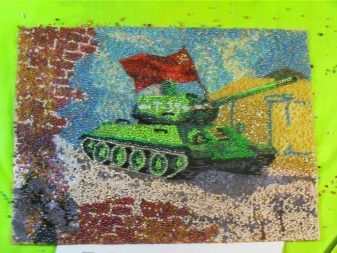
- with this technique we carry out the whole drawing;
The work is quite painstaking, but the effort is worth it!
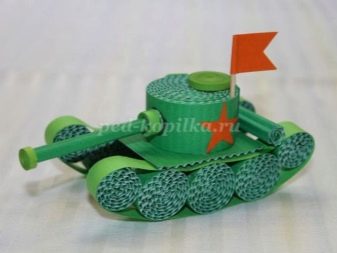
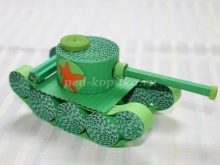
Corrugated cardboard tank
A man who has served or is about to serve in the tank forces can be presented with a combat vehicle made of cardboard. Additionally, you can make toy soldiers using the origami technique.
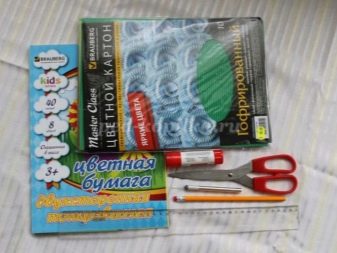
You will need:
- corrugated green cardboard;
- PVA glue;
- colored paper (double-sided, red and light green);
- pencil;
- ruler;
- scissors.
How to do:
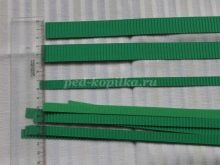
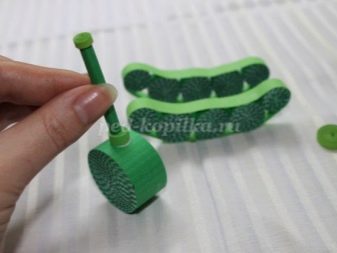
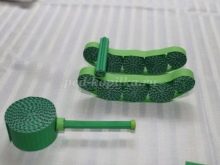
- from corrugated cardboard we cut strips 2 cm wide (3 strips) and 10 strips 1 cm wide; 4 narrow stripes should be 15 cm long, and 6 - 20 cm; we take narrow strips and fasten the ends with glue; glue the wide ones into one, and then form a "roll" out of it;
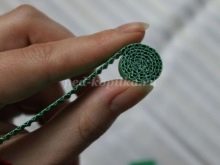
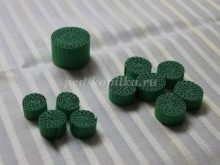
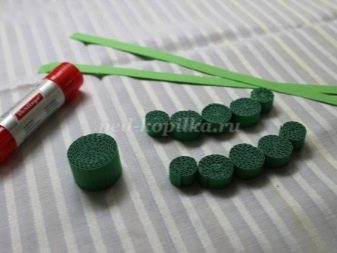
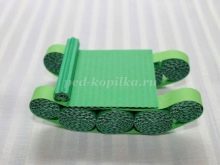
- you should get 4 small wheels, 6 medium and only one large; now we will assemble the caterpillar: we glue 3 wheels together, and add small wheels along their edges; wrap the strips 2 times with light green paper;
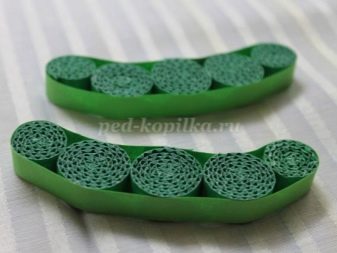
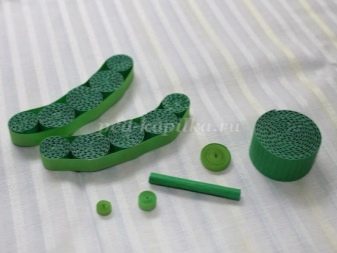
- we twist separately 3 different “rolls” and use paper to make a muzzle by twisting the tube; cut out a small square and assemble the tank.
Ideas for adults
Adults can take advantage of kid's craft ideas using junk material: ice cream sticks, toilet paper roll, lids. But if you want to give your husband or father something more serious, it is advisable to dwell on this point. You can supplement the craft with other gifts, for example, a mug with the inscription "February 23", chocolate, and all this can be beautifully folded into a basket.
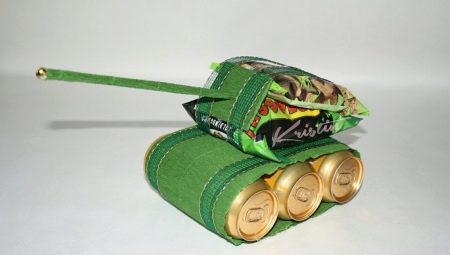
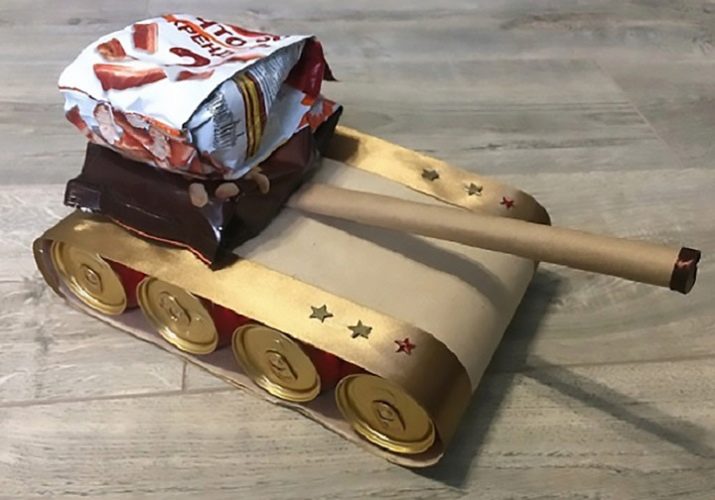
Beer bottle tank
An original gift for your husband can be made from beer bottles. If the man does not drink alcohol, he can be replaced with cologne or other drinks.
Taking advantage of the master class, you will make an amazing gift!
You will need:
- beer - 4 cans;
- a pack of chips (or snacks, crackers - depending on what the man likes);
- brown kraft paper;
- Scotch;
- glue gun;
- satin ribbons - 3 and 0.5 cm;
- scissors;
- cocktail tube - 1 pc.
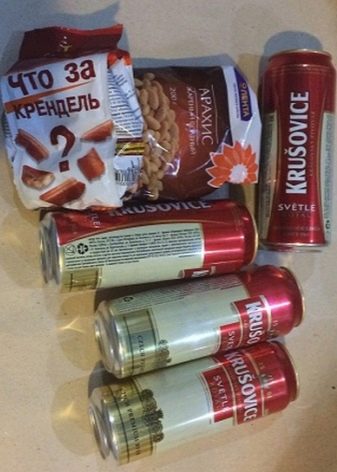
How to do:
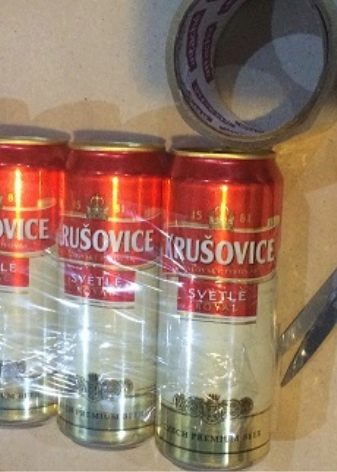
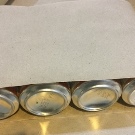
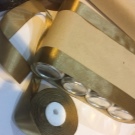
- we connect cans of beer with scotch tape;
- we wrap the cans with kraft paper;
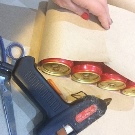
- around the edges we wrap the paper with a satin ribbon for beauty (choose the color of the ribbons depending on the color of the paper), connect the ribbon with the paper with a glue gun;
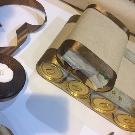
- we take a pack of snacks or pistachios and wrap it in the same way as cans of beer (this will be the tower of the tank), glue it onto the tank;
- wrap the tube with paper (this will be the barrel), and fix the end with tape, applying glue under it;
- make a hole in the tower and insert the muzzle;
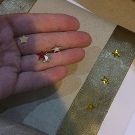
- we take decorative stars and glue them onto ribbons.
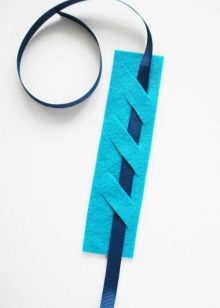
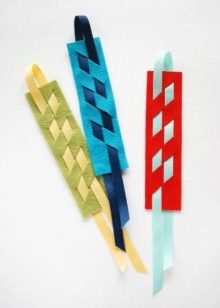
Tab for books
If a man loves to read, the best solution would be to make him a bookmark (or several) of felt. Even if he does not have time to read paper books, a bookmark will come in handy anyway (for a notebook or diary). It will be especially pleasant for a grandfather to receive such a gift from his grandchildren. The bookmark can be presented with other gifts: a medal and warm slippers.
You will need:
- felt;
- satin ribbon;
- scissors;
- glue.
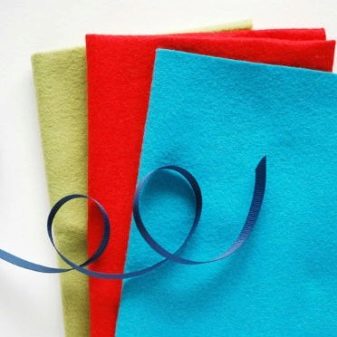
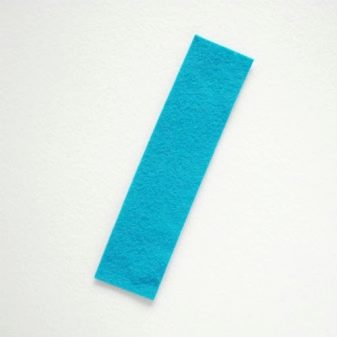
How to do:
- cut out a strip from felt (choose the color of the material to your taste);
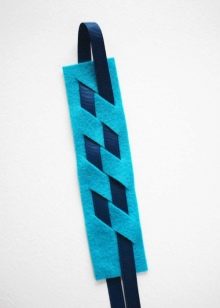
- bend the corner of the material and make an incision - we do this manipulation throughout the bookmark;
- we pass a narrow ribbon through the holes, and on top we fix the material with glue, make a small loop;
- we pass the tape through the cutouts - this time it is worth starting from the seamy side;
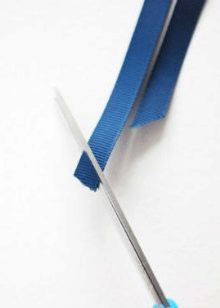
- cut the tape from below at an angle (so that it does not creep, you can burn the ends with a match).
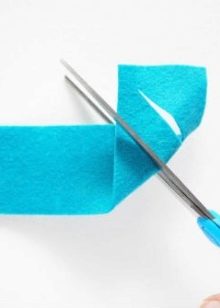
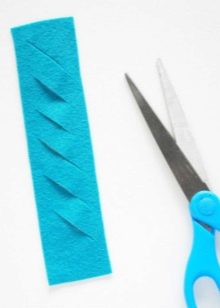
Tank made of socks
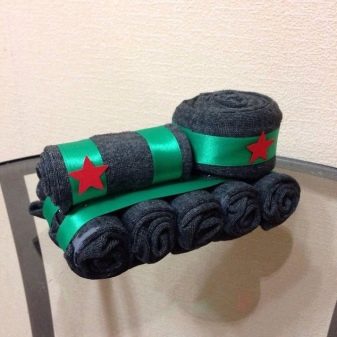
Such a gift is made in a matter of minutes. Everyone has the opportunity to show their imagination - the tank can be decorated with bright ribbons, use bright socks in work. Choose things according to your preferences.
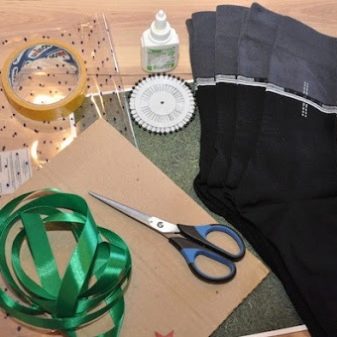
You will need:
- 3 pairs of socks;
- tapes;
- bank gum.
How to do:
- we turn one sock with the heel up (towards ourselves), put rolls of socks on it (we twist 4 socks in advance);
- we fasten each roll with a bank rubber band;
- we wrap the "wheels" with a sock, tucking the cape into an elastic band;
- we need the sixth sock for the tower;
- beautifully decorate the caterpillar part with a tape on both sides - it can be tied at the end or attached with a stapler (optional);
- at the very end, we wrap the tank with a ribbon and tie it beautifully;
- We place the barrel in the tower - it can be a tube or an expensive stylish handle, which can also be presented.
How to make a tank out of socks, see the video.


