Interesting applications for March 8
Applications are a fairly common gift from children to mothers and grandmothers on March 8. Such crafts are always valuable, since the child puts a piece of his labor into the product. To make them also beautiful and original, you will have to make a little effort. Let's turn to simple and unusual ideas for creating gifts that do not require much effort and time.
What do you need?
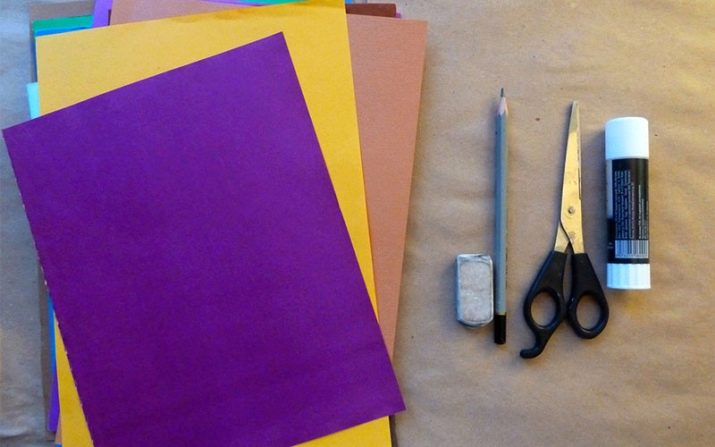
In whatever technique the application is performed, for it you will definitely need:
- colored paper;
- cardboard - white or colored;
- glue;
- scissors.
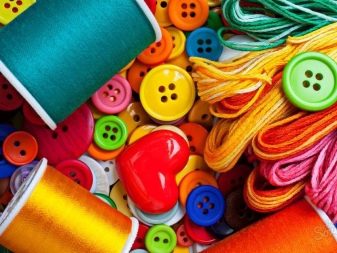
May also come in handy:
- ribbons;
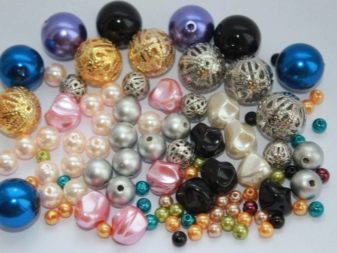
- beads;
- pieces of fabric;
- large buttons.
It all depends on the gift idea.
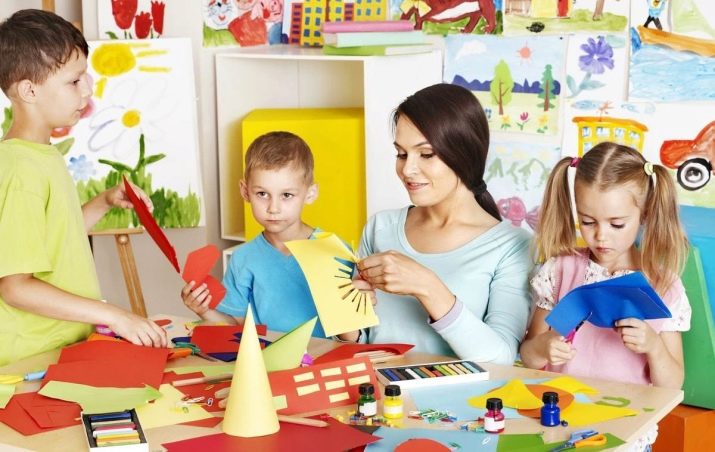
The younger the child, the larger the details of the future craft should be. Better to take care of the templates for the toddlers with which they will work. For example, for a postcard, print a ready-made template on which a child will glue the details of the postcard with his own hands - the number "8", flowers, butterflies, etc. Young children work with scissors, a needle and thread, glue only under the supervision of an adult, this is important to remember ...
Any child's work must be carried out in strict compliance with safety requirements.
Also, for some applications, you may need plasticine - you need to roll it out thinly and, having given the required shape, glue it onto a postcard. Since plasticine is a rather heavy material, under its weight the paper can sag and lose its original appearance, so it is more correct to take cardboard.
Original ideas
There is a huge number of crafts and applications of varying degrees of complexity from paper - ordinary, corrugated, for scrapbooking, etc. Of course, the first image that comes to mind when the words "March 8" is a bouquet.


Bouquet of paper
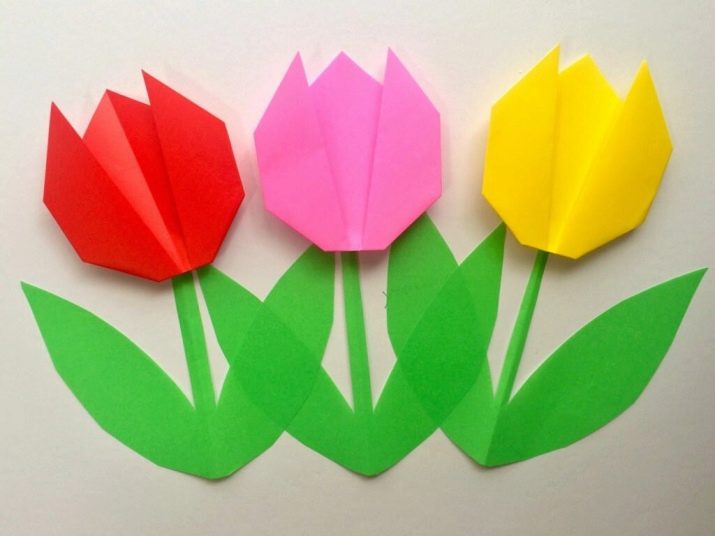
The bouquet can be either in the form of an applique, or simply made of paper. And even the applique can be done in various techniques: for example, make tulips using the origami technique and stick them on a background postcard prepared in advance. Or make them out of corrugated paper and attach them to the card so that they hang slightly from it.
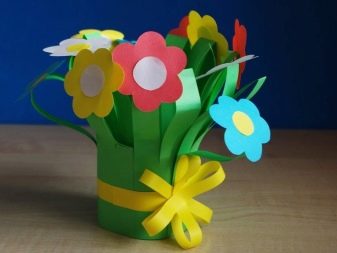
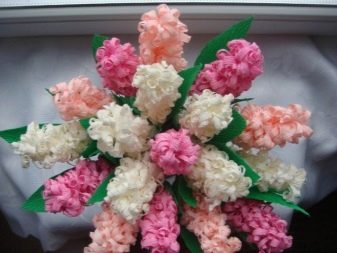
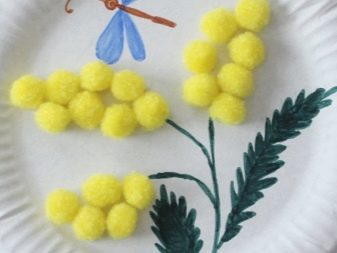
You can take a plastic or paper cup and make a real bouquet. There are a lot of options - roses from napkins, music or craft paper, mimosa from dyed cotton wool, lilac or hyacinths from strips wound on a pencil.

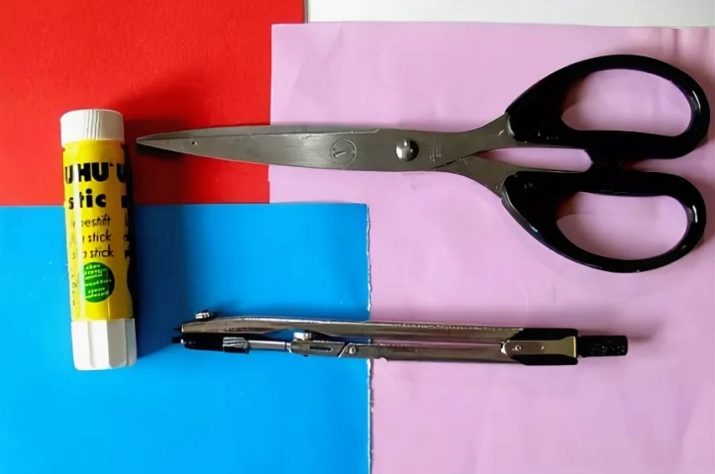
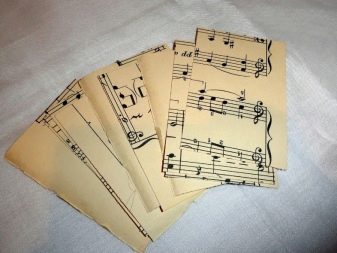
To make a bouquet of roses from music paper (or any other thick paper), you will need:
- compass;
- scissors;
- PVA glue;
- paper.
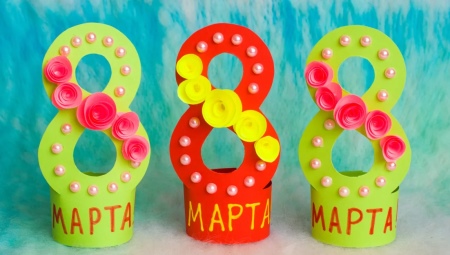
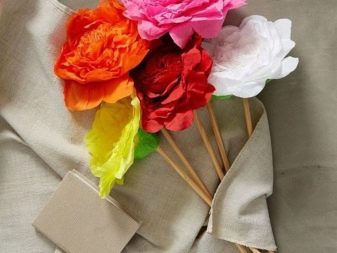
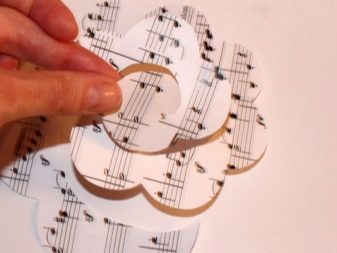
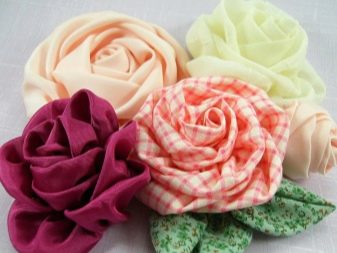
As a blank for a rose, you need a circle drawn with a compass and cut out with scissors. But it was cut not exactly along the line, but deliberately unevenly so that the edge was wavy. Next, you need to cut from the edge to the center in the same way in a spiral. After everything is ready, the rose needs to be rolled up. Depending on the size of the flower, you must use a match or pencil for this. To prevent the finished flower from untwisting, the base is fixed with glue. According to this principle, as many roses are made as needed. Then you can either fix them on skewers and form a bouquet, or paste over a box for a gift or a "eight" made of cardboard with them. Roses made of textured paper look spectacular - with embossing, embossed or squeezed out patterns. They can be made in large or medium size.


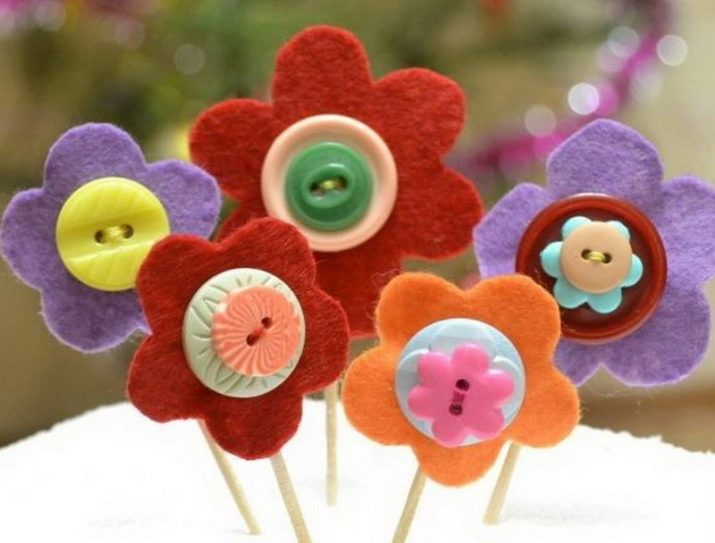
By the same principle, it is easy to make flowers from felt, but to fix them on the surface, you will need a special glue or glue gun. You can paste over a gift box, heart, figure eight with such roses, make a mini-bouquet, even decorate a room.
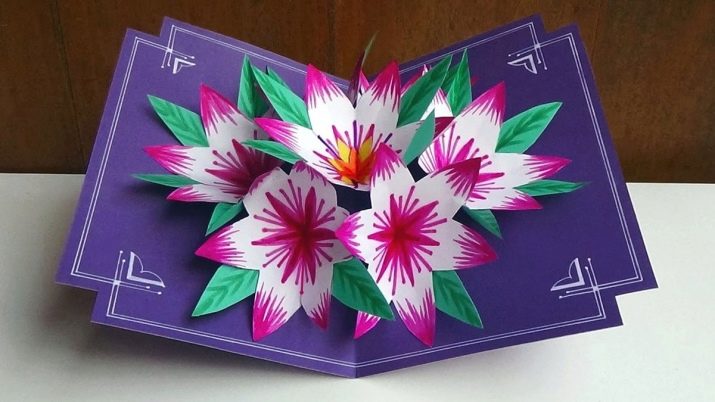
Volume postcard
For children of the middle and senior groups of kindergarten, as a gift for mom or grandmother, you can make a voluminous bouquet-postcard. The card unfolds and a bouquet of flowers appears inside. For such a craft you will need:
- double-sided colored cardboard as a basis for a postcard (1 sheet);
- colored double-sided paper of the desired color;
- glue stick;
- scissors;
- felt-tip pens or pastels.

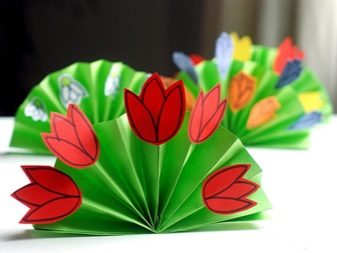
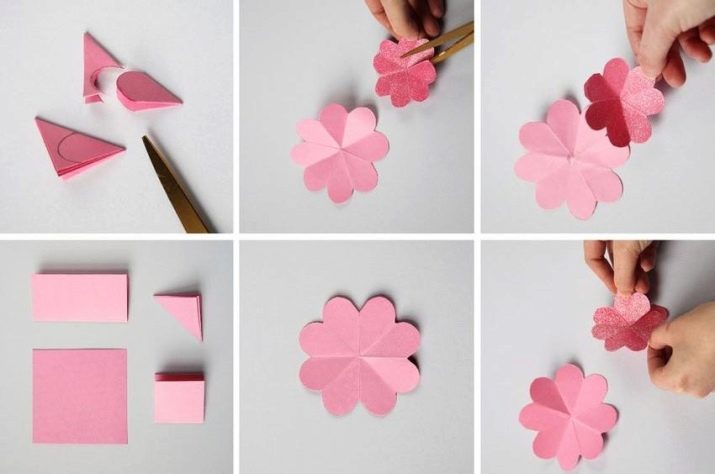
As blanks for flowers, seven identical squares will be needed, their size is 10x10 cm. Each of the squares must be folded in three (in a triangle) and outline a petal with a simple pencil. Next, you need to cut along the outlined lines and unfold the flower. Each flower should have eight petals. For a more naturalistic look, you need to draw the lines inside the flower with a felt-tip pen or a bright pencil. In each flower, six petals should be painted over, but two adjacent ones should not. After all the flowers are ready, one unpainted petal must be carefully cut out. Another unpainted petal must be smeared with glue and connected to the adjacent petal. This is how voluminous flowers are obtained.
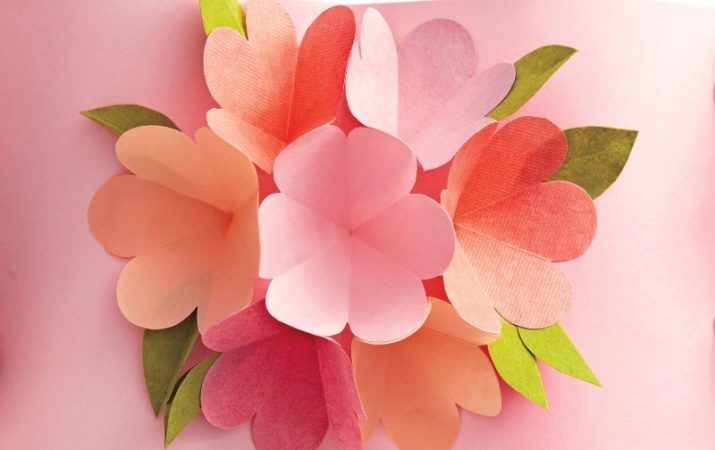
Then you need to act in this way: take three flowers, bend them in half, glue them in such a way that they make an "accordion". Next, in the same way, you need to glue the rest of the flowers and glue the outer ones to the postcard. Then, when closed, the flowers will be folded into an "accordion", and when the card is opened, a voluminous bouquet will appear.
From fabric
Making flowers from fabric is not easy, especially when compared to the same action with paper. But there is nothing super complicated, if you stock up on everything you need and follow the instructions. Having mastered the work in this technique, you can not only make a gift for your mother or grandmother, but also decorate clothes, bags, photo frames and whatever you want.
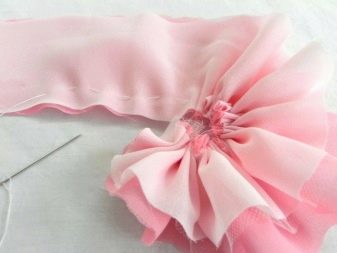
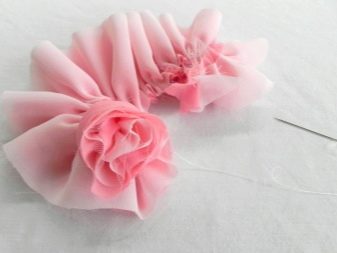
So how to make a ruffle flower? This is the fastest way, but it requires skills in using a needle and thread, which means it should be carried out by a child of primary school age under the supervision of an adult. You will need a fabric - best of all, cotton, but not too loose, plain or with a print, threads in the color of the fabric, a needle and scissors.It is better to iron the fabric in advance.
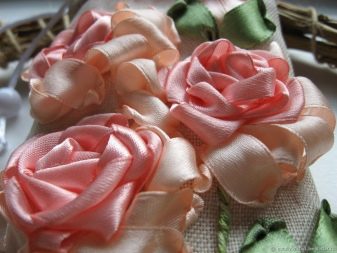
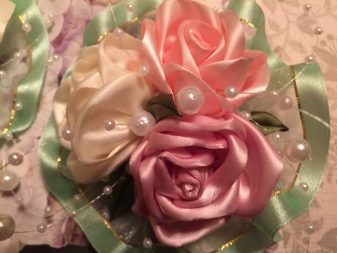
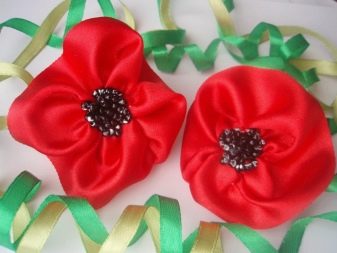
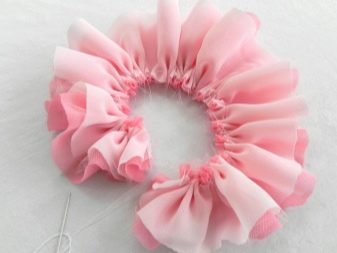
The material must be cut into strips, each 7-8 cm wide, about 30 cm long. If a larger flower is needed, then wider and longer stripes are taken. The strips of fabric are folded along, along the fold line they should keep their shape. In the lower part, the strip must be swept away with large stitches and the thread pulled together in such a way as to form an "accordion". Better to fold the thread in half and pull gently so it doesn't break. After the thread is completely pulled together, you need to form a flower and sew the ends of the fabric strip. A large bead or button can be sewn into the center, and the flower is ready. You can upgrade the product without sewing a strip of fabric, but forming a spiral from it.
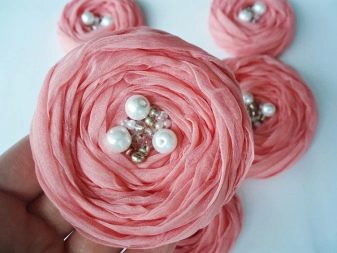
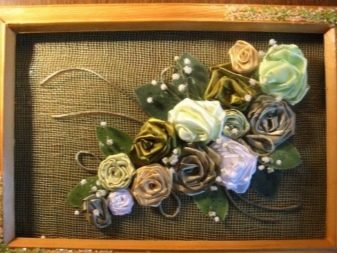
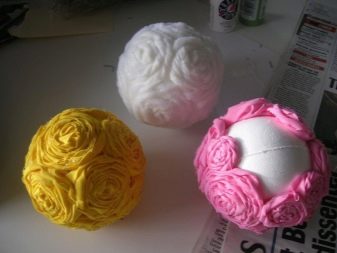
Having made a sufficient number of flowers, you can sew them on a dense fabric (for example, canvas), fixed on a frame, you get a picture. You can also paste over or sheathe a ball with such flowers, you get an original gift.
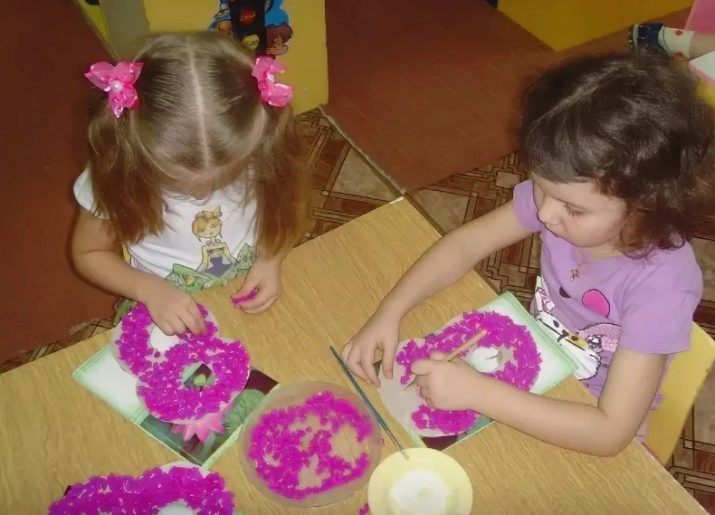
From cotton pads
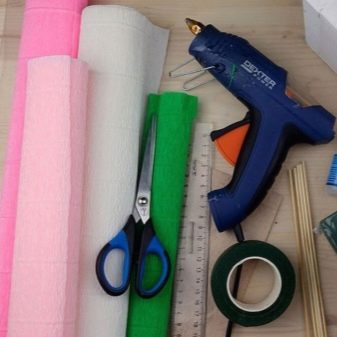
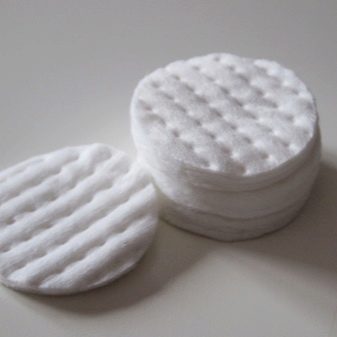
In addition to unpretentious and familiar to the eye calla lilies from cotton pads, this material can be useful for creating original roses. It's not the easiest thing to do, but with a little patience and perseverance, you can do it. This will require:
- cotton pads;
- red or pink gouache;
- green corrugated paper;
- wooden sticks;
- glue gun;
- scissors;
- foam sponge.
The wooden stick must be attached to the cotton pad with one edge. Next, you need to wrap the disc around the skewer and begin to form the bud. After securing the result with a glue gun, you should continue to form the flower by overlaying and gluing other discs. The finished rose will consist of 8-9 discs. The sepal is made from green corrugated paper. It is necessary to cut it out, fix it with glue around the flower and bend the corners. Leaves are also needed - they are cut from the same corrugated paper.
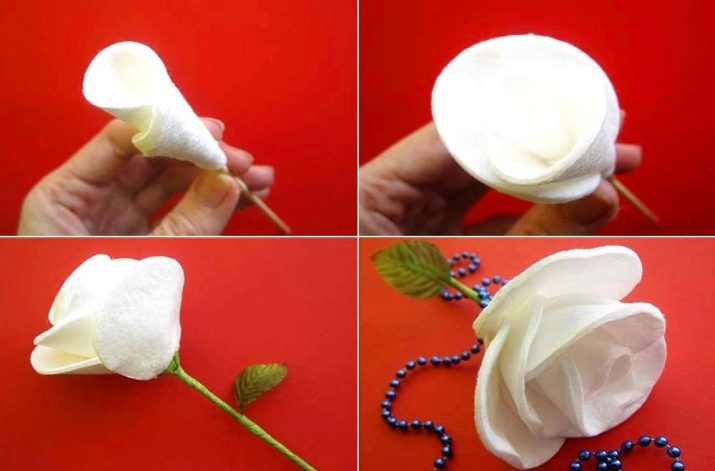
A strip is also cut out of green corrugated paper and wrapped around the stick - this is how the stem is formed. Leaves are glued to it - 4-5 will be enough.
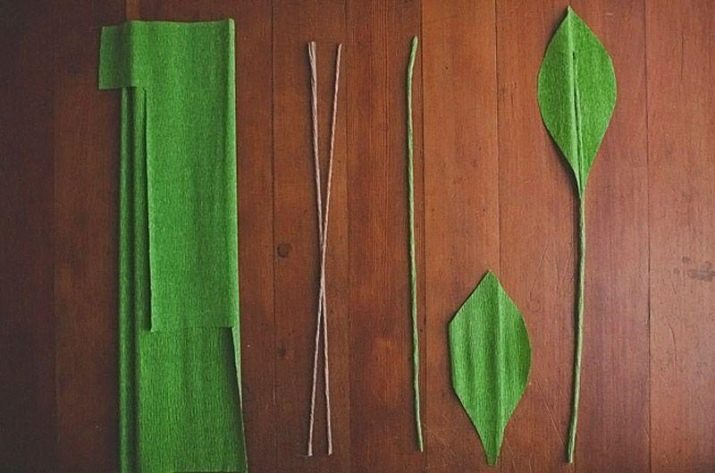
Next, you need to take a sponge, dip it in red or pink gouache and paint cotton pads along the edge of the "petals".
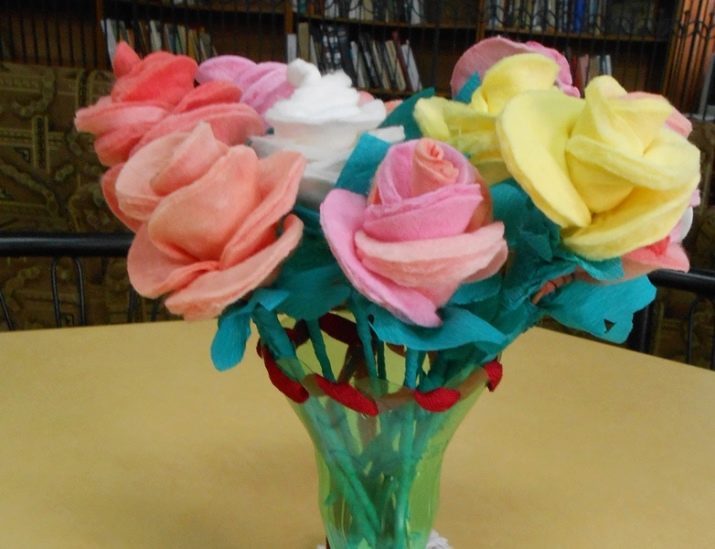
Having made as many flowers as required, they can be placed in a vase, glass or mug. The height of the "vase" should be such that flowers do not fall out of it.
Other options
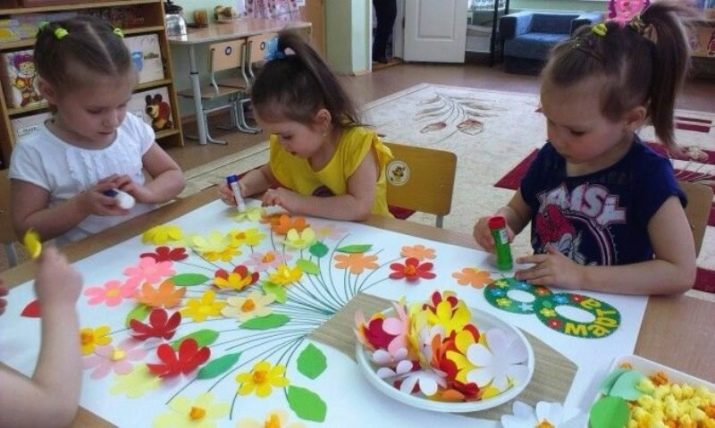
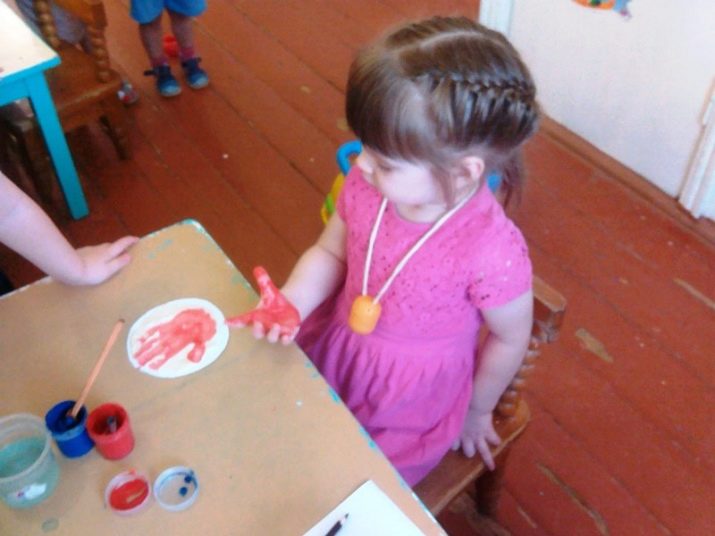
In kindergarten, a craft can be collective, for example, a bouquet of flowers made from baby prints.
All children will like to take part in the creation of this masterpiece, because you just need to smear their palms with paint and leave prints on sheets of Whatman paper or cardboard!
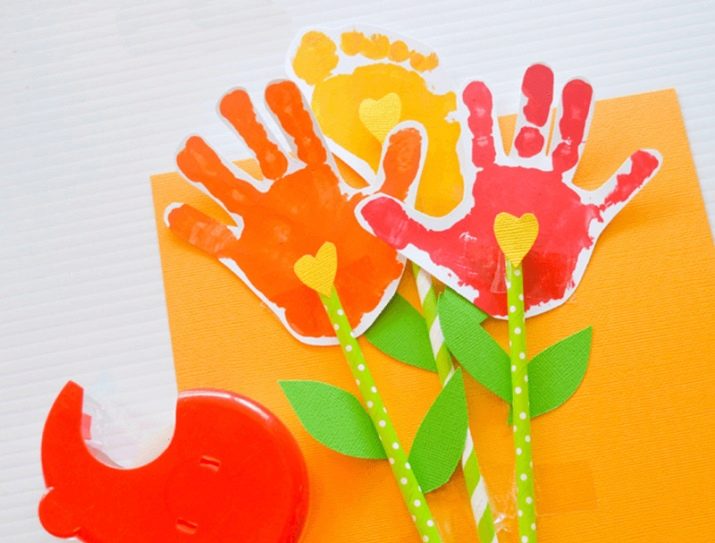
Then the teacher cuts the “flowers” out of cardboard, sticks them on sticks or tubes and forms bouquets for mothers. Depending on the enthusiasm of the children, you can make bouquets of three or five flowers for each mother.
Even children who go to day nursery can do crafts for March 8th. For everything to work out, you need to prepare a template, for example, a postcard made of colored cardboard with a drawn outline of a figure eight. Next, the baby glues the flowers previously cut out by the teacher, filling in the eight. You can also make some elements of plasticine by sticking it directly onto cardboard. Such actions are very good for children's hand motor skills.
Beautiful examples
Any craft will be beautiful, if you try, you can make, for example, the following options:
- a rose made of cotton pads looks original;

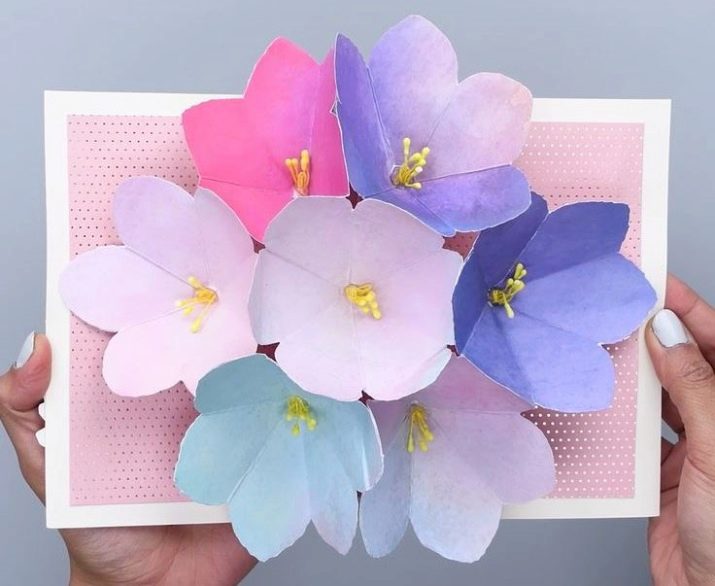
- card with voluminous flowers;
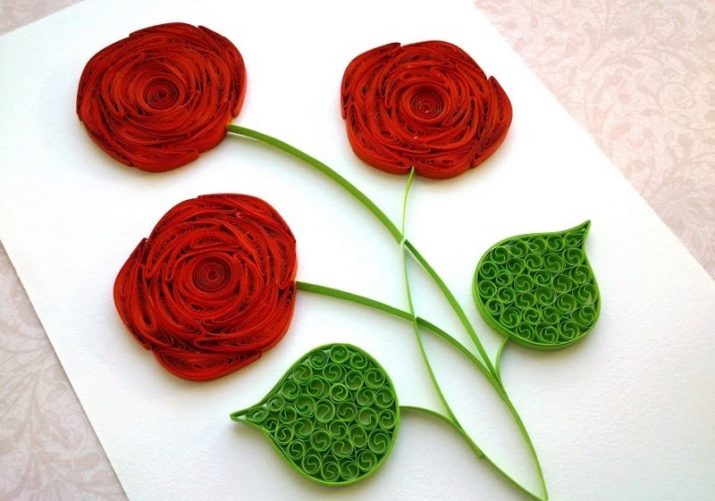
- roses in the "quilling" technique, which even a child can handle;
- another card with volumetric flowers.
How to make an applique for mom on March 8, see the next video.


