How to make a postcard for March 8 with your own hands?
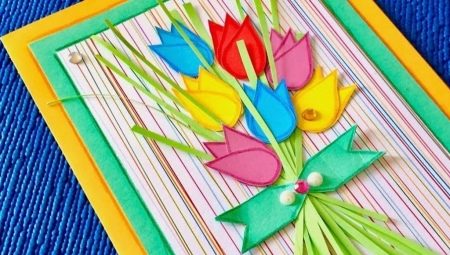
Everyone was taught to make greeting cards at school, and even in kindergarten. But today, it seems, this simple business has taken on a completely different look - the variety of materials, ideas that the Internet is full of, and the popularity of hand-made makes adults take up work as well. Especially when a worthy occasion appeared, such as, for example, on March 8th.
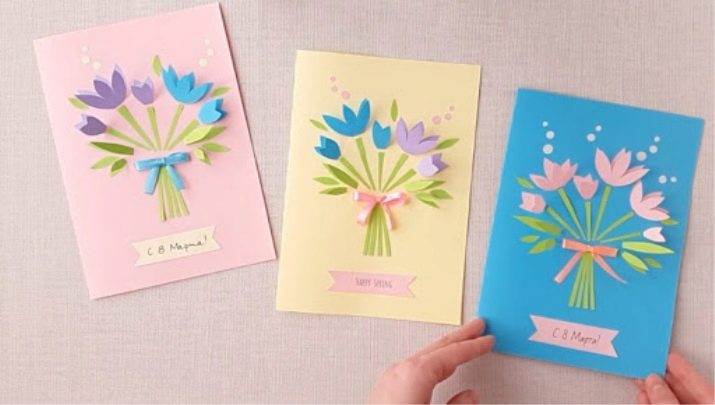


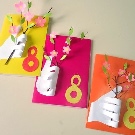
What can be made of?
If a person does something with his own hands from time to time, he will have a mini-workshop with materials, tools, examples of creative work. And if such a stock already exists, it is not difficult to choose the right material.
It's another matter if it is decided to make postcards from scratch: you will have to buy a lot or look for something at home that could take new forms.
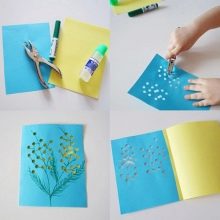

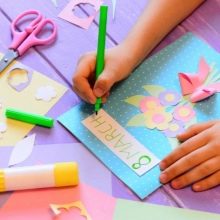
From which you can make cool do-it-yourself cards.
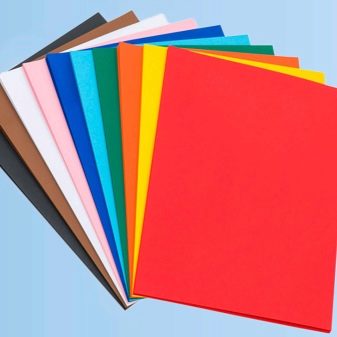
- Colored paper and cardboard. This is a good old classic, but if you look into a store of goods for creativity, you will be amazed that there are at least a dozen types of one colored paper. Embossed, with metallic inserts, with a glossy surface, with a matte finish, with patterns. And it is usually inexpensive.
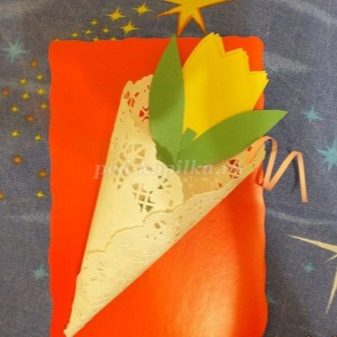
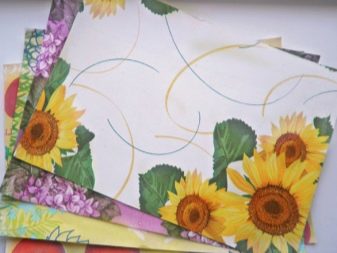
- Design paper. It is sold more often in sets (from 4 to 20 sheets on average), but it happens that it is by the piece. These are texture sheets with a specific print. The print can be thematic, for example, New Year's or seasonal.
By March 8, floral motifs will probably be more suitable, although this is not necessary.
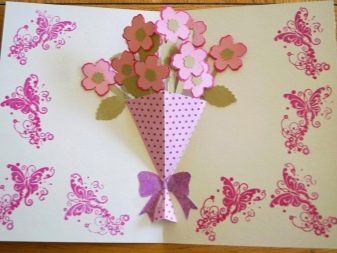
- Velvet paper. In Soviet times, it was considered a deficit, today it is produced more actively, it is presented in a good color layout, in different formats.
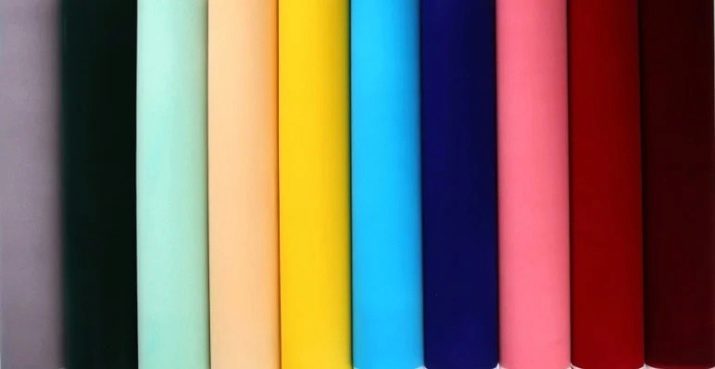
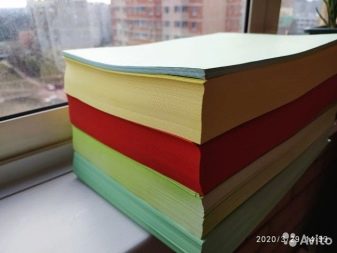
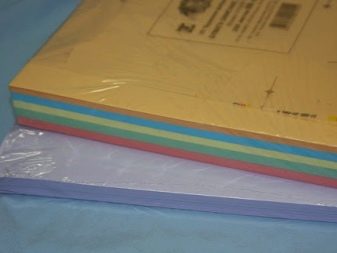
- Colored printer paper. It is often more convenient than plain colored paper. It is useful to have a set of such sheets at home.
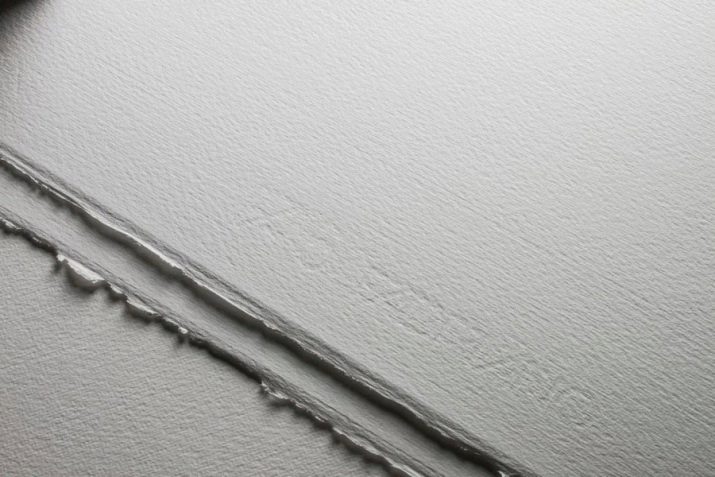
- Watercolor paper. It is pleasant for its texture, on which it is convenient to draw, and glue, and tint it.
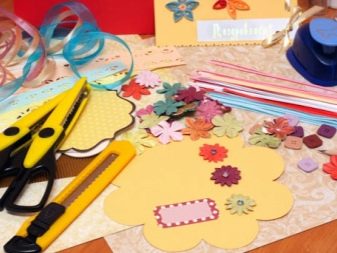
- Various decorative material for scrapbooking. This is a separate type of creativity, which is especially resourceful for the manufacture of postcards as a gift, including for the Eighth of March.
You can purchase ready-made sets or carefully collect the author's creative arsenal.
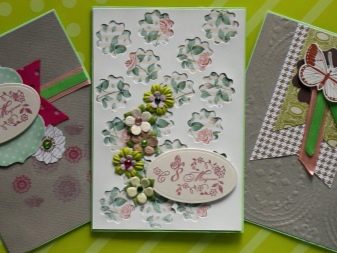
- Decorative napkins. Often used for decoration, decoupage and more.
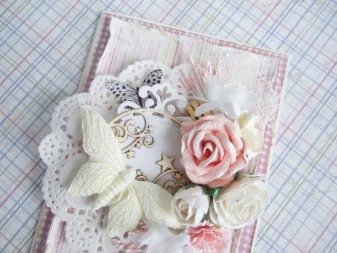
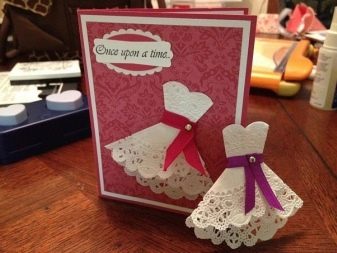
And these are just those ideas that lie on the surface. You can go further by using craft paper for holiday work, special dark sheets from sketchbooks, and more.
Detailed manufacturing workshops
So, it was decided to make a postcard for a friend, for example. The master classes offered below are designed for those who do not have permanent experience in this matter, but do not mind taking a small (and maybe even a big) step forward.
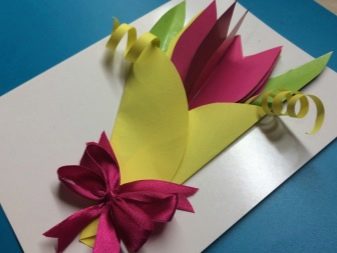
Made of paper and cardboard
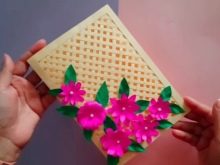
If you want the main character of the postcard to be a bouquet or just beautifully scattered flowers, they will be perfectly emphasized by the background grill.
To make such a postcard you will need:
- thick double-sided paper of warm peach color (or cardboard);
- pencil, comfortable ruler, scissors;
- glue;
- double-sided paper of light pink color;
- green double-sided paper;
- beads.
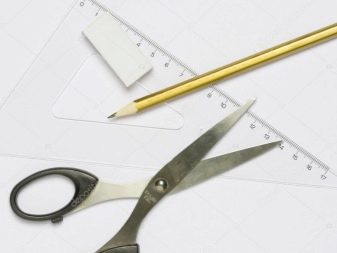
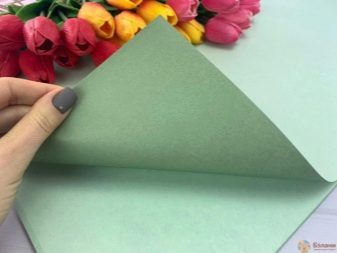
The principle of creating a postcard.
- A sheet of paper or cardboard in a peach or beige tone must be bent in half. On the front part, make a centimeter indent on each side. These marks of 1 cm are connected by lines, a window is cut out.
- From the second sheet of the same color, you will have to cut many identical stripes, half a centimeter wide. They are glued to the window from the inside, observing the diagonal. Then in the opposite direction, so that the interweaving of the strips creates a lattice.
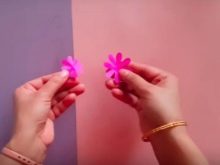
- From a pink leaf, you need to cut out squares and make flowers using templates. Their petals should be twisted with scissors. Two flowers stick together (one above the other), a bead is fixed in the core.
- Leaves are cut out of green paper. They also need to be twisted to form bends. Leaves and flowers are glued to the base in a pattern.
The result is a postcard that resembles a beautiful gazebo strewn with flowers. Instead of pink flowers, there can be any others - chamomile, for example.
In scrapbooking technique
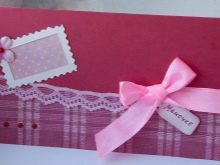
And this is an example of a very simple postcard in this technique, which a child can handle. An adult can improve MK by adding even more decorativeness to the postcard.
For work you will need:
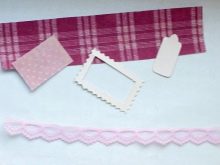
- fabric with a checkered print;
- a small piece of pink paper or cardboard with polka dots;
- a fragment of design cardboard;
- half beads;
- curly scissors;
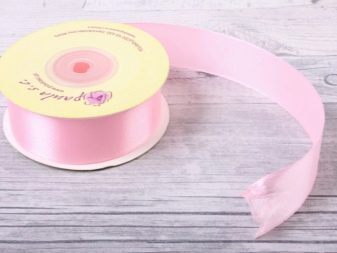
- pink satin ribbon;
- lace;
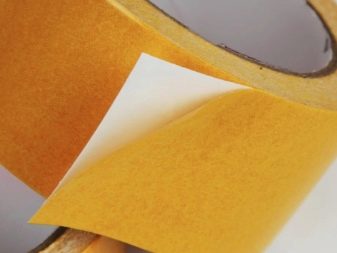
- Double-sided tape;
- red cardboard.
Progress.
- The base is made of red cardboard, the sheet is folded in half. A frame is cut out of white - for this you need curly scissors.
- A strip should be cut out of a checkered fabric, a rectangle from pink paper. Taking the middle from the frame, make a tag.
- The checkered strip is glued to the bottom of the cardboard.
- The tag needs to be tinted pink, make a hole in it, sign ("Mom", "Granny", "Girlfriend").
- Lace is fixed on double-sided tape.
- A rectangle made of paper with polka dots is glued to the upper left corner, a frame is glued on top.
- Beads, a flower and a satin ribbon bow complete the work.
Such a postcard is made very quickly, the colors can be changed to your taste.

Volumetric
Volumetric postcards (3D format) always look very impressive, this is a real surprise, dynamics.
To make one of these options, you will need:
- black paper (velvet can be used);
- pencil, ruler, sharp scissors;
- paper with beautiful, matching patterns;
- white sheets;
- glue;
- pink, peach or light beige and green double-sided paper.
Manufacturing in stages.
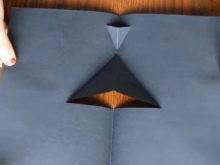
- The black paper is folded in half across. Down from the top we measure 8 cm and 19 cm, marking. A 6.5 cm line is drawn from the first to the right, 2 cm from the second too. The paper is cut according to the designations.
- From the small cutter upward, you need to move 3 cm up, put a mark, to it - gently bend the paper. The future postcard can be opened and aligned along the outlined lines.
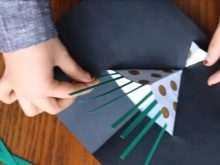
- The closed work must be attached to the patterned paper, outline the contour of the volumetric element. Next, you need to cut out two small and large triangles and fix them on the element that you cut.
- Black paper sticks to white paper. And in order for the parts to be voluminous, they do not need to be glued.
- Cut more strips of 10 cm from green paper. They are fixed to the inside of the volumetric part.
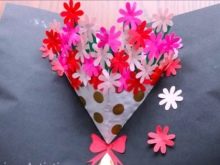
- Cut 3cm squares from pink, red, and peach / beige sheets. They fold in half three times, the corner is cut and unfolded.
- The flowers are glued to the green stems behind the voluminous figure. The excess strips are cut off. A bow is drawn on pink paper, cut out, glued to a bouquet between volumetric elements. The work is ready.
In quilling technique
Paper plastic is almost a piece of jewelry. But the more elegant such postcards look, and the recipient will get out of the envelope, in fact, a work of art. For beginners, you can offer an option for a simple but beautiful congratulatory composition.
For work, you need to take:
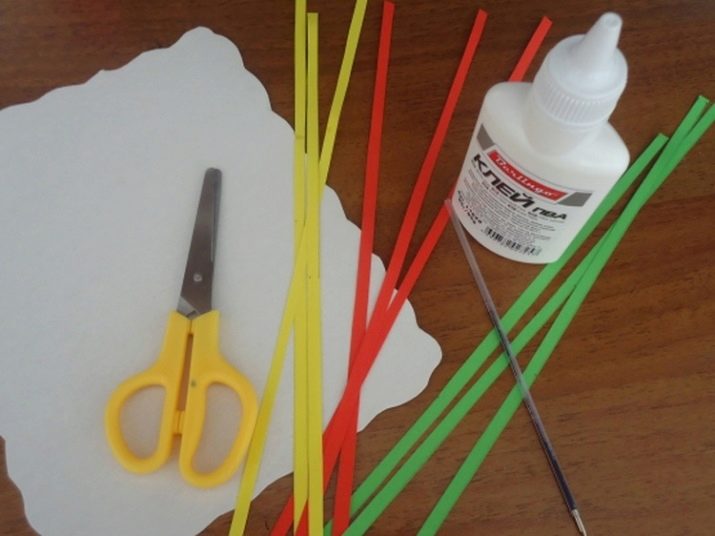
- many strips of colored paper (red, green, yellow) 30 cm long, 5 mm wide;
- scissors and PVA glue;
- any beautiful cardboard for the base, textured, suede, metallized;
- rod from a ballpoint pen.
Quilling postcard step by step.
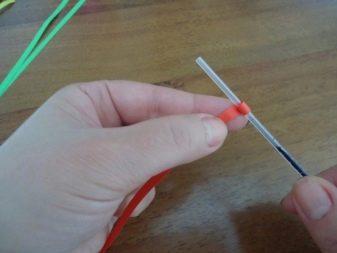
- Using a rod of red stripes, rolls are made for flower petals.
- Modules need to dissolve a little to create the final shape of the elements. Secure the tip with glue.
- To obtain a droplet or diamond, the edges of the twist are compressed.
- Leaves curl up from green stripes. Some will be closed, which means that the edges are fixed with glue. Others will be in the form of curls or stems.
- The yellow stripes curl into tight rolls, because they will become the cores of the flowers.
- First, the flower is collected on the table, without gluing. That is, the picture is being formed in the form in which it will remain on paper. You can take a picture of the preliminary calculation, so as not to be mistaken in the future.
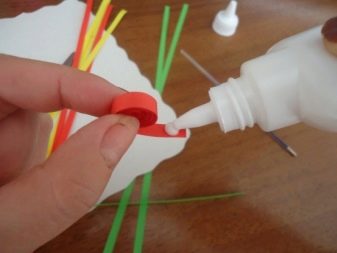
- It remains only to coat each module with glue along the edges and fix it on paper. A real gift bow can be the final touch.
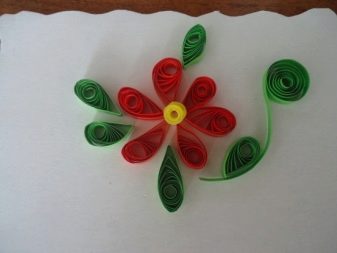

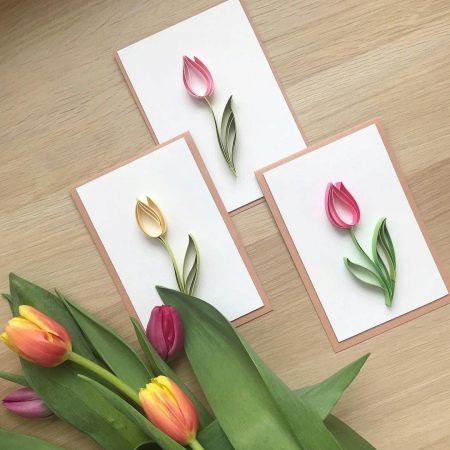
Hint: in the same technique, using only yellow rolls, you can make a bouquet of mimosa on a postcard. And if you stretch the petals by squeezing the edges, you can make a bouquet of tulips.
Simple baby card ideas
If a child will make a postcard, the work should not be too heavy for him. Even the most basic ideas can be charming - like the ones in the selection below.
Easy and fast - postcards made with children.
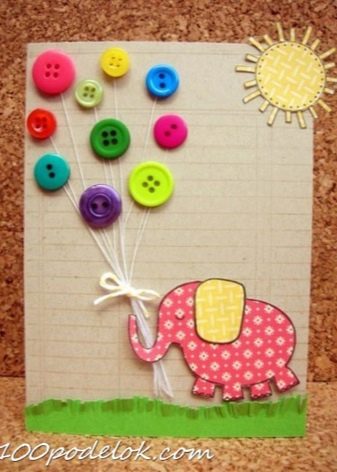
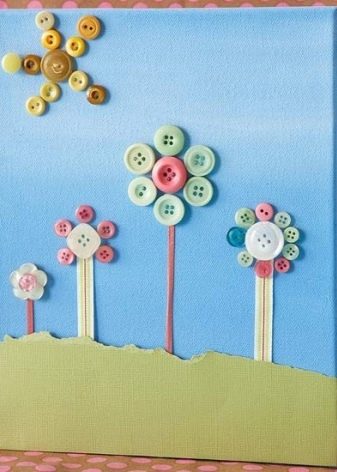
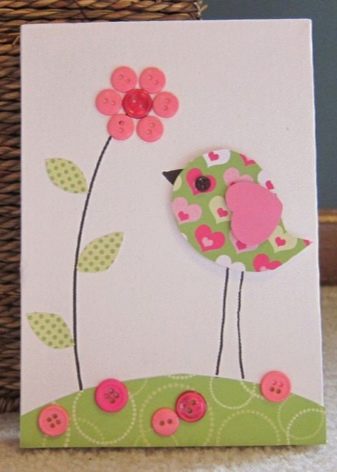
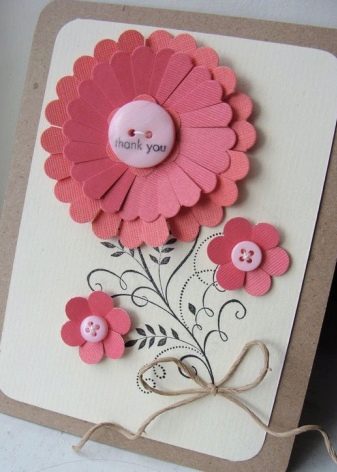
- Button-like. The base can be simple - a thick sheet or cardboard. The elements are large, without jewelry cutting, ideally made of designer cardboard with prints. But the main highlight of the product will be a button. You can make anything from it, flowers, eyes and beak for birds, images of a meadow, houses, balloons. The buttons can be fixed with double-sided tape.
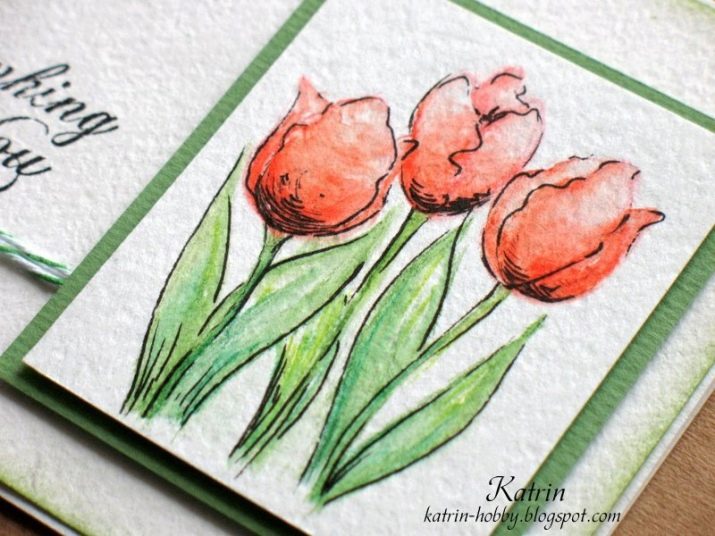
- Miniature. A thick, beautiful thick sheet is taken (for example, velvet cardboard or metallized). It is cropped to fit the size of the future postcard. Next, a sheet of watercolor paper is cut out, also thick. It is glued so that the previous sheet is a frame. The watercolor fragment can be cut with curly scissors. And the main element of such work will be one flower, a modest vase with a flower, a cute dog, or something else that does not need any addition.
It may even be the first child's drawing that the mother will skillfully cut out and stick on the base - the cutest gift for a grandmother.
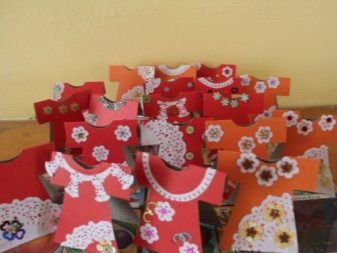
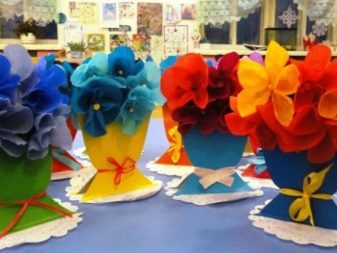
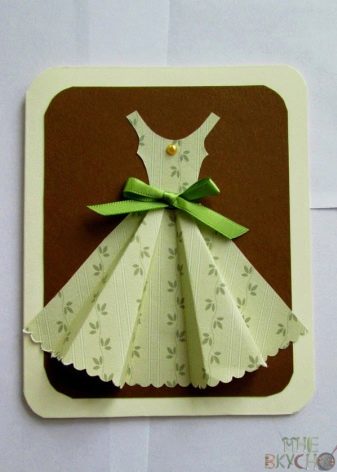
- In an unusual form - dresses, girls, ballerinas, vases of flowers. In this case, the object is not glued to the background, but itself becomes the basis.
A beautiful pendant is obtained from such a postcard, that is, a gift can become an interior decor.
- Subject. It is as if some scenario, scene or motive is being played out on these postcards. It can be a girl with a bouquet, giving flowers to her mother, educator, teacher. Or some scene from a literary work.
In fact, a postcard can be a plot application, which is transformed into a form convenient for congratulations.
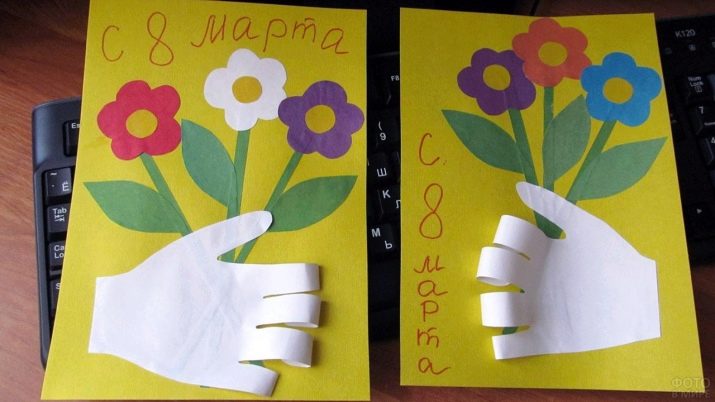
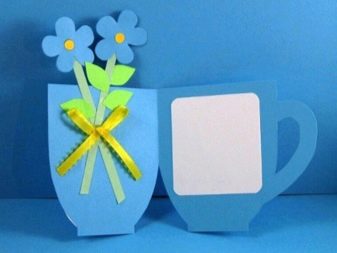
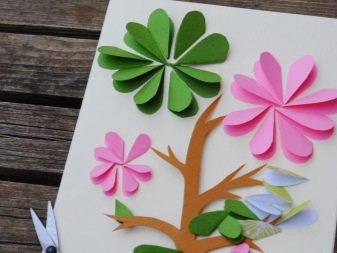
Examples of simple postcards made by children include:
- this is the same scrapbooking, only for beginners - with the help of an adult, even a preschooler can cope with such an open mind;
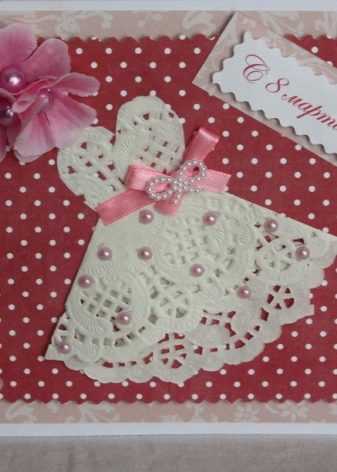
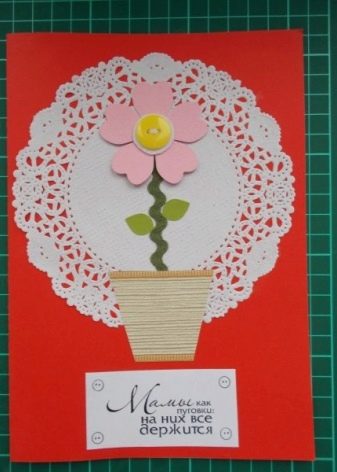
- cute and simple version with core buttons;
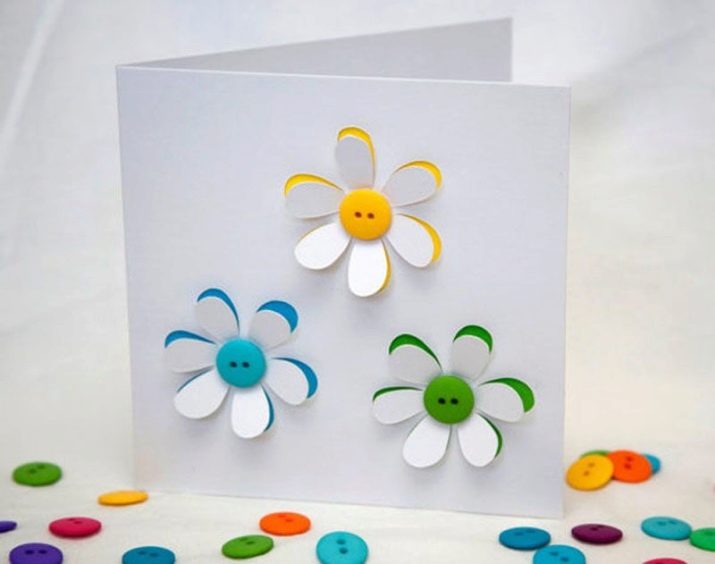
- a simple application can become a motive for a small postcard - there is nothing complicated here, but a charming congratulatory composition is obtained from the most standard elements;
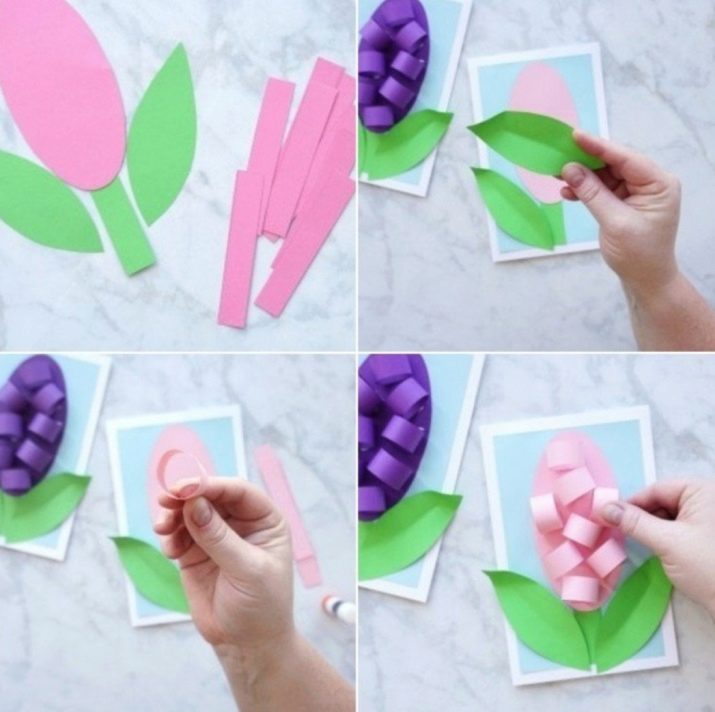
- another option that does not require a lot of effort and time - you can write good wishes to mom on the label;
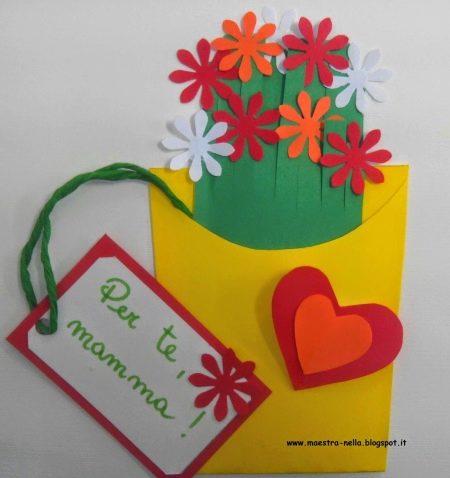
- here everything is so simple that it is difficult not to cope, but the point is in the paper, it must be dense, textured.

All this can be done even without detailed master classes - the algorithm is clear without lengthy explanations.
Also, the postcard can be changed, supplemented with your own elements, performed in other colors and sizes - it can come out even better.
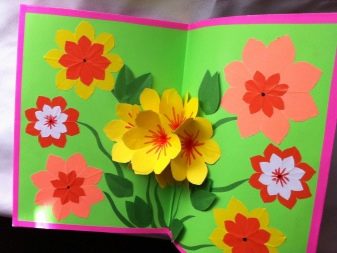
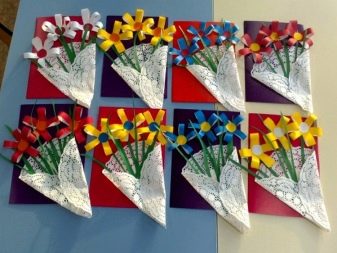
Original options
If you want something a little different, you can think of the idea of creating a moving greeting card. Or postcards with a focus. This design will require more skill, but everything is quite feasible.
To make such work you will need:
- white sheets;
- cardboard;
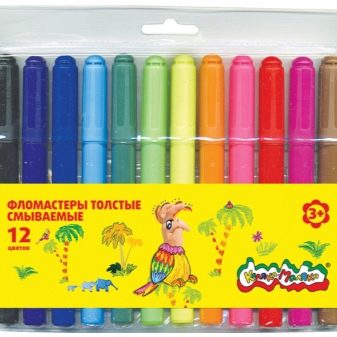
- felt-tip pens and marker;
- pencil and ruler;
- the film is transparent (dense enough);
- PVA glue;
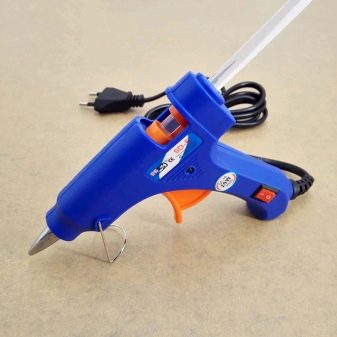
- hot glue;
- ribbon.
How to make a creative postcard.
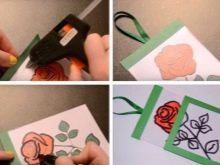
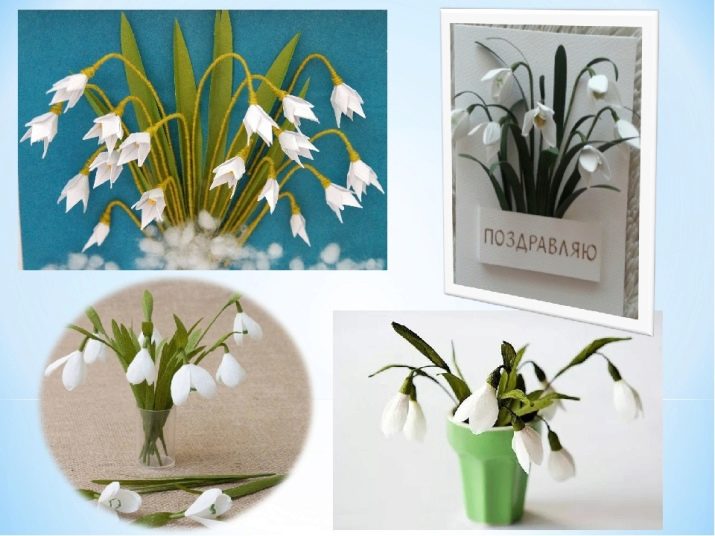
- First you need to draw a rose. It can be replaced with any other suitable flower (snowdrops, for example), but this MK uses a rose. The drawing should be bright, therefore it is better to work with a marker. The sketch is painted with felt-tip pens.
- The picture must be measured with a ruler. The film is cut to the exact same size.
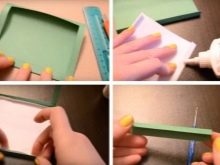
- A strip is cut off from colored cardboard, the width of which is 4 cm. It folds in half. The drawing is glued to the inside of this strip, then a film is applied to it. The upper part of the strip is sealed. A ribbon is fixed to the cardboard.
- Now you need to start creating the focus itself - there is nothing particularly difficult here. With a marker on the film, you need to draw the contours of the rose.
- It's time to make a frame - Colored cardboard must be folded, insert a picture and fold the rest of the cardboard. Excess paper is cut off.
- This will make the cover out of the cardboard. On the side where there is no folded edge, a window is cut out. From each side it is necessary to retreat 1 cm and delicately cut a window along the contour.
- Now you can take a white sheet, put a flower drawing, cut off the excess, fold the sides. Glue is applied to the bent lines, this fragment is glued to the inner frame part. You can glue the frame itself.
- After the gluing process, two pockets are formed in the frame, one is hidden. The picture is sent to the frame. In the first pocket there will be a picture on the film, the second goes to the open part.
All is ready. By pulling on the tab, the image can be pulled out. On the outside, it will be colored, the picture in the frame will not.
An interesting creative experiment for children who love little tricks and want to surprise their parents or friends, teacher or educator with them.

Another unusual option is an envelope postcard. In this case, not paper, but felt will be used.You will need durable felt of several colors, hot glue, scissors, all kinds of decorations to your taste.
How to make a felt postcard in an envelope.
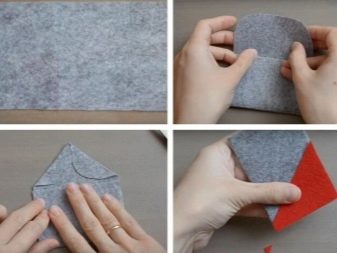
- A rectangle should be cut out of the fabric, 20 by 10 cm is an excellent size. It needs to be folded along, cut off the upper corners. The material is folded so that the envelope comes out. The upper corners are folded to form a triangle.
- The envelope is closed. It is necessary to determine the place where its top ends, to make an incision there. The finished envelope will be closed. Now you can glue it.
- It's time to design the postcard: a triangle of the required size is cut out of red felt. The part is glued to form a pocket.
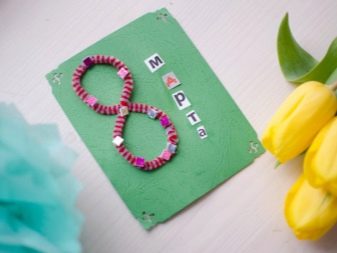
- Now a figure eight is cut out of felt. It should be smaller than the envelope. The figure is decorated arbitrarily.
- Add a lighter strip to the red triangle. The eight goes into the pocket.
- A bow is made from another cut out strip, it is glued behind the envelope. The middle of the bow can also be decorated.
- It remains to add the word "Martha" on the front strip. A fabric contour is suitable for this purpose. Or you can just print the word and glue it on.
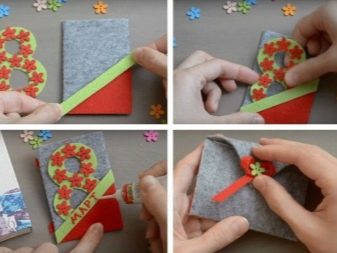
An unusual envelope postcard is ready. A very convenient option if you choose a certificate or money as a gift.
Beautiful examples
And in the end, 10 more examples of the best postcards for March 8, which everyone can do with their own hands.
Ideas for inspiration.
- So simple, but so exquisite - this is a real magical work in the quilling technique. You can make several copies and gift all your loved ones.
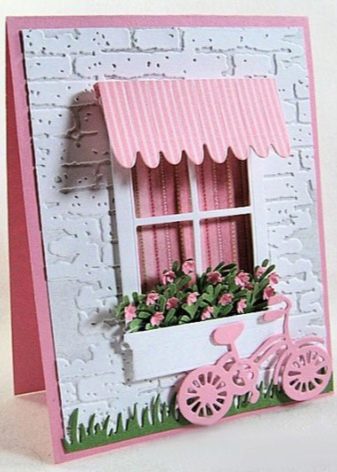
- A beautiful postcard that will warm the soul. And if you try to visualize the home for the gifted person, the gift will surely make you cry.
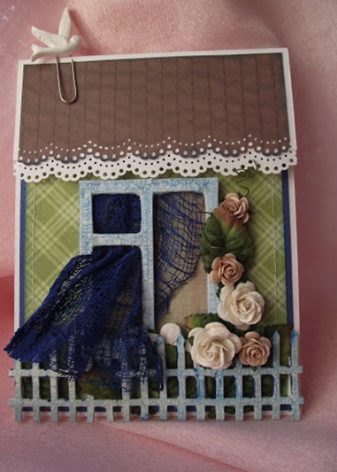
- Buttons, cardboard (or foamiran) - everything is simple, but at the same time nothing superfluous.
- A postcard dress is a good compliment for a fashionista. And women of fashion of any age.
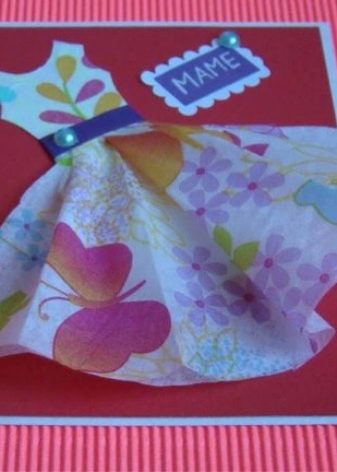
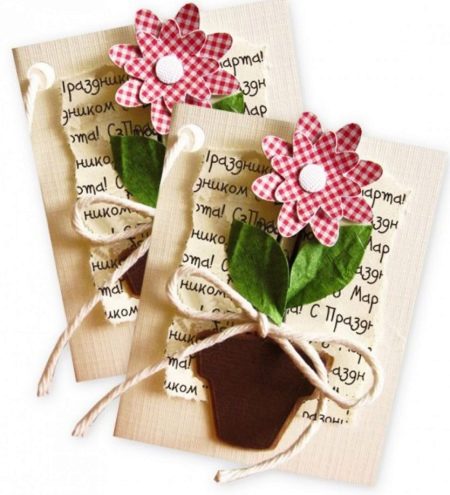
- A flower in a pot is a symbol of comfort and warmth of the home. Consider this postcard as your best holiday wish.
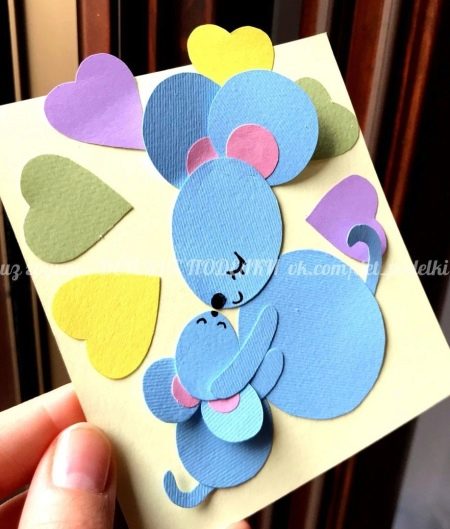
- Mom and baby are a topic that always evokes sentimental affection.
If a child gives such a card to his mother, delight is guaranteed.
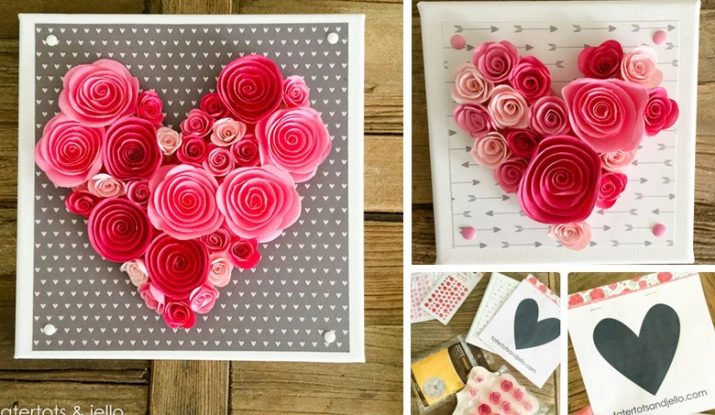
- Heart of roses - instead of unnecessary words, as they say.
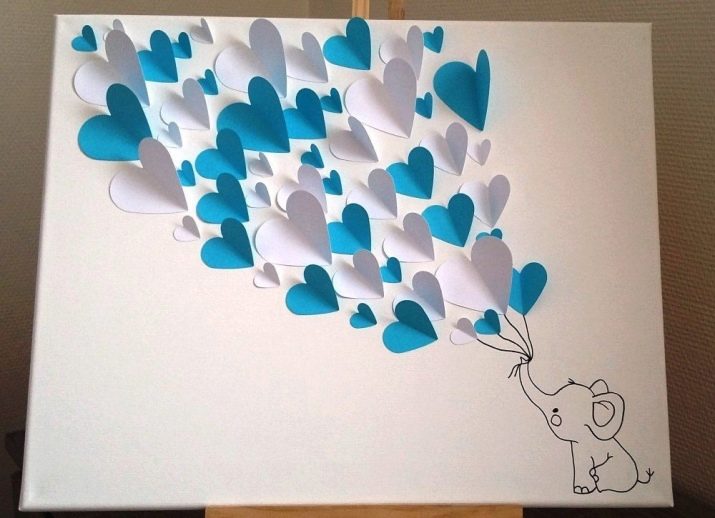
- A baby elephant with heart balloons is nothing complicated, but even such a primitive is capable of moving.
- A very cool option to which even the smallest children can be involved.
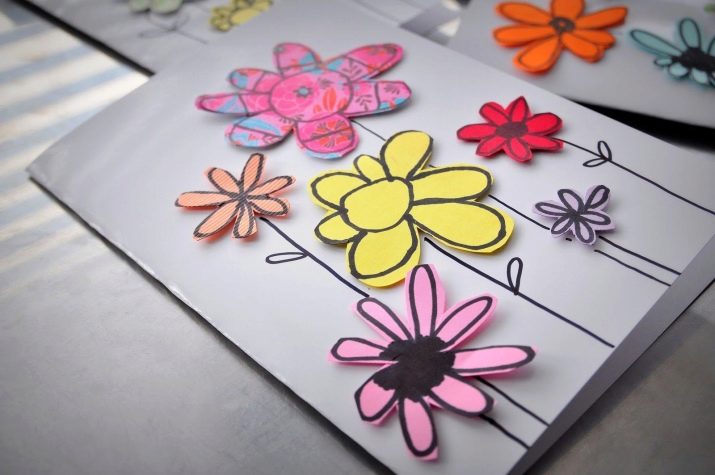
- Primroses on the day of March 8 - always relevant. All the more so gentle, directly jumping out of the postcard into your hands.
For how to make a postcard for March 8 with your own hands, see the next video.


