How to make a birthday present with your own hands?

You always want to surprise a birthday boy with a gift. Buying in a store is not a difficult task, but made with your own hands, it will be doubly pleasant, since it combines two aspects at once: a gift and attention. Handmade gifts bring warmth, light, and a piece of the soul of the one who created and presented.
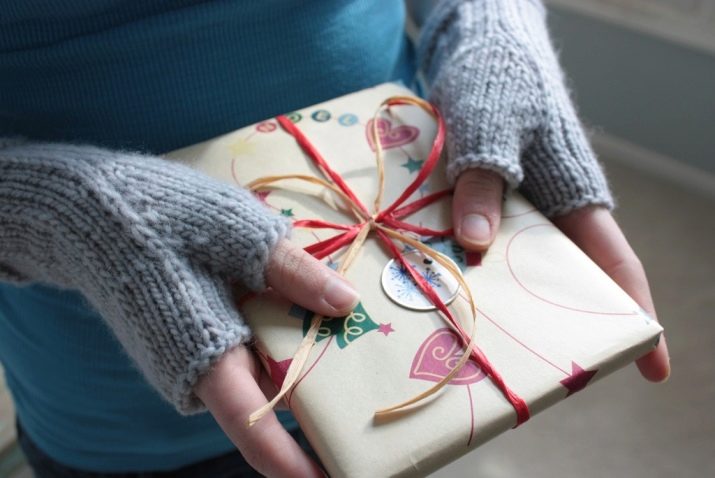
Original ideas
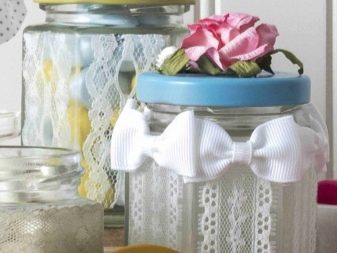
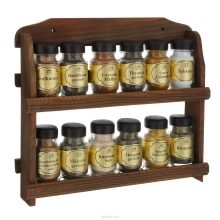
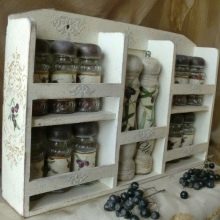
For true lovers of cooking or just gourmets, you can make an unusual set of spices or containers for cereals and loose seasonings. The spices themselves are selected according to the preferences of the person to whom the gift is intended. You can buy them in the store or make your own by combining several flavors. Of course, this requires storage jars. This is where it is worth showing imagination.
You can buy beautiful glass jars, or you can make a wonderful set from ordinary small jars of mustard, tomato paste, honey or something else. A beautiful design will be obtained using flax, linen lace, dried flowers, leaves or twigs, buttons, beads, beads, cardboard cuttings, various decorative metal products, decoupage cards, painting, threads, twine and so on.
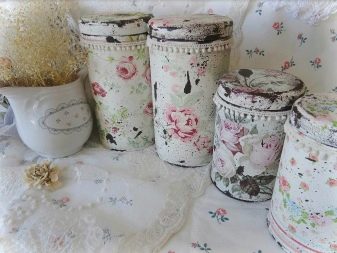
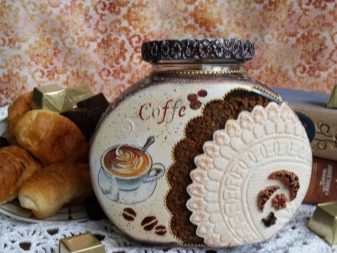
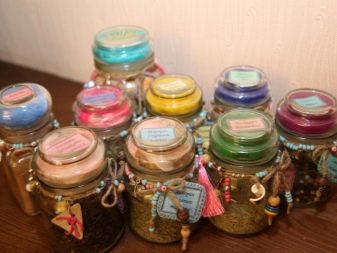
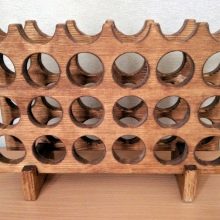
You can buy a set stand or you can also do it yourself. This will require plywood or wood planks. Think about what shape it should be, make two blanks, cut out holes with a jigsaw with a diameter slightly larger than the jars, connect with corners and decorate in a suitable way so that the set looks harmonious. Or just cover with craquelure or regular varnish.
Alternatively, you can make a special drawer or shelf.Just paint or add a volumetric pattern to the decoration. When designing, one should, of course, take into account the interior of the home of the recipient of the gift.
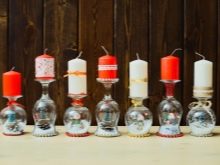
The next creative idea might be candlesticks made by hand... They can also be made from glass jars. For this, containers of any size are used. It looks more interesting when the composition is made up of cans of different heights and widths, decorated in the same style.
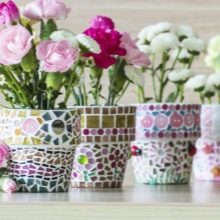
They can be painted with stained glass paints, decorated in vintage style, glued on glass mosaics, made an applique, rolled in beads, and put pebbles, glass beads, beads, rhinestones inside.
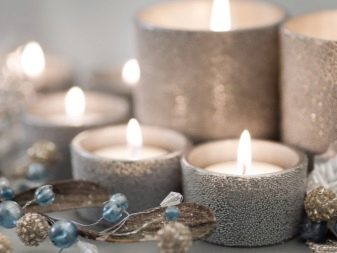
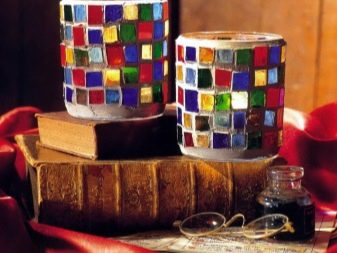
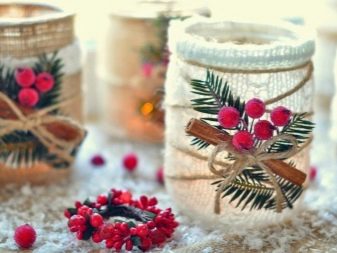
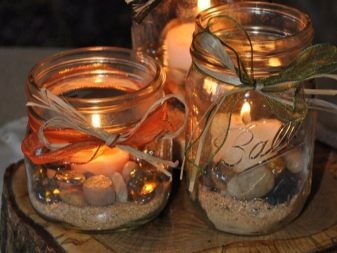
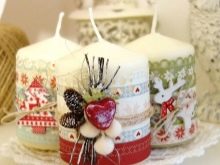
The candles themselves can be decorated with twine, special stickers, decoupage, ribbons, braid.

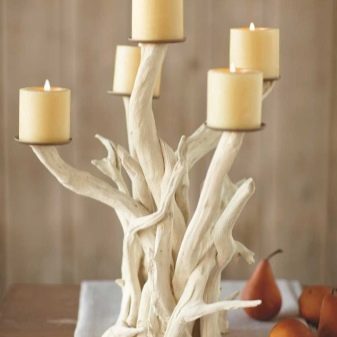
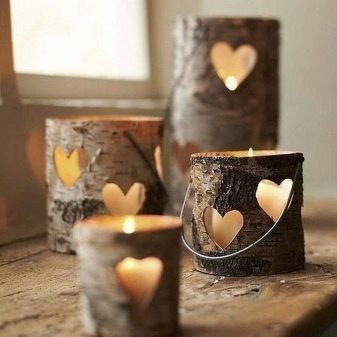
Eco-style lovers will love candlesticks made of bark or branches. Such gifts will be a wonderful decoration of the interior, give it a "zest", bring a touch of warmth and joy.
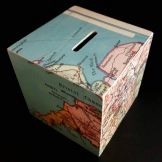
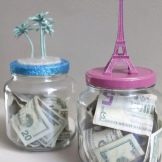
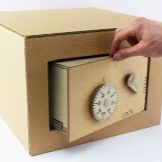
If the birthday person is saving money for something specific, then you can do for him a thematic piggy bank, well, or just a universal... For example, a traveler will like a piggy bank in the shape of a globe with various landmarks glued to it: the Eiffel Tower, London bus or the famous red telephone booth, and so on.
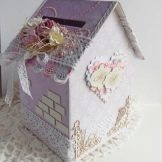
Lovers of lace will love the piggy bank, decorated in a cute shabby chic vintage style.
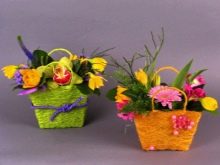
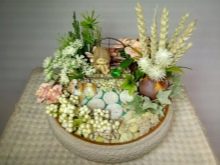
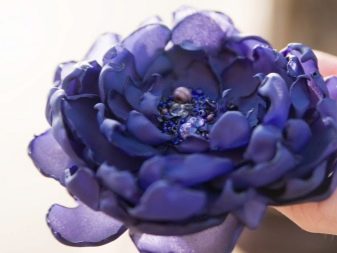
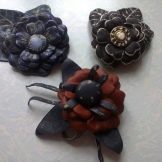
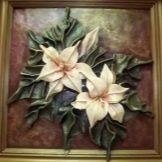
The next original gift is arrangement of homemade flowers. They can be made from corrugated paper, fabric, foamiran, leather, suede. They look no worse than living ones and will never fade. The composition will serve as a reminder of a wonderful holiday for many years.
This ikebana is complemented by various, pre-dried plants, twigs, all sorts of twigs, satin ribbons, lace. All of these can be bought in flower shops and craft departments.

For the manufacture of flowers from fabric, more suitable synthetic, transparent and translucent, such as satin, chiffon. They melt well at the edges, giving the petals a natural look. It is necessary to fold the fabric in several layers, cut it into squares of different sizes, from large to very small. Next, cut out circles from the squares; they should not be perfectly even. With a candle, melt the edges of the circles, varying the degree of folding of the fabric.
Then fold the petals. Big ones - at the very bottom, smaller upstairs and so on in descending order. Form a flower, pin off. Sew in the center with thread and then decorate at your discretion with beads, beads, bugles. Attach to floral wire to create a stem.
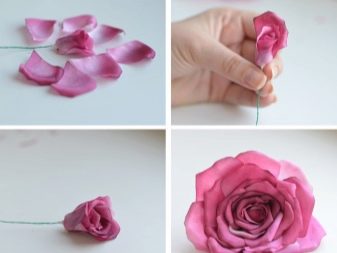
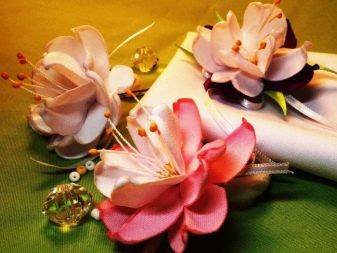
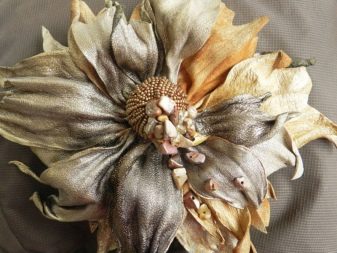
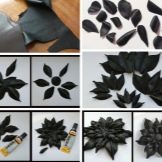
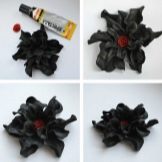
Interesting and unusual look flowers made of leather, and if you also apply several shades of this material, selected for a tone darker and lighter, then they turn out to be real. The manufacturing technique is very simple, the difficulty is below average and even a beginner can handle it.
- It is necessary to cut petals of different sizes. Then dilute the PVA glue with water, until the consistency of liquid cream. Here it is worth considering the thickness of the skin itself. The thicker, the more water. This consistency should saturate the material, not just spread. You can soak the petals in this solution and control the process. The material should be damp, but not wet.
- After impregnation, we form folds and bulges. To do this, fold the petals like an accordion, squeeze it at your discretion and leave it for 5-7 minutes, fixing it with something.
- We gently straighten the petal so that the folds are preserved. At this stage, you can fold and bend the edges to your liking. This procedure must be done with all the petals, giving them a different shape. Then let dry well. After drying, cut off a piece of wire for the stem, wind a small piece of leather with a roll from the edge and bend it. This will be the core of the flower. Around it, on the "Moment" glue, glue the petals in a circle, forming a flower completely. You can add leaves made in a similar way.
Such flowers can be used not only for making floristic compositions, but also for panels, decorations in the form of a brooch or rim, sew on a bag or hat.
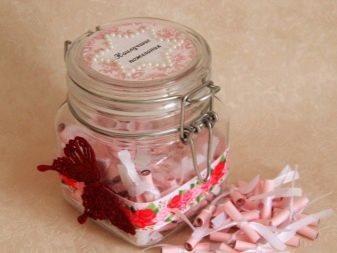
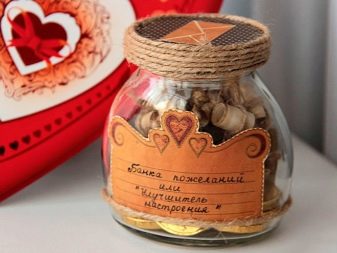
A cool gift or addition to it are jars of wishes. It will be necessary to cut strips of beautiful paper on which to write your wishes for the birthday man, roll them up with a tube and tie them with a string or a beautiful ribbon. Their number depends on the volume of the jar and imagination.
In addition to paper rolls, you can fill the container with small candies, pills, pebbles, glass pebbles. Fantasy ideas are endless.
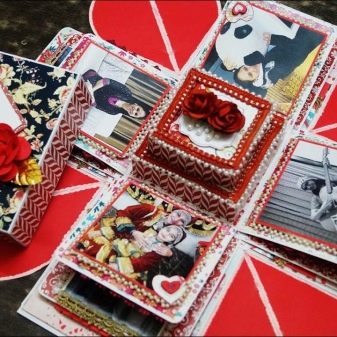
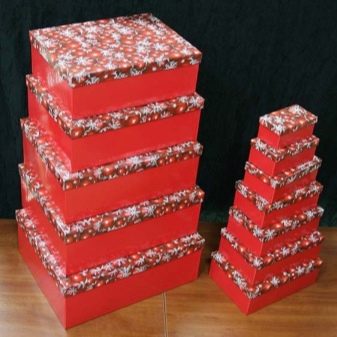
A great thing is a surprise box. She acts here both as a gift itself and as a festive packaging. Place in a large box, a smaller box, then even smaller, and so on, like a nesting doll. Receiving congratulations, it will be interesting to get to the bottom of the truth - what is there inside.
Moreover, each package may be accompanied by additional surprises, in the form of flying balloons, inscriptions with gags, covered with finely cut corrugated paper, sweets and others. You can cut the edges and when you remove the cover, the box will open by itself.
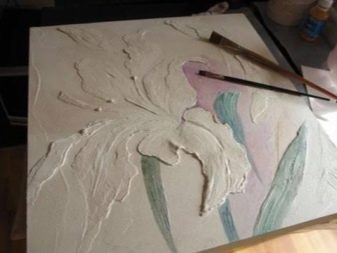
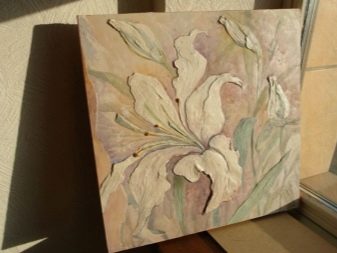
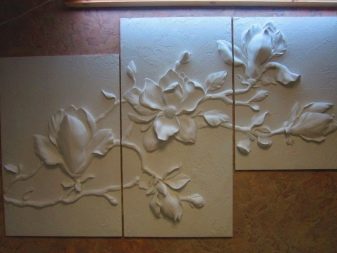
A handmade gift is always the best. Alternatively, you can paint a picture, make a panel or a bas-relief. There are a lot of options here. The choice of the plot must match the interior in order to please the owner's eye. You can use various materials for the panel.:
- eggshells;
- acrylic paste;
- various herbarium;
- skin, dense fabric;
- wood;
- a natural stone.
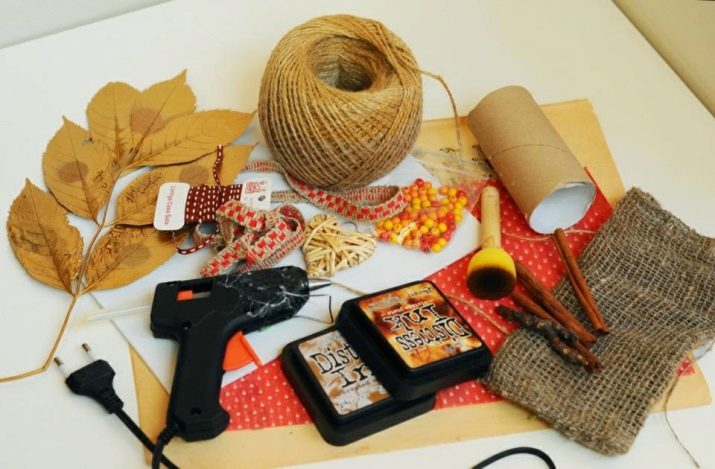
If you are not an expert in bas-relief, but really want to give such a gift, then ordinary thick cardboard will help to simplify the task. Prime the canvas or other base, cut out the necessary image details from cardboard. Those that should protrude to a greater extent, make them twice as thick, gluing together the same parts. In this way, completely form the image that should be the result. Glue everything to the base, after complete drying, prime again.
You can start applying paints already at this stage, or you can add additional volume using acrylic paste or a mixture of flour with PVA glue, mixed to the consistency of thick sour cream. We paint, and the last will be the application of a layer of acrylic varnish.
It is better to use matte, then the bas-relief will look more noble.
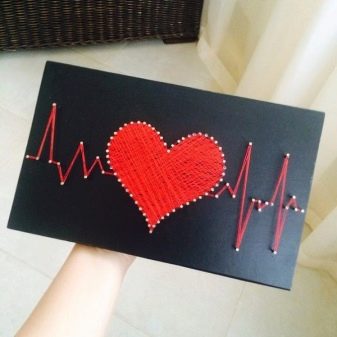
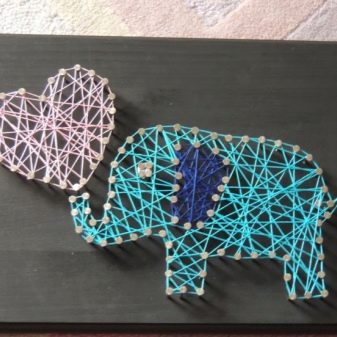
Wonderful panels are made from nails and threads. Draw the outline of what will be depicted and drive in the studs at the same distance along the outline. Then, having hooked a thread on one of them, you need to make a knot and wrap the pattern or part of it in a chaotic manner. Use both threads of the same color and different ones, if the picture provides for it. Moreover, such a panel can depict both children's and completely adult themes.
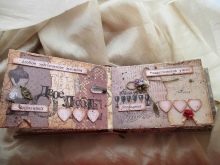
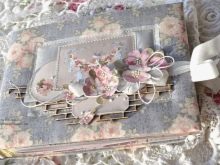
Using the scrapbooking technique, you can make photo albums, photo frames, recipe books, postcards, business card holders, passport covers, diaries, notepads, loose-leaf and simple calendars. The birthday boy will be pleased with the checkbook of desires, in which each check is the wish that the donor will fulfill for him. The owner of the checkbook has the right to present any check at any time and his desire must be fulfilled as quickly and unquestioningly as possible.
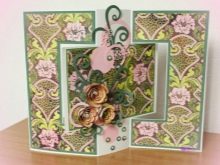
If you plan to donate money, then it will be superfluous to pack it in a do-it-yourself bill. Blanks are sold in specialized handicraft departments.
Handmade decorations
Such products will add special charm to their owner. Brooches, bracelets, pendants, earrings, necklaces are made. The materials are:
- epoxy resin;
- leather;
- wire;
- natural stones;
- beads;
- soft metal alloys;
- rhinestones;
- beads;
- textile;
- wool for felting;
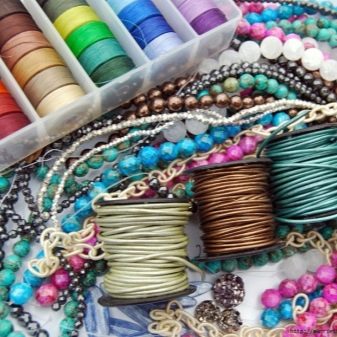
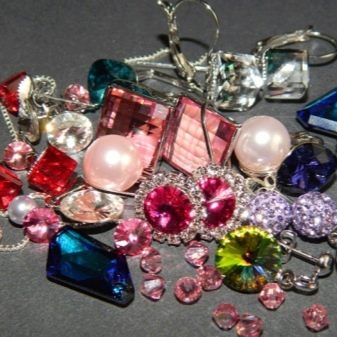
An individual approach makes jewelry one of a kind.
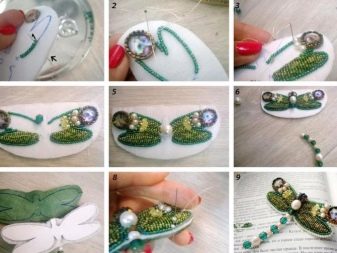
Products made from epoxy resin and soft metals require certain skills, and the work is quite complex.... Consider an example of creating a beaded brooch. For this you will need:
- skin for the base;
- beads of different colors;
- needles;
- awl;
- monofilament;
- glue;
- cardboard;
- wire;
- thin-nose pliers.
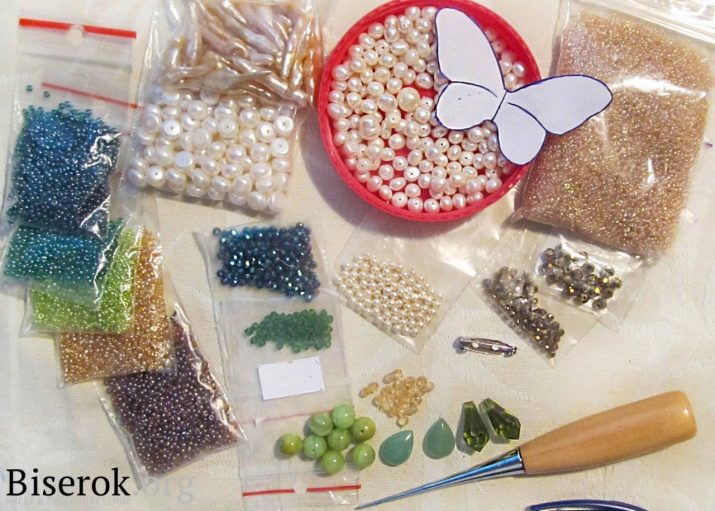
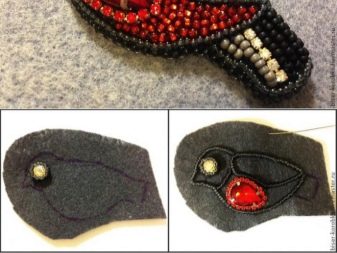
First you need to draw a sketch of what you want to create on thick cardboard. Cut out the drawing - this will be the basis. Then string beads onto pieces of wire. Form the required folds and link the parts together to form the desired image. Use leather for the wrong side. Cut another piece of cardboard, but two to three millimeters less than a leather pattern. Mark the places where there will be cuts for the spring and the ear of the fastener, cut them out with scissors.
Glue the leather to the cardboard, bending around the edges, and fix the fastener itself with glue in the designated place.
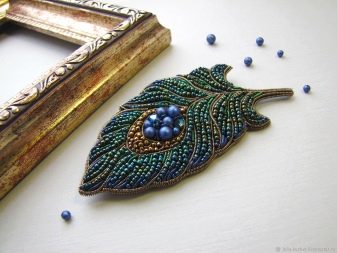
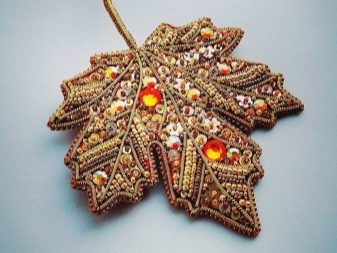
By choosing beads of five to six shades that smoothly merge into each other, you can create beautiful, amazing things that can be presented to mom, girlfriend, sister.
Edible presents
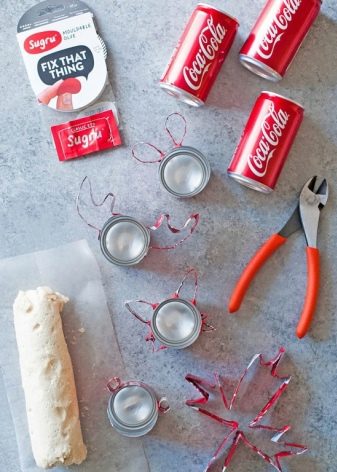
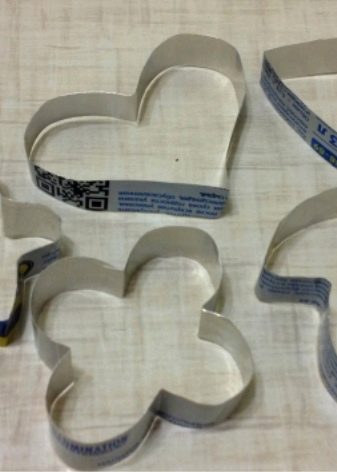
Do-it-yourself sweet birthday gifts in the form of cakes, gingerbread, cookies, sweets and other things will please not only children, but also adults. Let's look at some simple and quick recipes for making a sweet gift. This master class will be on making gingerbread. First you need to decide on the shape of the sweet products. You can buy it ready-made or make it yourself from a simple tin can.
Using metal scissors, cut the tin into strips and give any desired shape, fastening the ends with a construction stapler.
Required ingredients for half serving baking:
- wheat flour - 1 glass;
- rye flour - 1 glass;
- sugar - 100 grams;
- honey - 300 grams;
- butter - 100 grams;
- 3 yolks;
- vanilla sugar, cardamom, cinnamon, cloves - to taste;
- 1 teaspoon baking powder.
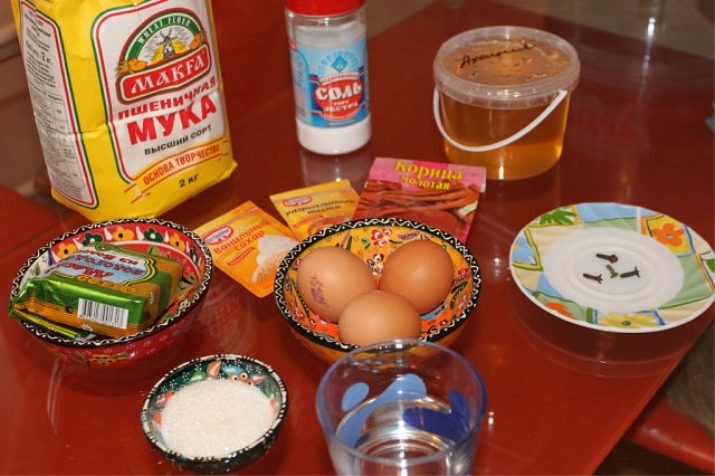
Add spices to honey, bring to a boil over low heat and cool to room temperature. Grind butter, yolks and sugar. In a separate bowl, mix baking powder with flour. Combine cooled honey with sugar, yolks and butter, add flour with baking powder and knead a tough dough. Roll out into a layer about 7 millimeters thick.
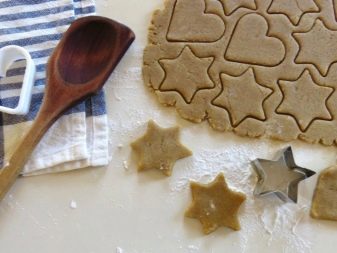
Cut the workpiece into molds, put on a baking sheet on baking paper and bake at 180 degrees for 7 minutes. Gingerbread according to this recipe is prepared very quickly, so it is important not to overexpose or burn. After cooling, decorate with a glaze made from a mixture of water and powdered sugar, purchased or homemade powders, food silver and gold.

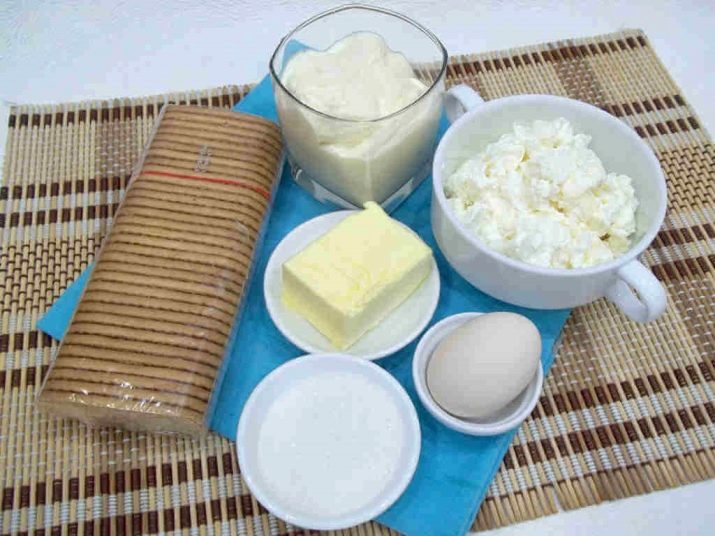
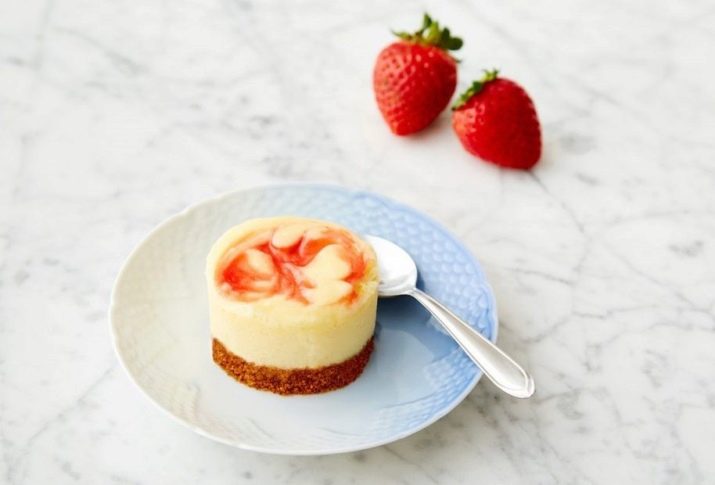
Here's a delicious and quick mini cheesecake recipe. For cooking, you will need the following products:
- butter - 40 grams;
- shortbread cookies - 100-150 grams;
- curd cheese - 400-450 grams;
- chicken eggs in the amount of 2 pieces;
- sour cream - 200 grams;
- sugar - 150 grams;
- wheat flour - 1 teaspoon;
- vanilla - 1 teaspoon;
- zest of half a lemon;
- powdered sugar;
- berries for decoration.
Preheat oven to 180 degrees. Grate cookies until fine crumbs. Melt the butter in a saucepan, add the cookies to a bowl and mix well. Put the mass into molds and smooth with your fingers to give density.
Place the molds in the oven for five minutes. Put eggs, half sugar, cheese, half sour cream, flour in a bowl and beat on medium speed with a mixer. Add vanilla, juice and lemon zest to the mass and mix everything. Divide the cheese cream into tins and bake for about half an hour, then remove, let cool slightly. Next, beat the remaining sugar and sour cream, apply on slightly cooled muffins and put in the oven for 5-7 minutes.
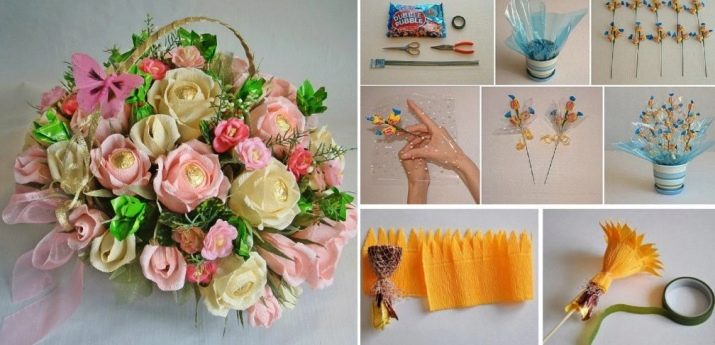
Sweet gifts include bouquets of sweets. Such a bouquet is easy to make yourself. To do this, you will need double-sided tape, wire, corrugated floral wrap paper, fabric.Make a cup of corrugated paper for each candy, wrap the wire with double-sided tape, then paper. Cut squares out of the fabric, fold them in half and wrap each flower, tying a suitable ribbon at the base.
When all the flowers are ready, collect the bouquet and wrap it with duct tape to keep it solid. Wrap in wrapping paper. You can wrap the top with the same fabric as the buds themselves, decorate with beads, making clips, with hot glue.
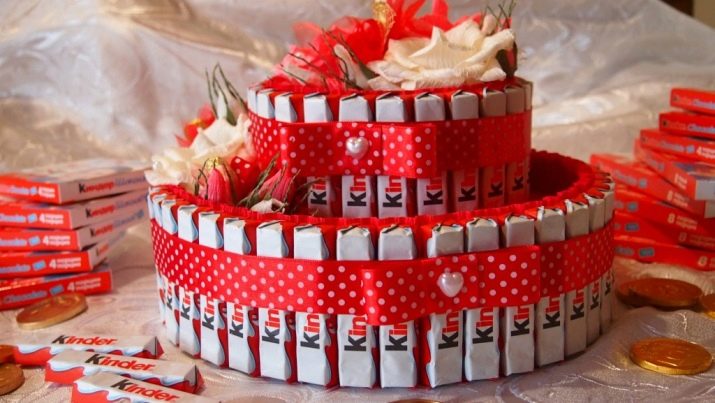
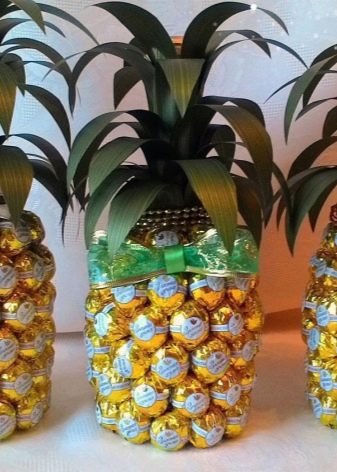
With cakes, everything is much easier. Choose your favorite birthday chocolates, make a cake out of them, gluing them to the base in a circle using the wrappers. It can be in several tiers, each tier of different sweets. Then wrap the finished product in transparent paper and tie it with a beautiful bow. You can make the so-called sweet poster. Here the names of sweets and chocolate are used as a continuation of the phrase.
Useful gifts
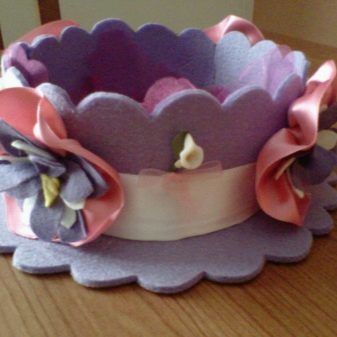
Many necessary things that come in handy in everyday life can be made, for example, from felt. These are homemade bags, candy bowls, hinged pockets for combs and small things, organizers, covers for mobile phones and tablets, magazine racks.
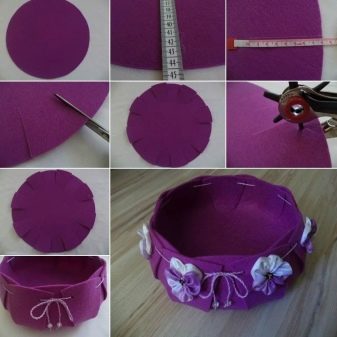
For example, we will give a step-by-step master class on making a candy bowl from this material. You will need:
- felt;
- scissors;
- hole puncher;
- twine;
- threads in the color of felt;
- a piece of leather.
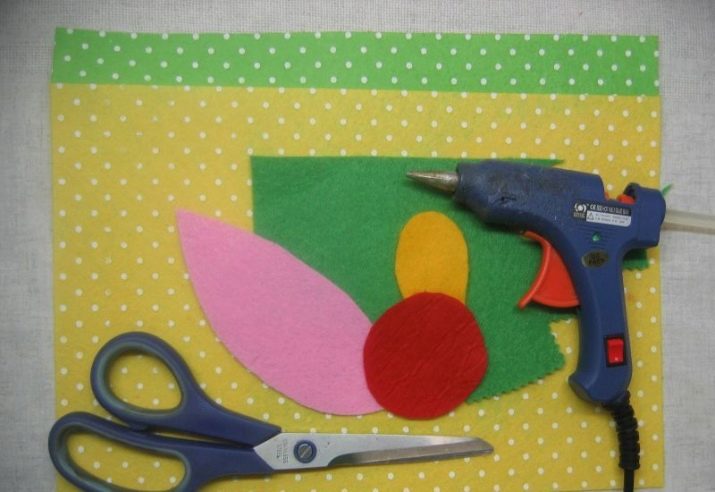
First you need to decide on the height of the sides. The larger the piece of felt, the higher you can make the sides and the deeper the product. Cut a square from the fabric to the desired size. Then outline where the holes will be for fastening the sides together. To do this, fold the felt in half to form a triangle and make symmetrical marks on both sides of the same corner.
Fold the other two ends and mark at the same distance as in the first case so that the candy bowl turns out to be even. Then punch the holes with a hole punch and fasten the four corners together by threading the string through the holes and tying the bows. The result is something that looks more like a bag. In order for the product to stand normally on the surface, it is necessary to sew the base from four sides. The bottom will turn out to be very stable due to the density of the material.
Now, to your liking, you can decorate with embroidery, braid or applique. You can fold a pattern from a string and sew it to the sides from one or all sides. Place the cut piece of leather on the bottom to make it even more compact.
Optionally, sew on a felt, leather handle or attach two handles from an old bag. The main thing is that they are in harmony with the product as a whole.
Knitten things
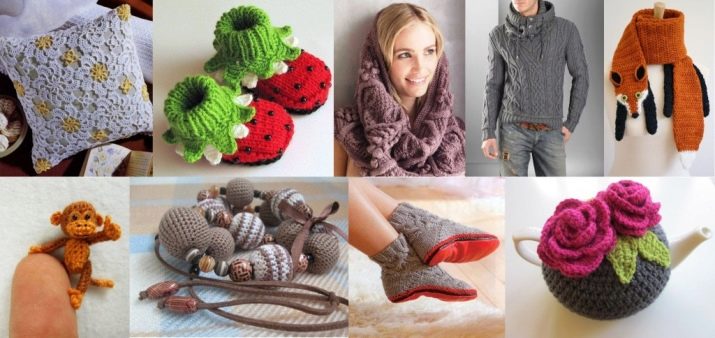
Do-it-yourself gifts are very sincere. Scarves, hats, mittens and gloves, socks, slippers and sweaters - this is what always keeps you warm in cold weather, and every time the birthday person puts on a knitted thing, he will mentally thank you. You can make decorative pillows and foot bolsters by tying a fancy patterned cover on them. Beautiful tablecloths and curtains crocheted in separate details and sewn together look amazing.
Homemade soap
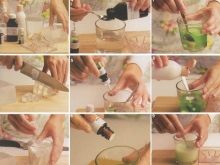
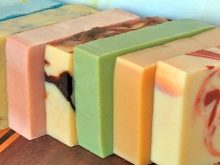
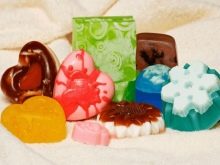
Handmade soap is another useful and always needed present. The set can be supplemented with scented candles, bath salt and beautifully packaged in a basket, lining the bottom with small pebbles or finely chopped corrugated paper. Making soap is very simple and if you decide to try, then you should stock up on the following materials:
- soap base;
- form for filling;
- essential oils;
- dyes;
- olive oil.
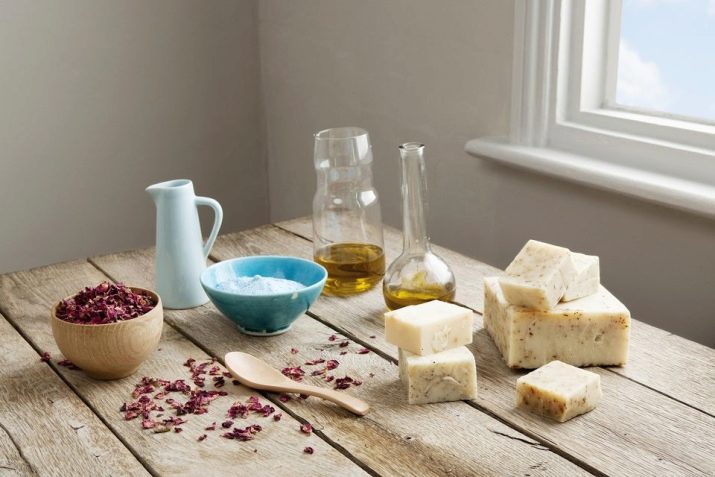
The mold can be both special containers for pouring, and plastic children's molds for a sandbox, silicone for baking (by the way, they are best suited for beginners, since the soap will be easy to pull out), cut bags of milk or kefir, jars of yoghurt.
Then the soap base must be cut into pieces and melted in a water bath, stirring constantly. The mass should not boil. Add one third of a teaspoon of olive oil to one hundred grams of the base.If you overdo it with oil, then the soap will not foam. Next, add flavors, colors, and other natural ingredients:
- cereals;
- honey;
- coffee;
- citrus zest;
- cosmetic salt or clay.
When all components are assembled, pour into a mold and leave to cool. That's all, the soap is ready.
Candles
Candles beautifully complement and create a cozy atmosphere in the apartment. Making them with your own hands is not difficult. Let's hold a small master class on how to make them at home.
Necessary materials:
- forms;
- wax;
- paraffin;
- cotton thread in the form of a wick;
- pencil;
- a cup for melting wax.
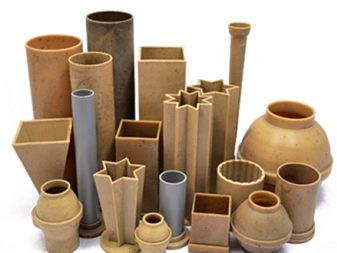
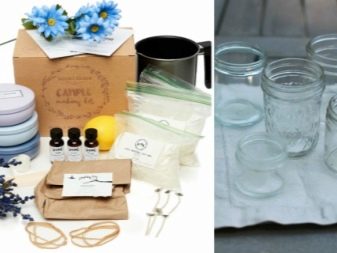
Place the wick in the filling mold, having tied it to the pencil in advance, and put it horizontally on the neck of the mold. Melt wax or paraffin, by the way, you don't have to buy them - you can use any old candles for this. Then pour a little on the bottom to fix the wick in the middle and let it harden.
When the wick is fixed, add the remaining melted wax and cool. You can add sparkles for decoration, colored wax pencils to give a bright shade, aromatic oils. Then, when lit, the candle will exude a subtle aroma. Wax crayons are added when kindling. After a day, cut off the wick, leaving the tip so long that it is convenient to light it.
Alternatively, you can make several different colors and pour them in one by one, after the previous layer has hardened.
If you make candles from transparent gel, then you can put a variety of decor inside. These can be shells and dried fruits, flowers and herbs, beads, rhinestones and much more. The manufacturing technology of such a candle is no different from wax or paraffin.
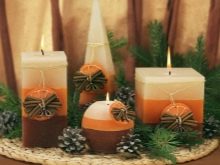
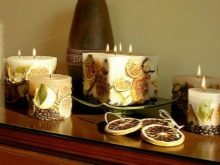
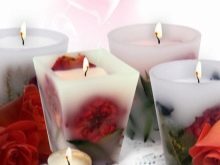
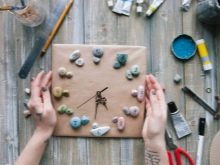
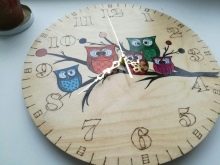
A homemade wall clock is another good gift option. They can be made from special blanks that are sold in the store, or you can come up with something of your own. From plywood, for example, cut out a blank of any shape, drill a hole for the mechanism and arrows, decorate, paint - and a useful gift is ready. As a basis, you can take vinyl records, wooden slats, an old bicycle wheel, a hoop, a cut from a tree trunk, and so on.

Origami
The quilling technique is widespread. This is a kind of applied art when a composition is created from swirling paper tubes. It turns out to be light, airy, but requires perseverance. You can make an applique on a solid, flat base in the form of a panel or create a voluminous craft with your own hands.
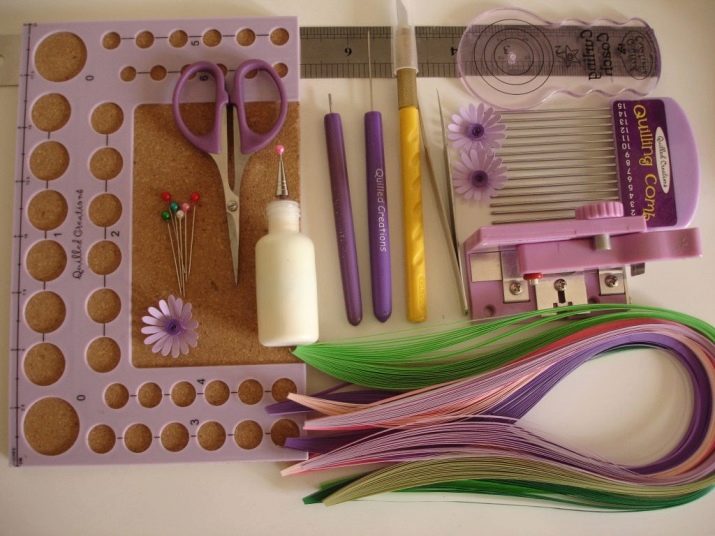
Can buy ready set for quilling or cut the colored strips yourself. The minimum set for making crafts using this technique:
- colored strips of paper;
- scissors;
- glue;
- wooden skewers or a special awl;
- compass or ruler with round holes.
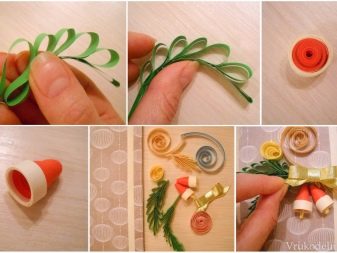
The first step is to create spiral modules. Wind a strip of paper onto a skewer, fix the edge with glue and remove. If you need a free spiral, then glue the edge after it unwinds a little. After that, various elements are formed in the form of a drop, an oval, petals, squares, hearts and so on by squeezing the spiral with your fingers in the right places.
There are also open spirals when the edge of the paper is not glued. This is how various curls, twigs, horns, hearts and others are created. After all the elements are ready, you can proceed to collecting an image or volumetric crafts. You can assemble according to the ready-made scheme, which is included in the quilling kit, or you can improvise.
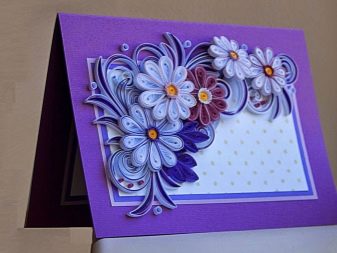
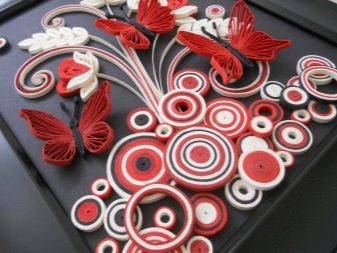
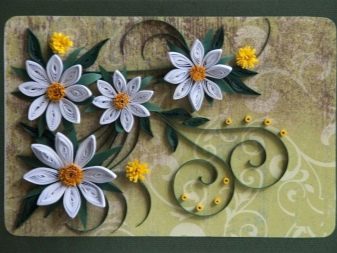
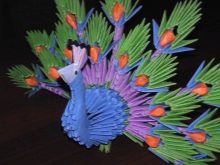
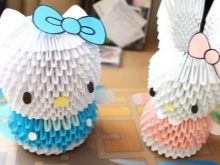
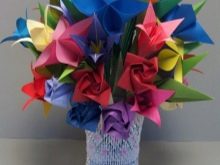
Interesting crafts are made using the origami technique. They also require perseverance, but while watching your favorite movie, creating crafts will give you pleasure.
Do-it-yourself greeting cards are often supplemented with origami components. Paper shirts with ties, dresses, various animals, flowers, bows, boats, stars are attached to the main background - this gives additional volume and a more interesting look.Often the cards themselves are an image assembled from paper using the origami technique.
The congratulation itself is inside, and in order to read it, you need to unfold the craft, and then roll it back along the fold lines. This postcard also serves as a decoration on the shelf.
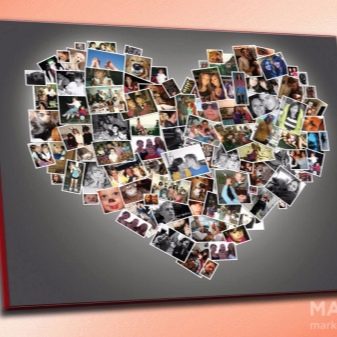
You can make a poster with congratulations. Draw or decorate with paper clippings, magazines or postcards, use decoupage cards, write congratulations in verse. Collages from photos look great. You can use photos from small to real age, comment on each with funny, kind jokes. If the gift is intended for a loved one, then arrange it in the form of a heart from joint photographs.
Complement by decorating with metal hearts, keys or flower arrangements.
You can give the photos to the artist and he will use them to draw a beautiful collage poster with romantic motives and your images. Or in the studio using Photoshop to choose the desired background for such a collage.

Simple souvenirs
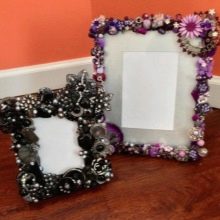
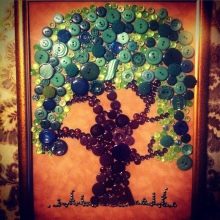
Sometimes you need to quickly make a small gift for a colleague, client or just an unfamiliar person whom you want to congratulate, but not spend a lot of effort and money on the present. In this case, fit magnets with beautiful congratulations, sachets, charms for the house, a figure made of balloons, a small photo frame decorated to your liking, wooden boxes, the decor of which is made by yourself, a panel of colored buttons.
You can buy a plywood word and decorate it, add decorative elements and give it away. Or stick wooden skewers with chocolates attached to them in a beautiful flower pot. You will get such a peculiar bouquet of sweets.
As an option, cut out a figure from slate magnetic paper and write wishes on it. Give along with crayons so that the birthday person can attach it to the refrigerator and use it for writing.
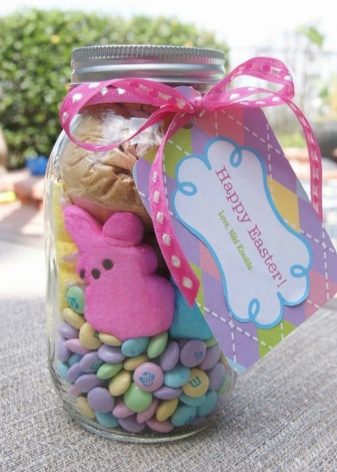
A bottle filled with small candies with which you can come up with funny names will cheer up a sweet tooth. Sweets can be called "vitamins of joy", "dragees that make wishes come true", "magic pills", "inspiration sweets" and so on.
USB stick in an interesting, unusual case, which you can also make yourself - a practical and very necessary gift.
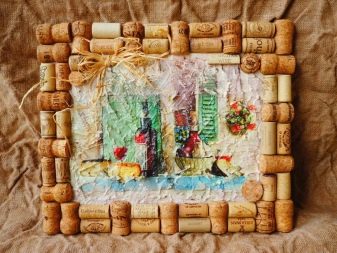
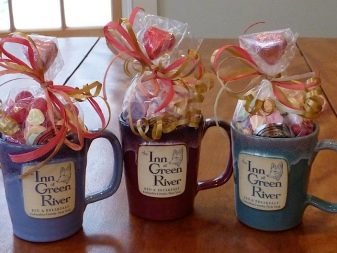
Buy a mug with an original print. It can be filled with something sweet and packaged beautifully. A key ring or a handbag will make a pleasant impression. If you have a lot of wine corks, you can quickly and easily create a panel from them. Take any frame, cut into cork circles, decorate as you like and stick on the base, making up the figure. Simple, fast, cheap and beautiful.
DIY gifts are always nice. Therefore, please those dear to your heart with homemade masterpieces. Rest assured they will appreciate it.
See the next video for a master class on creating gifts with your own hands.


