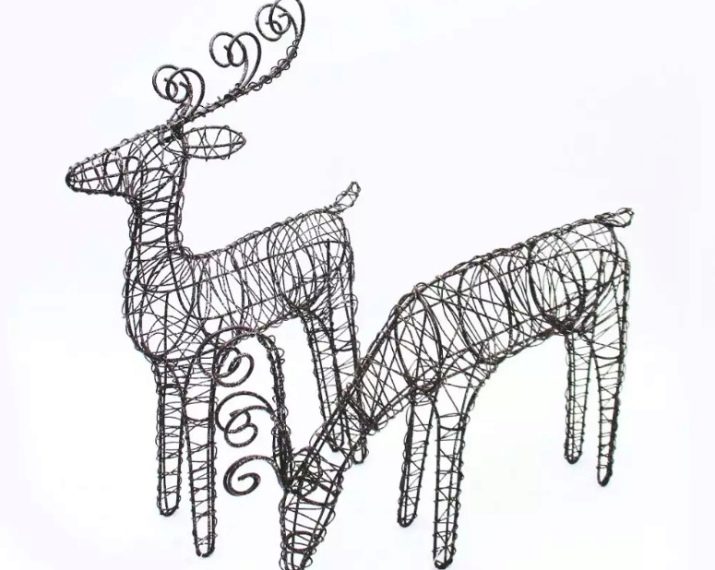
DIY wire deer
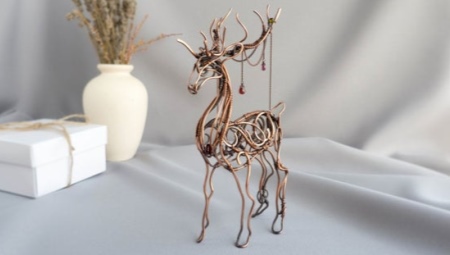
The deer is a symbol of the New Year. After all, Grandfather Frost rushes through the snow in a sleigh pulled by a reindeer. From under the hooves, fountains of silvery snow, sparks of stars. Let a deer, created by our hands, live in our house or near it!
Tools and materials
To make a wire deer for the New Year with your own hands, prepare the necessary tools and materials.
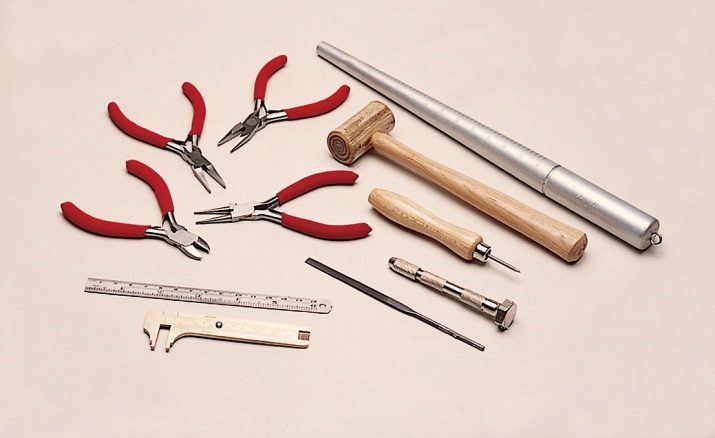
You will need the following tools to work:
- pliers;
- nippers;
- ruler;
- scissors;
- tweezers;
- hammer.
The following materials will be needed:
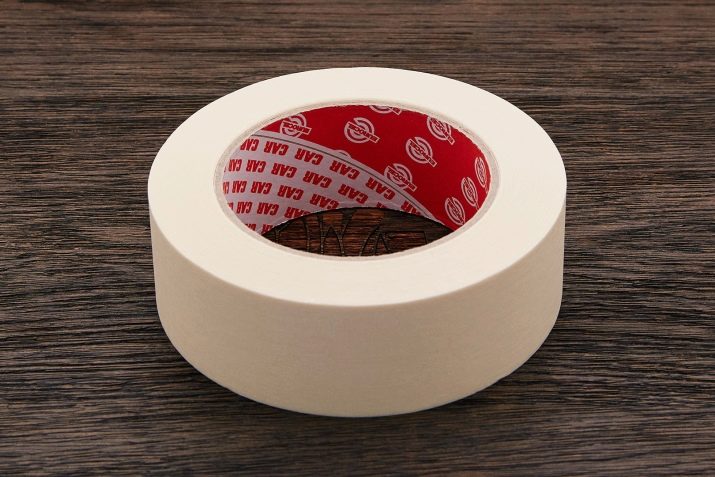
- masking tape;
- strong threads;
- wire;
- paper, whatman paper;
- pencil, paints;
- nails;
- stationery power buttons;
- chenille wire.


It is necessary to say a few words about the choice of wire, because the duration of the "life" of our New Year's friend depends on its properties. We are talking about the strength of the product and the properties of the material: a figure of one and a half meters in height from a thin wire will simply doubt, bend under its own weight, and it will be difficult to bend a four-millimeter frame under a Christmas tree toy.
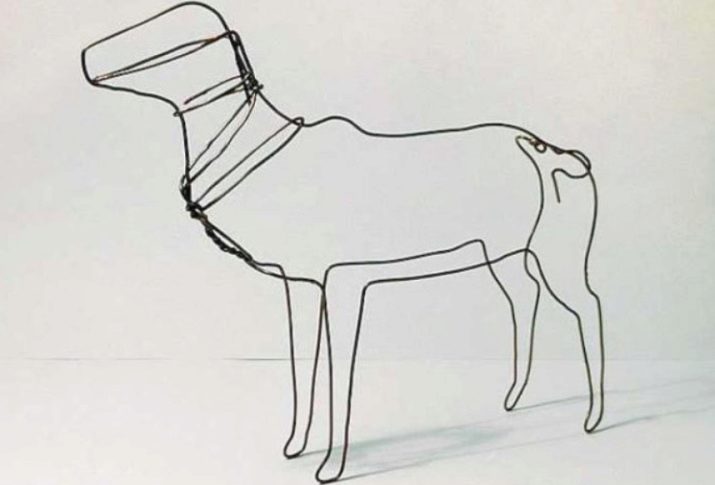
Here is a list of approximate ratios of scale, thickness and metal:
- up to 0.5 m - 1-3 mm, aluminum, copper;
- 0.5-1.5 m - 2-4 mm, aluminum, iron;
- more than 1.5 m - 4-5 mm, iron, steel.
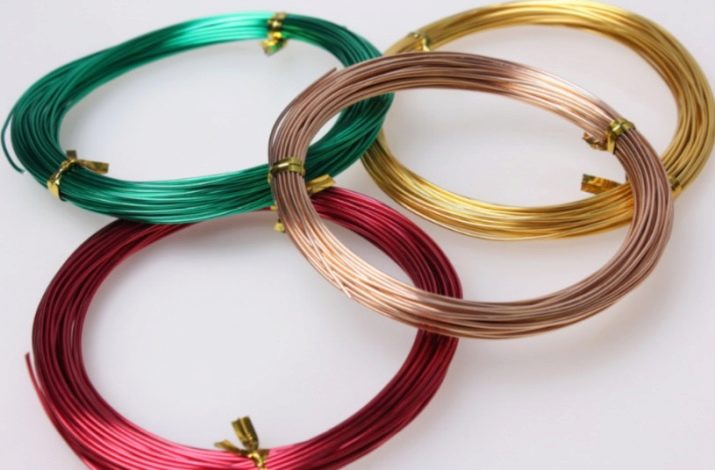
In the range of up to 0.5 m, the entire figure can be sculpted from the same material caliber. In other ranges, the frame is bent from the main gauge, and in internal bundles, to reduce weight and complexity of work, it is better to use a soft wire of a smaller diameter. A figure about a meter high requires about 30-50 meters of wire, depending on the filling of its volume. Buy the whole bay.
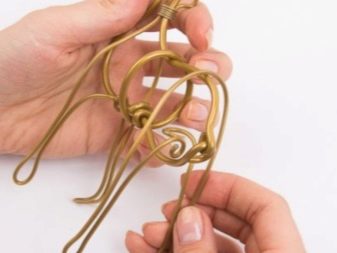

In addition, you can buy wires of various colors in the store: gray, green, yellow - for small figures. Then you don't have to paint the whole form.
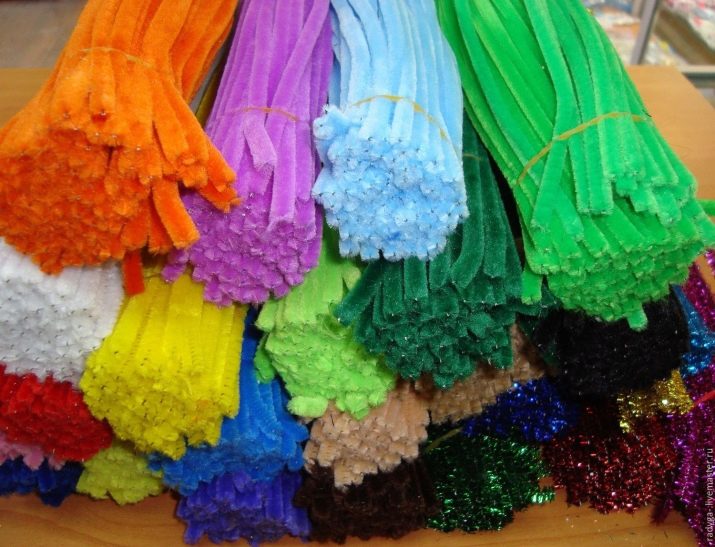
A miniature New Year's surprise for friends and family in the form of Christmas tree or table decorations can be created from multi-colored chenille (fluffy) wire. It is sold in bags at craft stores in a wide variety of types and colors.
Sketching
If you are even a bit of an artist, then you yourself can easily draw the contours of a deer in any projection. Everyone else will have to use ready-made templates. The simplest means, of course, is the Internet. We find a drawing of a deer in the desired angle. We print it on a sheet of A4 paper. In the end, the figurine will not be larger than this sheet.
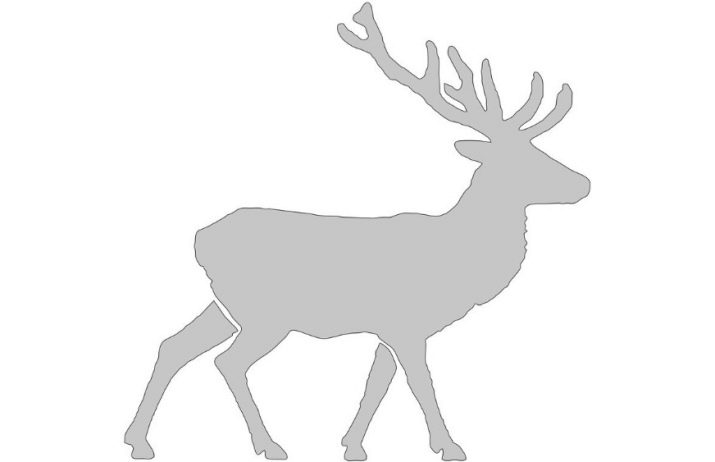
What if you want to have a large scale of your creativity? The following method is proposed to increase the size of the drawing.
- cut out the contour from A4 sheet;
- we glue it on cardboard;
- cut out again, we get a cardboard template;
- we assemble the scheme: we vertically set this template, illuminate it with a bright lamp, place a sheet of Whatman paper behind at such a distance to get the desired size of the shadow;
- outline the outline of the shadow.
Note also that for a slight increase in the size of the sketch, you can apply the vertical layout of the given diagram - place the screen at the bottom, above the lamp, and between them the original template.
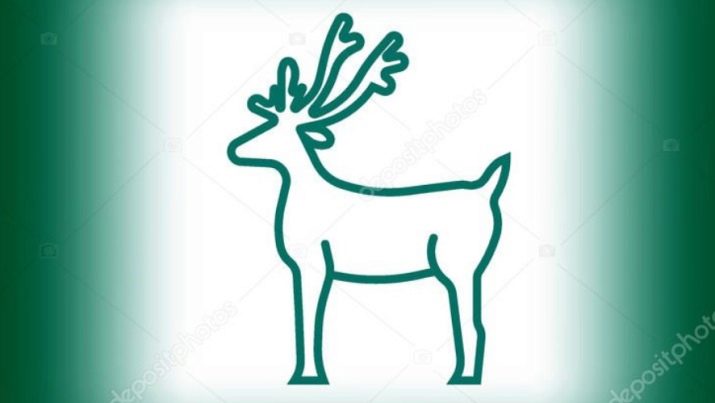
- The first type of pattern: single-loop. Only one blueprint is used.
- The second type is multi-contour: separate drawings are drawn for certain parts of the deer body. Usually it is the torso, legs, head, horns, ears
Now let's see what contours we have. Below is a very simple one. Nevertheless, it looks very much like a deer, the proportions are perfectly observed. In the next picture, a multi-outline pattern is also good.


Just a lovely deer. You have to work hard to create one.

Chenille wire
The fluffy wire with an outer diameter of 1-4 mm is strong, bends well with the fingers. Therefore, the frame of any figure can be bent right away, following your own imagination, without drawings.... Then process the finished frame with the same wire.

Look, what kind of fawn we have made of fluffy wire. Unusually cute.
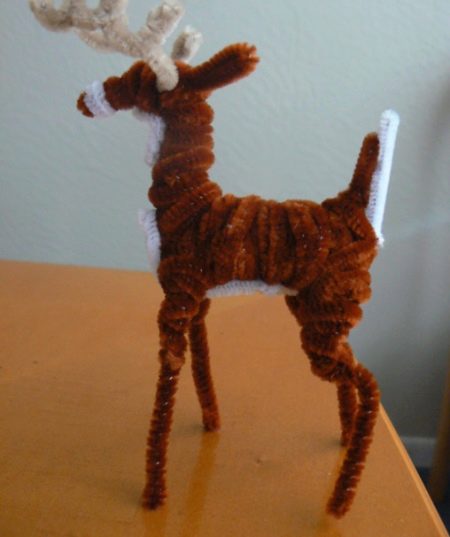
In conclusion of this part of the article, it must be said that the technologies, schemes, templates given here are just a guide to action and are not mandatory. Think for yourself, decide for yourself. Creative trump cards at your fingertips.


Phased assembly diagram
We will give a master class for the step-by-step assembly of our homemade Christmas deer. When making a frame, you can determine the length of a piece of wire as follows: we stick power pins along the contour, measure the length with a meter, plus the tolerances for twisting or wrapping with tape.
The amount of tolerance depends on the stiffness of the wire, is determined experimentally.
If the wire is too stiff to bend by hand, we use the same method, but instead of buttons we hammer in nails, using them as stops when bending the wire.
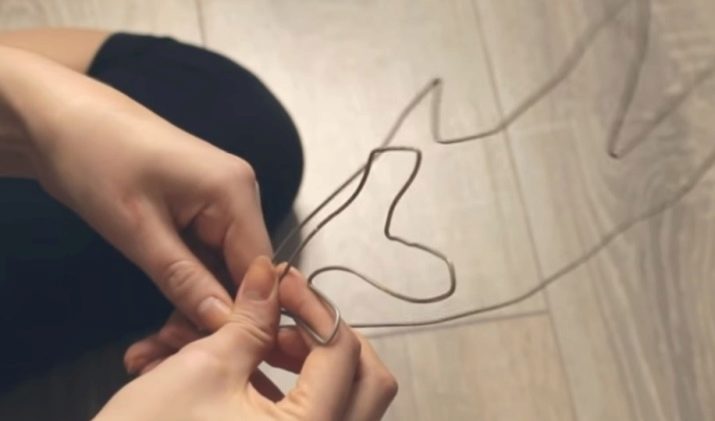
We practically took the first step: we collected the necessary material according to the previous point, made a template, that is, we decided on the scale of the deer figure. The second step follows from the project and the chosen method. It depends on your taste and capabilities. We present two main methods of making a deer carcass.
With two contours
We measure the length of the outline of the entire figure, cut off a piece of wire with a tolerance. Bend the wire along the line of the template, starting from the hind hoof, so that the ends meet in the neck area. We fasten it. We make two such contours and a pair of horns. We connect the resulting blanks close to each other in the area of the nose and tail.
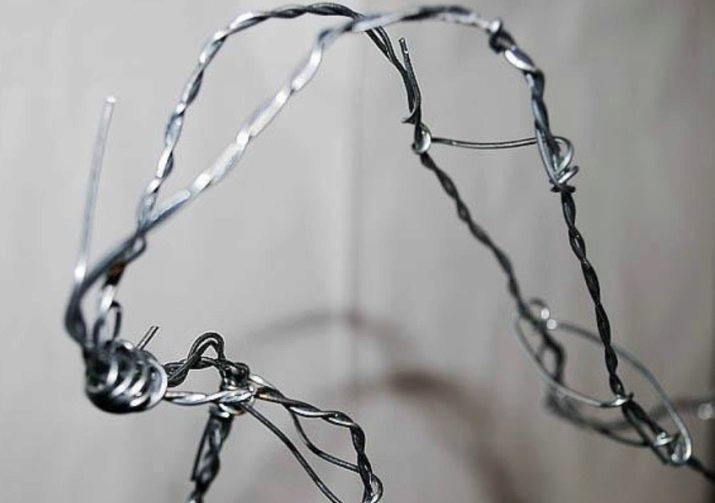
- Now we need to create the volume of the body: we insert pieces of wire between the contours so that the necessary strength of the craft is created.The number of such inserts depends, of course, on the scale of the figure and the thickness of the wire. The connections themselves are made by twisting by hand or with pliers.

- Then we will give stability and volume to the legs of the figure, wrapping them as neatly as possible, adding new wire elements if necessary. Finally, screw the antlers.

With one circuit
In this case, we recommend using a larger wire gauge for the basic flat shape than for the rest of the parts. Secure the elements in any convenient way: with tape, thin wire, strong threads, twisting.
- The bending of the main contour of the deer's body together with the head occurs in the same way as in the previous case, excluding the legs: we get 5 flat figures - a body with a head, 4 legs. And, of course, a pair of horns. Next, we make wire rings of different diameters, which depend on their location in the deer model. Starting from the muzzle, the rings increase in proportion to the structure of the animal's body: take a diameter equal to the height of the flat figure in this place.


- The distance between the rings is 5-15 cm, depending on the scale. The number of rings is determined by the iteration method: first, put 6-8 rings throughout the layout, check for deflection and shear stability, if necessary, add new rings between the installed ones. From the tip of the nose to the very tail, on each side of the deer, we stretch along a piece of wire, fasten it to the rings. However, the number of side lines is arbitrary, but not less than one on each side.

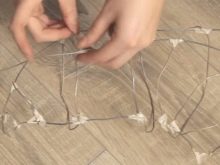
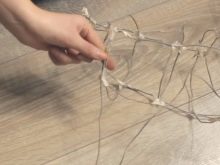
- We circle the back legs with wire. Do not forget to make an allowance for fastening. It is desirable to increase the support area: we form the hoof by bending the ring perpendicular to the plane of the leg inwardly, under the abdomen. We attach the legs to two large rings at the back of the body. Then we stretch a piece of wire from the middle of the abdomen to the hoof. And between this piece and the two wires that form the leg, we attach the rings to create volume: the diameters decrease from the hip in proportion to the width of the leg structure.

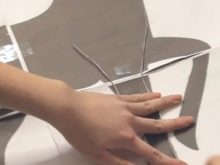
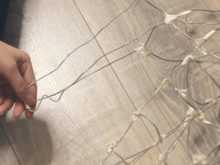
- We repeat almost the same operations when making the front legs, pulling only the third pieces of wire from the middle of the chest. We put the deer on its feet. Most likely, you will have to perform some manipulations with him, giving the figure a "proud posture" and stability: to strengthen somewhere, to bend something, to reel in. The final touch for the deer frame is the horns and ears. Having previous experience, it will not be difficult to make them. Check the strength of the horns and do not get carried away with the swing.

To create a life-size deer, you need to weld a model. In this case, instead of pliers and scotch tape, you will have to use serious tools, such as locksmith yews, welding, a grinder - after all, the material will be wire with a thickness of at least 4-5 mm.
The following video demonstrates the process of creating a deer using welding.
Decorating ideas
There is full scope for your creativity. Dozens of options and their weaves. We will show you the smallest part of them. First of all: if you have sculpted a real work of art, nothing else is needed - leave it as it is. In another case, consider the main options.
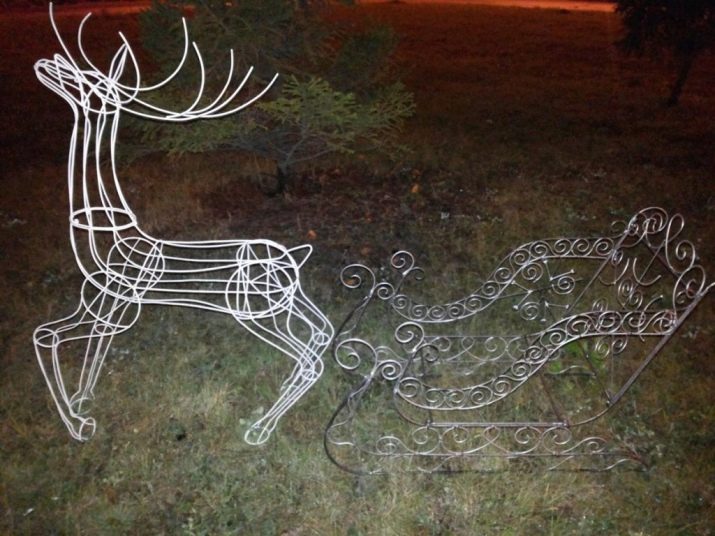
No inner filler. The meaning is clear - we have a reindeer wire frame, we wish to ennoble it.
- We take paints, paint the figure.
- We take threads of any texture, wrap the wires of the frame.
- We take Christmas tree garlands, decorate the layout, etc.
- Plus a combination of a variety of decor elements.
- The advantage is the richest prospects for using the internal volume. Place a light source there, and here it is - a beautiful deer glowing from within!
With a filler - the cavities are clogged with a suitable material, the surface is covered with some other. The options are endless as well.

Beautiful examples
Please, this is what we did to you. Better than verbose descriptions.
- The first image on the left is a wireframe with minimal decor.The neatly finished white-painted wire mesh is clearly visible. A New Year's garland is stretched along the main lines of the frame.
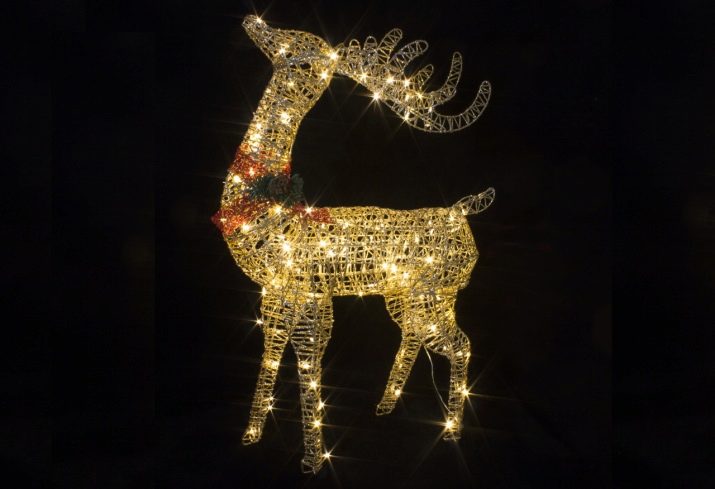
- In the figure on the right, at the base is a mesh tied with threads and illuminated from the inside. On the neck of the deer there is a needle-shaped garland with a cone.
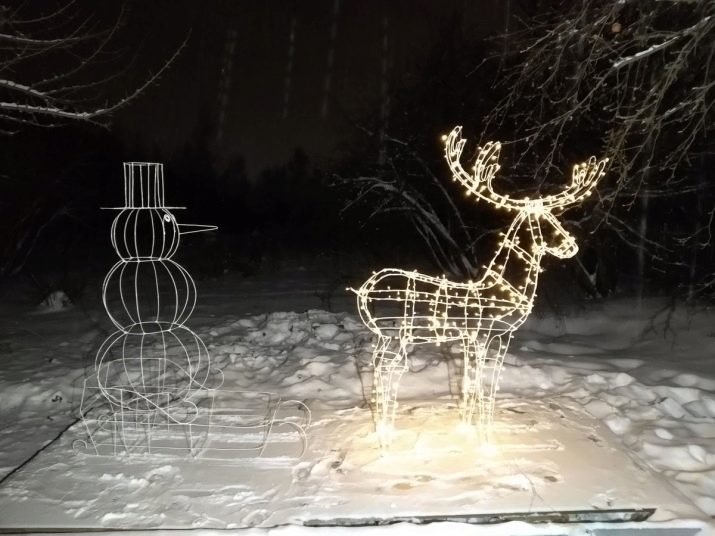
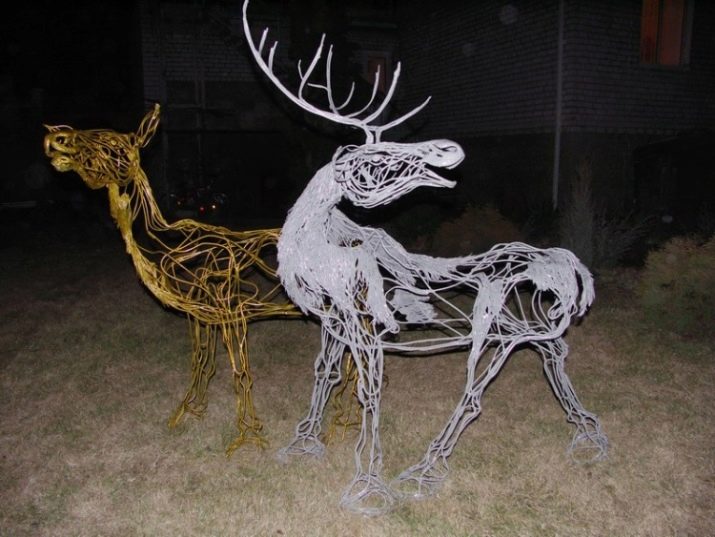
- And here is a full-sized handsome deer. Pay attention to how the forms are sustained. Proud turn of the head, beautiful branching horns. You catch his gaze on you.
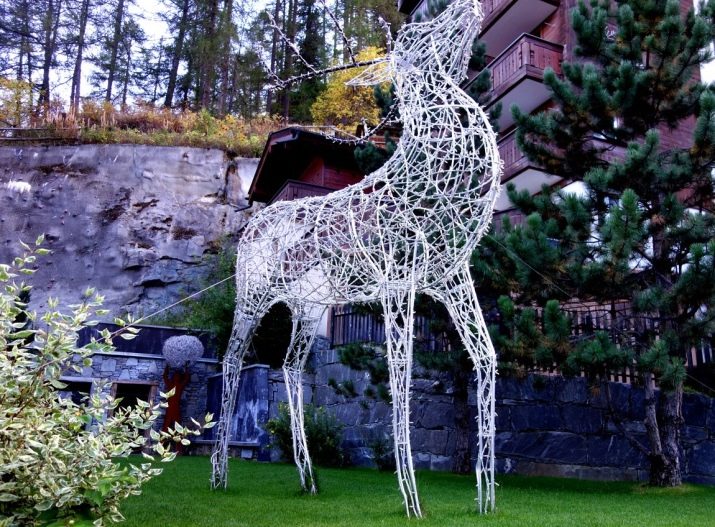
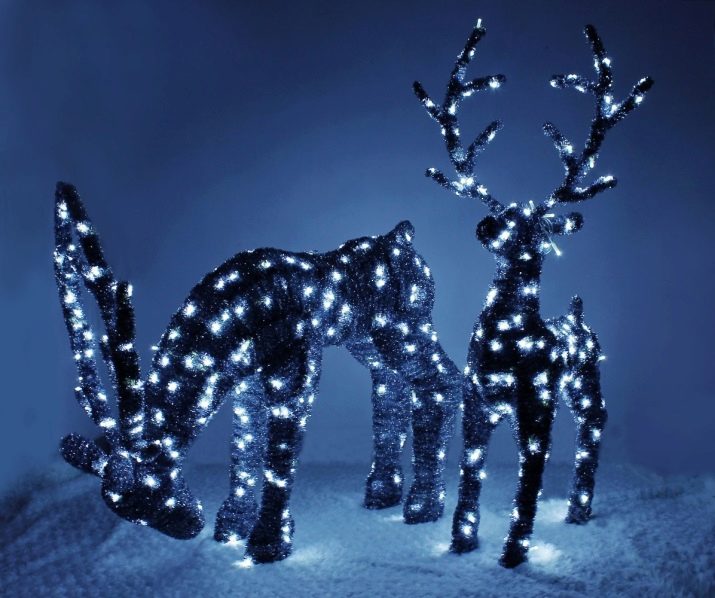
- Domestic deer. The same technology, plus a second net of threads, light bulbs picturesquely scattered over the body, a modest decoration.
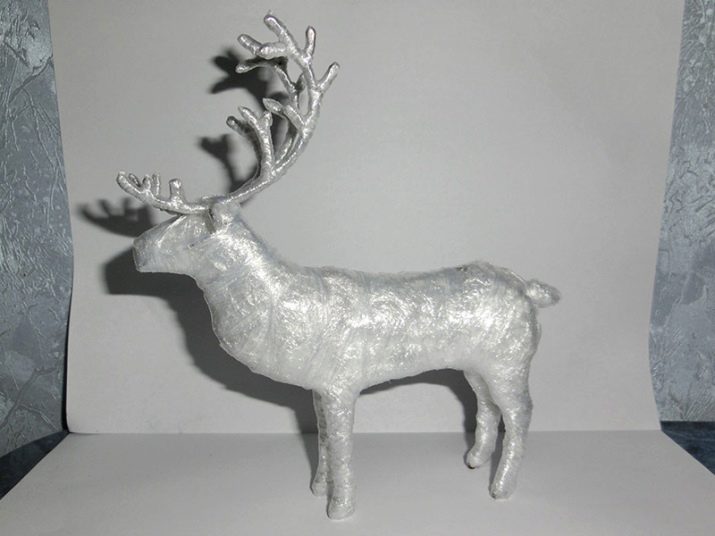
- Here is a snow-white stag. Technique with filling. We used plastic bottles in combination with lumps of polyethylene and wrapped the whole figure with a narrow and wide tape.
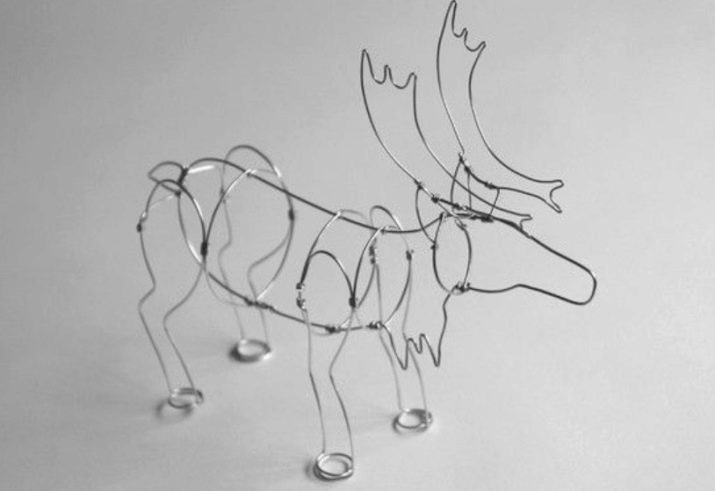
- Look at this kid - a work of art. The manufacturing technique here is mini-double-circuit, with carefully executed bends. Wire of different thickness. Notice how neatly the twists are made.
- Two chenille deer in addition to the above. Perhaps, you can quickly breed a whole herd on your New Year's table or on a Christmas tree, and even add dad and mom.
