How to make numbers from napkins?
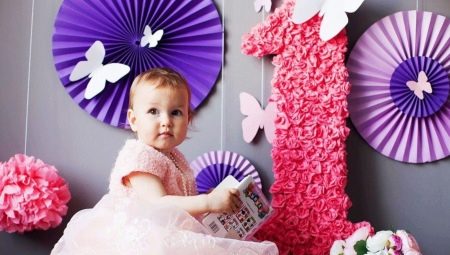
In order to bring a festive atmosphere into the house, you need to take time to decorate the room. This will allow you to make something very special out of a traditional celebration. One of the simplest and at the same time effective ways to decorate a home is the numbers collected from cardboard and ordinary napkins.
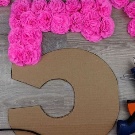
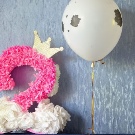
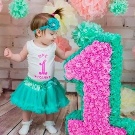
What is required?
Before you start making holiday decor, you need to prepare all the working material.
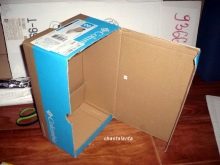
- Basis - you need to pay special attention to its creation. The most widely used methods of manufacturing a base from polystyrene and boxes. If you are going to make a large figure, then you need to prepare boxes from under the volumetric technique. For small figures, smaller blanks, for example, milk containers, will do. Accordingly, the larger the size of the figure is planned, the larger the box should be.
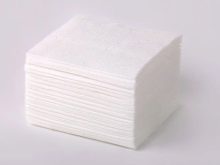
- Napkins - you will need the simplest monochromatic products; you can buy them in any supermarket. Alternatively, you can use crepe or crepe paper. The consumption of this material directly depends on the parameters of the future figure, the volume of the figure and the density of the rows. To accurately calculate the volume of consumables, prepare a small test sample from any available paper, this will allow you to roughly estimate the number of napkins.
Tip: if you are going to make a huge figure in full height or several figures, it is better to buy napkins in bulk. Even if you have excess left, you will still spend much less money than if you purchased them individually.
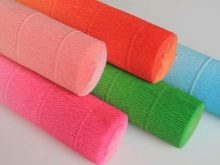
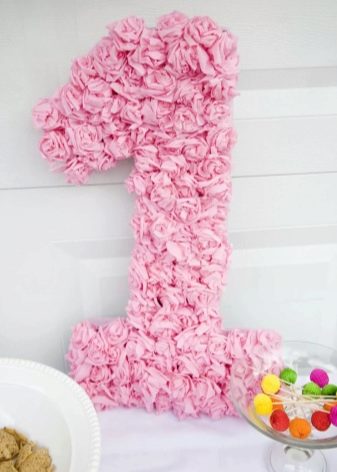
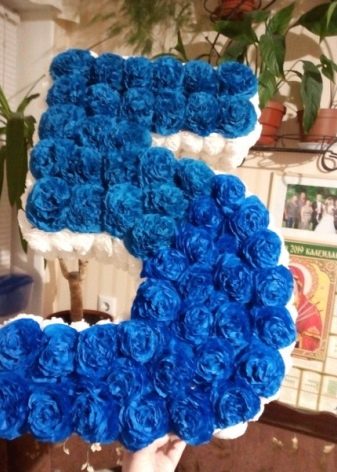
It is quite easy to decide on a color palette. This can be the favorite shade of the culprit of the event, or a color scheme that is combined with the tint solution of the interior. Traditionally, pink and light mint tones are used for girls, dark green and blue for boys. In this case, the shapes can be monochrome or multitonal.
In the latter version, it is necessary to select tones that are harmoniously combined with each other, for example, white, light pink and lilac.
In addition, to work you will need:
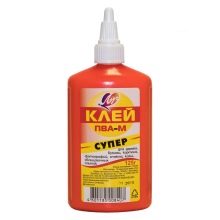
- glue - for fixing decorative elements and other decorations on a cardboard blank;
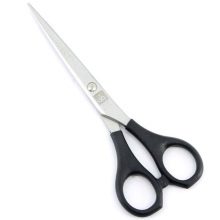
- knife / scissors - to cut cardboard and foam;
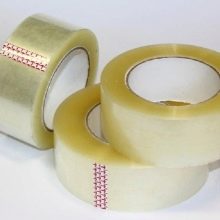
- scotch tape - paper tape is needed to work with boxes, but for foam it is better to take double-sided tape.
Step by step making a flat number on the wall
Flat figures do not look as impressive as three-dimensional ones. However, they will be a good solution if you have very little time to prepare the number. To make a cardboard blank, you must adhere to the following instructions.
- If the dimensions of the future figure do not exceed a typical A4 sheet, you can find the diagram on the Internet and print it on a printer. To create larger-scale shapes, the stencil can be printed in parts or drawn by hand on a Whatman paper.
- Next, you need to cut out all the main constituent elements. In case the base includes several parts, fasten them with tape joint to joint.
- After that, fix the resulting cardboard scheme and carefully trace the contours.
- The next step is to cut out the cardboard shape. This can be done with scissors or a sharp knife.
- If you are going to create several shapes from napkins at once, then the whole process must be repeated by analogy.
You can simplify this process as much as possible using foam rubber or foam. In this case, you will need to prepare a template, circle it with a felt-tip pen or marker on the base material, and then cut it out with a clerical knife.
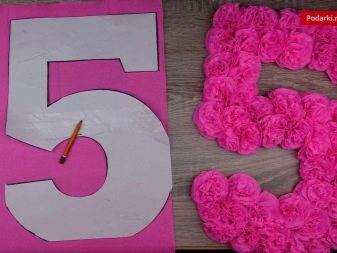
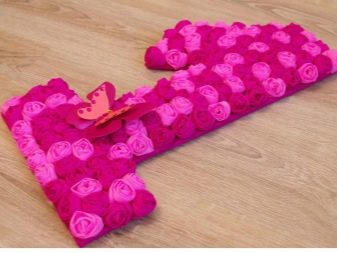
If you are dealing with foam, then it is advisable to prepare a couple of identical numbers and fasten them to each other with tape - this will give the workpiece more stability.
Making the basis for volumetric figures
Volumetric figures from napkins look much more spectacular and brighter than flat ones. But their preparation will take a little more time, and the work will be more laborious. At the initial stage, the frame is assembled, and decorative elements from napkins will subsequently be fixed on it. You will need durable cardboard that is not prone to deformation.
The work includes the following steps:
- using a stencil or template, cut out two identical numbers from cardboard;
- decide how wide your figure will be and prepare a rectangular ribbon of the appropriate size - it is necessary to decorate the end part;
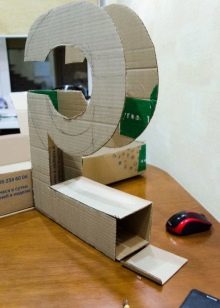
- the numbers "0", "4", "6", "8" and "9" have a closed block inside - additional side elements need to be made for them;
- especially carefully you should work with the numbers "0", "2", "3", "5", "6", "8" and "9", which have rounded edges;
- at the final stage, all cut out blanks are connected with double-sided tape.
The base is ready - all that remains is to decorate it with napkins.
Decor ideas
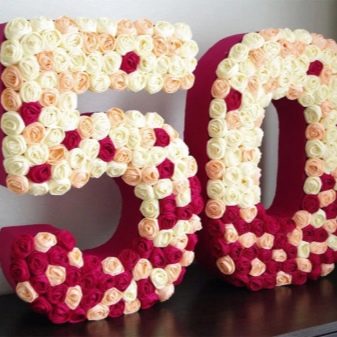
Decorative numbers are good for decorating a room for birthday, anniversary and other celebrations. Flowers are most in demand as decoration elements. Depending on the size of the figurine, you will need from 300 to 500 blanks, so they should be lush, but easy to assemble.

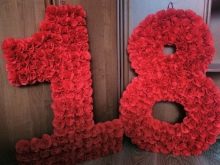
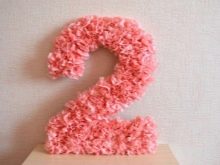
Let's take a closer look at the technique of creating napkin decorations.
Pom poms
Any pom-pom consists of a couple of parts - large pom-poms serve as the base, and the middle is formed by a small blank.
Making a big pompom is easy.
- Take a pair of lilac napkins and one white one. Spread them out so that a rectangular blank is formed.
- Fold the rectangles on top of each other, with the white paper on top.
- Fold the resulting stack into an accordion and drag in the middle with a thread.
- To shape the petals, cut off the corners of the accordion on both sides - you have a kind of trapezoid. Cut a corner down the middle to resemble the English W.
- After that, straighten the accordion and carefully separate all the layers from each other.
Next, you can start creating a small pompom:
- fold an unfolded lilac napkin into four parts;
- secure with a stapler crosswise;
- cut a circle out of the resulting blank;
- form small notches in 1 cm increments;
- fold the edges towards the center.
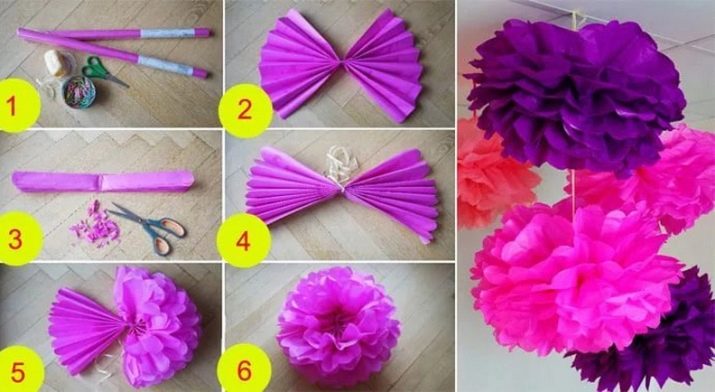
Then it remains only to connect the large and small workpiece with glue. You will end up with fairly large figures. This will decorate the base of the number as quickly as possible.
Roses
Two techniques are used to create roses.
First way:
- gently straighten the red napkin and fold it diagonally 3-4 times so that a strip forms;
- form a bud from this blank;
- fasten one of the sides with a thread;
- fluff the other side and slightly round the petals with scissors so that they resemble a rose.
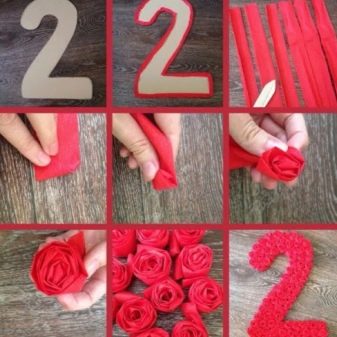
Second way:
- cut the napkin at the seams;
- bend in half, and then cut again;
- repeat the steps again - bend and cut again;
- as a result, you should have a stack of squares approximately 4x4 cm in size;
- lay the workpieces on top of each other in several layers of 5-7 pieces (the corners should be directed in different directions, visually it resembles a snowflake);
- fix the staples in the middle with a stapler;
- fluff gently, lifting each layer towards the center.
Carnation
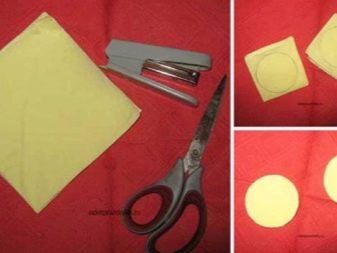
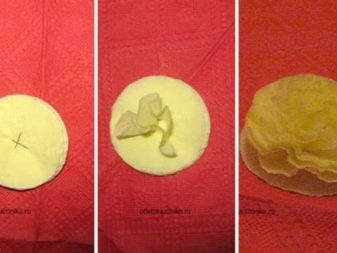
To make napkin nails, you need to fold several napkins so that each forms a square. The more layers come out, the more magnificent and beautiful your flower will be.
Attach a cardboard circle to this stack and cut circles from all the blanks at once with scissors. Secure the shape with a stapler in the center. After that, all that remains is to raise each layer and form a volumetric flower.
Other flowers
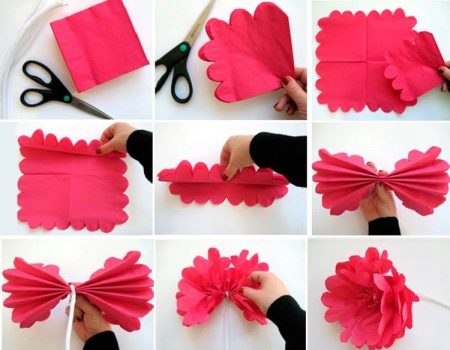
Aster can be assembled from paper. To do this, you need 3 napkins, as well as scissors and thread. The technique is similar to all the others:
- straighten the napkins, put them on top of each other in a pile and collect with an accordion;
- tie a thread in the middle;
- round the edges with scissors;
- further, starting from the center, you need to straighten the petals;
- Crumple the paper in the center tightly to get the semblance of a bud;
- gently straighten the lower leaves - this will create a platform for attaching to the base.
When decorating a figure with napkins, you can use the facing method.
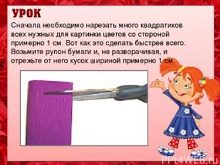
- Cut each napkin into 3-5 cm squares.
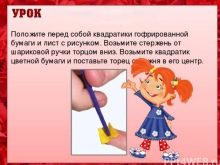
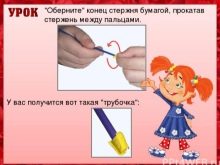
- Take a simple pencil and place it end-to-end in the center of the piece of paper.
- Roll the rod between your fingers to wrap the paper around it. You should have something like a straw.
- After that, glue is applied to the end of the tube. The napkin is brought to the base directly on the rod and placed with the glue end down, clamped for a few seconds and carefully pull out the pencil.
Cover the entire base with napkins in the same way. The tubes can be fixed in another way. The cardboard figure is covered with glue and each edge is simply planted on it.
However, this method has its drawback - the gluing process requires a significant amount of time, and the glue dries quickly in air. In addition, this technique is fraught with the fact that you can get your hands or even your clothes dirty.
Recommendations
An important stage in creating a figure from napkins is the process of gluing decorative elements. It is necessary to think over in advance the plan of this procedure and the layout of the paper blanks.
The adhesive should be applied in vertical or horizontal lines; there should be no empty spaces between the flowers. The work must be neat and careful. Otherwise, the buds will wrinkle, and this will greatly worsen the decorative appearance of the festive figure.When the gluing is complete, straighten all the crumpled leaves so that they look lush and voluminous.
It is not necessary to decorate the side and back surfaces of the figure. It will be enough to glue them with corrugated paper of a similar or contrasting tone.
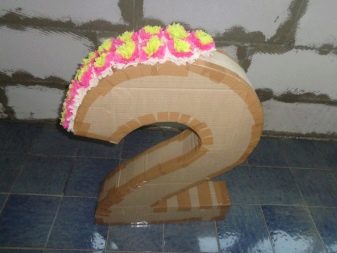
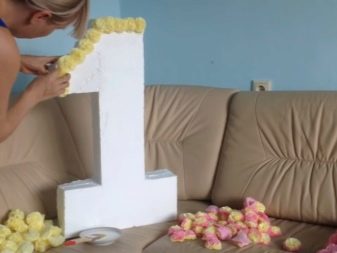
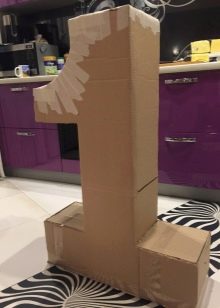
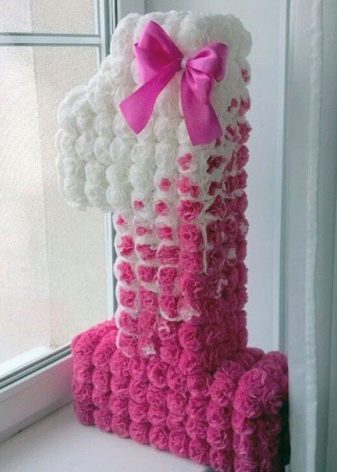
The most common number is one. It is suitable both for the birthday of a toddler who is only one year old and for teenagers from 10 to 19 years old. It is easier to make it than the others, since there are no rounded parts here.
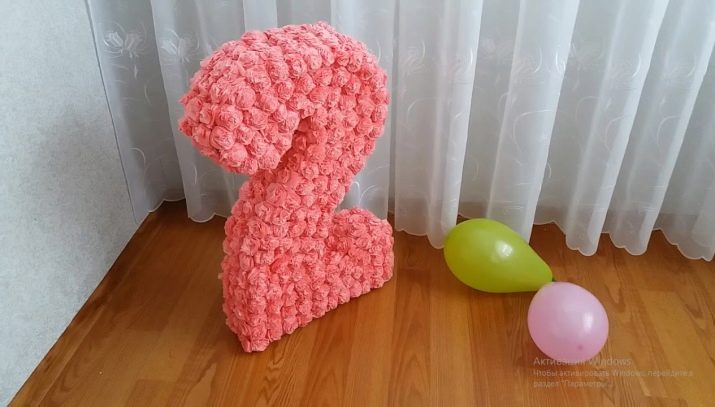
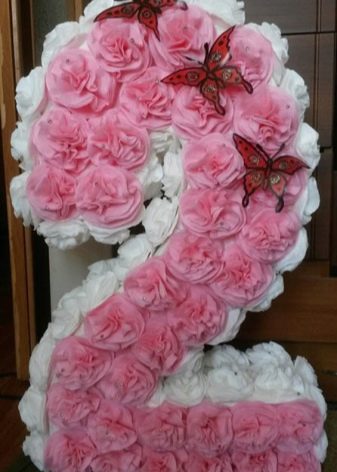
But the deuce is much more difficult to perform. Unlike a simple angular unit, it is characterized by smooth bends, therefore it will be much more difficult to prepare a cardboard base. In this case, it is better to make a choice in favor of foam.
To simplify the work as much as possible, you can not collect flowers from napkins, but simply crumple the paper and fix it to the base with glue. In this case, wrinkle the napkin closer to the center.
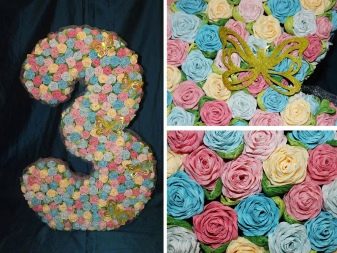
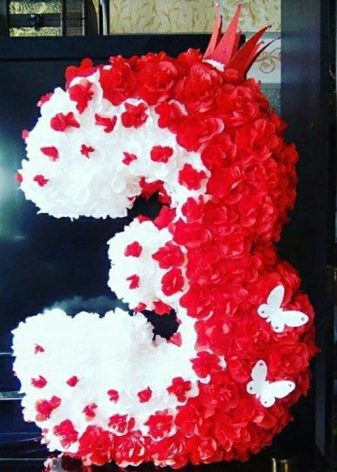
You will need a C grade if your baby is 3 years old, as well as if you intend to congratulate the hero of the day on the 30th or 35th birthday. As in the case of a deuce, it is very difficult to make a cardboard base here, but it will be just right from foam. Check out some examples of triplets you can make with napkins.
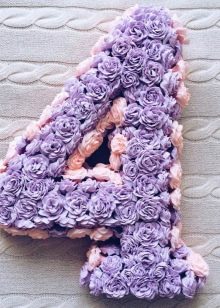
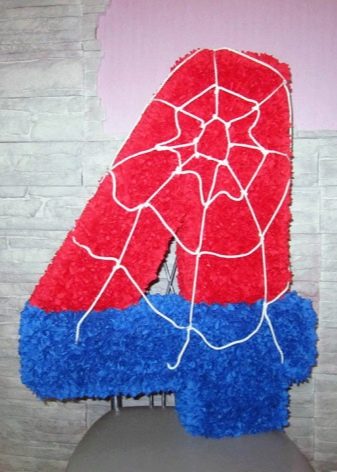
The four is done by analogy with the one. They are similar in appearance and technique. If you are preparing a holiday for a girl, give preference to pink shades.
But the boys will surely appreciate the four, designed in the style of a spiderman. Roses and pompons here gave way to compressed napkins of scarlet and blue shades.
For maximum similarity, use a white lace, which can be used to create a kind of spider web.
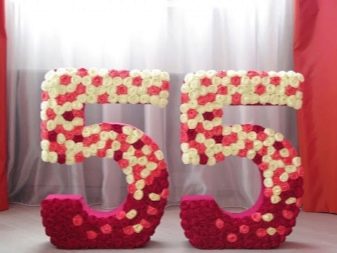
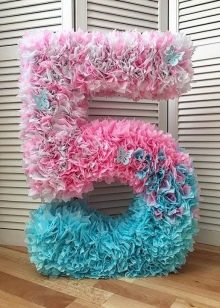
For a five, it is better to prepare a more straight shape, in which case it will be easier and faster to cut out the elements. However, if you are celebrating 55 years old, it is better to stick with the curved number. This will draw maximum attention to the hero of the occasion.
When creating numbers, gradient color transitions look very beautiful, especially if you are decorating a holiday for a girl.
Having made a figure in the form of a six, you also get a nine at the same time. Indeed, in order to change the value of a digit, you just need to put the figure upside down. There is only one difference here - in order for the decor to be stable, it is necessary to strengthen the base. Accordingly, the six will need an additional layer of cardboard on the circumference, and the nine on the curl.
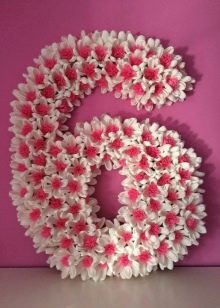
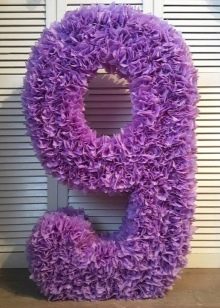
Seven is one of the simplest numbers. However, it has its own peculiarity. It is very difficult to put it vertically, so the best solution would be to create a flat shape. The decor can be fixed to a door, wall or any other vertical surface.
The eight is used to decorate rooms not only on birthdays, but also on the eve of the women's holiday on March 8. Having collected such a figure once, you can kill several birds with one stone.
The number 0 is needed for any celebration associated with round anniversaries. The optimal solution here will be a foam base.
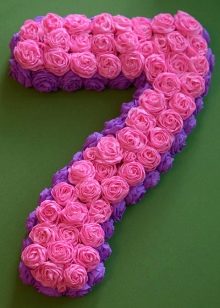
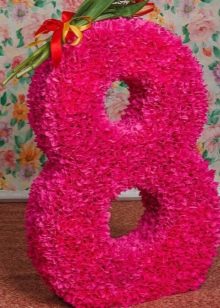
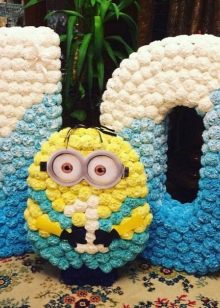
And the last recommendation is related to the size of the figurine. Small numbers are good for decorating a decorative slide for gifts, as well as for a sweet table. For a photo session, preference should be given to large solutions with a height of 90-100 cm. For a child, you can depict a figure corresponding to his height. For an adult, this is not so important.
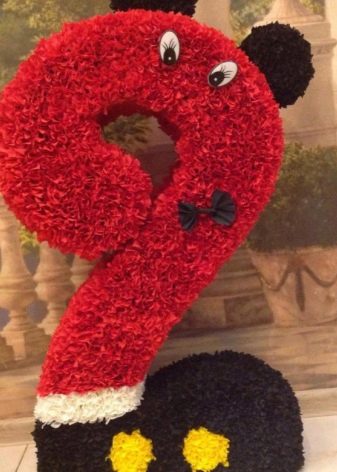
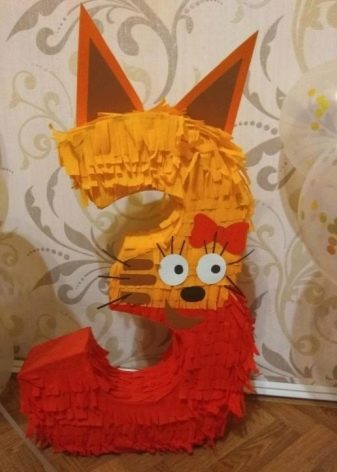
And in conclusion, we offer you some more original ideas for numbers with napkins. Figures with crowns are very popular, as well as decor in the style of your favorite films - "Three Cats", "Cinderella" or "Star Wars".
For information on how to make a number from napkins, see the next video.


