Santa Claus and Snow Maiden from napkins
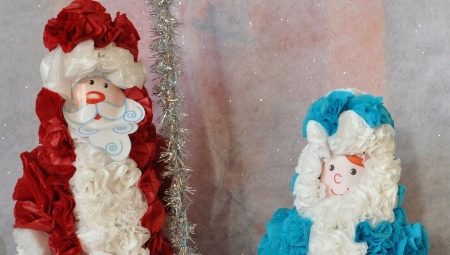
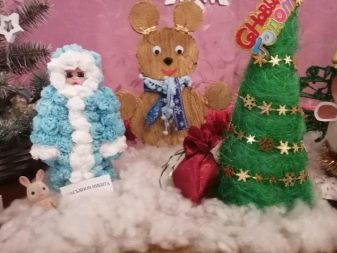
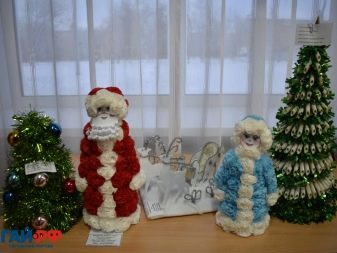
It is not necessary to buy ready-made figures of Santa Claus and Snow Maiden for the New Year - you can make them yourself from scrap materials no less beautifully than they do at a factory that produces such products. An expensive and rare tool, no special materials are needed - here everything is decided by paper, cardboard, glue and glitter buttons.
Preparation
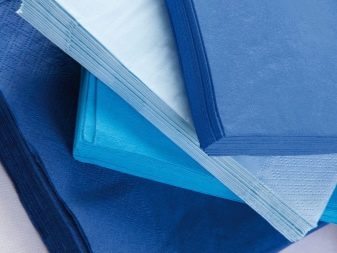
In addition to napkins, you will first need scissors and glue - whatever works for paper. It should not be dangerous for the health of children and adolescents. Also make sure that the scissors are intact and functional. The stapler should be tucked in with a new row of staples - and when pressed, they should separate one by one, clearly and quickly.
If you teach a child, then he is already fully aware of his actions and decisions. Conduct a safety briefing with him along the way: in case of careless and inept actions, you can cut yourself with scissors, injure yourself with staples from a stapler, burn yourself on a thermal gun with glue, accidentally bring glue particles into your eyes, swallow small pieces of paper. Precautions are dictated by common sense - the child will understand this in practice, remembering them for the rest of his life.
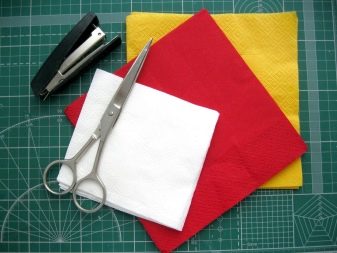
How to make voluminous crafts?
Unlike flat, volumetric crafts are a little more difficult to manufacture. However, experience in assembling them is gained quickly. Take white and red napkins for work. The steps are described below.
- Usually paper napkins are folded in four - this is how they are produced at the factory. Unfold them so that they fold in half. Fold them in four again - but lengthwise.
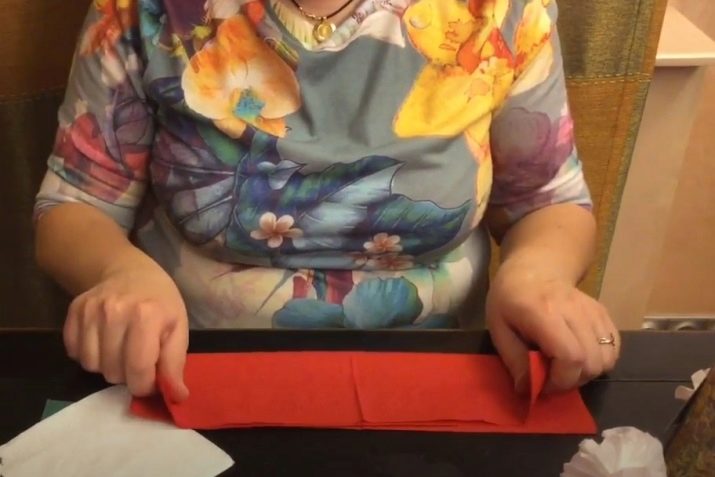
- Fold one of the red napkins into an accordion... Fasten the resulting accordion in a compressed state with a staple from a stapler - in the middle.
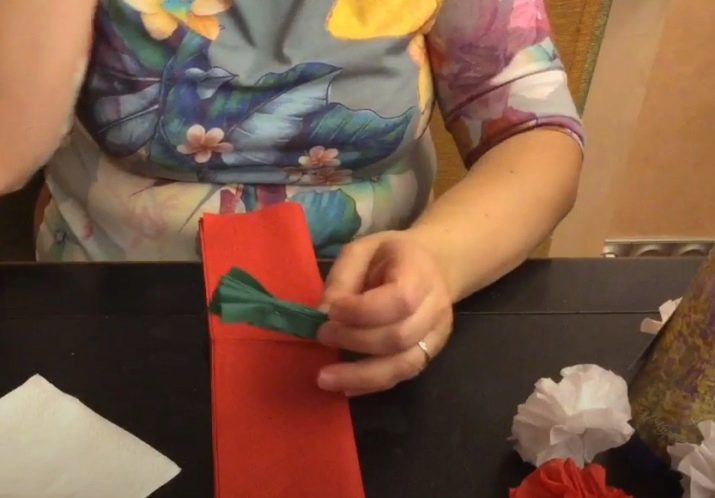
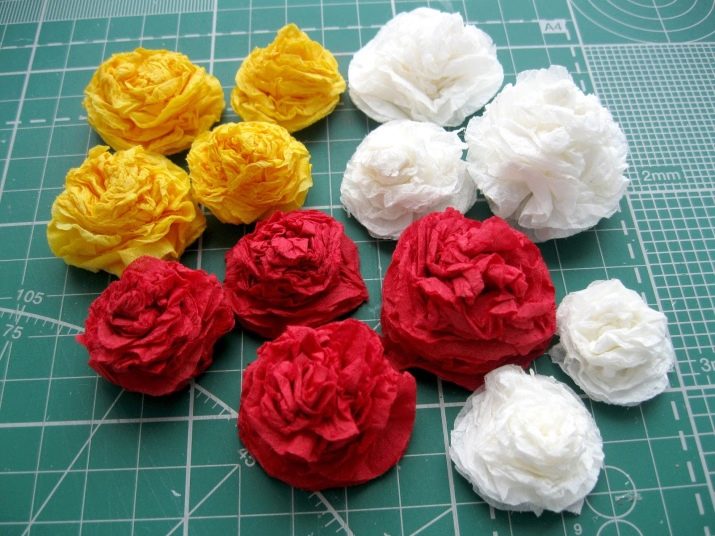
- To add pomp to the resulting part of this craft, uncover it. It should gain volume - and take on a round shape. You will get an openwork spherical detail - a future cap in the form of a fluffy cap.
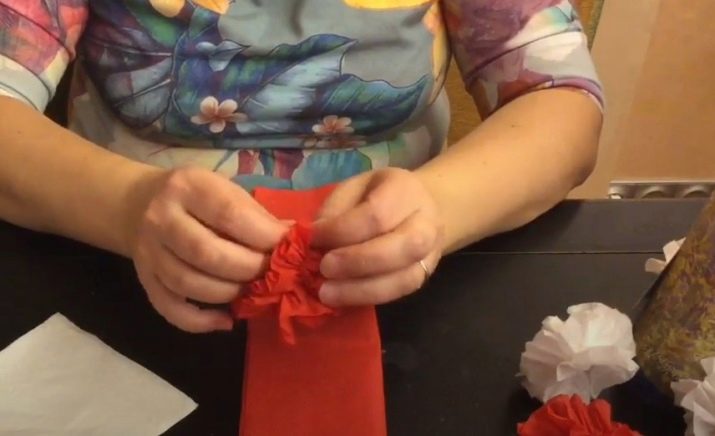
- To make a big Santa Claus, you will need several such blanks - red and white separately... A miniature copy of Santa Claus needs only two of these.
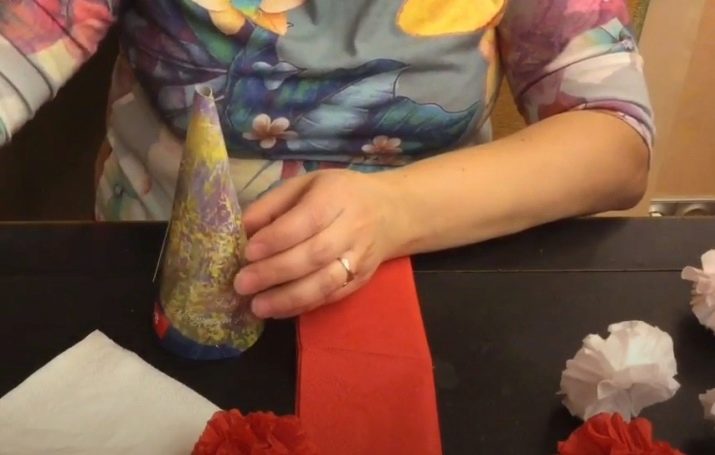
- Glue the base cone out of cardboard. For example, its height will be 25 cm.
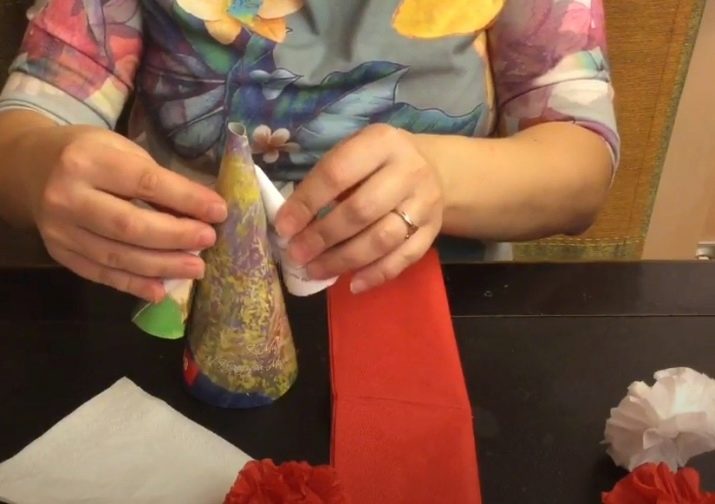
- Make two mini-cones - say, 10 cm high. As a result, a large cone is the body, two smaller ones are used as arms.
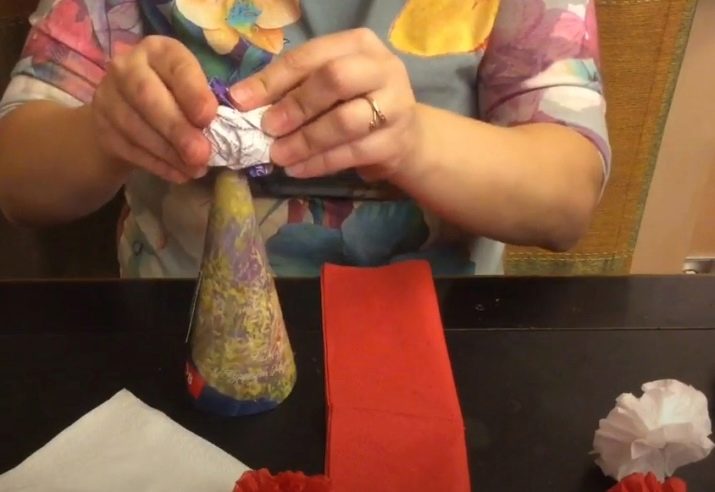
- Roll a 4–6 cm ball out of unwanted paper. Cover it with tape - it should be smooth on all sides.
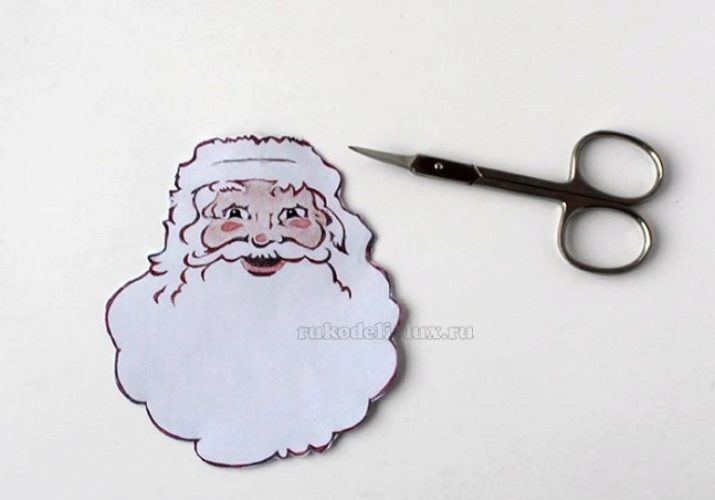
- For one of the blanks, which will serve as the head of the figure, cut out an oval piece of cardboard (close in shape to a circle) and draw a face on it. You can print the finished picture on a printer - and cut it out. Glue this piece to the workpiece.
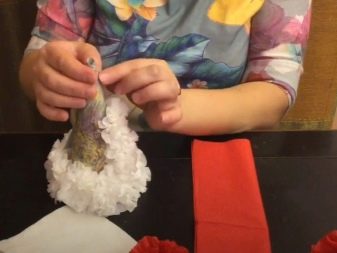
- Stick some white napkin blanks to the bottom of the large cone. Higher, closer to the narrow end of the cone, place the same red ones.
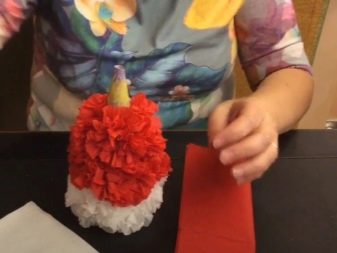
- Glue small cones from the same cardboard to the resulting assembly at the level of the red frame of the figure's body. Glue them over with red and white napkin blanks, arranging them in rows. As a result, small cones should not be visible from either side - not even from below.
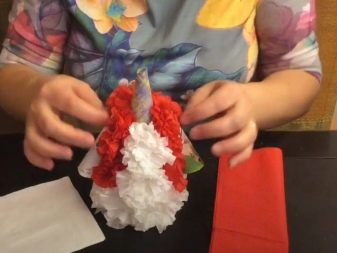
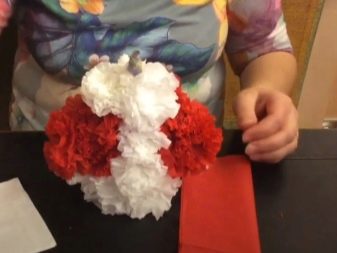
- Glue the ball (the head of the figure) to the blanks (the hat with the face). Plant the resulting structure on the free end of the cone, not covered with a layer of previously glued blanks.
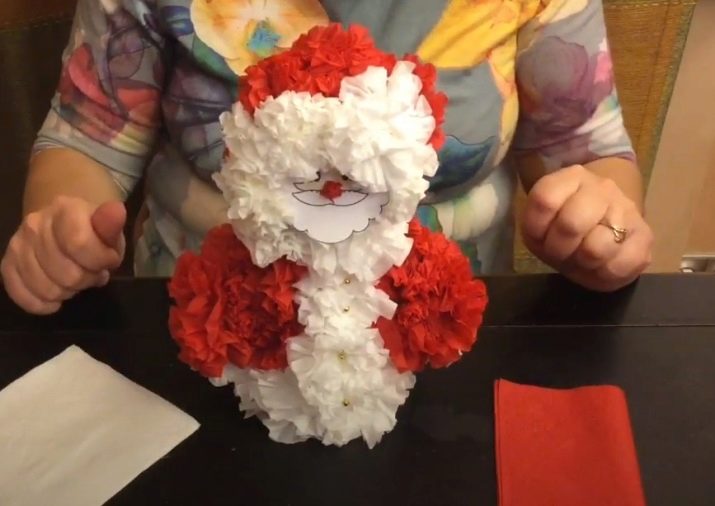
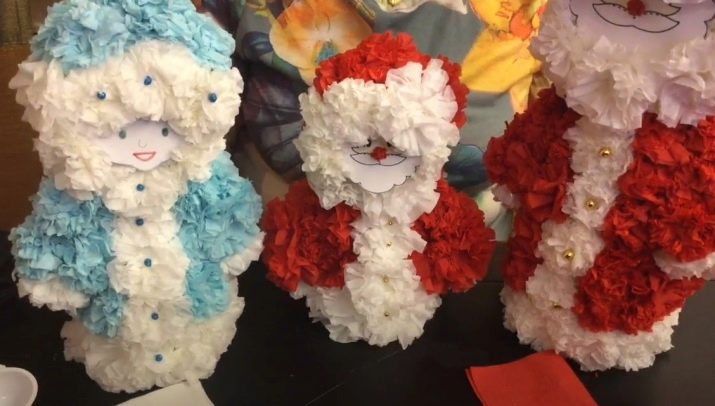
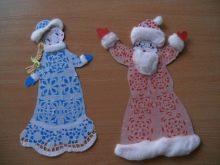
The figure of Santa Claus is ready. For convenience, it is better to use a glue gun with regular or hot glue, but any composition in a tube will do. The Snow Maiden is performed in the same way, but the blanks and the finished figure will be noticeably smaller (narrower), and instead of red napkins, blue or turquoise ones are used, since the Snow Maiden's colors are different. She, as a female character, is more suitable for lace doilies.
Creation of applications
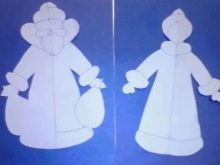
An applique is sometimes a voluminous, sometimes a flat postcard. She serves as a transitional model between three-dimensional figures and flat drawings. To make appliques, you will need Santa Claus and Snow Maiden stencils - they can be taken from any textbooks and master classes for making such images.
The purpose of the work - the master is determined with the accuracy and correctness of the execution of finished images on a new medium, the main component of which is cardboard.
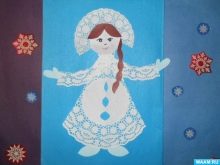
The transfer of the image to the new base is carried out element-by-element - the arms, torso, head, hat, fur coat of Santa Claus are cut and glued to the solid base. For the Snow Maiden, the same actions are repeated separately. The scale does not matter - all parts are multiplied in dimensions by a certain factor. A preschool child and a teenager of primary school age will easily make an applique, for example, on a 3: 1 scale. For production, you will need landscape sheets of blue, purple, orange colors - as a background. We choose red sheets for Santa Claus, blue or turquoise for the Snow Maiden. Both also need white sheets.
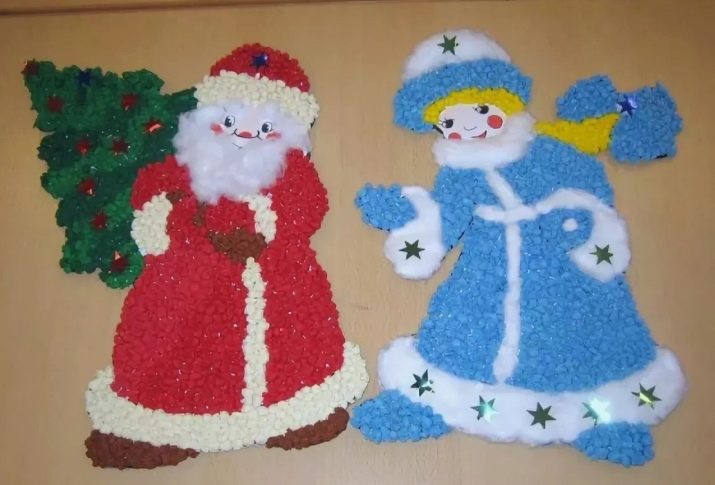
Other tools include PVA glue, oilcloths, brushes, scissors, a pencil and felt-tip pens (or colored pencils), candy wrappers. Step by step, this instruction looks like this:
- the background, the character is selected, the shapes are outlined along the contour;
- symmetrically, exactly in shape, the contours of the figures are cut;
- elements are outlined: fur coat, hat, hands, etc.;
- parts are cut out and put together in the desired sequence;
- the elements are glued - first of all, the beard with the face is placed, the elements of clothing are on the silhouette;
- the assembled figure is glued to the background sheet;
- small details (up to the eyes, nose) are drawn;
- the resulting postcard is decorated with buttons, sequins, possibly fragments of a shiny Christmas tree garland.
Plant herbariums are made according to a similar scheme, so a master class on making an applique will not cause additional difficulties.
See below a master class on making Santa Claus from napkins.


