Making Christmas trees from napkins
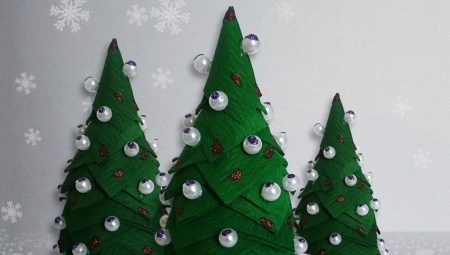
New Year is a wonderful holiday. Waiting for him is akin to waiting for a fairy tale, and chores become the anticipation of a celebration. The main attribute of this holiday, of course, is the tree. You can buy a green beauty and put it in the house, or you can create a miniature copy with your own hands. This work will be especially useful if you do it with your child. It will be a great time, and the end of the work will guarantee delight and a festive mood. This article will focus on how to make a Christmas tree from napkins: volumetric crafts and appliques.
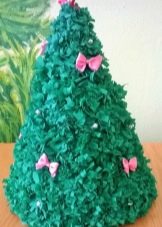
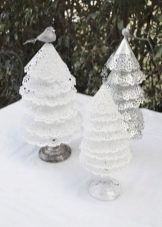
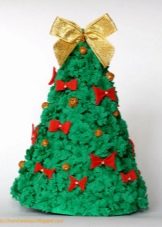
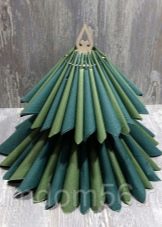
DIY voluminous crafts
To decorate the New Year's table or as a small souvenir for the New Year, a handmade Christmas tree made of paper napkins is perfect. The proposed master class will help in the implementation of such an idea. To get the job done, you need patience, good humor, and simple adaptations.
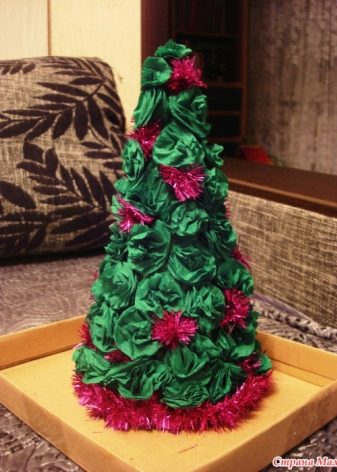
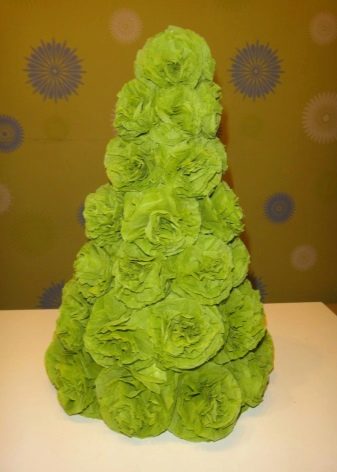
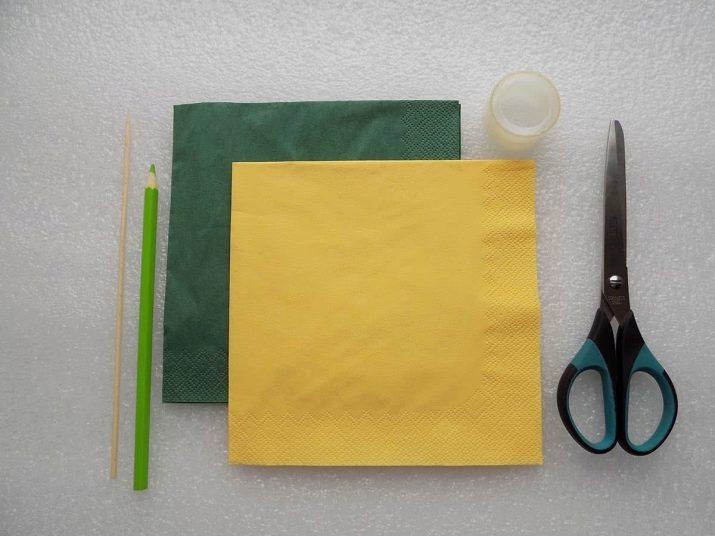
First, you need to collect the following materials:
- paper napkins in white, green, pink or other colors;
- A4 cardboard;
- soft simple pencil;
- long wooden skewers - 6 pcs.;
- plastic cup or flowerpot;
- sharp scissors;
- a little alabaster in the form of a powder;
- narrow decorative silver braid;
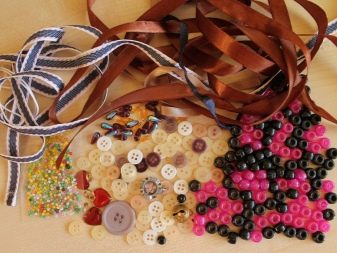
- silver beads and sequins;
- stapler;
- scotch tape;
- a jar of stationery glue;
- glue brush.
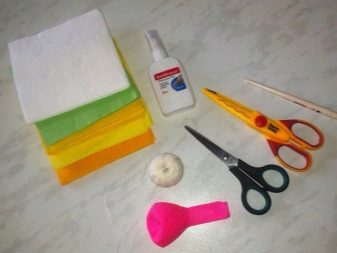
There are many known methods for making miniature Christmas trees. Most often, the model is assembled from small fragments in the form of openwork flowers. For the implementation of the project, a simple instruction has been developed, following it step by step, it will be easy to make a craft.
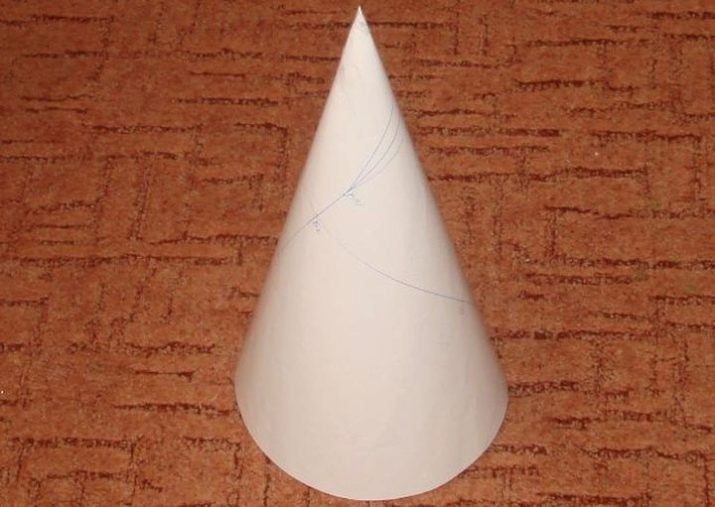
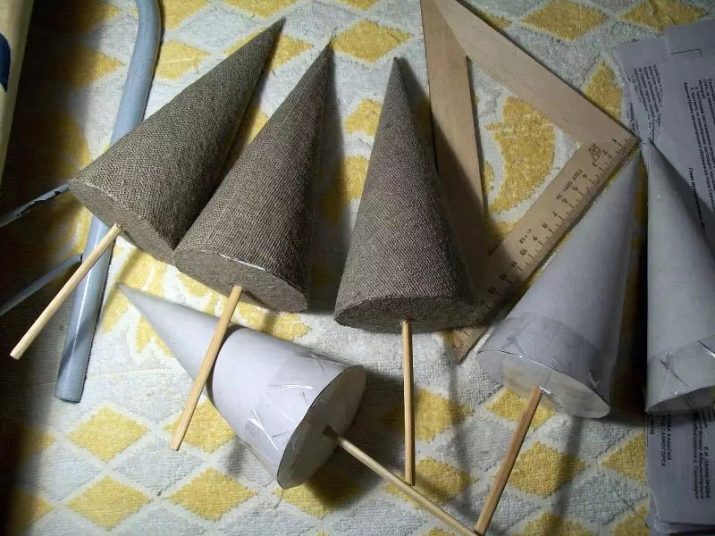
- A semicircle is marked on cardboard with a pencil. It must be cut and rolled up with a cone. The junction is first glued, and then secured with a stapler.
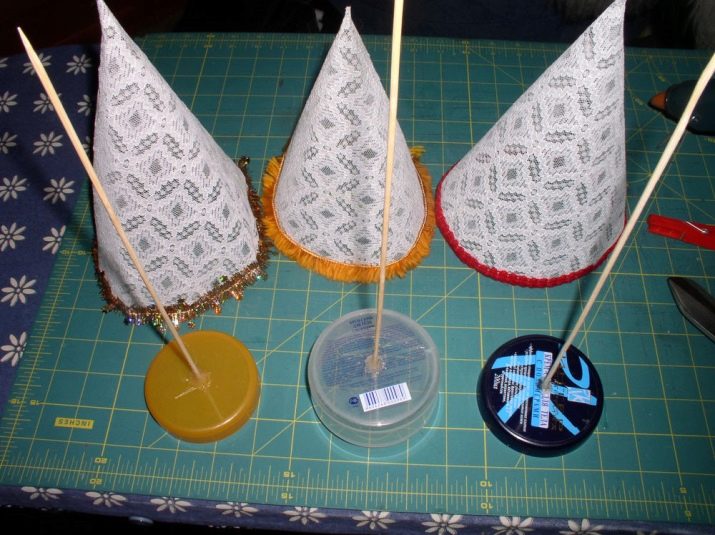
- A herringbone trunk is formed from the skewers. To do this, they are collected together, the length is made slightly higher than the cardboard cone, then tightly fixed with tape.
- Choose napkins. They can have different colors depending on their availability and preference. In the package, they are folded in four. They are taken out of the packaging and stacked in two, one on top of the other.
- On folded napkins, circles are marked out with a pencil for future volumetric elements of the tree. You can use a cosmetic tube lid or a cardboard circle as a round template. To get as many elements as possible, the circles are placed closer to each other.
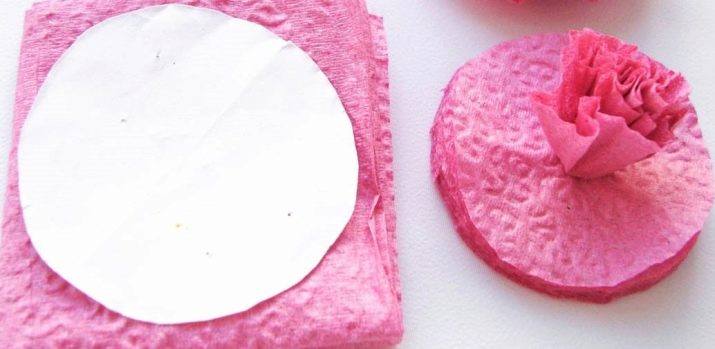
- Now all the marked parts in the center are connected with a stapler and cut out. A bead decoration is glued to the upper part of the staple.
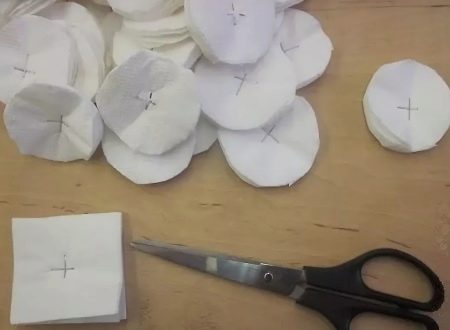
- Then, with your fingers, each layer of a round workpiece is raised alternately up and squeeze it, doing so with all the layers.
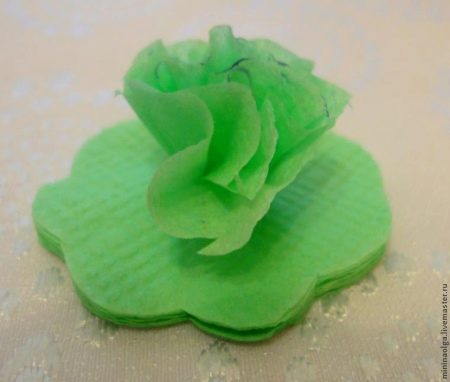
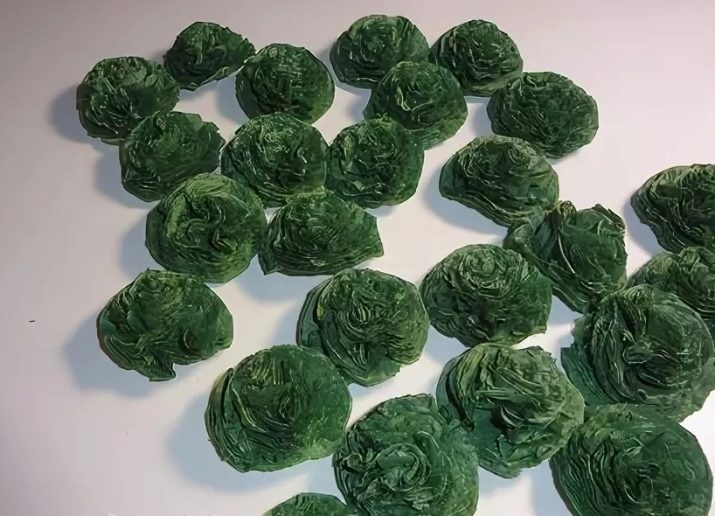
- After completing this action, the crumpled layers are slightly bent, fluffing them up, forming a semblance of a rose. To cover the cone from A-4 sheet, you need to make at least 50-60 pieces.
- Next, you need to install the trunk of the spruce. To do this, pour alabaster into a plastic cup and knead it until thick, diluted with water. A "barrel" is inserted into the center of the glass and allowed to dry.
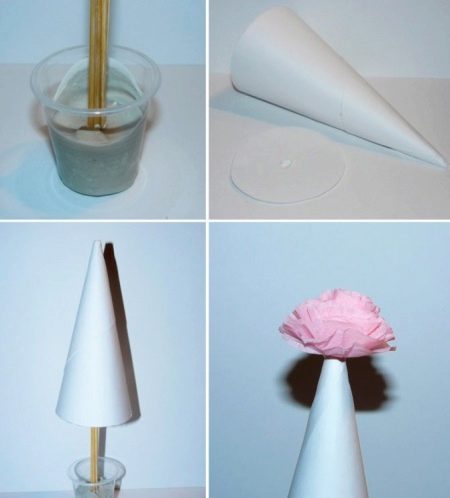
- The cone is placed on a piece of cardboard the same color and outline its base, marking the future bottom.
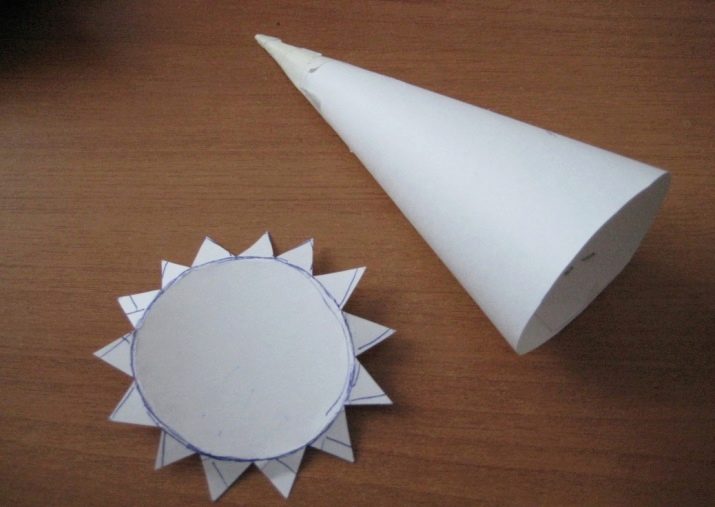
- The bottom is cut out and a small hole is made in the center. Through it, they put him on skewers.
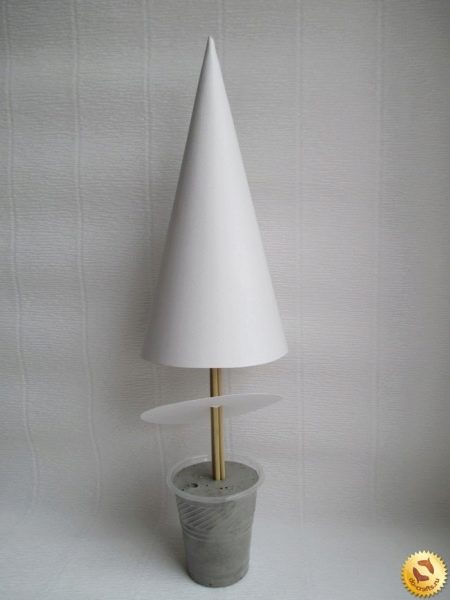
- A cone is placed on top of the barrel. At the top from the inside, it can be glued with a drop of silicone compound. The inside of the future spruce is stuffed with scraps of napkins, and the bottom is glued from below.
- They begin to decorate the product. First, the barrel without gaps is wrapped with silver tape, then a glass is pasted over with a colored napkin. For greater decorativeness, the same braid is tied on top of it, tied with a bow.
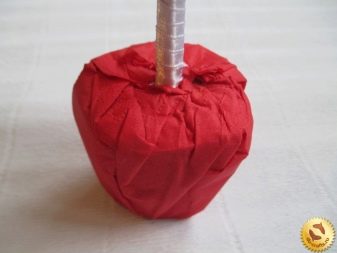
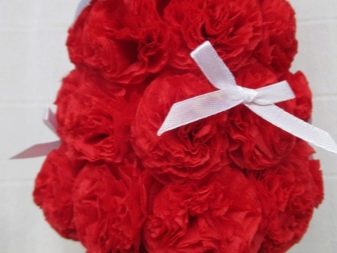
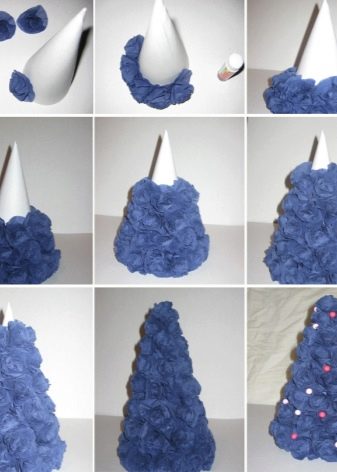
Now they begin to form the crown of the Christmas tree. For this, starting from the bottom of the cone, stick the "roses" tightly, in even rows. The next rows are placed in the intervals of the colors of the previous rows. "Rosettes" are glued to the very top.
Instead of a top, a beautiful bow made of a silver ribbon with long ends is attached to the tree. Small silver bows made of the same material are glued to the sides of the spruce. In order for the Christmas tree to shine with snow dust, it is decorated with sparkles. They are mixed with stationery glue and gently applied to each flower with a brush, decorate the pot.
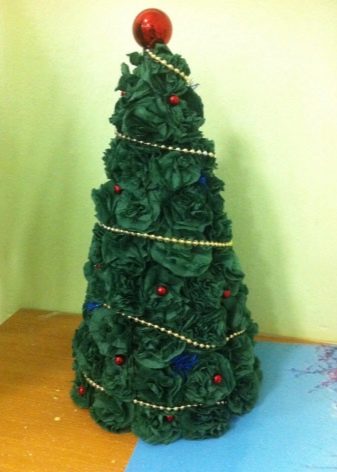
The New Year's beauty is ready. A similar herringbone can be created from white, pink or green napkins.
How to make appliques?
You can make many interesting crafts from ordinary paper napkins for the New Year holidays. They can be accessories that complement the table setting, decorations for the Christmas tree or gifts for family members. Such gizmos can be made by adults themselves, but, of course, it will be more interesting and useful to make them together with kids.
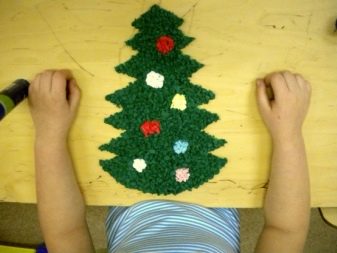
A simple option for children can be to create an applique for a Christmas tree from crumpled green napkins.
Before starting work, you must prepare the following materials:
- cardboard;
- scissors;
- glue;
- simple pencil;
- multi-colored napkins.
To complete this task, you must perform the following steps in stages:
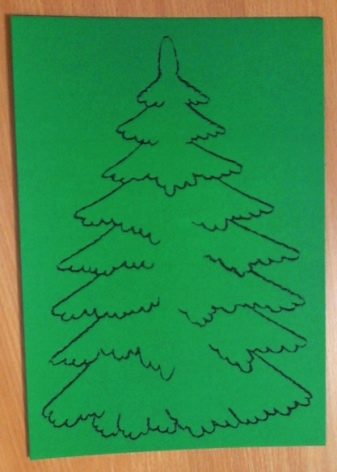
- with a simple pencil on cardboard, draw the outline of the Christmas tree, cut out with scissors;
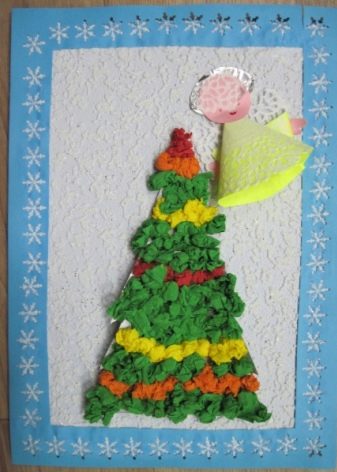
- then it is necessary to tear off pieces from green napkins and crush them into small balls;
- the prepared spools are dipped in glue and pressed very tightly against the contour of the Christmas tree, an asterisk is glued to the top of the green beauty.
The simplest Christmas tree applique is ready. If necessary, the product can be decorated with beads or rhinestones.
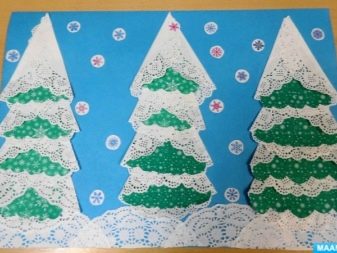
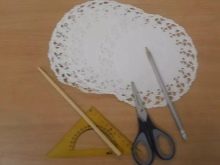
A more complex applique can be done using openwork napkins.
For this work you will need:
- dark A4 cardboard;
- openwork napkins;
- scissors;
- glue;
- white gouache.
Applique creation consists of four stages.
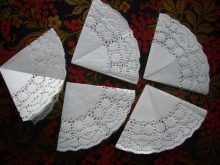
- A round openwork napkin is folded in four. Then, unfolding, cut it into four parts along the folds.
- The resulting triangles are made in different sizes.
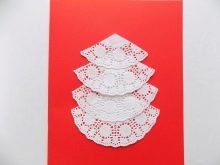
- At the bottom of the cardboard, white dots are applied in gouache, imitating snow.
- The largest part is glued onto the "snow"; smaller triangles alternately on top of it. The smallest part is placed at the top.
The application is ready. At the end of the work, you can decorate it with beads, sparkles or elements molded from plasticine.
The composition with small Christmas trees on the sides of a large tree looks beautiful. With such a product, you can decorate the interior for a holiday or take it to a kindergarten.
The volumetric applique of the herringbone will be even more complex.
To complete it, you will need:
- A4 cardboard sheet, preferably blue;
- green napkins;
- glue;
- stapler;
- scissors;
- ruler;
- simple pencil.

Applique creation consists of five steps.
- On cardboard, using a ruler and a pencil, mark the outline of the tree in the form of a triangle.
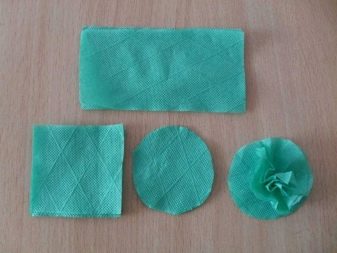
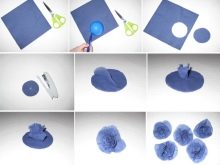
- Folded napkins are folded in two, one by one, connecting in the middle of the square with a stapler.
- An inverted glass is placed on top of a napkin and circle it. The resulting circle is cut out.
- Each napkin mug is turned into a kind of roses. To do this, in turn, each layer, starting from the top row, is raised and squeezed with your fingers.
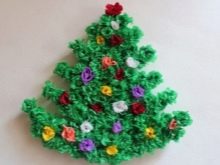
- There should be a lot of needles-roses obtained in this way. At the final stage, they are glued to a place lined with a herringbone. In this case, the action begins from the bottom. "Needles" are glued tightly, without gaps.
The work ends when the last piece is glued to the top of the triangle. The resulting image can be decorated with stars, sparkles, cotton wool or paints.
Useful Tips
Working with the applique is a very rewarding activity. It develops fine motor skills, coordination of movements and creativity of the child. There are a great many plots and techniques for creating appliqués.
However, the following tips are common to them.
- Parents should help the child at work, not replace him.
- To create appliqués using paper and fabrics, preference is given to using bright materials: they attract the attention of babies more and make their work more interesting.
- Tools for work should be as convenient and safe as possible.
- It is better to use more durable cardboard as the basis for the appliqués, which does not get wet from the glue.
- Using PVA glue, you should not be afraid of drips, after drying they will become transparent.
- When performing work, it is often necessary to use various types of glue. It is worth remembering that paste or PVA glue is more suitable for paper. For gluing beads, grains and cereals, it is better to use Moment glue. This composition will hold similar elements much stronger, but it is better to work with it in the presence of elders.
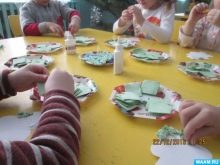

Performing creative tasks for children together with their parents will help establish closer relationships and will contribute to the upbringing of the baby.
Next, see a master class on making a Christmas tree from napkins.


