Making a swan from a napkin
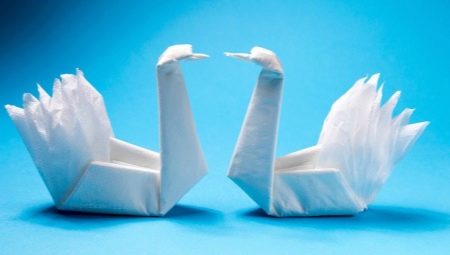
Many people are bored with the usual table setting. To make it more original, people have resorted to creating jewelry from different materials. Often, ordinary napkins are used, from which you can easily make an unusual and beautiful figure, decorating a festive table. In this article, we will talk about how to make a swan out of napkins and which napkins should be used for this.
Choice of napkins
Making swans out of paper napkins with your own hands is not difficult. However, in order for the craft to look beautiful and of high quality, it is necessary to pay special attention to the selection of material. There are a number of criteria for which the napkin should fit.
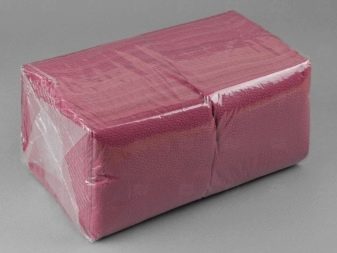
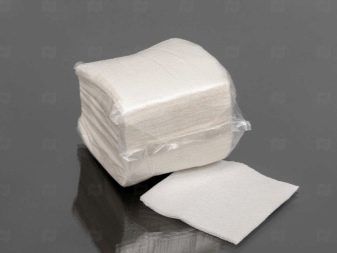
- The size. The napkin should be large, at least 33x33. In the process of folding the swan, it will noticeably decrease in size. For this reason, a small napkin for such a craft designed to decorate a table is not suitable using the origami technique.
- Colour. It is not necessary to give preference to white, although it is one of the most versatile colors. It is best to choose a shade based on the general setting of the festive table. Otherwise, the swan will look simply inharmonious and inappropriate.
- In addition, it is worth paying attention to the density of the material. It should be medium. In this case, the material will not tear so easily, but at the same time it will remain flexible and hold its shape, which will allow you to fold a beautiful figure for an original setting of the festive table.
Folding scheme
It is easy to fold a swan from napkins using the origami technique. This requires only napkins and a little perseverance. You need to act in stages so as not to make mistakes.
- First, take a napkin and place it in front of you so that the corner where all the other corners open freely looks down. You do not need to straighten it.
- Now we fold it in half and iron it well along the fold line, thus marking the middle, and unfold it back. We bend the right corner of the napkin to the fold line, and then the left one, and then turn it over to the other side. You should get a figure that looks like a rhombus.
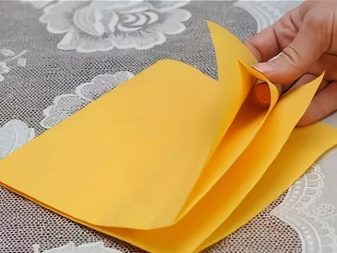
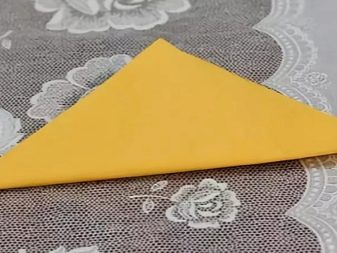
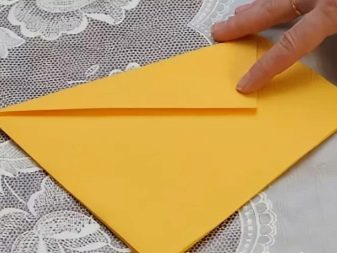
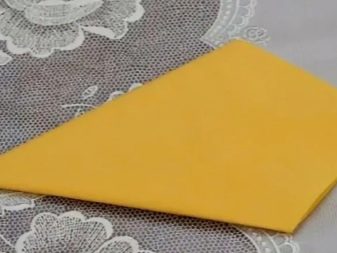
If necessary, you can smooth the fold lines with a pencil or other object so that the folded parts do not turn away. Please note that all folds should be ironed carefully and carefully. This will help the paper bird to have sharper lines and will not crumble when you place it on the plate.
- Next, we bend again both corners that are located on top of you, to the middle. You should end up with a narrower diamond. After that, you need to bend down the upper corner, which is the narrowest. It should touch the very edge of the bottom line. That is, you kind of fold your rhombus in half.
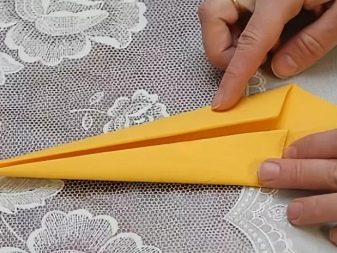
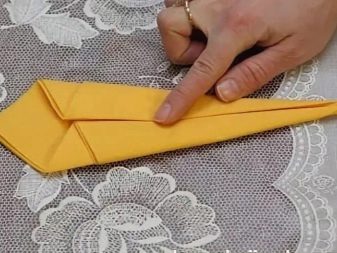
- Then we begin to shape the bird's head. To do this, bend a part of the bent narrow corner back, marking a line between the body and the future neck.
We choose the length of the bent part at our discretion, the size of the swan's head will depend on it.
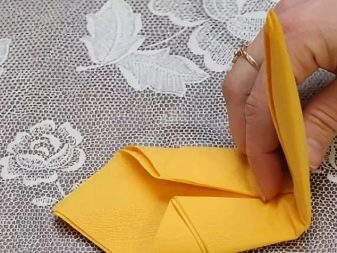
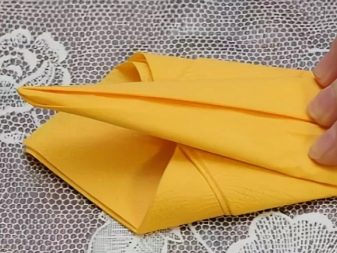
- The next stage is to turn the workpiece, after which it is necessary to make a longitudinal fold. We iron the fold line well, straighten the swan's neck so that it is located at the desired angle.
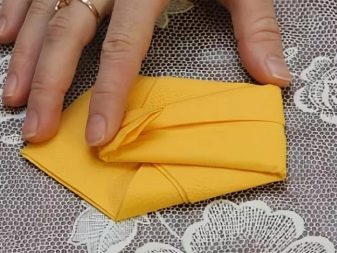
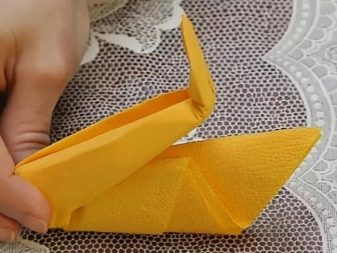
- After that, we straighten the lower part, slightly expanding it - this is necessary for greater stability of the decoration on the table. Together with this, we straighten the bird's head.
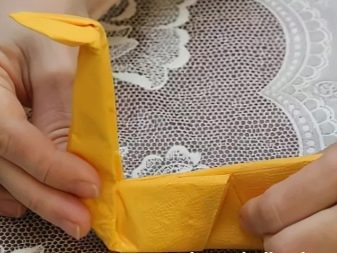
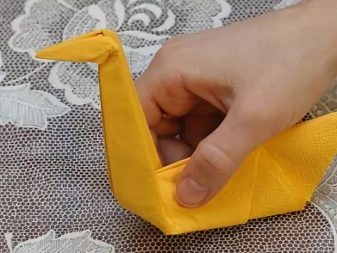
- Now we form the swan tail. To do this, you need to take the top layer of napkins, raise it a little and gently, so as not to tear anything, straighten it
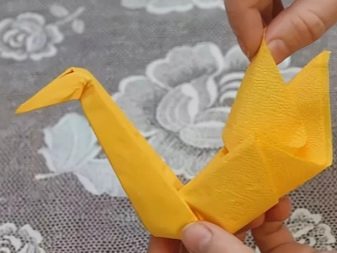
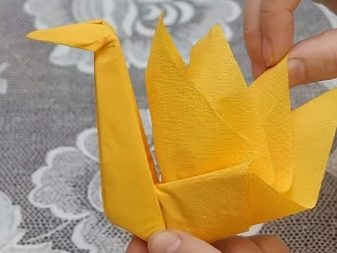
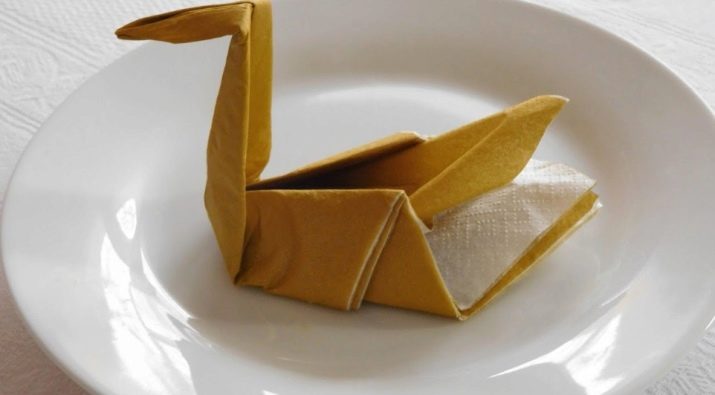
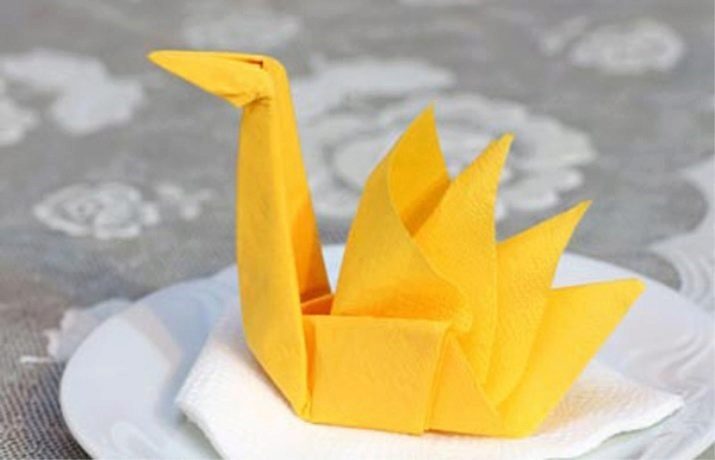
The paper swan is ready. We set it on a plate. It is worth considering that such a figure is not particularly stable. For this reason, it is better to install the paper swan on another napkin, the corner of which will be slightly bent inward, which will prevent the figure from falling off.
It remains to make a few more of these birds, following the step-by-step instructions, and start setting the festive table.
Useful Tips
If you wish, you can show your imagination and decorate the swan with ribbons or lace. All these details can be separately decorated with beads, which will look very original and unusual. This will make your swan look more presentable and beautiful.
If you want to make an overall and large figure, then for this it is worth using two or three napkins at once. However, you should not overdo it with their number, otherwise you will not be able to fold a full-fledged figure, or it will begin to crumble.
When choosing napkins, do not ignore textile options. A swan figurine made using the origami technique from such a napkin will look bright, interesting, but also expensive.
To make the table setting look more original, you can add other figures made in the same technique to the paper birds. Roses and other paper flowers are perfect here.
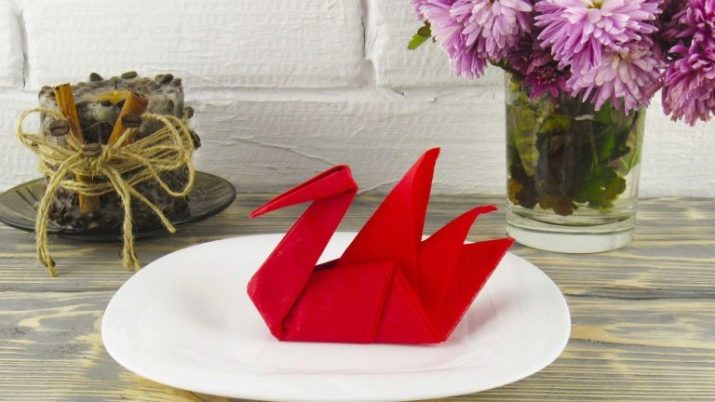
For information on how to make a swan from a napkin, see the next video.


