How to make snowflakes from a napkin?
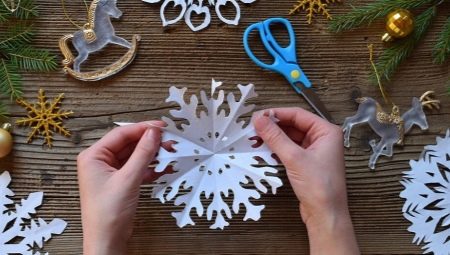
Many people like to decorate their home for the New Year with various decorative items. To do this, it is not necessary to run to the store, because such jewelry can be made with your own hands with your child. You just need to follow the step-by-step instructions to make the craft beautiful and bright. In this article, we will look at how to make snowflakes of varying complexity from paper and napkins.
Light options for kids
Cutting out a New Year's snowflake is easy. Even a child can cope with this task, it is enough just to hand him all the necessary materials and explain the progress of the work. To make an ordinary New Year's snowflake with your own hands, you need white thick paper napkins or plain A4 paper, scissors and a simple pencil.
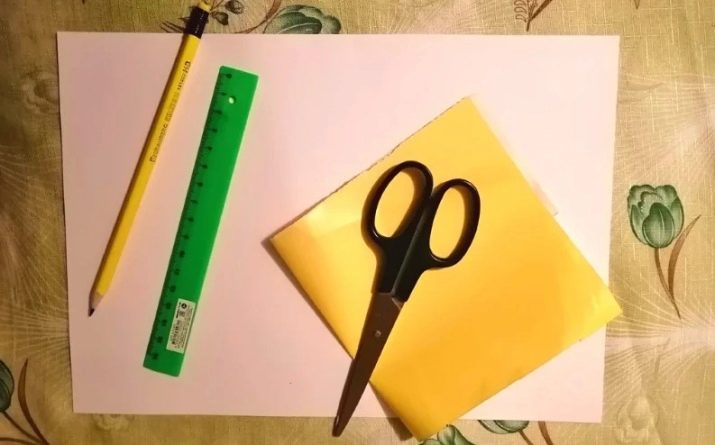
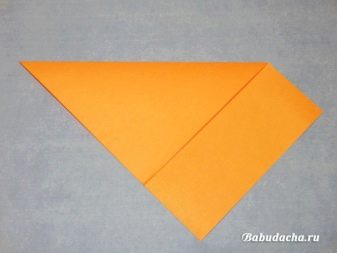
First you need to make a blank for future crafts. This requires you to fold the napkin in half. If you use ordinary paper, then you need to fold it in half and cut off the protruding part from it to get an isosceles triangle, and in a sweep - a square. By the way, how big the future snowflake will be depends on the size of your square.
If you want to make a small craft, then it is recommended to take a small square for work.
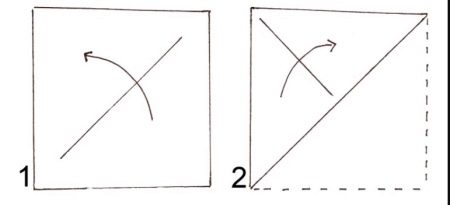
Having made a square and folded it in half, we get an isosceles triangle and also bend it in half, ironing it well along the fold line. Fold it in half again as shown in the diagram. Almost ready! Now you need to use a simple pencil and draw the lines of the openwork pattern. This can be done both independently and using a pre-prepared stencil.Having drawn, carefully cut out the snowflake strictly along the contour. Please note that you should not rush here, otherwise the New Year's craft may not turn out to be the most beautiful or even break.
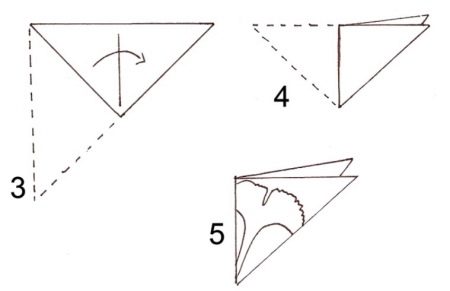
Having cut it out, carefully unfold the resulting snowflake. Ready! Thanks to this master class, you can make a large number of snowflakes of different sizes and shapes: round, square, and openwork. Such snowflakes will serve as an excellent decoration for the windows of the house and will help create a New Year's atmosphere.
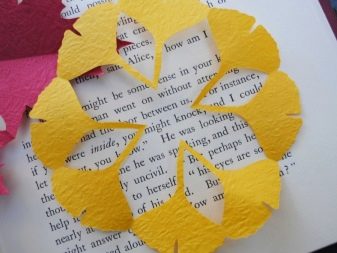
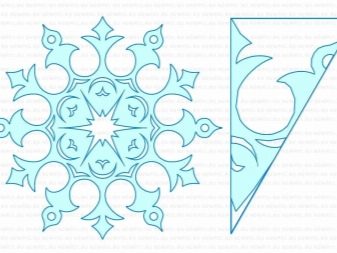
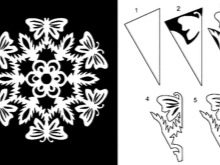
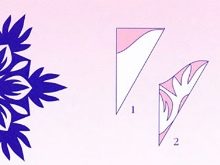
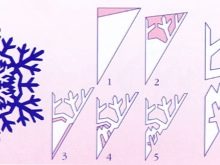
Complex beautiful snowflakes
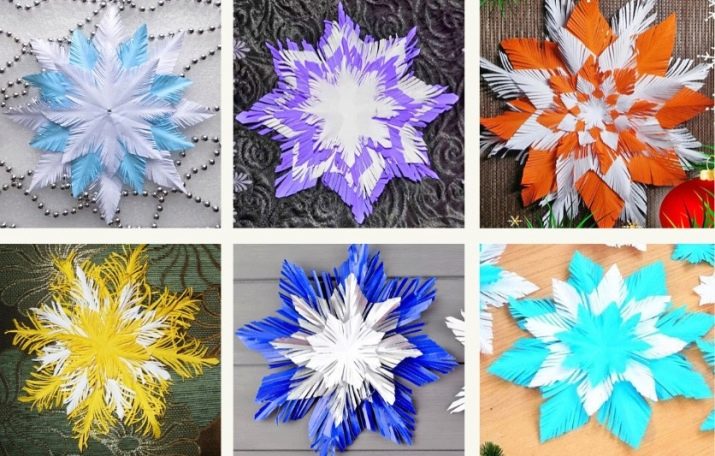
There are also more difficult snowflakes in terms of execution. However, making them is interesting and exciting, although a little more time is spent on this. Let's figure out how to make a fluffy snowflake. For work you need scissors, colored or white paper and glue.
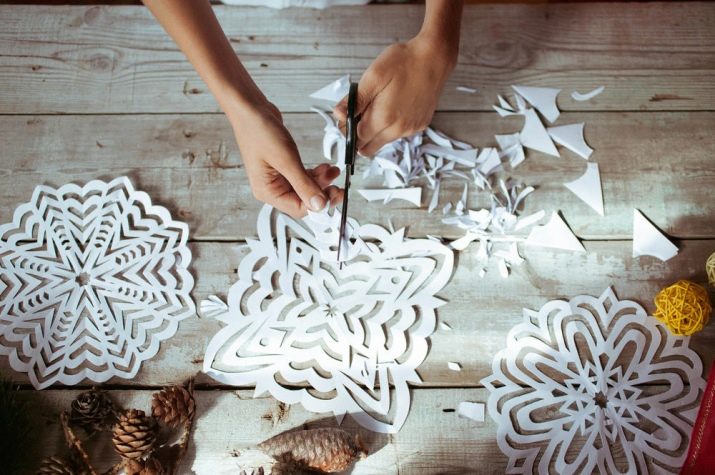
Having collected all the necessary materials, you can get to work. First, take a piece of paper and fold it so that you get a triangle, the protruding part of which in the form of a rectangle must be cut off. So we got a square folded in half or an isosceles triangle.
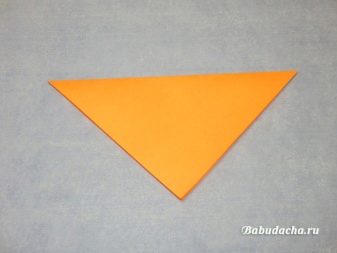
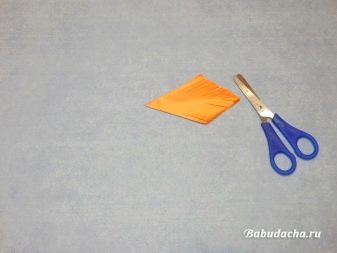
Now fold the resulting shape in half three times. You will get a very small triangle, the protruding corner of which must be cut off as shown in the picture. Now we arm ourselves with scissors and cut out fluffy rays along the edge of the triangle.
Please note that you do not need to cut through to the end, otherwise you simply will not succeed.
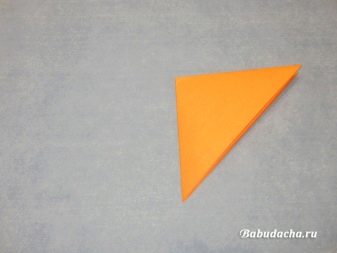
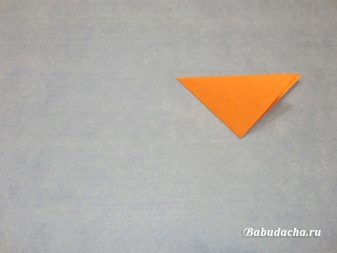
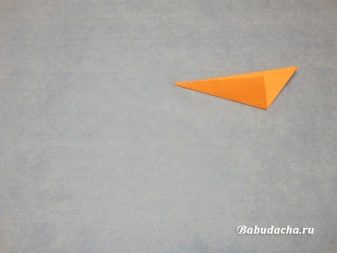
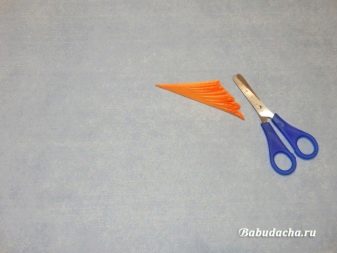
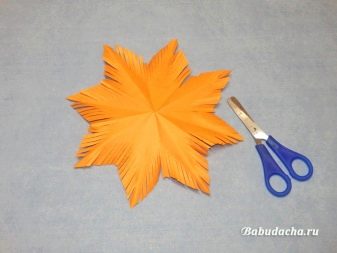
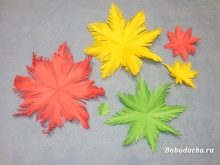
After making the required number of cuts, unfold the snowflake. The work does not end at this stage. You will need to make a few more of the same snowflakes, but smaller. To do this, you can take a sheet of paper of a different color to make the snowflake brighter. Having made the required number of blanks, we fasten them with glue. If you use PVA glue, then you need to act carefully so as not to accidentally pour it over the craft. Otherwise, everything will have to be redone again. Slightly twist the edges of the snowflake with scissors to make it more fluffy and voluminous.
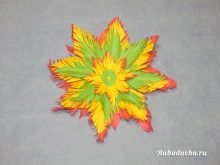
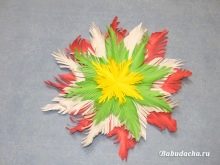
An even more difficult option is to create a voluminous snowflake. Here you need to act strictly in stages. To work, you will need several sheets of paper, scissors, a stapler, cardboard, a simple pencil and glue. First you need to make a template that will make it easier for you to create blanks for future crafts. To create a template, take a cardboard or thick sheet of paper and draw six lines on it at right angles. The lines should be parallel to each other and not intersect anywhere. There should be a distance of about 1 centimeter between them.
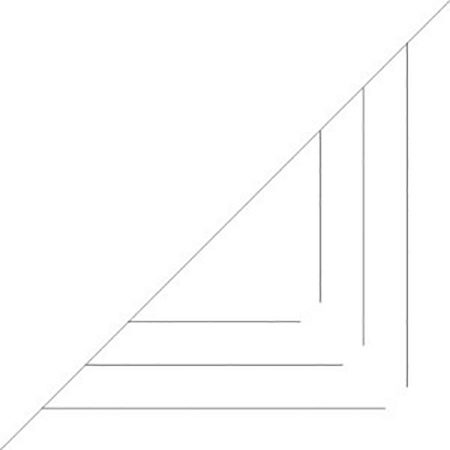
Now you need to take the sheets from which the blanks for the snowflake will be made. They can be either colored or white. The sheets should be the same size and square. We fold each of them so that we get an isosceles triangle, that is, in half, and with the help of a stencil we make cuts on them. Please note that the cuts should not touch, otherwise your snowflake will simply not work.
When making cuts, do not rush, do everything carefully so that the craft looks beautiful in the end.
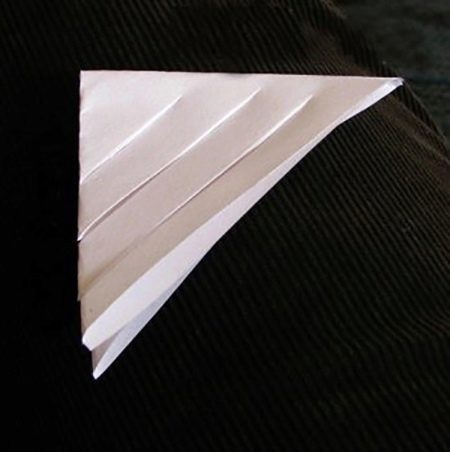
If you did everything correctly, then you should get a square, inside which there will be six isosceles triangles with parallel cuts or small squares. We carry out this procedure with the rest of the sheets. In total, you should have six such blanks per snowflake.
Now we start folding the workpiece. We take one of the sheets and carefully fold the corners of the small square, which is located in the very center, with each other. We fasten them with glue. We turn the workpiece over to the other side and do the same with the next larger square. We do this until you get something like a multi-layered icicle.
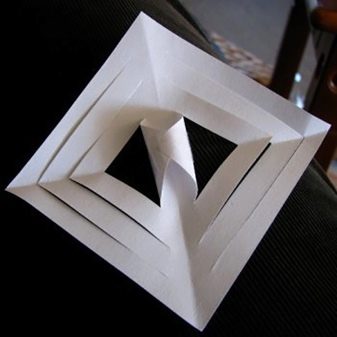
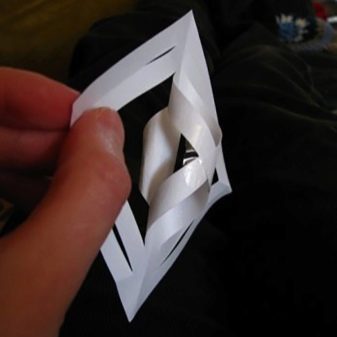
We do the same with the other five leaves. After that, the resulting parts must be fastened.This can be done with a stapler or ordinary glue. To begin with, we fasten three parts together at the bottom and approximately in the middle. We do everything carefully so that the snowflake does not fall apart, while sparing no glue or brackets. You need to fix the parts well and tightly.
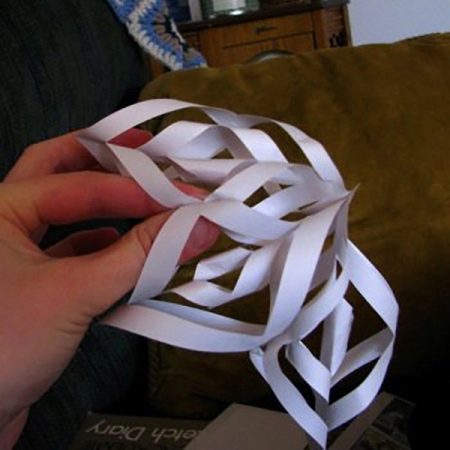
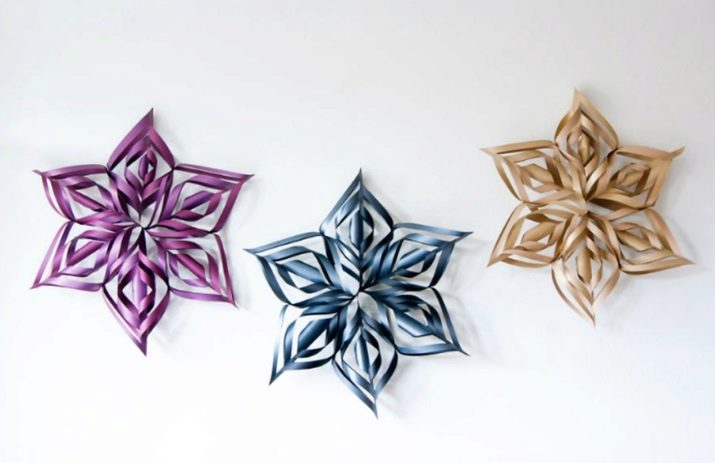
Now attach the other three details to the snowflake. If desired, make a small hole in the upper part of the snowflake and thread a thread through it. This way you can hang the snowflake from the stream or anywhere else. The craft is ready!
Useful Tips
Consider some useful tips from needlewomen.
- When cutting a simple snowflake, try to leave as little paper as possible and make the minimum amount of roundness. Otherwise, you will not end up with a snowflake, but a lace napkin.
- It is best to use nail scissors for cutting patterns, as they are more convenient due to their small size.
- You can use tracing paper to cut snowflakes. It is thin, but at the same time durable. Due to all this, you can make a more airy snowflake.
- To make your craft look more beautiful, alternate between thin and large patterns. This irregularity in pattern will make your snowflakes look more elaborate and complex.
A detailed workshop on making snowflakes can be found in the following video.


