All About Epoxy Rings
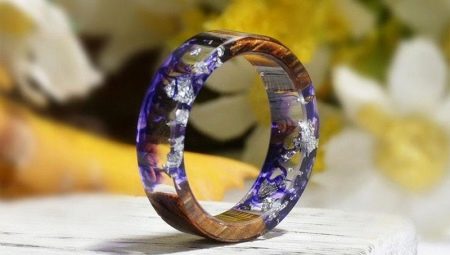
From day to day, handmade jewelry is gaining popularity. And some of the most interesting and beautiful are gizmos made of epoxy resin. These are various pendants, earrings, bracelets and, of course, rings. Today, epoxy rings are quite trendy. They come in different shapes, colors, and a variety of additives and fillers. You can add shavings, rhinestones and everything to which your soul lies in the workpiece. The main thing is that the product is unique, interesting and beautiful. By the way, the price of such jewelry is quite high, because most of them learn all the basics themselves and create unique and one-of-a-kind things. Let's try to figure out how simple the process of self-creation of epoxy resin jewelry is.
Views
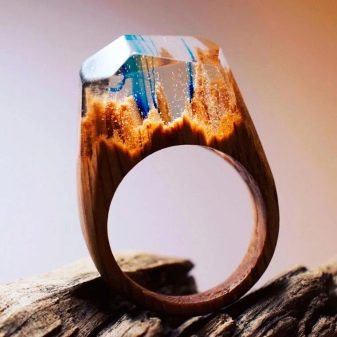
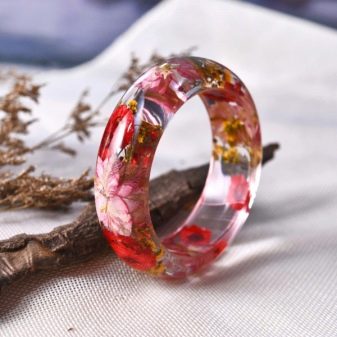
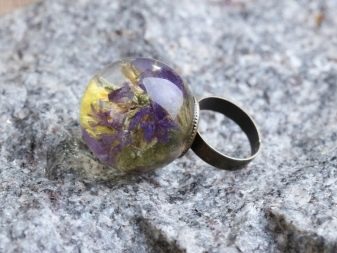
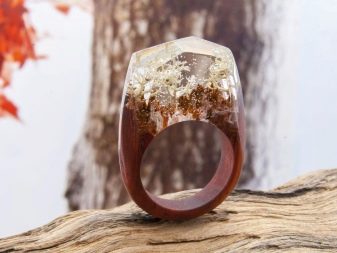
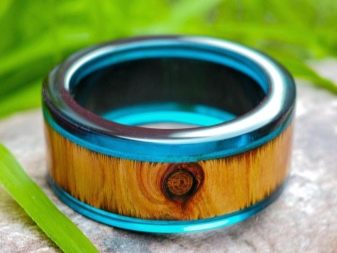
Epoxy resin jewelry is striking in its variety. Given that the totality of production methods is unchanged, using different additives, you can actually create amazing and unique things. The rings are striking in how smooth and smooth they can be, but at the same time, diverse:
- colorless;
- different colors and their combinations;
- with impurities from shavings, rhinestones, sparkles;
- with dry flowers, insects;
- half made of wood;
- ordinary rings;
- with epoxy pearl.
What is required?
You will need specific equipment to make rings. The list of what is required may vary, to a greater extent from the drawing that is created by the author. It all starts with preparing a comfortable place to work. First, you need to secure the table at which the work will take place in order to prevent damage by particles of resin, hardener or other components.
Important note! Everything should be done in a well-ventilated area, as this is important for human safety.
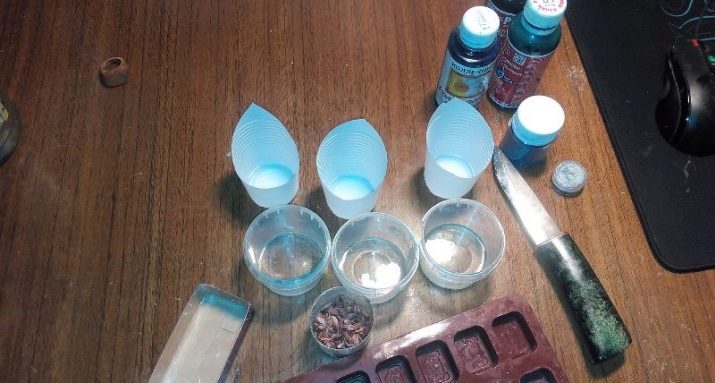
List of materials that will be needed to create the ring.
- Epoxy resin is the main material.
- Hardener.
- A container where all materials can be mixed. If you make one ring, then a simple disposable cup is enough.
- A box made of thick paper, or better cardboard, which must be wrapped with cling film is a budget option. If there is a special silicone mold that you do not mind, it is better to use it.
- Kohler of your chosen color.
- Mixing sticks, it is better to use wooden ones.
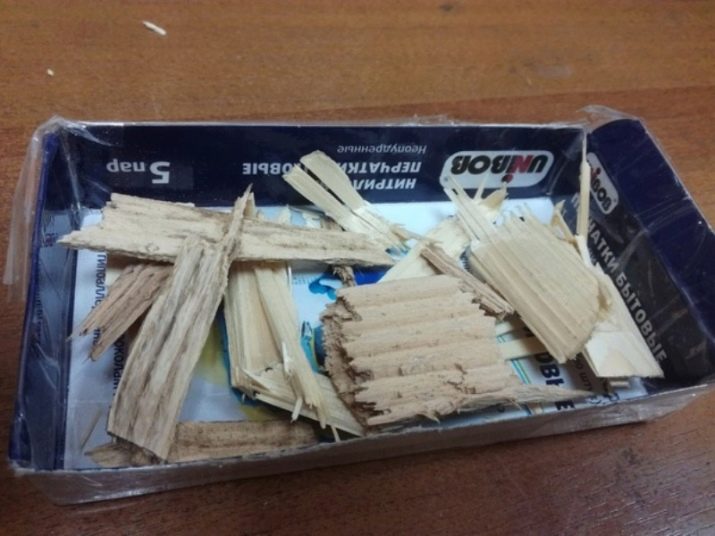
- Wood shavings, rhinestones, sequins, dried flowers, insects and everything that the soul lies in for filling.
- Sanding paper of different roughness, it will be needed to get an even edge of the ring.
- Drill with drill and attachments.
- Pliers and pliers.
- Round file.
- Linseed oil or polishing paste.
- In the process, you can also use a lighter, mini grinders, vacuum devices.
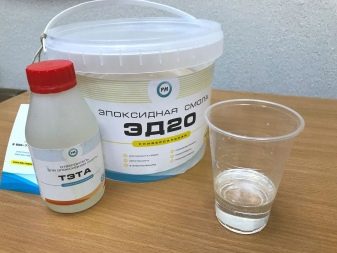
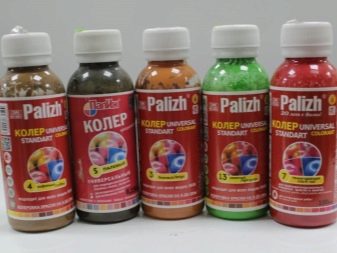
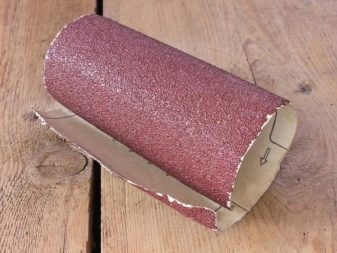
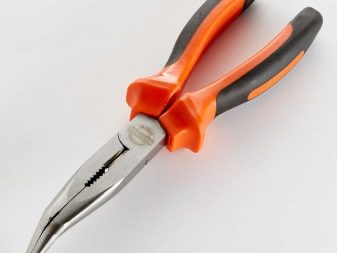
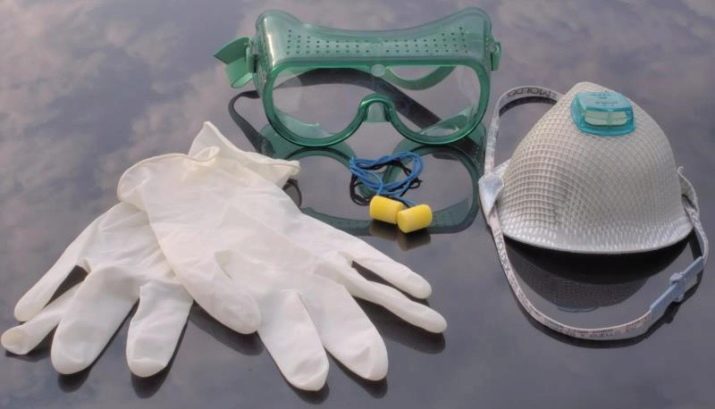
It is important not to forget about security during the process itself. After all preparations, you should change your clothes. It can be a work uniform or things that you do not mind if they deteriorate. In addition, you will need:
- respirator, during work there is a lot of dust and secretions from the resin;
- protective glasses, necessary to protect the eyes from damage during processing of the product;
- thick gloves are needed to ensure safety while working from hazardous polymer;
- as soon as everything is ready, clothes are changed, you can start creating a unique and beautiful ring.
How to do it?
The first thing to do just before you start making jewelry is to decide on its appearance. Those who will do everything for the first time should start with cast rings, they are easiest to grind. But if the goal is a ring, then you first need to prepare a wooden base.
Preparation of the mixture
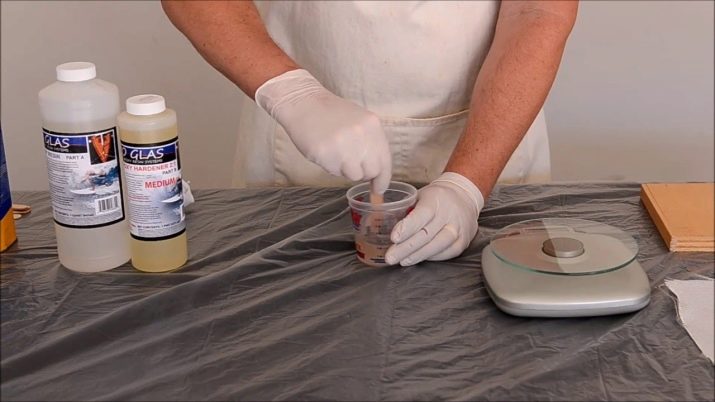
In the prepared container for stirring, you must carefully add epoxy resin and mix well, thereby expelling excess air. Further, wood shavings, sparkles, color are added to the resin, if the ring is planned to be colored, and everything is thoroughly mixed until smooth.
The polymer hardener is added to the existing mixture. In many cases the ratio is 1: 10 (1 part hardener and 10 resin). More specific proportions are written on the packaging.
It is important to follow the instructions, otherwise the resin may not completely harden if there is little hardener, or it will boil from an excess.
Getting rid of bubbles
Most people choose colorless rings, in this case, getting rid of air bubbles is important. To do this, it is better to use the following methods.
- Water bath. The dishes with the resulting composition are placed above water, the temperature of which is not more than 60 C, and stirred with a wooden stick so that the air bubbles disappear completely.
- Lighter. By heating the top layer of resin, air is removed. You can also use a construction or household hair dryer.
- Vacuum. After placing a container with a polymer mixture in the installation, air is evacuated within 3-5 minutes. The result is a complete absence of bubbles.
The best option is, of course, vacuum chambers, but this is the case when mass production is planned. The cost of such devices is different, from several hundred to thousands of rubles.
Fill
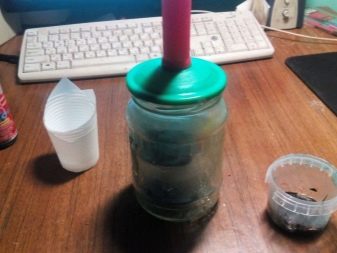
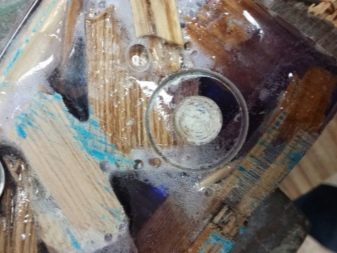
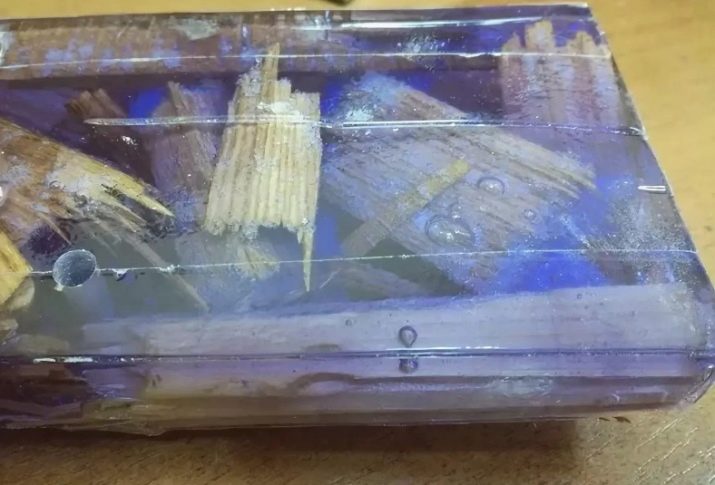
The mass freed from bubbles is poured into the prepared form. It is worth remembering that a homemade design is wrapped with tape or film. It is important to remember that you do not need to smear the form with a fat cream or petroleum jelly, a reaction with resin is possible. The mold should be on a flat and smooth surface. You need to fill it carefully, avoiding overflowing. The mixture will freeze for at least a day, and the best option is to leave it for 36 hours.
Treatment
A ring is cut from the finished solidified substance. You will need the following.
- Professional emery. With its help, an internal hole is turned at the workpiece and cut out.
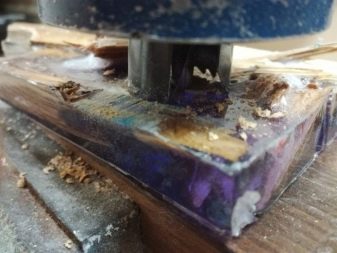
- Drill with crown. If such a nozzle is absent, then using a conventional drill you need to make a hole, and then, by rolling the sandpaper with a tube, or using a round file to grind it.
The main rule is to carry out all work at the stage of processing and grinding in a respirator.
Grinding
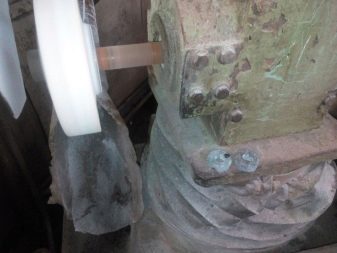
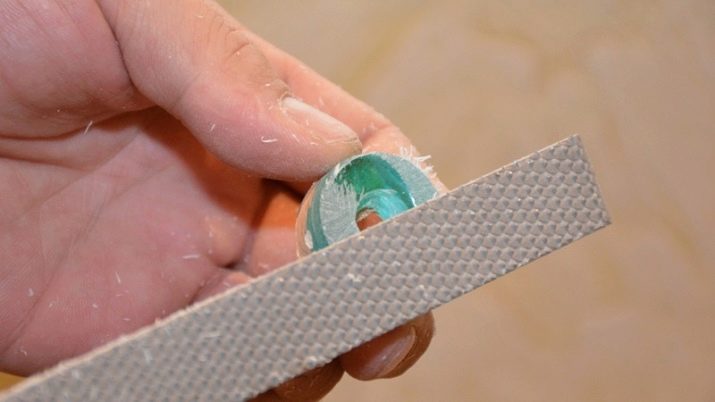
The cut out blanks need to be processed. It is necessary to take sanding paper of different hardness. Work always begins with paper, which has large grains. During processing, everything is checked by the inner hole. Once the craftsman is satisfied with the work, the next step is to correct the size of the hole and the symmetry of the product as a whole. This requires a skin.
When the inner processing of the future ring is completed, proceed to the front side. It is also treated with sandpaper. The paper must be waterproof, because soapy water is involved in the process. It makes it possible to control the process and the quality of the processing itself.
Polishing
The final step in making an epoxy ring is polishing. For this step, you can use polishing paste, linseed oil and even car polish. You will also need:
- fine sandpaper;
- boring machine with a soft nozzle;
- polishing wheel.
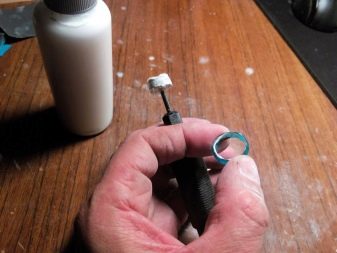
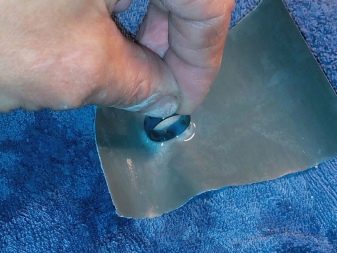
At the end of processing, the finished thing is rubbed to a shine using wax, linseed oil or polish. The process itself will take an average of 3-4 hours. But if we also take into account 36 hours, during which the mixture hardens, then everything about everything will take up to 48 hours.
Summarize. As it turned out, designing wonderful and beautiful jewelry out of epoxy resin is very possible, and on top of that, it is an interesting hobby. The main thing is imagination, patience and hands that grow from the right place.
Beautiful examples
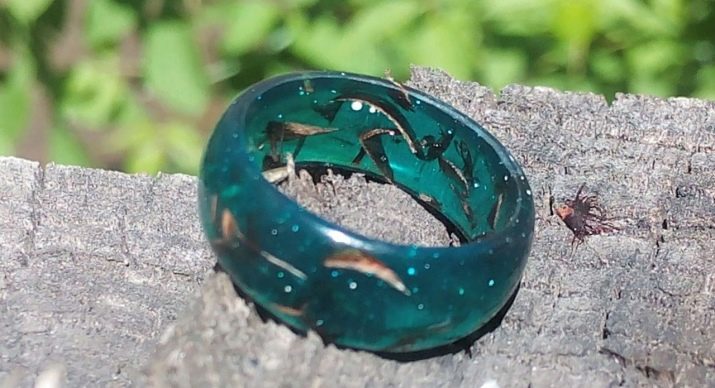
There are a great variety of manufacturing options. All of them will look great on your fingers, especially if made with love.
You can make a ring with a wooden base that looks great even as a gift.
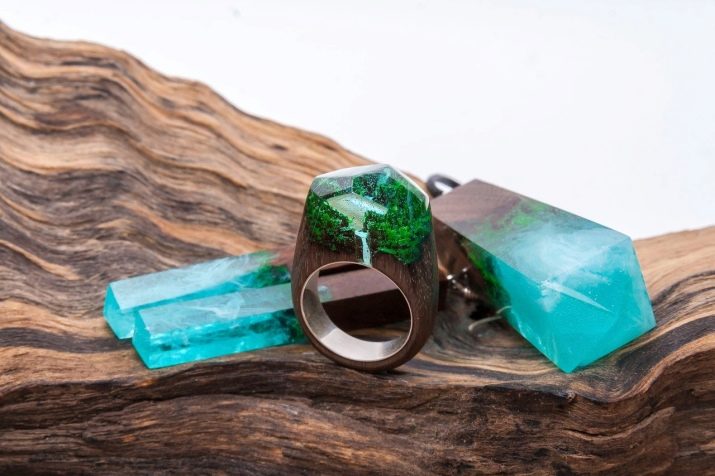
You can mix different colors.
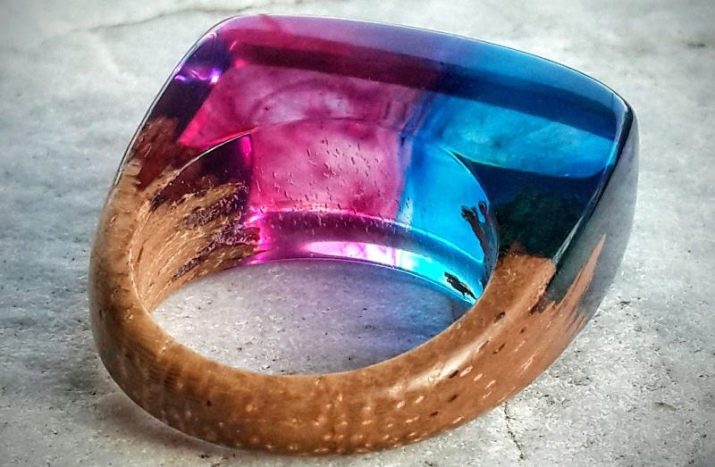
Add sequins or other embellishments.
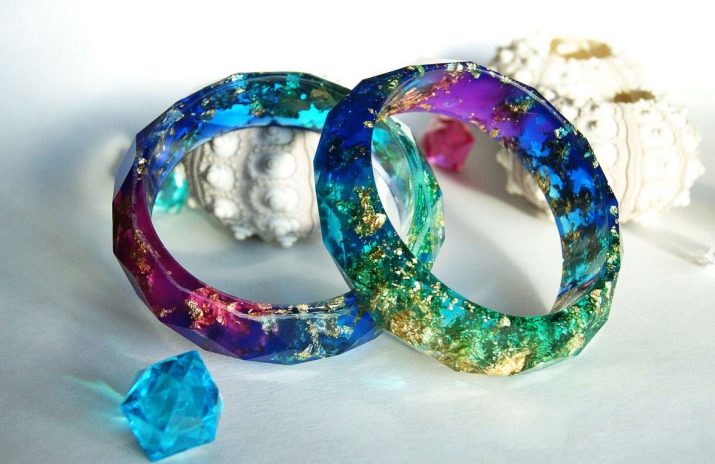
Make rings that glow in the dark.
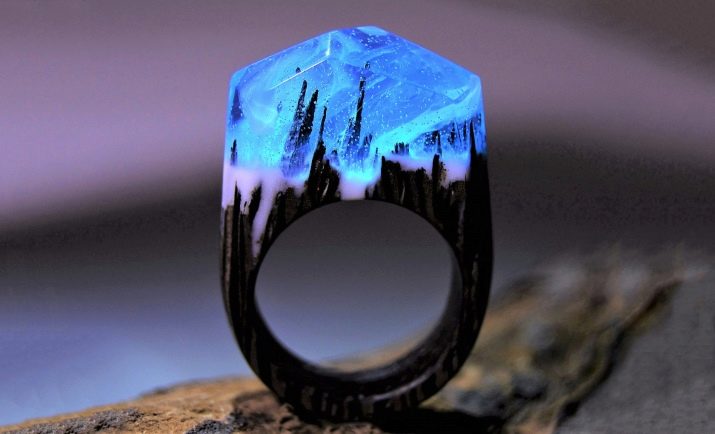
For information on how to make a do-it-yourself epoxy ring, see the next video.


