Variants of crafts "Flower"
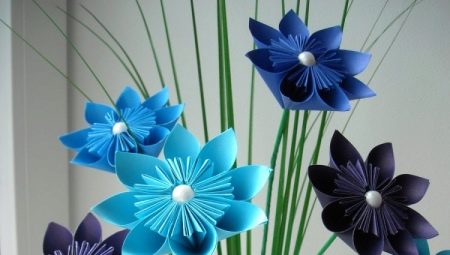
The flower theme is loved by everyone in any form. Flowers always bring positive emotions. They are presented to women of different ages with or without reason. Flowers decorate the interior, clothes, objects everyday life.
Appointment
The flower theme is widely used in educational projects that help develop fine motor skills, spatial reasoning and aesthetic taste.
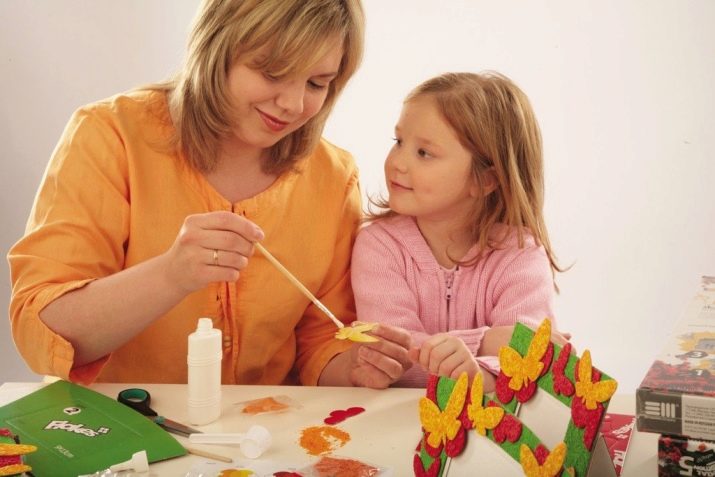
How to make from paper?
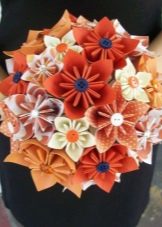
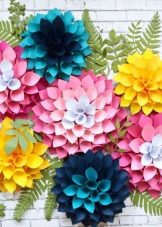
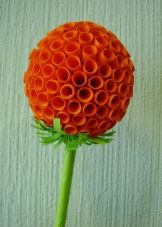
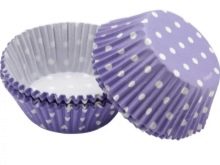
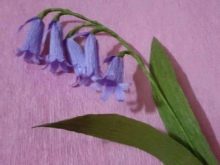
The easiest way is to make voluminous and flat flowers from sheets of colored paper. Textured paper with a pearlescent, metallic sheen will look spectacular. Children are encouraged to try something simple at first, such as bells from cupcake tins.
You just need to cut the paper molds and twist, giving them the shape of bells. Use cotton swabs for the pistils and green cocktail tubes as the stem.
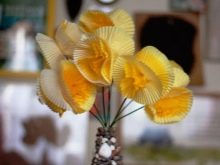
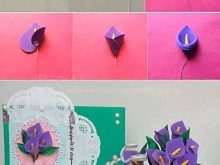
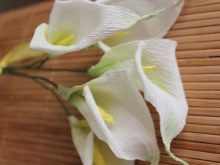
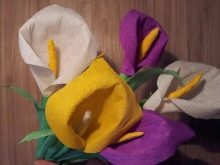
Then you can start to master origami and more complex techniques. From the presented photo, it is easy to learn how to make calla lilies out of paper.
Aster and peonies are also simply made. You just need to watch a detailed video tutorial.
Making from cones
Material donated by nature itself. It is fascinating to make beautiful DIY crafts from different cones in kindergarten, they are suitable for school and at home. For "coniferous" flowers you will need:
- open bumps;
- bamboo sticks;
- brush;
- felt;
- drill and drill (for sticks);
- green ribbon;
- sequins.
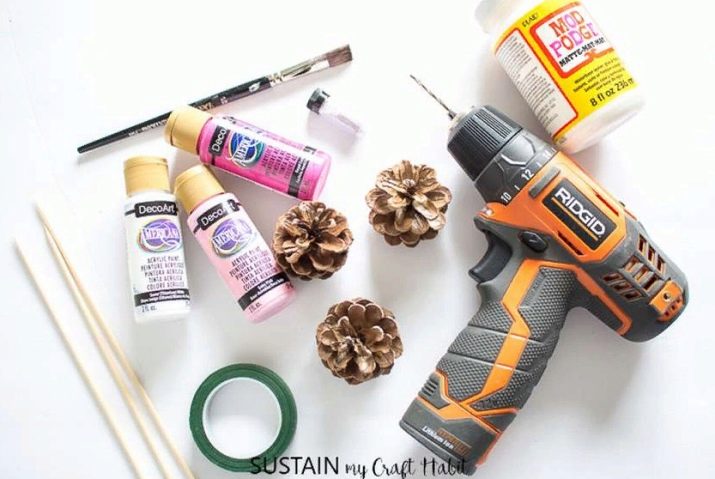
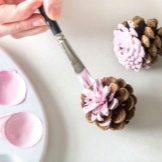
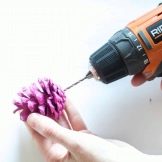
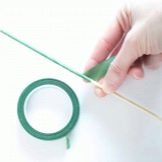
First, the buds need to be painted and wait until the paint is completely dry. After that, drill a hole from the bottom of each workpiece. Decorate the sticks with green tape (coils).Insert the taped workpieces into the drilled holes.
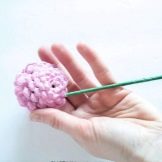
If you wish, you can make the composition shine, it will look incredibly impressive in a vase.
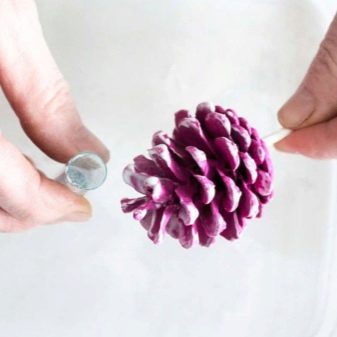
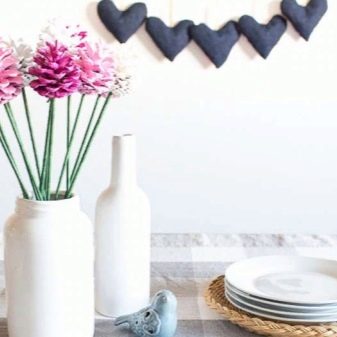
Of scales
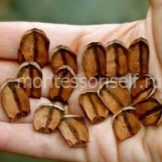
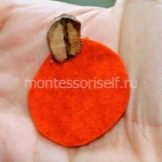
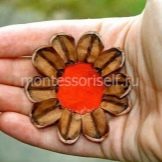
Preparation consists in extracting the flakes themselves. After dyeing, this material turns into petals. You can immediately prepare circles of felt to form the centers of the flowers.
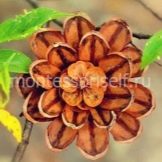
The scales must be removed with pliers. It is advisable to choose a larger material. Paint them in pleasant colors and stick around a circle of felt. The scales are placed in a circle in rows so that the flower gains splendor.
Making fabric flowers
Of frills
Prepare for the future flower:
- the cloth;
- thread, as well as a needle;
- iron.
How to do it:
- cut strips - 35 cm long with a width of 9 cm;
- bend in half;
- basting the prepared tape with large stitches;
- slowly pull the tape into an accordion, trying not to break the thread;
- join the edges, sew tapes;
- add beads and other embellishments.
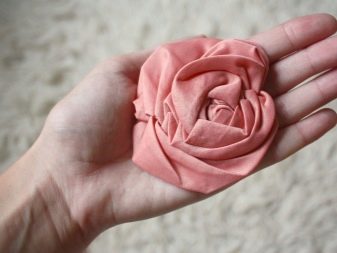
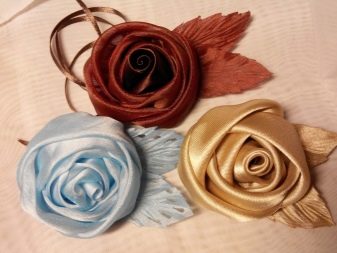
Roses "Country"
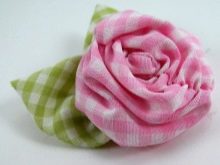
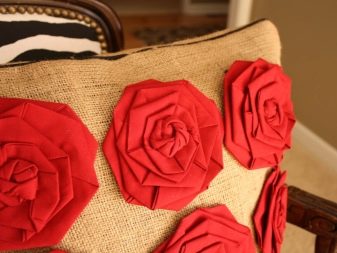
The method of twisting these peculiar buds is quite simple. You need to prepare:
- the cloth;
- scissors;
- adhesive composition.
You should act in stages.
- Cut long fabric strips (50 cm and about 5 cm wide). Apply a drop of adhesive from one end and fold along the side.
- Start rolling the tape into a roll. Wind up to five turns. When the middle is tight, direct the strip obliquely and continue to roll it up. This is how the flower petals are formed.
- For the strength of the product, you will need glue. When the bud is the size you want, glue the remaining tape to the bottom of the inflorescence. If there is a lot of tape left, you need to trim the excess.
- Seal the bud from below with a piece of felt.
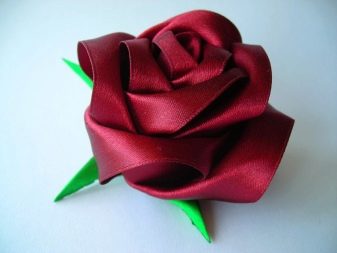
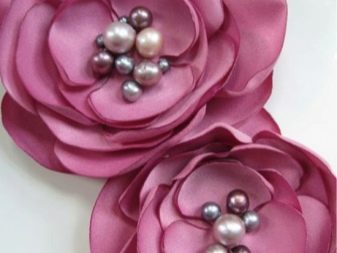
Satin flowers
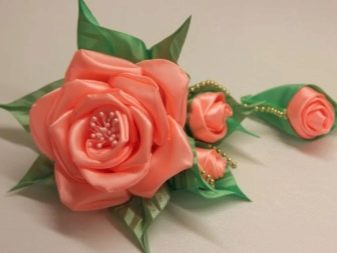
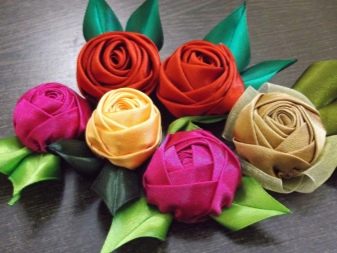
You can cope with their implementation with your own hands even without skills.
You will need:
- candle;
- airy fabric;
- scissors;
- thread of a yellow tint;
- needle.
The process consists of 5 steps.
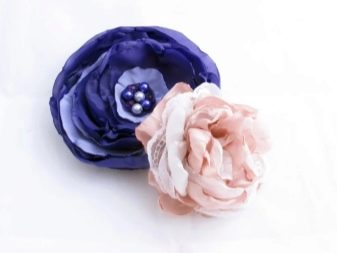
- Cut 4 circles with a diameter of 12 cm and 1 circle - 9 cm. Begin to melt the edges of the circles with a flame. Do not bring fabric too close to fire. All edges should be wrapped in a certain direction only.
- Next, cut the workpieces so that 4 slots come out. In pairs, they should form a cross, but they must be cut so that each incision is 1/3 of the diameter along its length. The middle must be left intact. Fuse the resulting edges.
- Make identical cuts as before. It is necessary to observe equal intervals between the cuts.
- Run stamen. Wind the thread around two fingers about six times. Tie a skein of thread with their free ends and pull tight. Cut the loops.
- Lay out the flower from the previously made blanks, set the stamen. Sew.
Napkin color options
Flowers created in this way are suitable for decorating a photo shoot area, a wedding celebration, a birthday, etc.
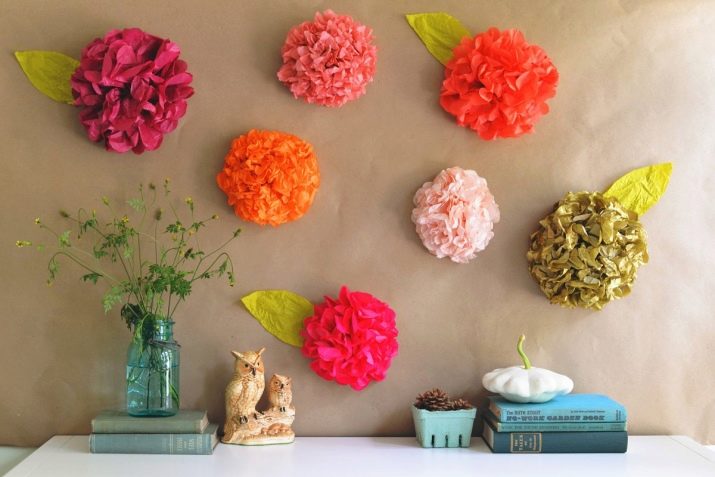
To work, you need the following:
- large napkins;
- scissors;
- twine (wire).
Let's describe the sequential instruction.
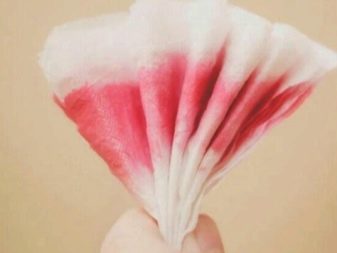
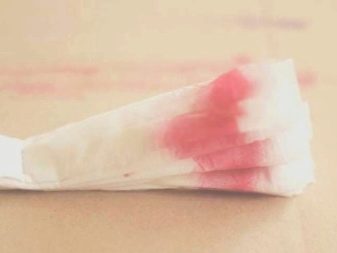
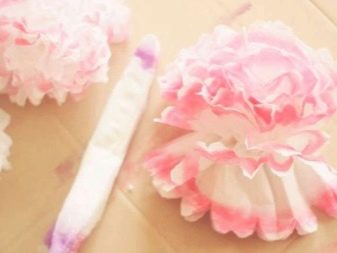
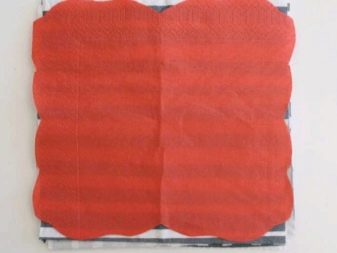
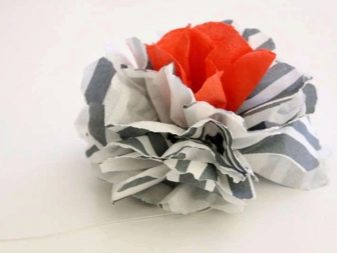
- Cut the napkin in half. Fold both parts in an accordion. It is advisable to take three-layer napkins.
- Tie the central part with twine. Trim all edges in a semicircle.
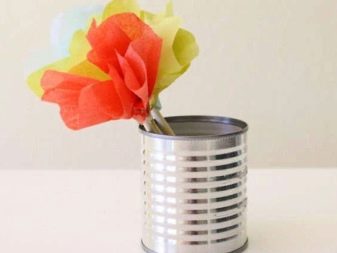
- Each layer is carefully straightened, starting from the top, to make the bud even. For more naturalness, crease the upper edges a little.
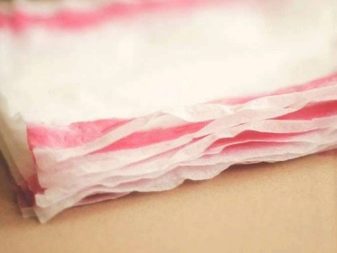
In this option you will need:
- multi-colored multilayer napkins;
- stapler;
- scissors.
The process itself is pretty simple.
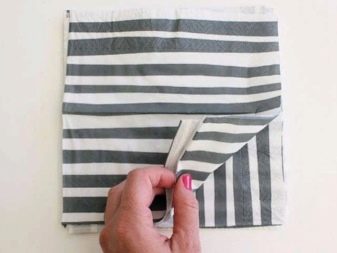
- The more napkins you use, the more magnificent the flower will come out. Fold them in a pile and cut in a circle.
- Prepare the required number of blanks.
- Fix each stack with a staple bracket in the center.
- Gently lift each level and crush slightly with your fingers.
What else can you do?
From threads
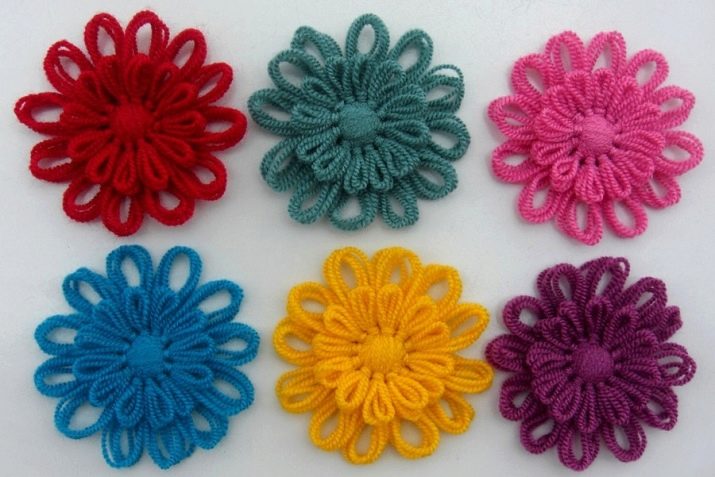
The threads are different, but it is advisable to select thicker varieties so that the petals are more magnificent. A bouquet of a combination of flowers created in different techniques looks very good.
From foamiran
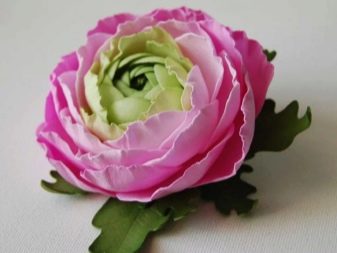
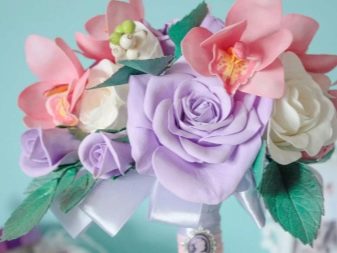
This elastic material is easy to work with, and the flowers are delicate, but perfectly retain their shape.
The material is also called "rubber paper" and "faux suede".
In fact, it is made of foam rubber that changes shape when heated. Sometimes the warmth from the hands is enough for this. This feature allows you to create different-sized volumetric shapes.
From beads
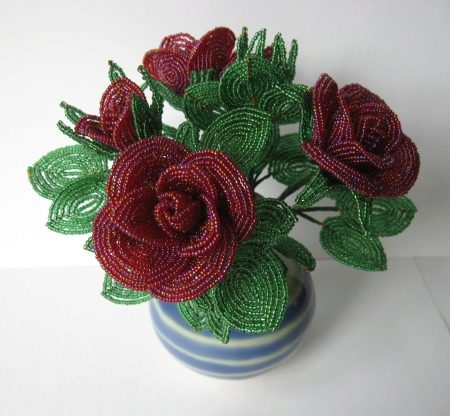
The easiest way to make a flower from beads for beginners is weaving using the French technique.
Each element is made in the form of an arched boat (from the center to the edges), due to this, the desired shape and volume appears. Such flowers look realistic and picturesque.
From egg trays
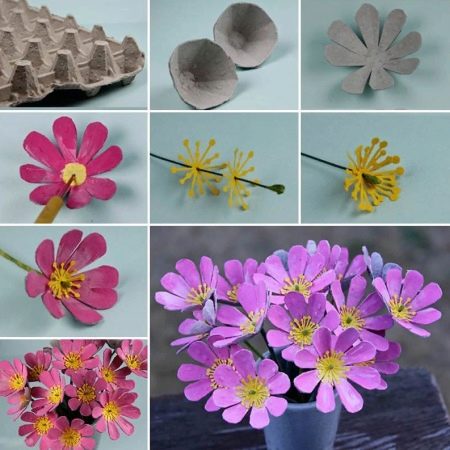
The convex cardboard pyramids from which the egg tray is made can be fully opened by cutting out rounded petals.
From the painted parts, blanks are obtained for the manufacture of different types of flowers.
If the petals are lifted in turn, gluing together, leaving free along the edge, you get a rose. And if you put a pyramid with pistils in the middle of an open cell, a daffodil will come out.
To give the shape of a bell, you need to make short cuts on the edges of the cell.
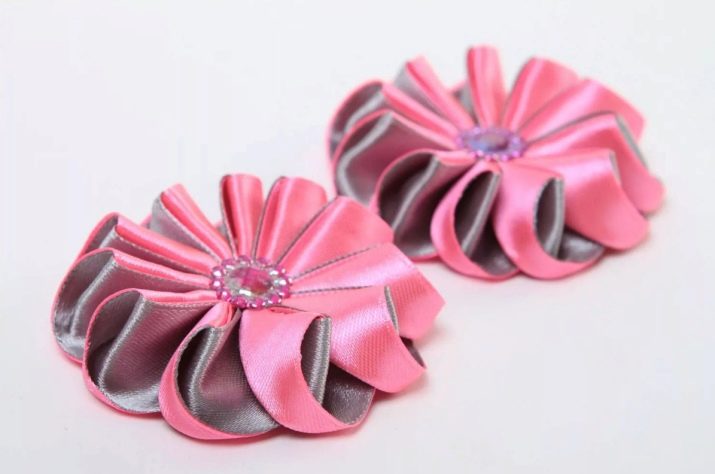
From ribbons
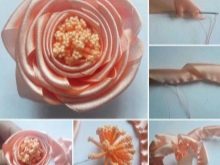
The most elementary version of a flower is a rose made of ribbons of all kinds of texture and width.
What is required for this:
- ribbon - the longer and wider, the larger the bud will come out;
- needle with thread;
- hot glue in the gun;
- scissors.
Let's describe how to twist a rose.
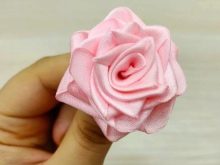
- Spread the ribbon on the table. Bend one of its ends obliquely.
- Roll the beginning of the tape with a roll in 2-3 turns, forming a core. Glue it from below (stitch it).
- Form the petals by again bending the tape obliquely to the outside and wrapping the core of the flower, fixing it with glue from below.
- Wrap the petals in layers, bending the fabric to the outside, remembering to fix each new layer at the base of the bud.
- When the rose is the correct size, press the edge of the tape to the base and glue.
There is another option. Weave a ribbon from two wavy intertwined ribbons. Sweep it along the edge so that the flower does not disintegrate, and pull it off. It turns out a rose.
To form an aster, you need to sew the tape along the entire width with zigzag basting stitches. Shrink, fold.
Other
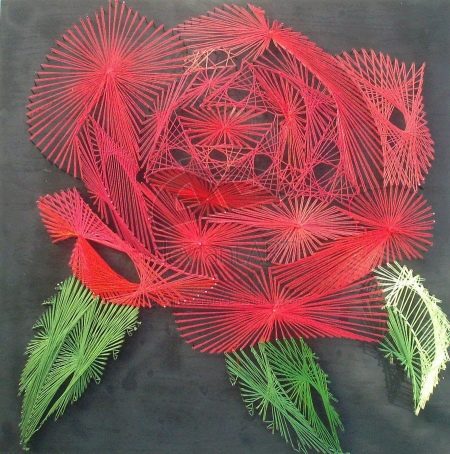
Flower on cardboard
Prepare a cardboard circle. Make markings and fix special tailor's carnations on it. Wrap all the convex parts in a circle. The number of circles is determined based on the idea of \ u200b \ u200bthe volume of the future flower.
Decorate the core with threads of a contrasting color. Connect all the central holes of the threads wound on the cardboard. Tie the ends in knots at the back. Sew on the bead in the middle.
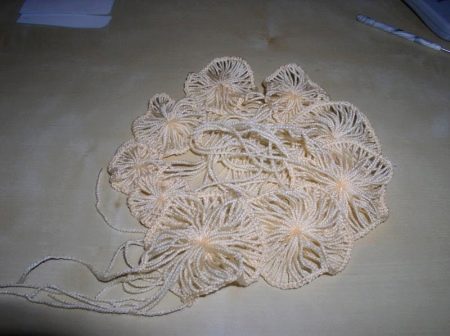
On the ruler
Cast on a long ruler four dozen loops in both directions. The wider the stationery, the larger the flower turns out.
Remove the dialed loops and form a flower. Sew on the core.
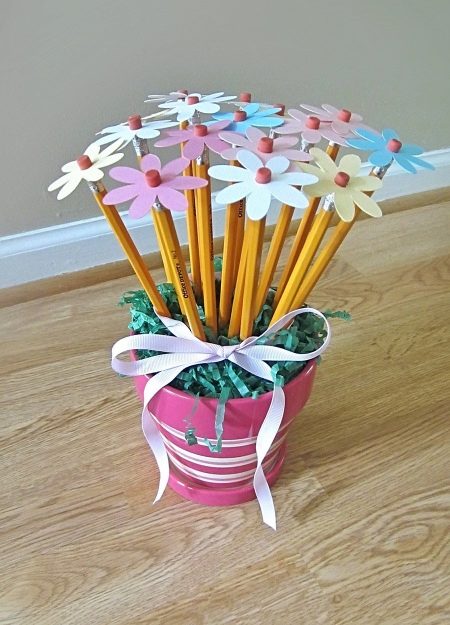
From pencils
The stationery for drawing in this case serves as a stem for the bud. This is a very creative solution, suitable for DIY on Teacher's Day and September 1st.
Also, using their multi-colored pencils, you can make a vase for a bouquet of flowers. An excellent gift option without high costs.
From the mask
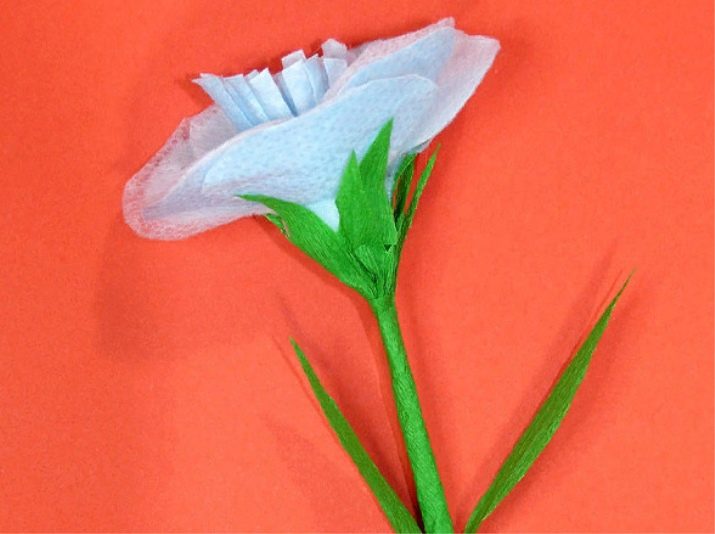
Live flowers and potted plants can replace flowers from blue and green disposable medical masks. An elastic band is cut off from the mask, and then its edge is cut into a fringe, the core of the flower is formed. Fixed with the hard edge of the mask. The petals are cut from the main fabric. The flower bud is held together with an elastic band.
The mask must be unused or washed!
Wire
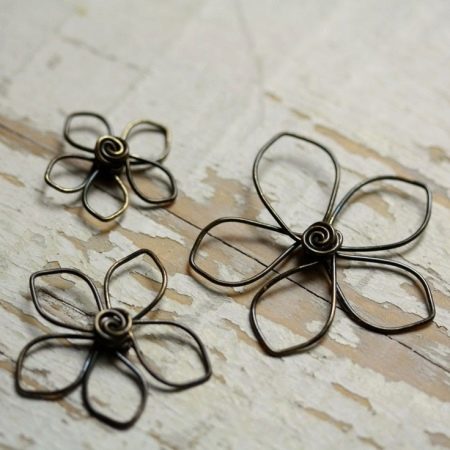
It is easy to create voluminous flower arrangements from ordinary wire 1 mm thick or special decorative flexible materials.
The wire frame must be filled with floss or any suitable fabric.
You can also use ready-made fluffy decorative wire.
From pompons and yarn
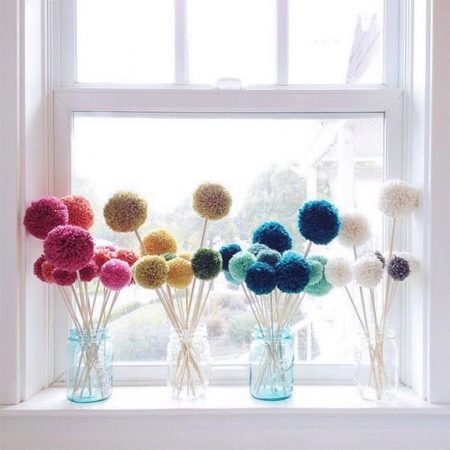
Round yarn pom-poms are easy to attach to the wire, imitating stems. The short leftovers of thread can simply be screwed onto a wire frame, fixed in the form of an inflorescence with a core and petals.
Burlap and jute threads
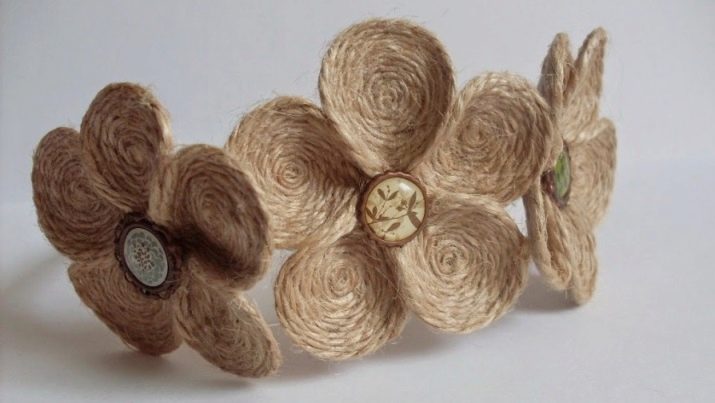
A vintage rosebud twisted from a strip of canvas fabric will stylishly complement other natural materials: jute, cones, seeds, twigs.
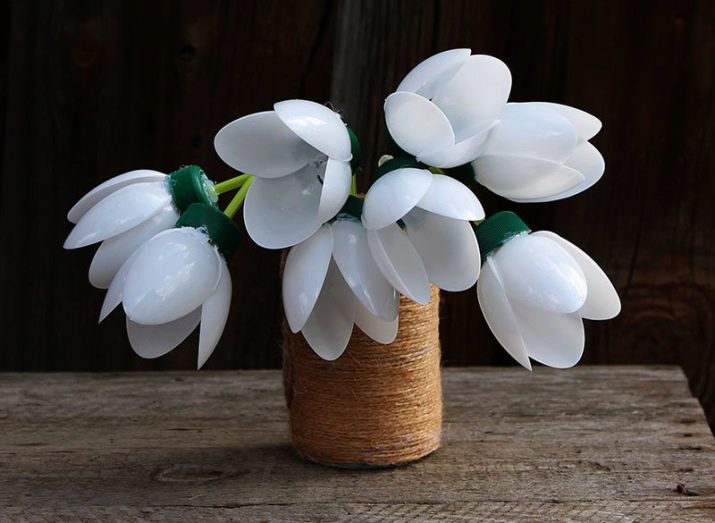
Petal spoons
The shape of this cutlery is a ready-made piece, suitable for any inflorescence.
Parts can be fixed with special glue, or simply put on plasticine. As for the complicated compositions, the elements are heat treated and painted with aerosol paints. Silver, bronze coatings, glitter look especially great. Such flowers can be used as a candlestick decor, place small LEDs in them.
Interesting ideas for making felt flowers can be seen in the following video.


