How to make paper flowers?
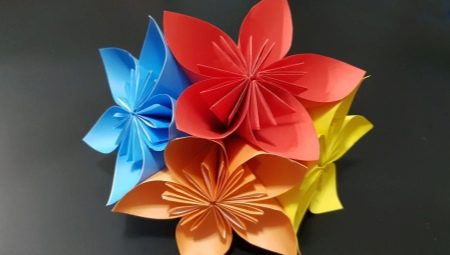
Paper flower arrangements are unlikely to replace living plants. Nevertheless, they can be a good decorative element for the holidays and a stylish addition to a present. At the same time, making them is quite easy, and the result is refined and original. Today we will tell you about the fastest methods of making paper flowers in various techniques.
Simple options
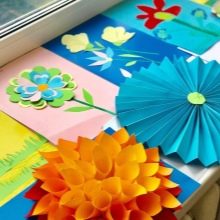
There are many different techniques for creating flowers for interior decoration. Even toddlers can do some of them. As a rule, children make applications, but if desired, they can be given volume and decorativeness.
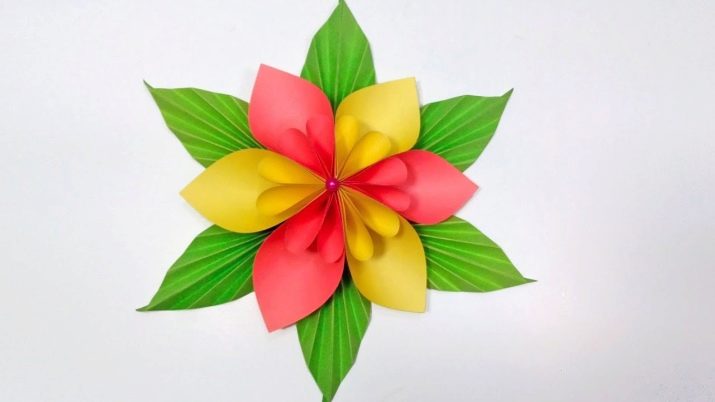
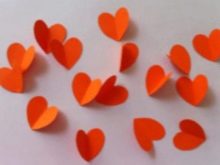
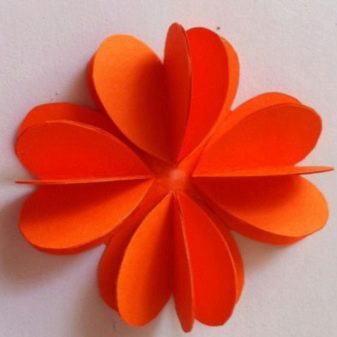
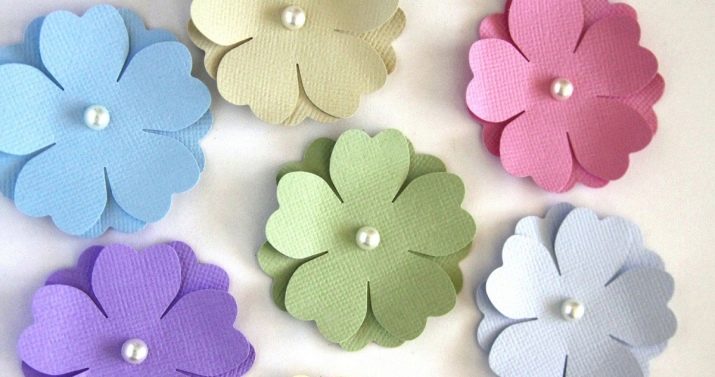
So, a fluffy flower will come out of plain paper. You will need 16 heart-shaped blanks of the same size - they will be the petals of your future craft. Each heart should be folded in half as shown in the photo below.
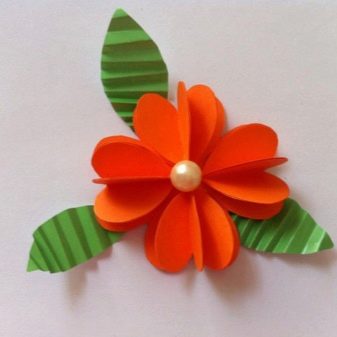
Each workpiece on one side of the fold should be greased with an adhesive pencil and connected to half of the other heart. With the second side, the workpiece is connected to the third figure, and the third part is glued, respectively, to the fourth. After that, the second and fourth hearts are connected. From 16 blanks, you should get 4 volumetric parts.
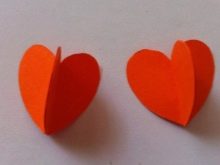
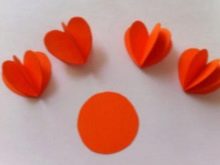
Next, a circle is cut out of paper of the same color and all four petals are carefully glued onto it, a bead is fixed in the center. Leaves cut from green paper are placed below; it is advisable to slightly bend them with an accordion. That's how quickly and easily you can make a craft for a gift to a loved one or for a competition in a kindergarten.
If you wish, you can add a little decor - then the flower will turn out to be even more colorful.
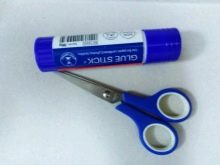
There are many other ways to create cute bouquets from pieces of paper, let's look at one more. To make a flower arrangement, you will need colored paper, while one sheet should be green, and the rest should be of any other shades. Also, for work, you need to prepare a glue stick and scissors.
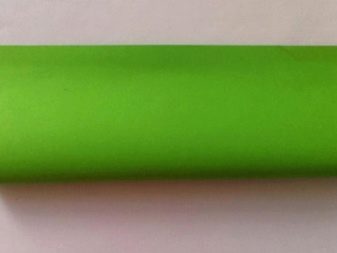
First, a sheet of green paper is folded in half and small cuts are made on the side of the fold line.
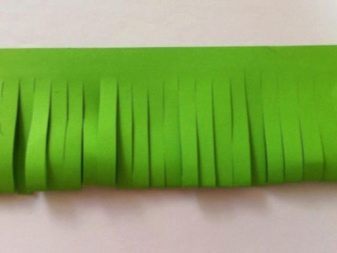
The resulting workpiece is folded into a roll (it should not be too tight) and fixed with glue so that the figure does not disintegrate. After that, you need to fluff the cut strips so that they resemble growing grass in their appearance.
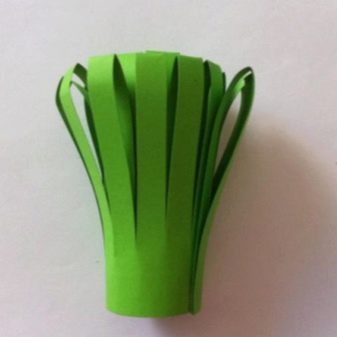
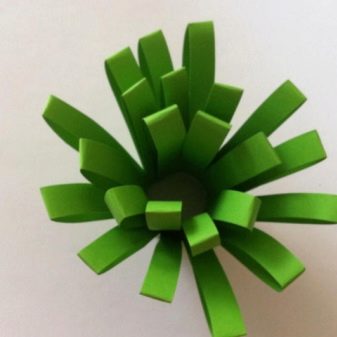
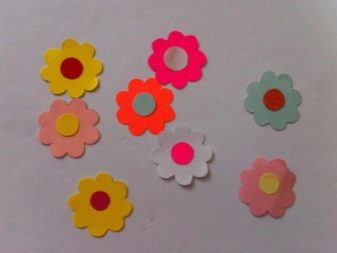
When the base of the bouquet is assembled, you can proceed to the design of the flowers themselves. To do this, they are cut out according to a template from paper of bright colors and a white or yellow core is glued.
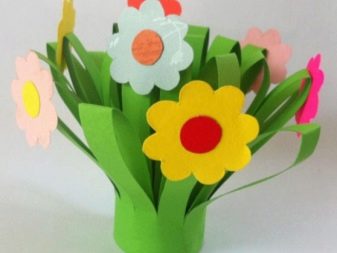
The bouquet is almost ready. All that remains is to glue the finished flowers onto the green blades of grass. This delicate spring composition will be a worthy decoration for a child's room.
Crafts from colored material
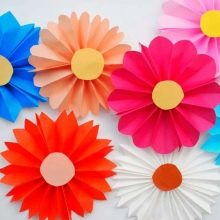
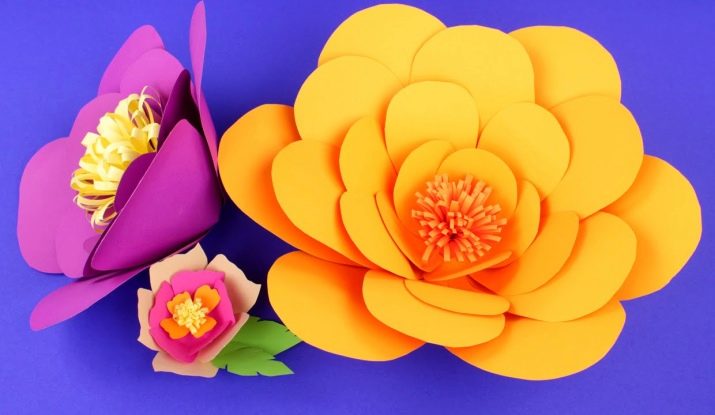
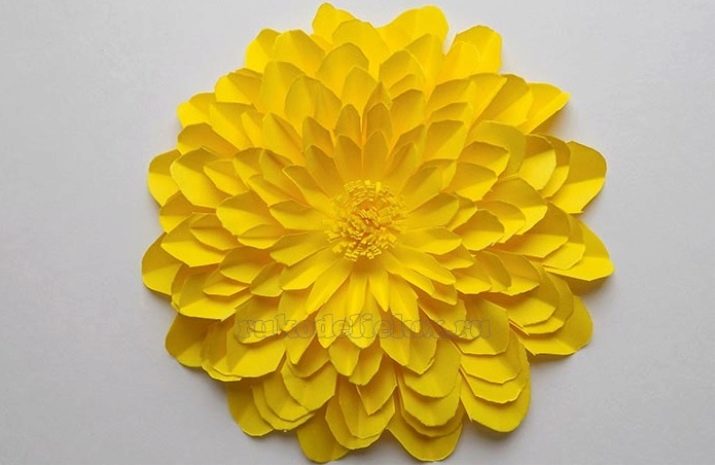
In schools and kindergartens, paper flowers are often used to decorate the premises in which the holiday will be held. They will be made from plain A4 paper. Consider a step-by-step master class on assembling a volumetric flower.
To create an interior craft, you will need several sheets of colored paper, as well as a set of standard tools: a pencil, scissors and glue.
- First, you should cut several square pieces of different sizes. In this master class, the largest will be a square with a side of 15 cm, and the smallest - 6 cm.
- These squares will be the basis for the petals. You need to start with the most voluminous. The workpiece should be folded in half.
- Then another transverse bend is performed. The resulting square is folded diagonally again.
- Next, another fold is formed; for this, the workpiece must again be folded in half.
- The edge of the resulting triangle is cut in a semicircle using sharp scissors.
- The resulting paper blank must be straightened.
- After that, you should walk with scissors between the petals, slightly not bringing the incision to the center point.
- On each petal, you need to make a bend with your hands - this will give the composition more volume. All manipulations must be repeated with the rest of the blanks.
- The petals are superimposed on each other so that the largest ones are at the bottom, and the smallest ones are at the top. At the central point, they are connected with glue.
- In this way, it is necessary to connect all the petals to each other.
- To decorate the core, cut out a strip of yellow or white color 2-3 cm wide. Fold it along the long side, and then use scissors to form a fringe - make cuts without reaching the edge.
- The resulting element is wound on a thin rod, from time to time fixed with glue. Thus, you will get the middle of the flower - stick it on the composition, and the fluffy flower is ready.
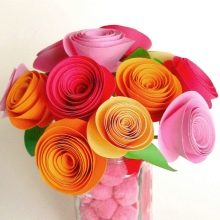
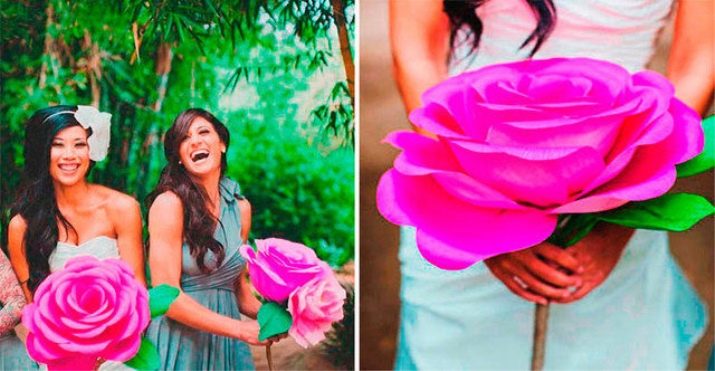
Large voluminous roses can be a good gift for a woman; even preschool kids can make them. This requires double-sided colored paper.
You need a lot of it, because the more petals your future rose has, the more voluminous, fluffy and elegant the bud will turn out.
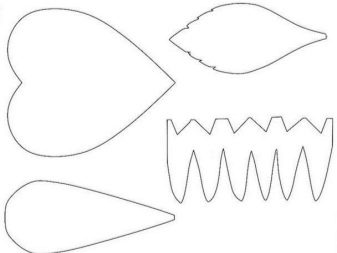
Diagrams and templates of leaves, petals, and sepals will come in handy in the work. They need to be printed or redrawn on sturdy paper and cut out. Based on such blanks, the main compositional elements of the future bouquet are prepared. In our master class, we will take 5 petals in the form of "droplets" and 15 petals in the form of "hearts".
The blanks need to be given volume. To do this, the pointed corners of the "droplets" are twisted with a pencil or pen. If desired, the same steps can be repeated with hearts. Next, two pieces of wire are folded and wrapped with decorative floristic tape - this will be the stalk of the future flower.
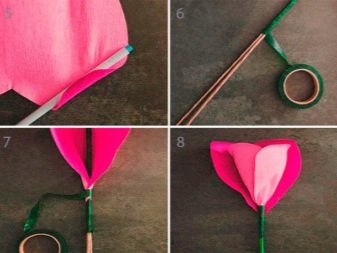
Next, the most difficult stage of creating a flower begins. A bud is carefully collected from the petals. To do this, one petal is glued at the top of the stalk: first - "droplets", then - "hearts".
To prevent the composition from disintegrating, each petal blank is fixed with thin tape.
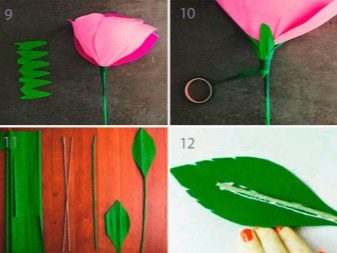
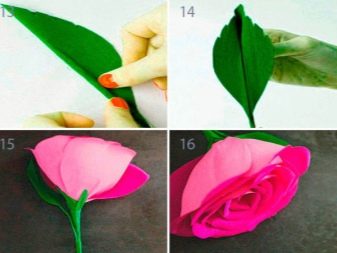
Next, a sepal is cut out of green paper according to a ready-made template, wound on the base of the flower and fixed with tape, as in the photo. After that, all that remains is to cut out the petals and fix them on the stem. This is how quickly and easily you can make a beautiful rose and present it to your mother, grandmother or sister.
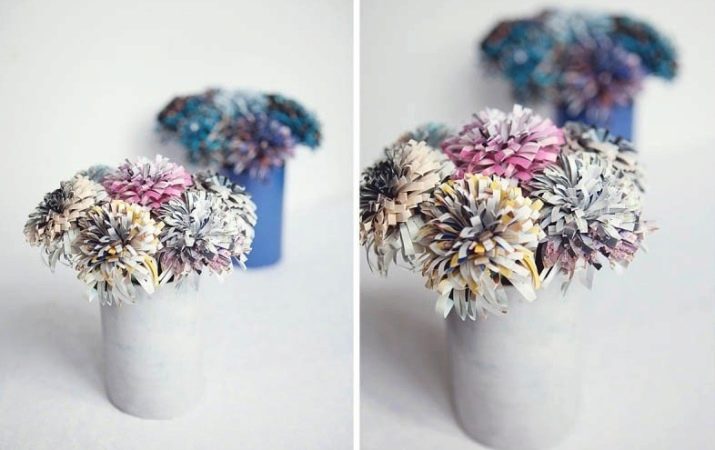
You can make unusual flowers from ordinary glossy magazines. The technique is not complicated, but the craft turns out to be very stylish and effective.
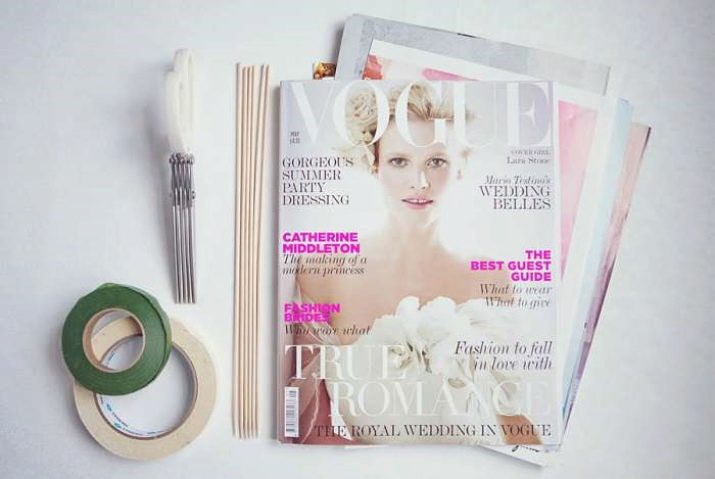
Prepare:
- any unnecessary magazines;
- green adhesive tape;
- scissors;
- wooden sticks;
- hot melt glue.
The work is done in stages.
- First, sort the magazines into separate pages and select the brightest and most colorful - they should be used to create decorative items.
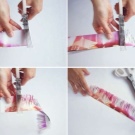
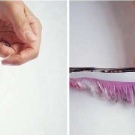
- Each page is folded four times along the long side. Then cut with a fringe along the fold line, not reaching the edges of 1-1.5 cm.
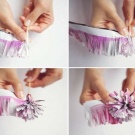
- After that, you can proceed directly to creating the bud. To do this, the resulting fringed tape is wrapped around the top of a wooden skewer, fixed with glue or fixed with tape. In this technique, you can create buds of asters, chrysanthemums and other voluminous flowers.
- To make the craft more lush and decorative, you can make a couple of turns around the stem. The free edge of the workpiece is fixed with glue so that the bud does not disintegrate.
- After that, it remains only to wrap the skewer with adhesive tape, cut out blanks in the form of plant petals from the magazines, give the necessary shape and fix it.
Using this technique, a very beautiful decorative composition can be made from waste material.

Flowers from another paper
Flowers can be made not only from plain paper and cardboard. There are many workshops for making crafts from other materials. By the way, some of them can even be used in cooking. Here are instructions on how to create them.
From waffle
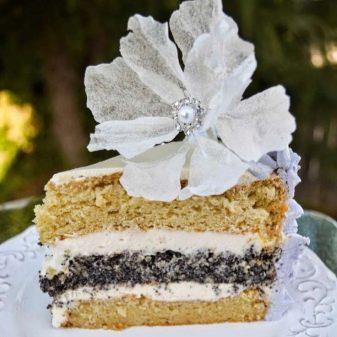
Flowers made of waffle paper captivate with their beauty thanks to floral ornaments. The finished products are light and airy, so they fit perfectly into the design of the birthday cake.
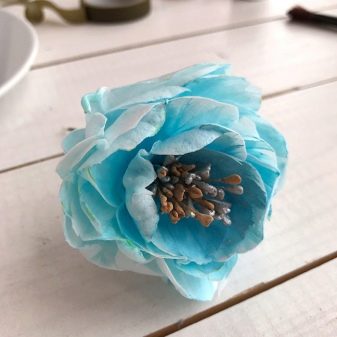
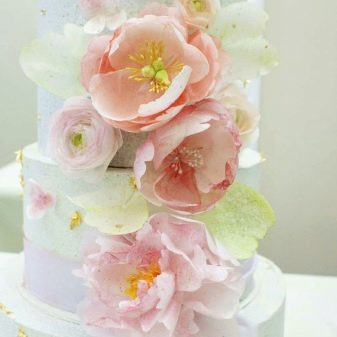
To decorate a confection with flowers made from this unusual material, you will need:
- a couple of sheets of waffle paper;
- sponge or brush;
- alcohol / vodka;
- pliers;
- wire;
- beads or rhinestones for decoration.
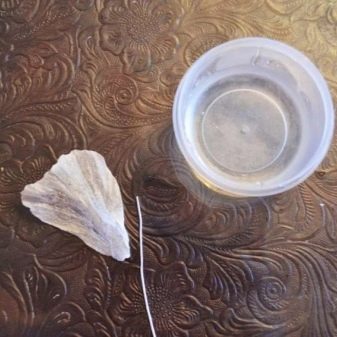
Start by drawing six different sized petals on waffle paper. Then dip the sponge in rubbing alcohol and generously moisten the blanks, pushing through each line. Place the wire inside the petal or outside, depending on the shape you want, and let it dry for a couple of hours.
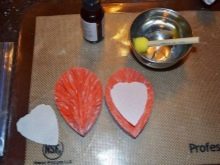
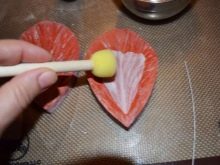
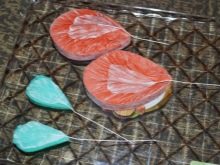
When all the petals are dry, fold the resulting flower neatly - this is best done with a pair of pliers. The stylish cake decoration is ready, all that remains is to sprinkle it with glittering powder.
From rice
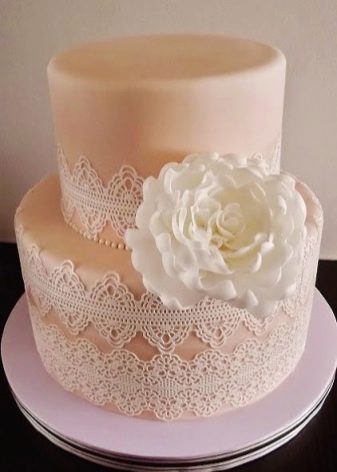
It is very simple and quick to make flowers from rice paper. Such crafts, like wafer ones, have become widespread in the confectionery industry. The flower is moisture resistant, its structure does not change upon contact with cream and glaze. At the same time, it is edible - its crunch and taste are reminiscent of chips.
Such flowers can be picked directly on the cake; for this, the petals are stuck directly into the cream layer.
You can paint them in any available way: liquid or dry dye, brush or airbrush.
Despite the fact that the flower turns out to be quite large, its weight is minimal.
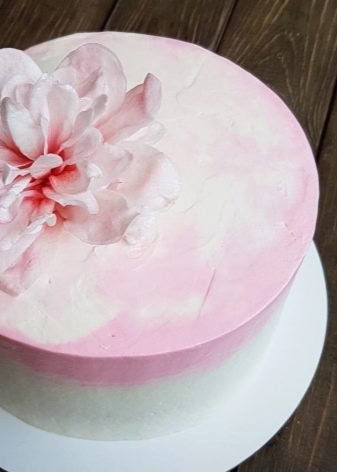
First, heat a little odorless vegetable oil in a pan, tear the rice paper into pieces of different sizes and fry in oil for 3-5 seconds until whitening. Place the future petals on a paper towel so that all the oil is glass.
Then melt the chocolate or frosting, pour it onto the plastic and place the petal support. All that remains after this is just to put the composition together and let the chocolate freeze.

Crepe
From crepe paper, you can collect giant flowers and make a luxurious garland of them. You don't even need templates and diagrams. Such products look attractive and impressive.
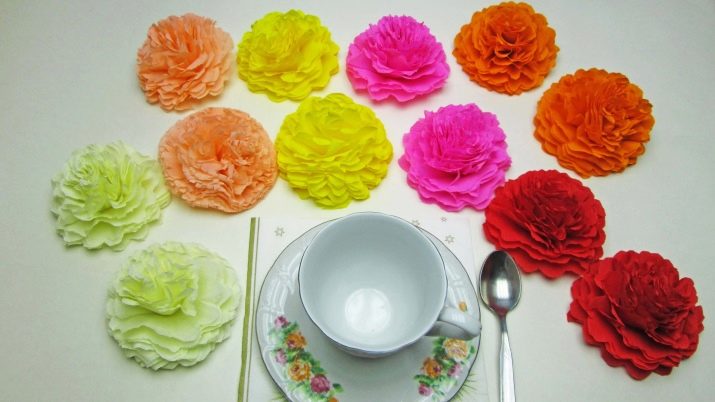
For work, you need crepe paper of several tones (it is better to take a bright and light one), fishing line or thread, glue, a stapler and scissors.
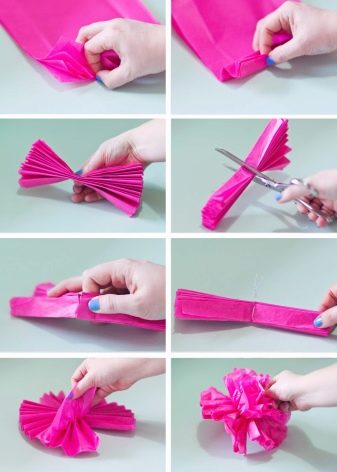
- Rectangles are cut out of crepe paper and stacked in a stack of 5 blanks. Decorative compositions of flowers of several tones look very impressive. For example, pink, purple and lilac go well, as well as blue, blue and silver. If you are planning to make an autumn composition, take yellow, red and orange blossoms. The size of the rectangles is chosen at your discretion.
- Each stack is folded like an accordion.
- In the center, the accordion is fastened with a stapler, thread, or glued together. The edges are slightly rounded, cutting out the semblance of petals from them.
- After that, it remains only to make beautiful buds from the accordion. To do this, they are carefully straightened in different directions. In a few seconds you will see what beautiful fluffy flowers you have turned out.
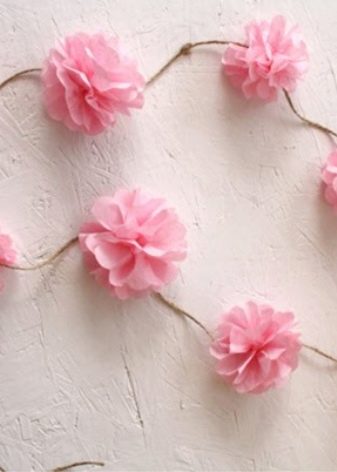
- All that is left for you after this is simply to string the buds on a string or rope. The festive garland is ready.
From corrugated
Crepe paper is similar to crepe, but slightly thicker. It can be used to harvest delicate spring daffodils. This will require paper of yellow, white and green colors, as well as scissors, glue, wire.
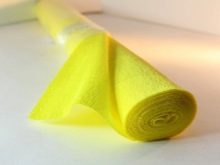
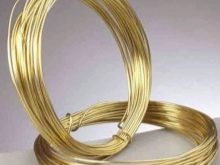
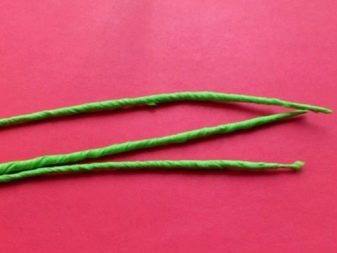
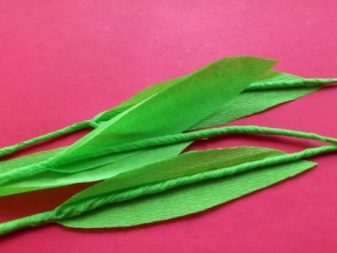
First, you need to make the stems of future flowers. For this, thin strips are cut off from a roll of green corrugated paper, coated with PVA glue on the reverse side and spirally wound on a wire base.
This must be done with an overlap so that the edging of each subsequent turn slightly overlaps the previous one.
In this technique, all three pieces of wire are trimmed, after which the finished stems are laid aside.
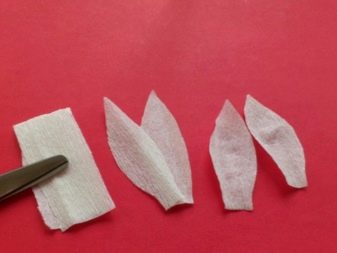
To make compositions, there are 5 white petals per flower, they should all have approximately the same shape. Therefore, it is best to immediately cut off the required number of blanks from a sheet of paper, put them in a pile and cut out according to one template. They should be oblong and slightly pointed at the top. The paper is straightened a little and stretched vertically, the petals should look delicate and almost weightless.
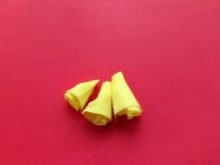
To make the core of a daffodil, three thin strips are cut from yellow paper. They are laid along the long side and rolled into a tight tube.
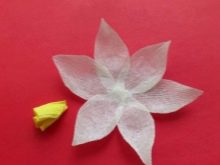
The daffodil flower is made from petals and centers. First, the petals are glued together, and then yellow pistils are neatly attached to the center.
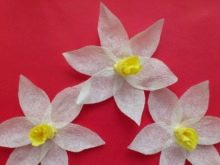
To make the bouquet more realistic, you can cut leaves from green paper and wind them on the stem.
The hardest job is connecting flowers and stems. Keep in mind that in the wild, the daffodil's head is turned slightly to the side rather than up. Accordingly, paper buds should be placed sideways on the wire stems, in this form they will be easier and stronger to hold. The place of fixation of the flower to the stem is masked with a small circle of green corrugated paper.
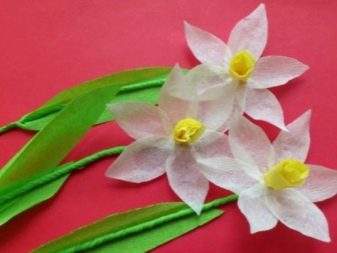
If you want the bouquet of spring paper flowers to look festive, wrap it with double-sided colored paper or tie it with a ribbon of a bright color.
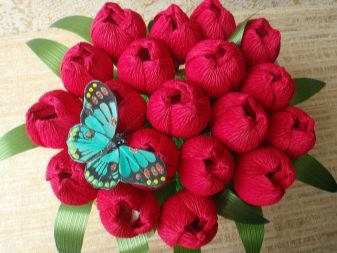
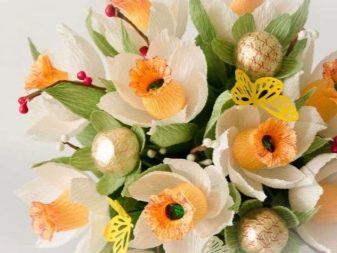
A tulip can be assembled using the same scheme.
From velvet
Velvet paper differs from ordinary paper in its density and texture. It is pleasant and rough to the touch, and crafts made from it look voluminous, festive and expensive.
However, keep in mind that velvet paper is quite heavy. It curls poorly, when bent, the velvet cracks, an unaesthetic base begins to shine through.
That is why such paper is more often used for decorating postcards and composing festive floral collages.
Kraft paper
Crafts made from craft paper have been very popular in recent years. They are indispensable for interior decoration in the style of shabby chic and boho. To make flowers, you need to cut a strip 2.5-3 cm wide and make transverse cuts on both sides of the workpiece, almost reaching the middle, in 3-4 cm increments. The upper corners of the cuts are twisted diagonally onto an awl or rod, and the lower corners are glued together in the form of scales. After that, the strip is rolled up into a tube and the petals are slightly bent. To make the flower more decorative, you should sprinkle it with a transparent varnish with sparkles from a spray can or manually paint over the tips of the petals.
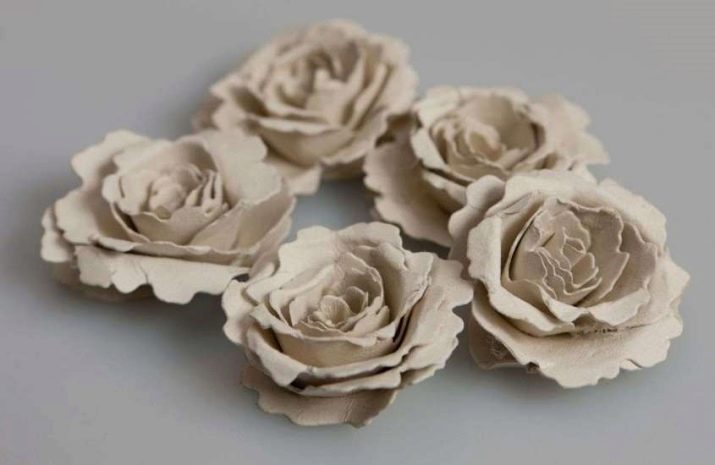
It will also be possible to make a rose of extraordinary beauty from paper. You will find a detailed master class in the next video.


