Halloween garland options
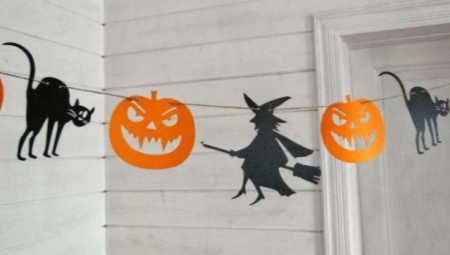
Halloween is a "scary" but fun and interesting holiday that has recently appeared in our country. If you want to decorate your home, creating an atmosphere corresponding to this holiday, you can make different garlands with your own hands from different materials.
How to do with bats?
This option is considered one of the most popular. It can be easily done in just 5 minutes.
Tools and materials
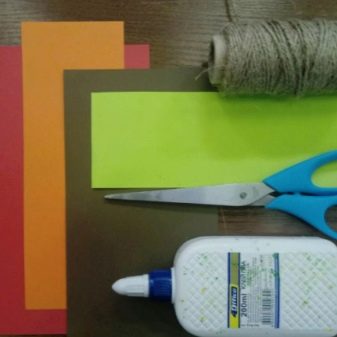
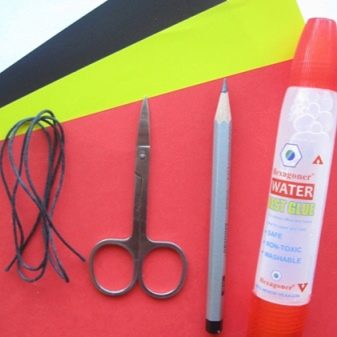
Before you start creating such a decorative product, you should prepare everything you need for this. You will need:
-
multi-colored paper;
-
simple pencil;
-
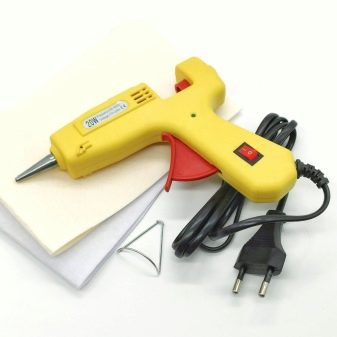
hot melt glue;
-
scissors;
-
rope.
Step-by-step instruction
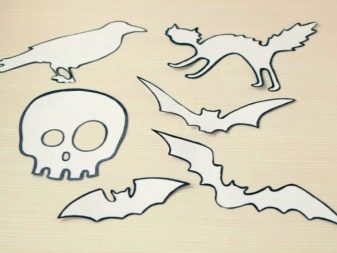
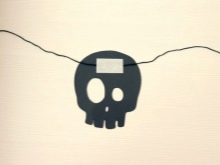
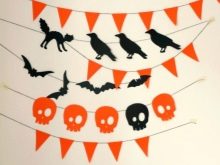
You will need to prepare all the necessary templates in advance. In addition to the pattern in the form of a bat, you can also print a pattern in the form of small skulls, ravens, cats. The resulting blanks are applied to sheets of colored paper.
Better to use orange and black material.
Samples are outlined with a simple pencil and then cut out. At the same time, the hot melt is heated. A small amount of mass is applied to paper products and glued to a rope, while it is better to take a strong black twine.
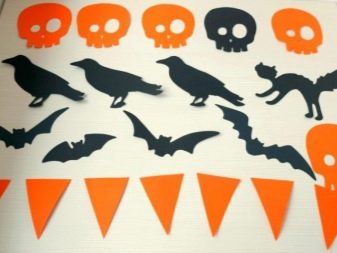
All elements are fixed in the same way. It will be interesting to look at such a decoration, which will consist of several thin ropes with details of different shapes. With the help of such a product, you can make an original composition on the wall.
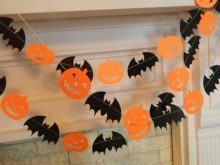
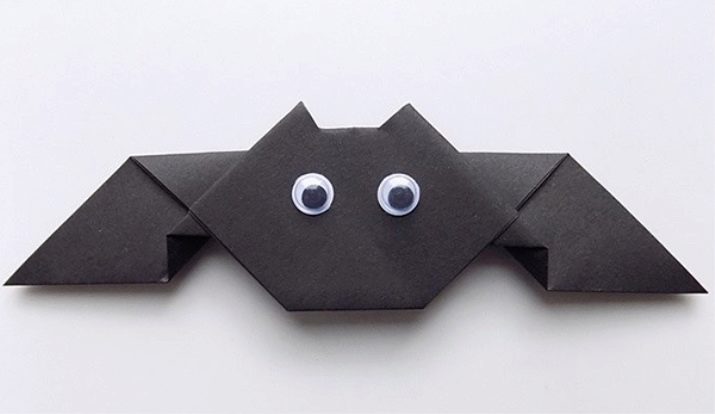
If you wish, you can make bats using the origami technique. In this case, prepare sheets of black paper. From one such sheet, you can fold one piece, and at the end, glue the finished eyes.
Ghost craft
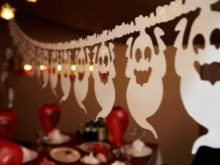
Now we will look at how to make such a festive garland with little ghosts in stages with our own hands. For this we need:
-
plastic disposable plates;
-
black paper;
-
corrugated white paper;
-
scissors;
-
hot melt glue;
-
rope.
To begin with, take one plastic plate, it will act as a base. Next, you need to take black paper, cut out the mouth and eyes of the ghost from it, and then glue the resulting parts onto the dishes.
Hands are cut out separately from white paper material, and they are also glued to the base. To make the craft more interesting and beautiful, sheets of corrugated paper are cut into strips of approximately the same thickness and different lengths. Such elements are attached to the back of the plate, while they should hang down.
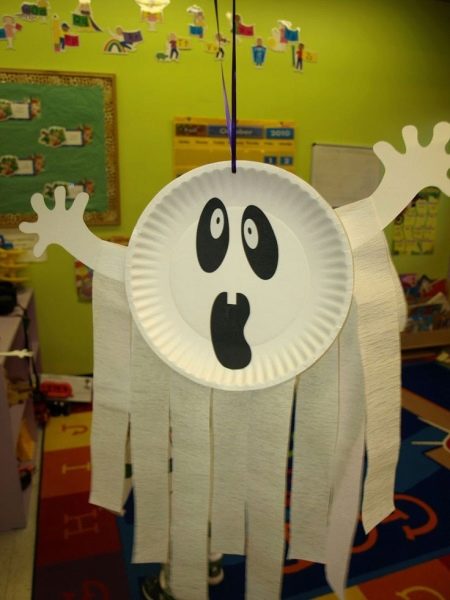
It is better to make several such blanks in the form of ghosts at once, all of them will be fixed on one rope. Sometimes small disposable plastic cups are used instead of plates.
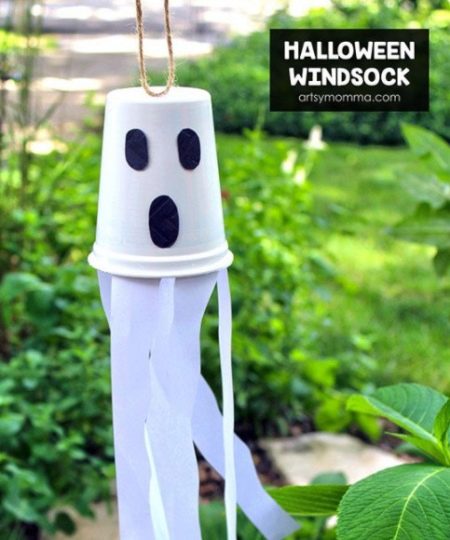
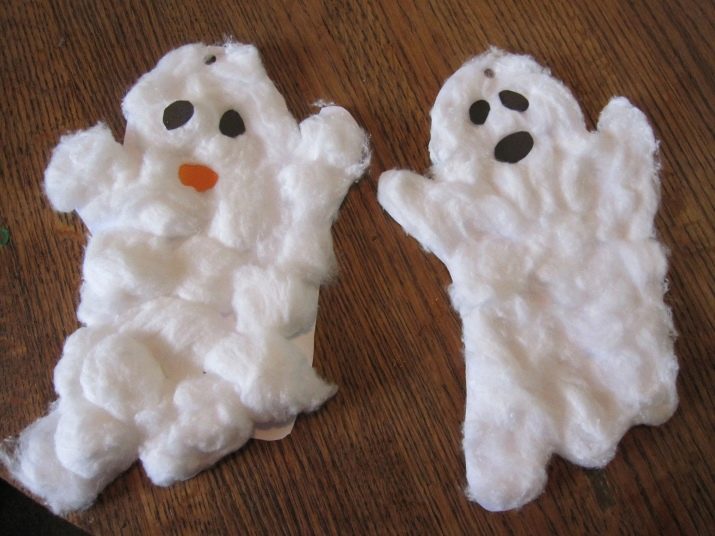
And also ghosts can be made using cotton wool.
- In this case, first prepare the base for the craft. You can use cardboard material; a blank of the desired shape is cut out of it.
- At the same time, you need to take cotton wool and roll a large number of balls of approximately the same size out of it.
- After that, the cotton wool is gradually glued onto the cardboard base. You will also need black paper. A mouth and eyes are cut out of it with scissors for ghosts; these elements are also glued to the base on a special hot melt glue.
- Several of these finished products are fixed on one black rope, and hung in this form on the wall.
Paper spider garland
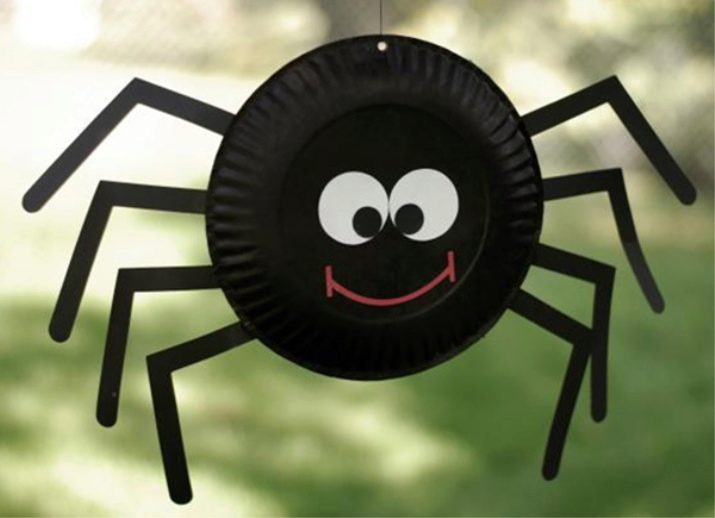
- To begin with, take several disposable plastic plates. They are completely painted with black paint. The materials must then dry.
- At this time, sheets of black paper are prepared, from which blanks are cut out in the form of paws with scissors. Their end should be slightly rounded. Circles are cut out of black and white paper, while light elements should be much larger.
- Then the dark and light parts are glued together, the result should be eyes for the spider. They are glued to a dried plate. A spider's mouth is cut out of a red paper base, and it is also fixed on a plastic base.
- A small hole is made at the top of the craft. A thin thread or twine is threaded through it, and then all this is attached to the wall.
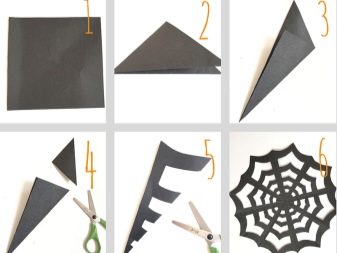
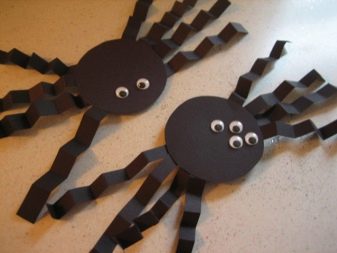
If desired, you can separately cut the blank in the form of a spider web. In this case, the easiest way is to use a ready-made template. Sometimes spiders are made entirely of paper or cardboard. For this, even circles of approximately the same size are cut out of the material.
Spider legs are formed from the same base. To do this, you need to make several small strips, they are bent in the shape of an accordion, and then gently straightened. On two opposite sides of the circles, four made paws are attached to the glue. At the final stage, two finished eyes are fixed from above.
The resulting parts can be easily fastened to a rope and hung on the wall.
More ideas
There are a huge number of other interesting options for creating festive garlands for Halloween. Let's take a look at some of them.
-
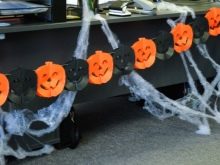
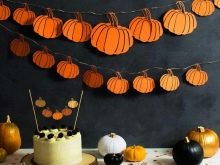
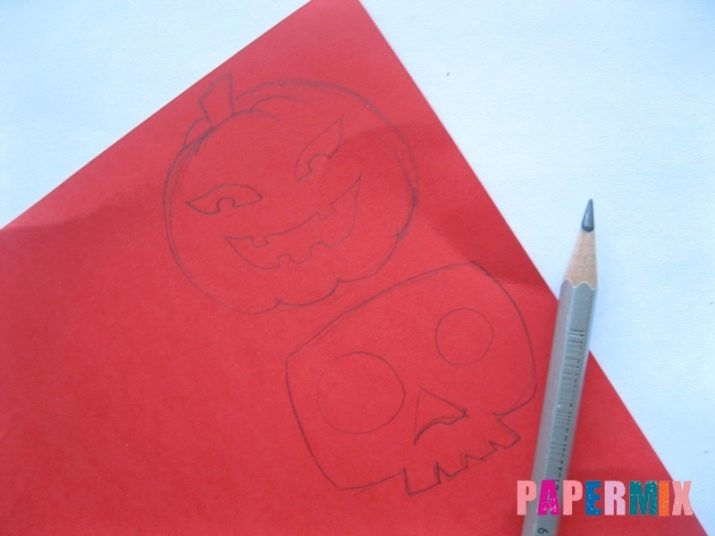
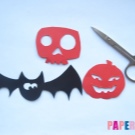
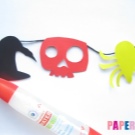
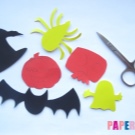
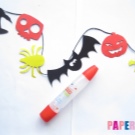
Garland with pumpkins. In this case, several red paper sheets should be prepared. On each of them, a drawing of a pumpkin is schematically drawn with a simple pencil on the reverse side, you can also use ready-made samples in the form of a pumpkin. It is better to cut out several of these elements at once. From the same material, if desired, parts in the form of small skulls are cut out. Next, they take a yellow paper material, from which they form blanks in the form of small spiders or other elements with scissors. All finished parts are glued with hot melt glue on one twine. In this case, a rather bright and unusual craft is obtained.
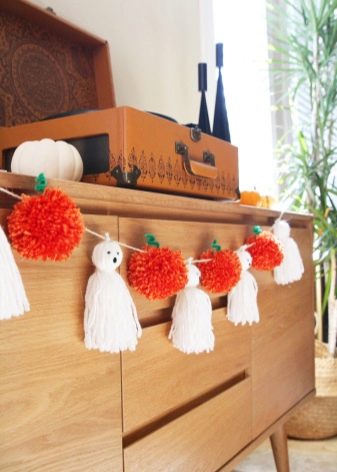
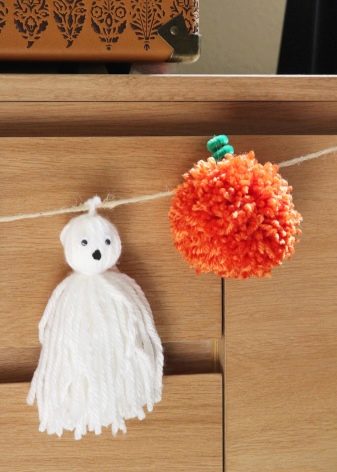
- Woven haunted pumpkin garland. To begin with, you will need to form several identical lush orange pom-poms. This can be done from fluffy thick threads. After that, with the help of scissors, all this is trimmed. Next, they take a chenille wire, twist the workpiece from it in the form of a spiral and attach it in this form to the finished pom-poms. It is better to do this with hot glue. Then they start making ghosts. For this, a large tassel is formed from white fluffy threads. A small foam ball is placed in its upper part. Instead, you can take rolled wet paper, after which the eyes and mouth are schematically drawn in the upper part with a black felt-tip pen. Now all the finished parts should be securely fastened with hot glue on one rope.
This option can be hung on a wall, window or doorway; sometimes such products are used as an addition to a festive costume.
-
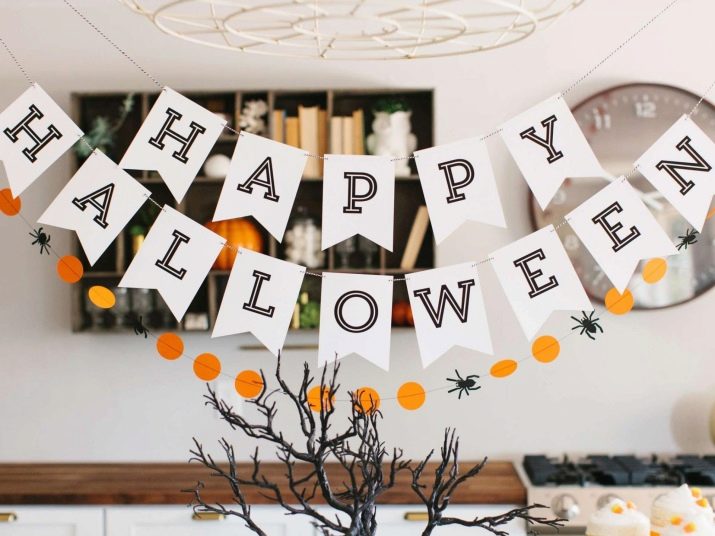
Garland with an inscription. Even small children can make such a simple option. To do this, take a simple thick white paper. From it, blanks are cut out in the form of rectangles of the same size, then small flags are formed from the parts obtained. Then they take a black felt-tip pen or paint, and begin to draw one letter on each finished element, while gradually composing a word. So you can create any inscription that will be associated with this holiday. When all the paper blanks are done, they prepare a decorative ribbon or a simple rope. All parts are thoroughly coated with adhesive and, in this form, are attached to the base.
-
Garland with skeletons. To make this craft, take white cardboard or thick paper of the same color. It will be most convenient to use a ready-made sample, which is applied to the material, circled, and then carefully cut out. The resulting parts are fixed with glue on a decorative rope. And you can also take a paper base, fold it in several layers, and then again attach the template, circle and cut. After that, the product is revealed, in this case, the parts will not need to be attached to a rope or tape. All small skeletons will be immediately connected to each other into one product.

-
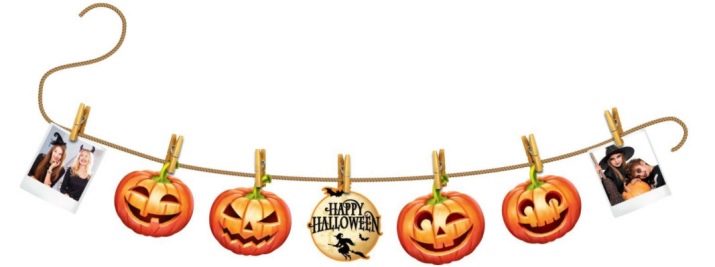
Garland on clothespins. To create this craft from paper of different colors, flags of approximately the same size are cut out. For each of them, eyes and mouth are cut out separately. From orange material, you can make an imitation of a pumpkin, from black paper - a bat, from gray or brown - an owl. Individual elements can be completed with a dark felt-tip pen or paint. When all the parts are made, a strong but thin rope is prepared. All the already decorated flags are attached to it, each of them is fixed with two clothespins. The finished product will look great in the room on the window opening. Sometimes such a garland is supplemented with small balls.
In the next video, you will learn how to make a Halloween garland with ghosts out of A4 paper.


