We make crafts of mushrooms from cereals and seeds
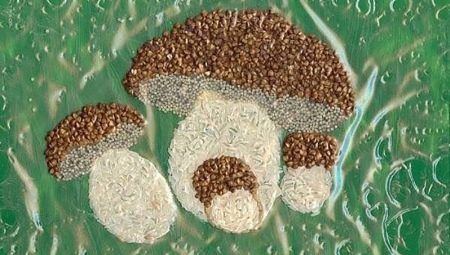
The children's favorite pastime is making a variety of handicrafts. The child can be carried away by modeling not only different animals and birds, but also the gifts of nature, for example, beautiful mushrooms. The latter are quite possible to make from various cereals and seeds. This article will show you how to do it correctly.
How to make a porcini mushroom?
A child can create a huge variety of crafts from cereals and seeds. So, the usual boletus boletus will turn out to be simple to manufacture. You can depict it in the original applique. The child can easily cope with its manufacture, even if he does not yet have a rich creative experience.

A beautiful white boletus mushroom can be modeled by preparing the following necessary components:
- a template with an image of a mushroom (you can draw it, or you can print it on a printer);
- various cereals and seeds;
- glue;
- paints;
- felt-tip pens and pencils.

When all the above materials and tools are prepared, you can start creating a beautiful applique.
-
You should first take the porcini mushroom template. You will need to paint it. It is not at all necessary to focus on the background, so you can give preference to more muted and calm tones. Make the sky blue and the grass light green.
It is best to use colored pencils to color the base.

-
Next, you should take cereals. Almost any will do, for example, rice, buckwheat, millet. It is also worth taking small seeds.

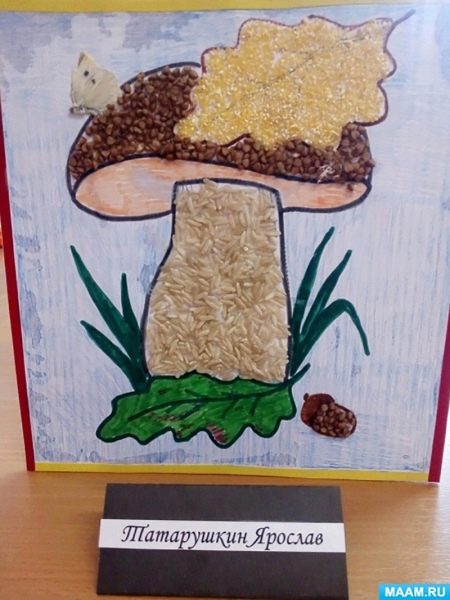
- A specific piece of white mushroom should be selected. You can start with the design of the boletus cap. In nature, this detail has a brown color, so it is advisable to supplement it with buckwheat of the same color.Of course, young craftsmen can choose something else - here children's imagination is not limited by anything.

- Buckwheat or other cereals should stick using PVA glue solution.

- The lower part of the cap will need to be decorated with other cereals or seeds. Their shade should be lighter. For example, light yellowish millet works well. Already at this stage, the application will begin to acquire an attractive volume.

- Now you need to arrange the leg of the porcini mushroom. Plain white rice is best for this. It will be most convenient to attach round rump.
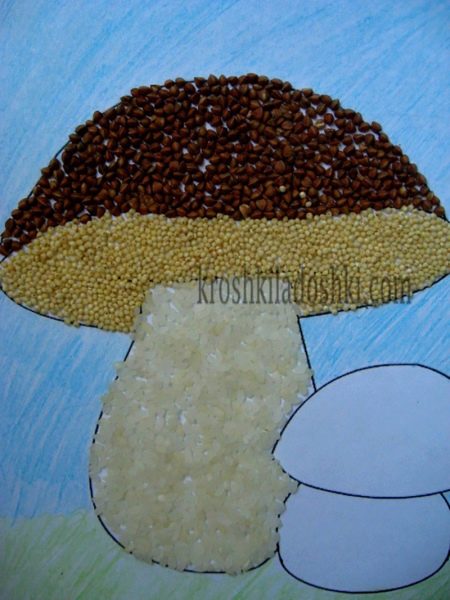
- One boletus at this stage will be completed. Now you should arrange a second smaller mushroom. The younger this mushroom is, the lighter its cap is, so it is best to use wheat to fill in the template.

- Little boletus leg can be filled with a rice slice.

- When both mushrooms are fully formed, you will need to wait until they dry. After that, you need to brush off all leftovers and unnecessary inclusions from the application. At this stage, your creative craft will be ready!

Application "Mushrooms in leaves"
Cereals and seeds can make a wonderful autumn craft. It will not be difficult for a child to make a beautiful applique depicting mushrooms with leaves with his own hands.
All creative stages of work will take very little time, but the children will definitely be satisfied with the results.
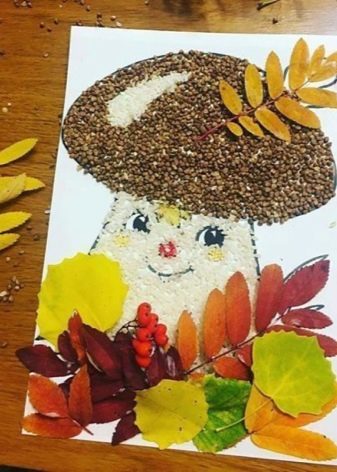

Let's get acquainted with the step-by-step instructions for modeling such an interesting and attractive homemade product that you can bring to school or kindergarten.
- First, you need to prepare cereals and seeds for further procedures. They can be absolutely anything. And you also need tea leaves, previously removed from the bag, dry foliage, glue, a cardboard sheet and a felt-tip pen.

- You need to take a sheet of colored cardboard. The color can be absolutely any, but since the craft will be sustained in the autumn theme, it is advisable to prefer a red or yellow shade.

- The contours of the future mushroom are drawn on a cardboard basis, using a black felt-tip pen.
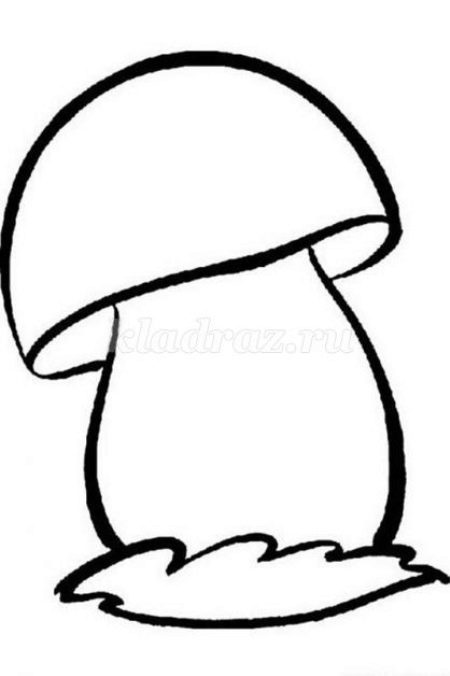
- At the next stage, the prepared base must be coated with adhesive within the contours of the mushroom drawn with a felt-tip pen.

- First, it is advisable to arrange the mushroom leg, treated with glue. On this base, you need to pour light cereals or seeds. Young craftsmen can make the choice of suitable materials themselves.

- The hat will look very bright and interesting, if you sprinkle tea leaves on it or fix sunflower seeds here.

- Now you need to complete the beautiful applique by adding fall foliage. From dry leaves, you can form a small clearing surrounding the mushroom. One of the leaves should be taken and fixed on an already decorated mushroom cap.
At this stage, the applique will be ready, but it can be supplemented with other decorative components. For example, it is permissible to decorate a clearing around an autumn mushroom with short twigs.

More craft ideas
There are many ways and master classes for making beautiful crafts using cereals and seeds. You can choose a suitable scheme for a child of absolutely any age. The craft can be both extremely simple and very unusual, complex in execution.
Cool work will turn out if you use not only cereals and seeds to create it, but also plasticine. Let's take a closer look at how from the listed components you can make an original application with your own hands.
- In making, this homemade product turns out to be surprisingly simple and affordable. Even a small child can easily do it. To do this, first of all, you need to prepare a template for the future mushroom.

- The image of a mushroom can be almost anything. The child can draw it independently on thick paper or cardboard.If you want to use a ready-made template, then it is advisable to print it on a printer.

- Once the base image is ready, the child can proceed with its further decorative design. If desired, the background can be painted over with pencils of the appropriate colors, but this is not necessary.

- The plasticine mass should be prepared for work. The child will decide for himself which fragment to start with the design of the applique - from the leg, cap or bush at the base of the mushroom.

-
The mushroom cap should be filled with brown plasticine. You just need to thoroughly smear the plastic material within the corresponding contours. It is best to decorate the leg of the mushroom with a yellow or white plasticine mass. Before smearing the plastic material on the base, it is recommended to knead it thoroughly in your hands for greater flexibility. At the foot of the mushroom, you can depict a small green bush. To design it, you need to take plasticine of a similar color. All the edges of the plasticine parts should be well smoothed so that the image of the mushroom is as accurate as possible.

- As soon as the mushroom template is completely filled with plasticine mass of the corresponding colors, you can proceed to fixing seeds and cereals. Almost any material will do. These can be sunflower seeds, buckwheat, rice, coffee and even small nuts.

- Seeds and cereals must be sprinkled on a base filled with plasticine. It is advisable to fix components of different colors in different parts of the mushroom. For example, you can sprinkle rice on the leg, buckwheat on the hat, and green sunflower seeds on the foliage below.
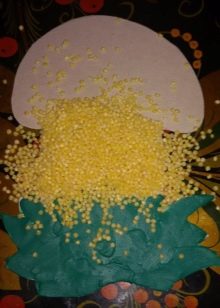


- Absolutely all seeds and cereals must be pressed into smeared plasticine masses. This must be done carefully so as not to spoil the general appearance of the mushroom and the entire application as a whole.

At this stage, a beautiful and original craft using cereals and plasticine will be completed. Every child can easily cope with its creation!
A detailed master class on making mushrooms from cereals can be viewed in the following video.


